Kena Bridge of Spirits: Adira's Fear - walkthrough
On this page of the Kena guide, you will learn how to complete the main mission, which is called Adira's Fear.
On this page of Kena Bridge of Spirits guide, you will learn how to complete the main mission called Adira's Fear. The mission starts automatically after completing the Adira's Love quest.
After clearing the location, you will see a stone bull that was created with your help. The animal will help you in some situations. Go to the marker displayed on the map.
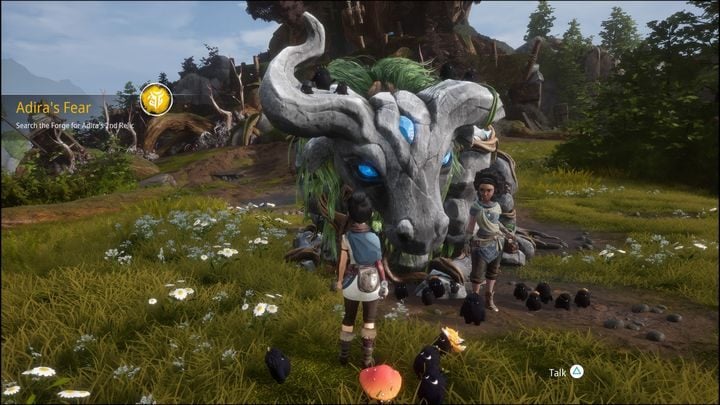
Once there, you will see that the road leading to your destination is blocked.
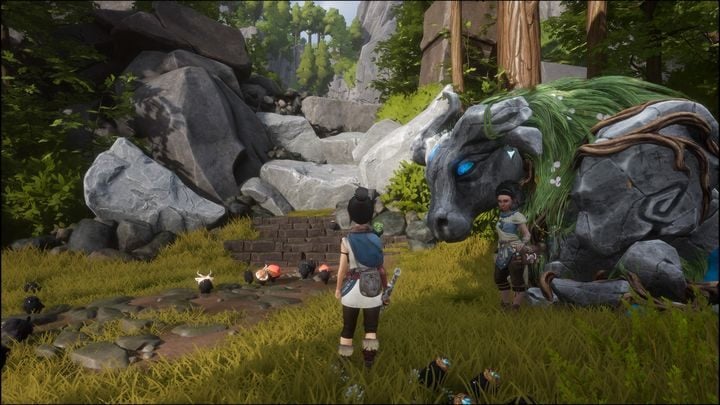
Talk to Woodsmith to solve the issue. The stone bull will destroy the obstacles, allowing you to proceed.
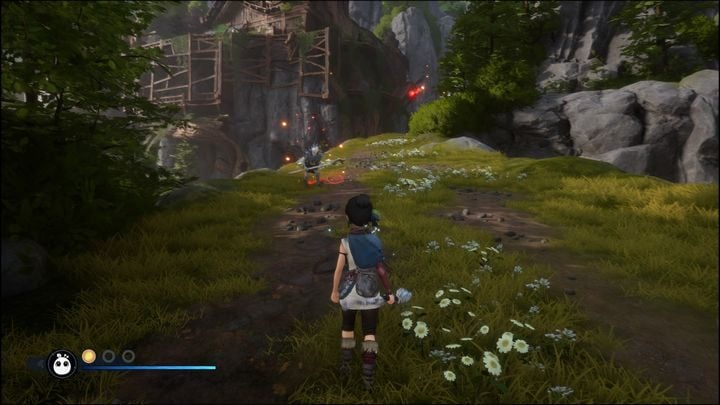
You must go up. However, it will not be a peaceful journey. Every now and then you will be attacked by opponents. Red souls will attack you if you get close to them.
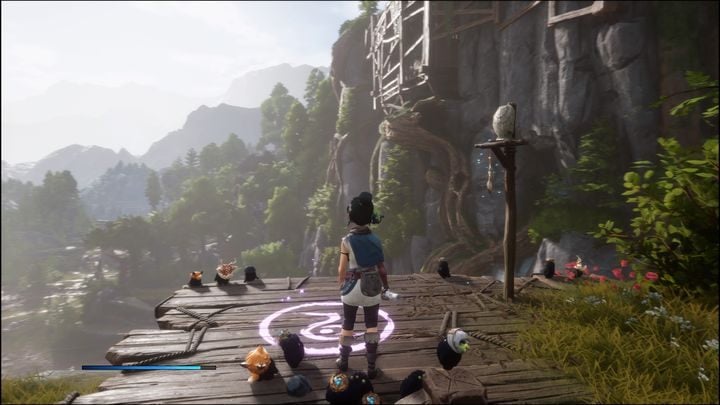
Going up, you can participate in the shooting challenge, which will reward you with Rot if you shoot down all the targets in time. If you want to do this later, or have already done so, there is another path on the right. Follow it.
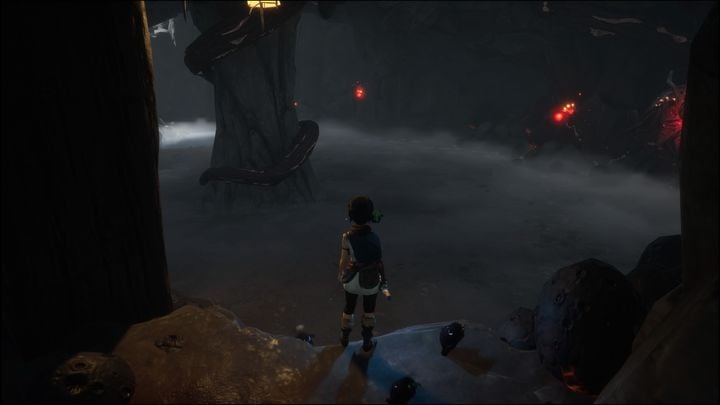
Jump over the first hole to the other side. The next hole will be too big to jump over, so jump towards it, which will make you go down. Go to the right, you will see a cave full of red souls. By jumping down, you will start the fight.
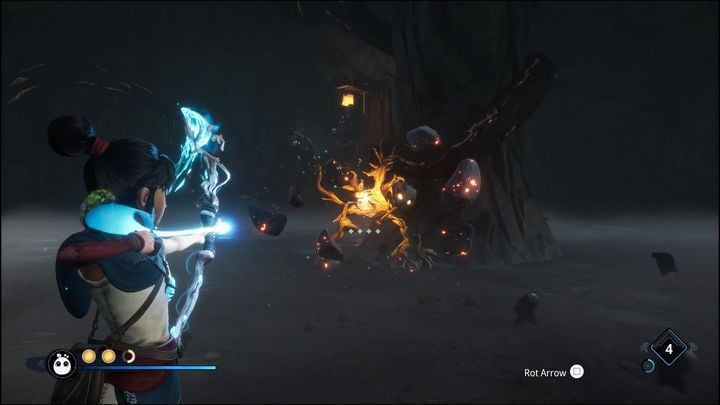
You will have to fight mainly against golems - throw a bomb at them and then charge your weapon and shoot an arrow right in the center of the yellow point.
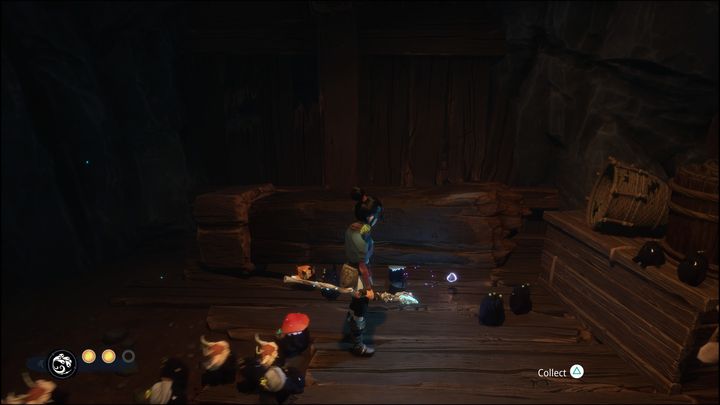
After the battle is complete, purify the flower. Enter each uncovered passage in the cave. There you will find, among other things, a fallen wooden column that you can pick up with Rot and then gain another one.
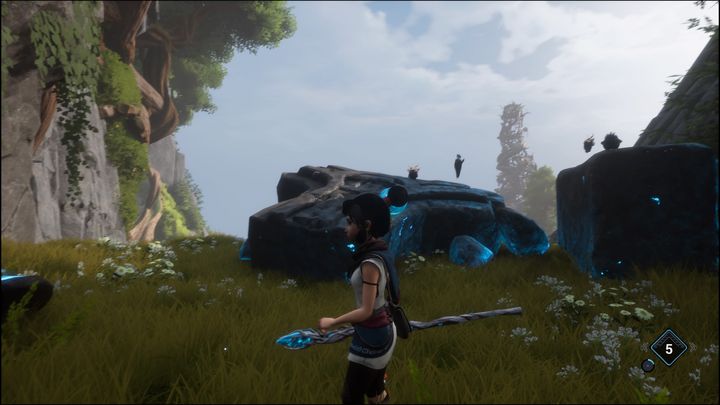
As you emerge from the other side of the cave to the surface, you will see shimmering blue stone structures.
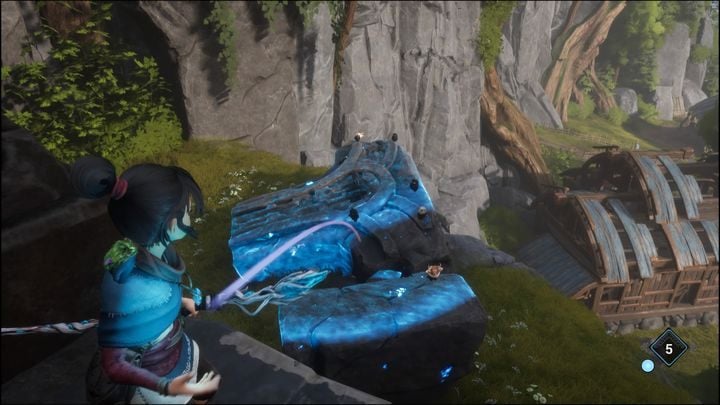
Go upstairs first so you can get further. Stick a bomb into these structures and then use Pulse or shoot the bomb. The stones will turn into platforms, allowing you to continue your journey.
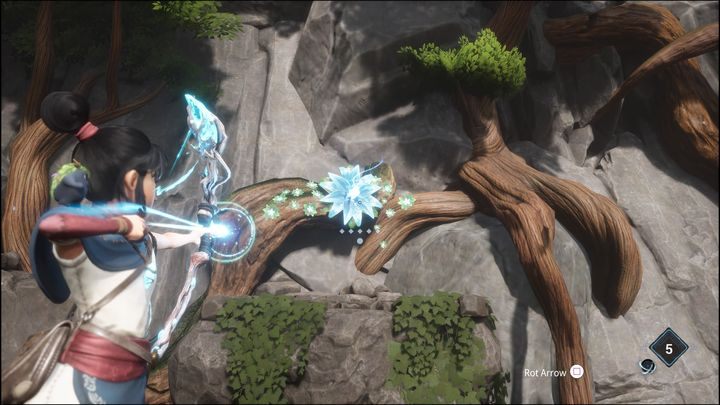
While jumping on the platforms, shoot an arrow quickly towards the blue flower. When you pull towards it, stay there, as you probably won't have time to jump to the last platform. Throw the bomb again and jump to the last platform to move on.
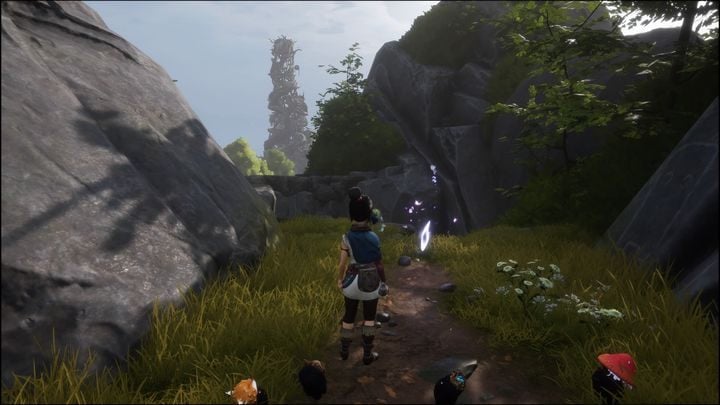
You will find yourself on the other side of the chasm you jumped into earlier. Turn left to get the next Rot, then head right.
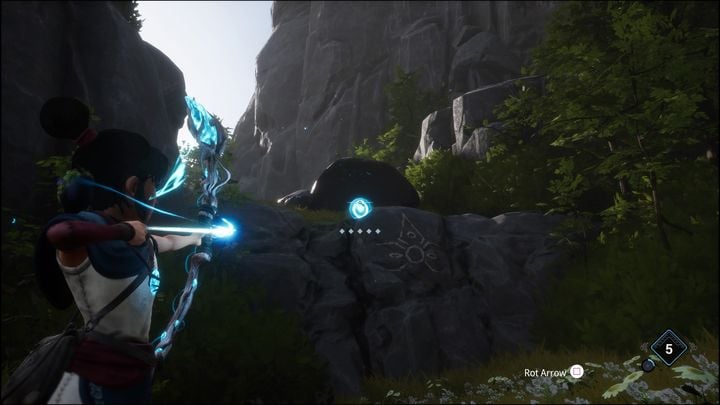
As you continue walking, you will see another shiny rock. Throw a bomb at it. When the structure materializes, another flower will appear. Shoot it to attract yourself to it. While at the top, you can once again materialize this rock to jump over it - there is a cave on the right where you can find a yellow soul. It will lead you to a place where, using the mask, you will see another cut-scene and be rewarded with Karma.
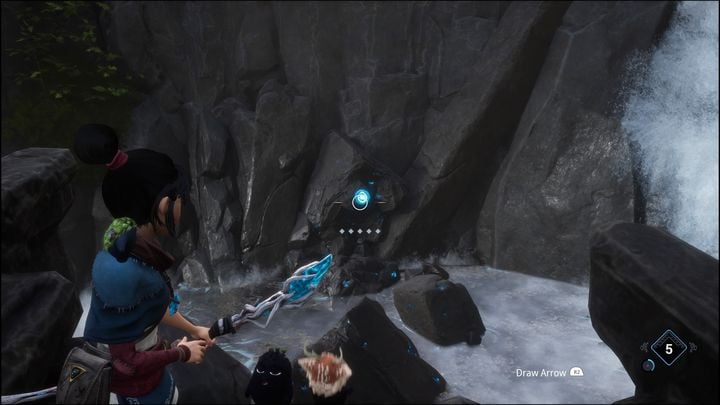
As you continue walking, you will see a large waterfall. There are more shiny rocks in the water. Throw a bomb at them.
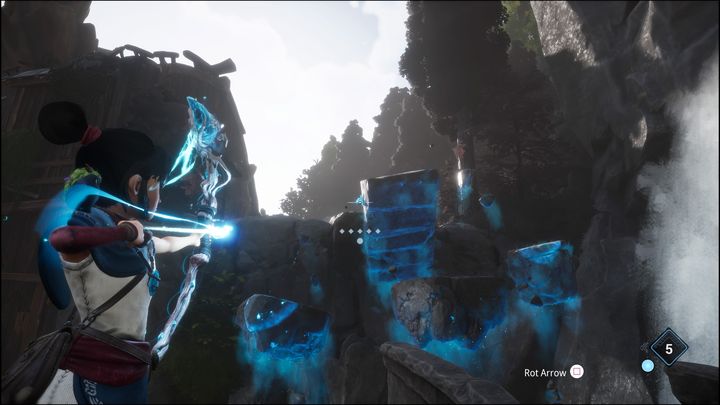
Before you jump on each of the rocks, look at the platform in the middle. There is a crystal on its left side. Shoot it to slightly change the position of the platform. This will enable you to continue your journey. Next, jump on the platforms in the middle, then jump on the right platform, and finally the middle platform - you will get to the top.
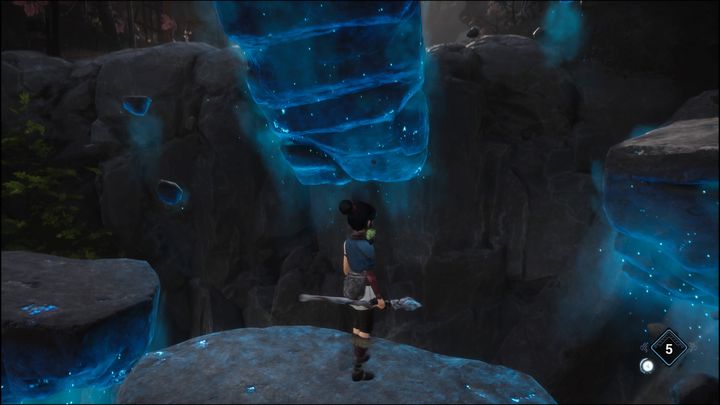
Once you are at the top, you will see a large, empty space. You will face the next boss called Stone Guardian. The description of the boss fight is on a separate page of this guide.
You are not permitted to copy any image, text or info from this page. This site is not associated with and/or endorsed by the Ember Lab or Ember Lab. All logos and images are copyrighted by their respective owners.
Copyright © 2000 - 2025 Webedia Polska SA for gamepressure.com, unofficial game guides, walkthroughs, secrets, game tips, maps & strategies for top games.
