Kena Bridge of Spirits: Adira's Love - walkthrough
On this page of Kena Bridge of Spirits guide, you will learn how to complete the main mission, which is called Adira's Love.
On this page of the guide to Kena Bridge of Spirits you'll learn how to get through the next main mission, Adira's Love. The quest starts once you talk to the Woodsmith after finishing the Help the Woodsmith misison.
After completing the short Honor Taro quest, which tasks you with honoring Taro at the Mask Shrine, you'll obtain another quest during which you must help the Woodsmith.
Your objective is to find another relic. To do so, you must activate the map and see where you need to go. There are three locations you must visit: The Watchtower, Ancient Well and Rufus' Barn.
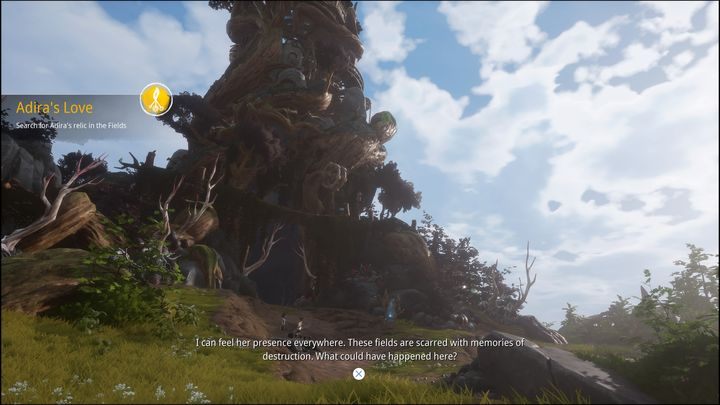
The Watchtower
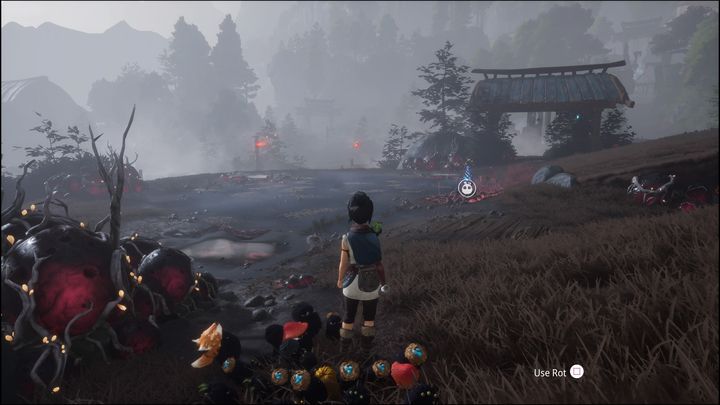
Heading to the Watchtower you'll need to defeat a few enemies on the way. One of them is Kappa, the second boss in the game. He's a bit weaker here though and serves as a regular enemy.
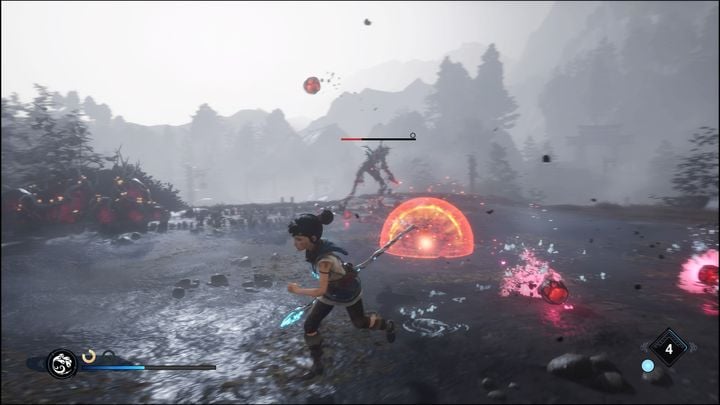
You should still prioritize him, as he creates reinforcements often. Now that you have a bow and bombs, fighting Kappa should be much easier.
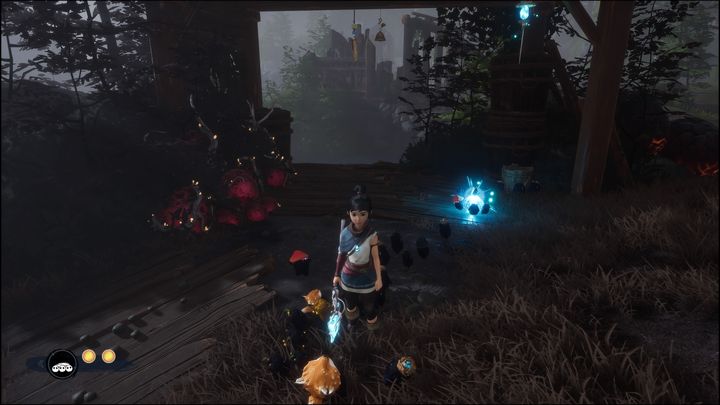
After defeating Kappa take a Forest Tear and place it on the flower, creating the original Rot form. Destroy the obstacles around you by using Rot.
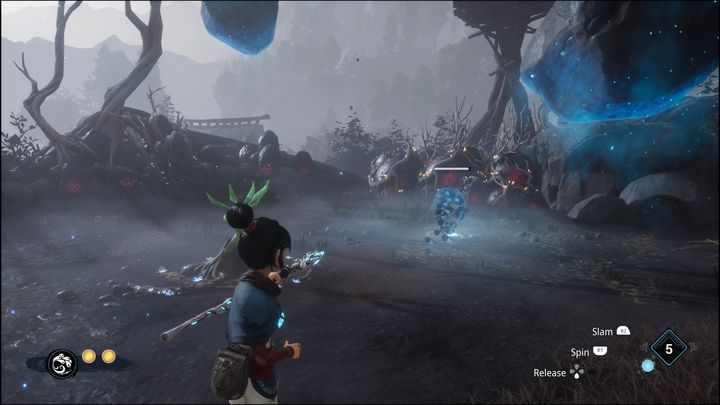
By clearing the obstacles you'll create a new flower, which lets you use Rot.
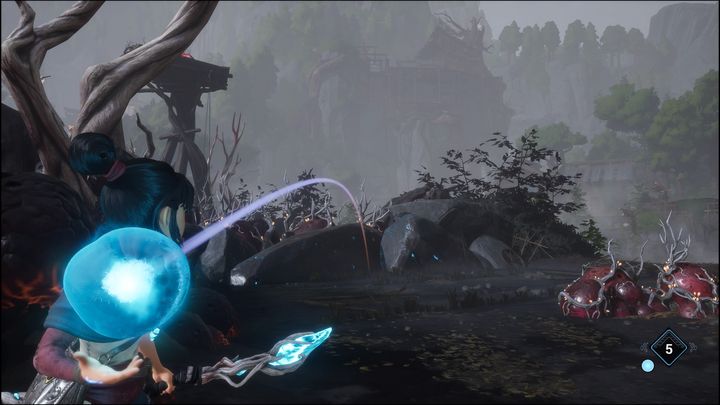
Throw a bomb at some glowing rocks. There's yet another obstacle behind the rocks. Destroy it with Rot, then go to the other side.
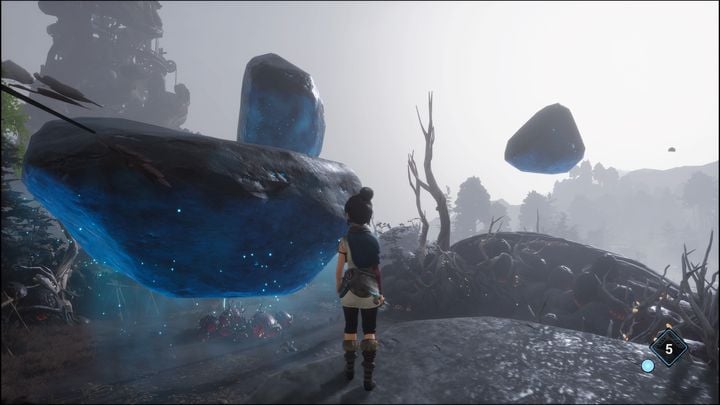
You'll find even more glowing rocks. Throw a bomb at them to form them into platforms. Jump onto the first platform. There's a flower on the second one, shoot it to grapple to it.
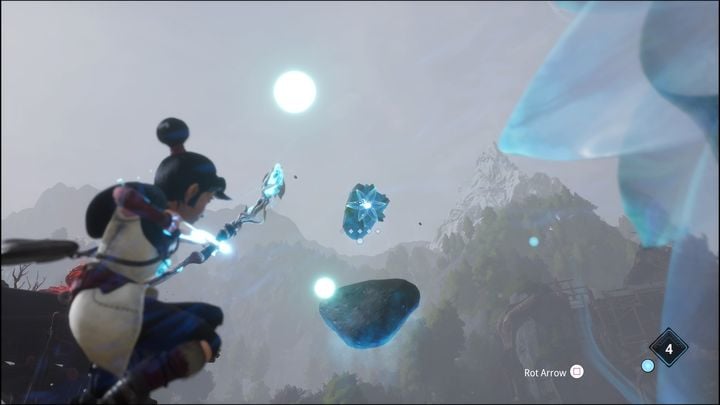
Don't stop aiming while you grapple, making sure time stays slowed down. Once you grapple yourself to the first flower, you'll see the second one opposite to the first one. Turn around and shoot it while still in the air. Once you do so, you should safely land on a platform.
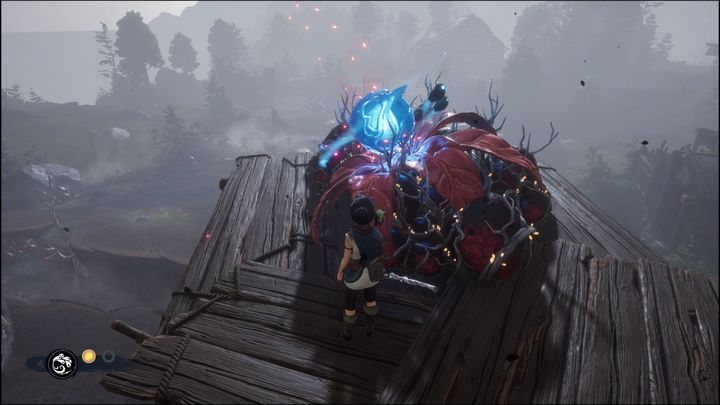
Jump onto the next platform and cleanse the flower with Rot and Pulse. You'll complete one of the three objectives.
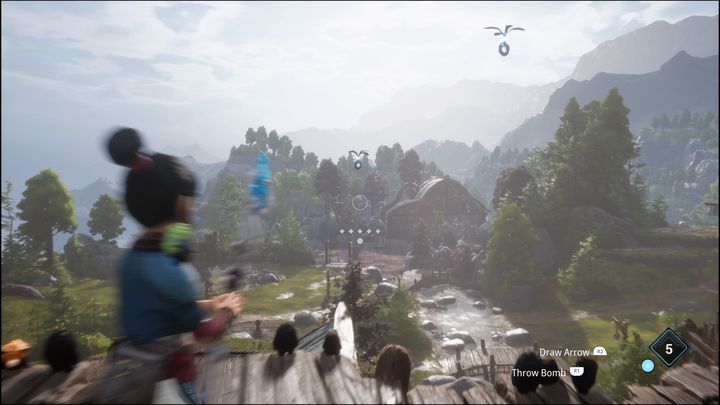
There's also a shooting challenge on the platform the flower once rested upon. If you shoot down all targets, you'll be rewarded with Rot. Stand on the painting and use Pulse to start the challenge.
Ancient Well
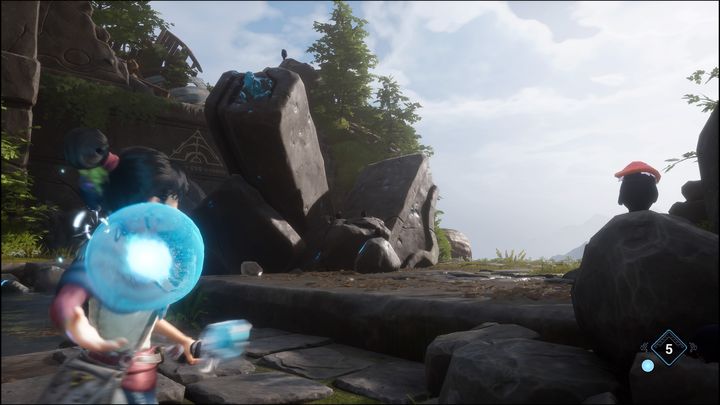
Nearing the Ancient Well, you'll spot many rocks in a single place. Throw a bomb at them to create platforms.
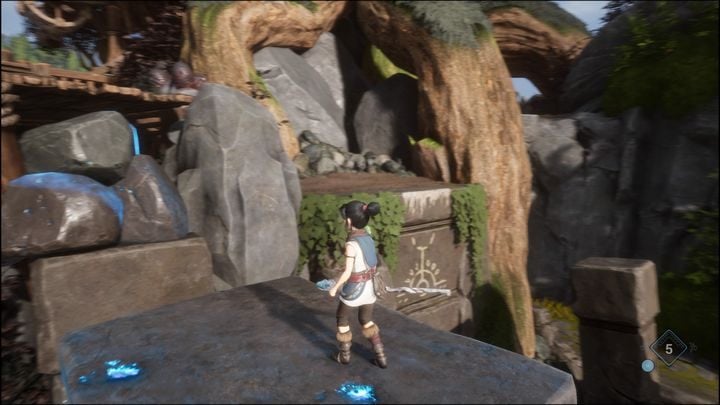
Once you've done that, shoot the flower, then slow down time by aiming with your bow and reach the other platform with a double jump. Your main target is on the left, but you can throw a bomb to the right to create another platform and find a chest.
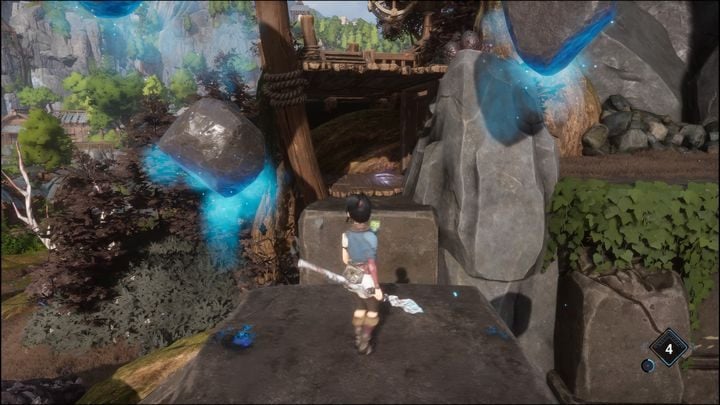
There are also three rocks underneath the wooden bridge on the left. You can throw a bomb there to raise the rocks and walk underneath the bridge, where you'll find Rot. Once you're done head right, towards the painting on the wall, to grab the ledge and climb up.
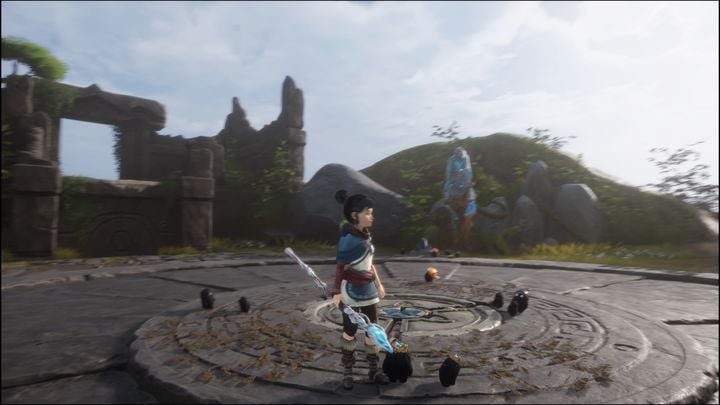
Walk across the wooden bridge and then go down, heading right. You'll see a large circle and crystals next to it. You need to throw a bomb at the crystal and then use Pulse to make it glow. You must do so with three crystals. One is on the left, one is on the right, and the third is upstairs facing the other two.
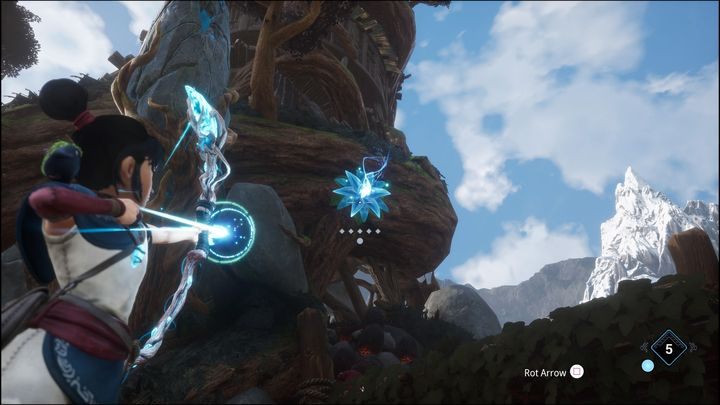
Throw a bomb at the rocks, climb onto them, then shoot a flower to grapple to it.
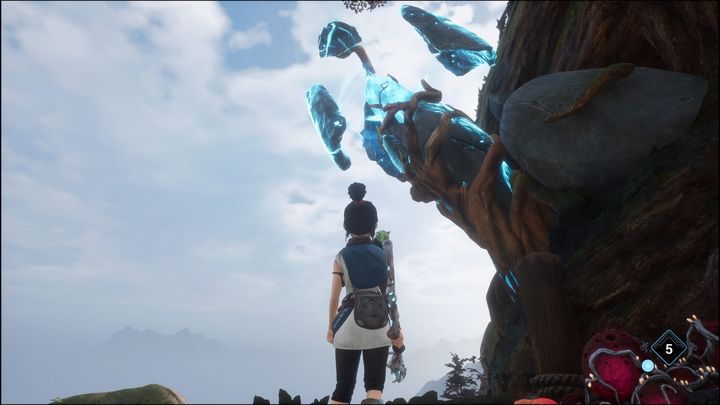
The final crystal is on top. Once again throw a bomb at it and use Pulse to progress.
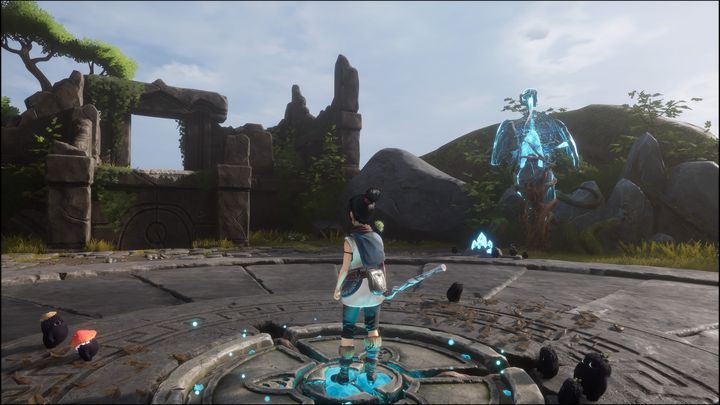
Afterwards stand on the platform and use Pulse again. This will open the way forward. Head down the stairs into the cave.
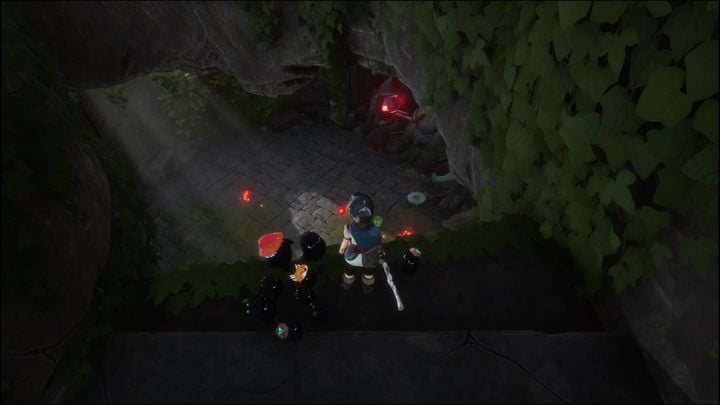
Standing over the pit you'll notice several enemies waiting for you. The first wave of enemies consists of two lizards and some basic enemies.
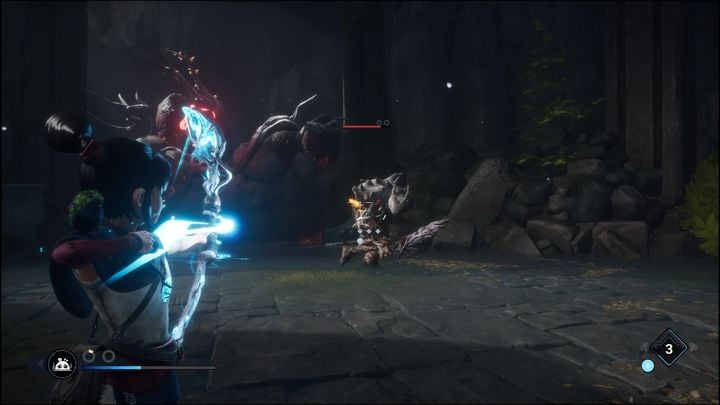
The next wave consists of shield-bearers and a Sprout Captain downgraded to a regular enemy. Deal with the shield-bearers first, leaving the Sprout Captain for last. To make the fight easier shoot its weak spots and use Rot.
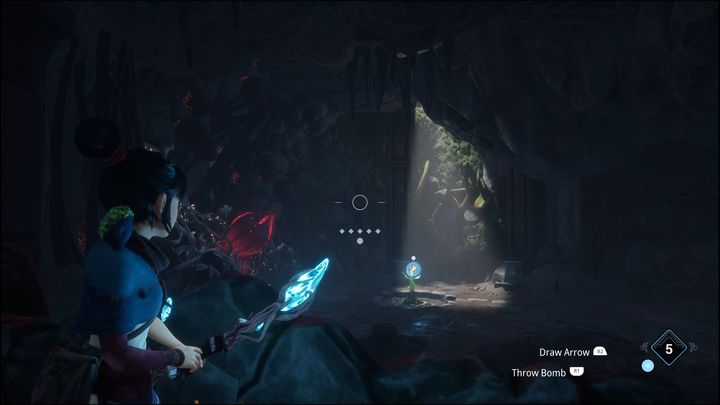
Cleanse the flower after the fight and go down. On the other side you should notice a red flower and a Forest Tear. It's located above you. Shoot it to make it fall onto the smaller flower.
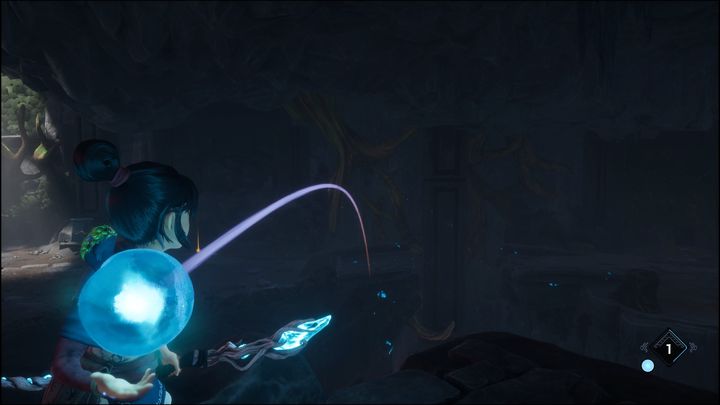
Then throw the bomb at the glowing rocks. Some ranged enemies will appear on the other side. Defeat them, then use the original Rot form to walk to the other side.
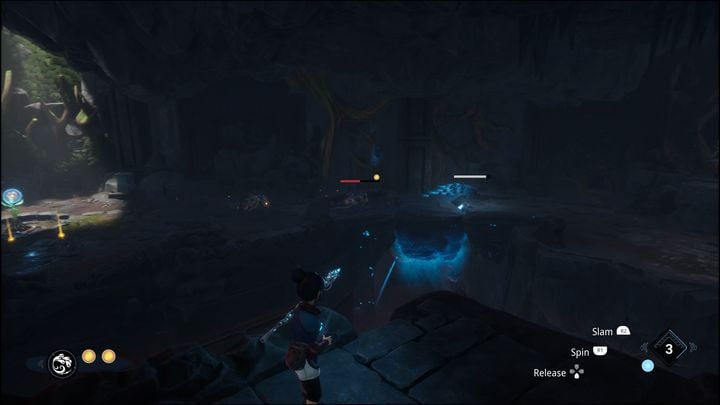
Head for the shrine. Cleanse it, then cleanse the flower to the left with Rot and your bow.
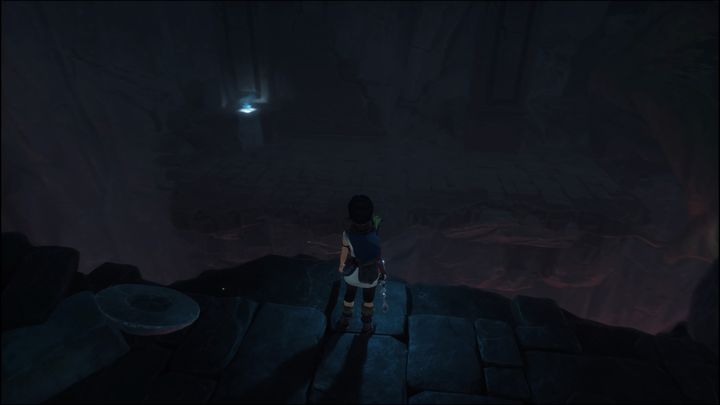
Keep walking, you'll arrive on the other side. Use the purified shrine, jump over the collapsed bridge and go down. Jump over the pit and grab the ledge on the left.
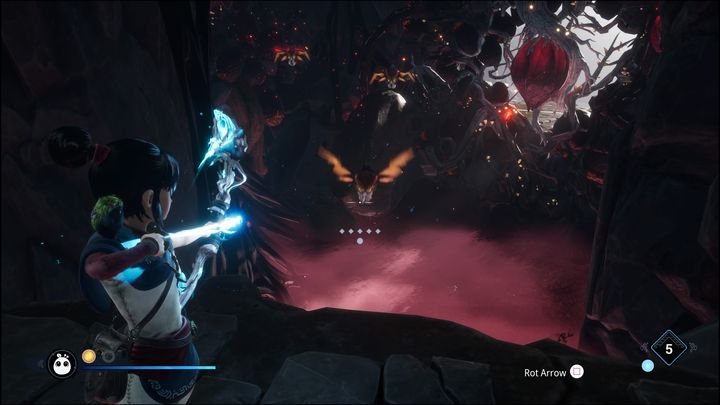
After jumping down from the edge you'll be attacked by four flying creatures. Shoot them down with your bow. Then throw the bomb at the glowing rocks.
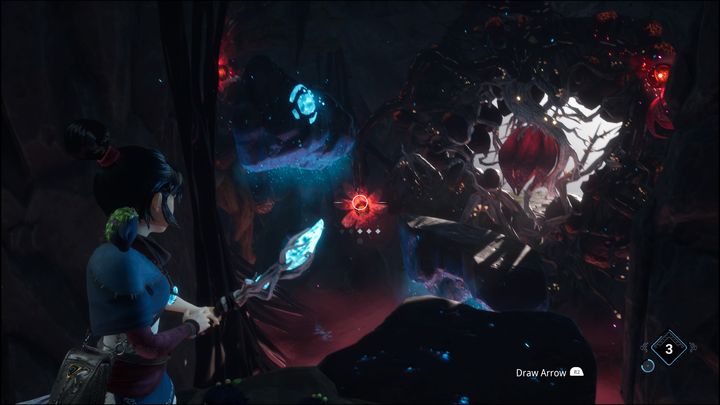
Once the platforms have formed, quickly shoot the crystal on the left, then jump onto the platforms while cleansing three smaller flowers, allowing you to purify the main flower on the right.
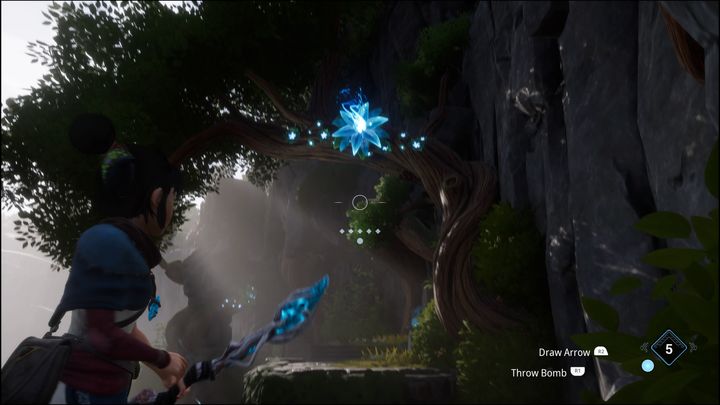
After doing so, go outside and head towards the blue flowers. Shoot them to get to the other side.
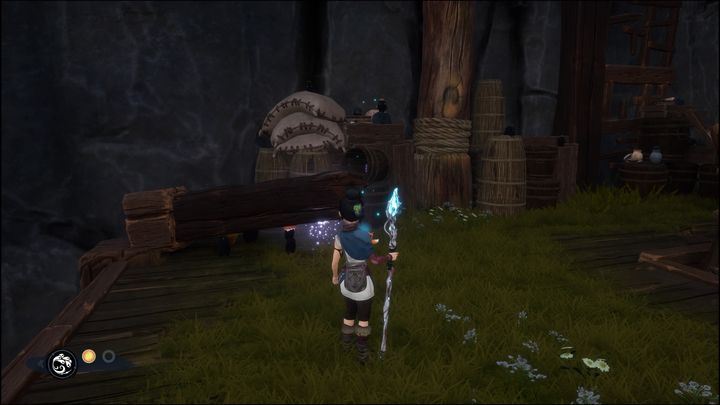
At the very end of the road you'll see an elevator, and a fallen wooden pole next to it. Use Rot to raise it a bit and find another Rot. Then use the elevator. Only one objective to complete the quest remains.
Rufus' Barn
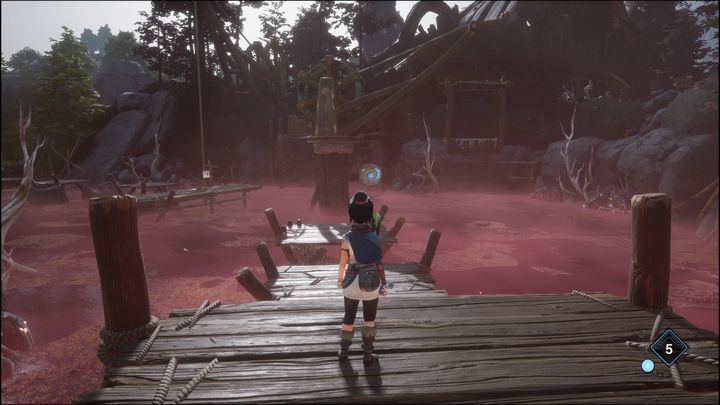
Heading towards Rufus' Barn, you'll see poisoned water. You won't be able to reach the other side until you use a platform on the right.
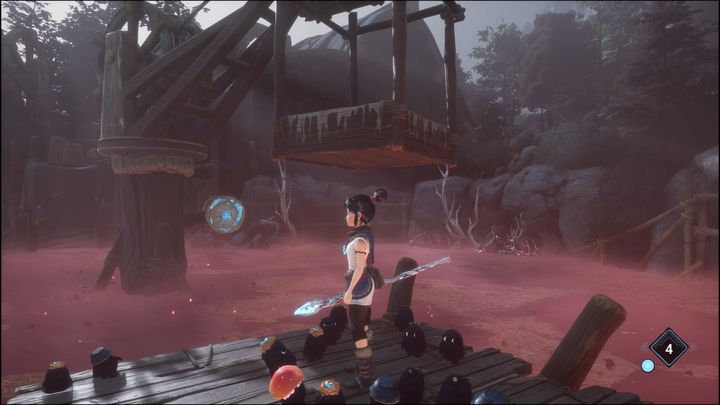
Shoot the shield with a blue crystal on it to activate the platform. Once it gets close to it, jump on it and grab the ledge.
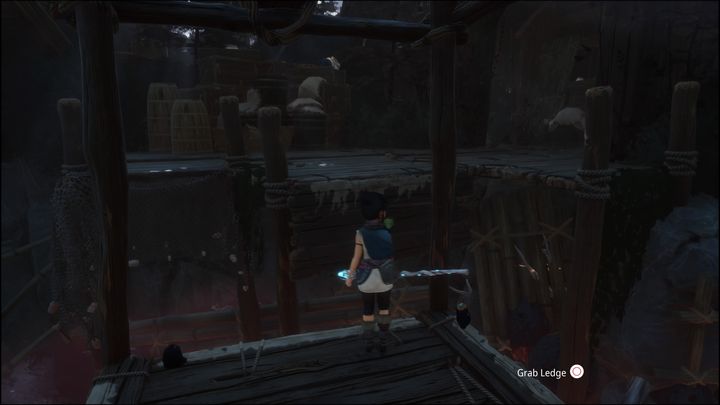
Before you jump down to reach the mission objective, wait until you're in the position shown in the picture. Jump to the other side and head right to open a chest containing Rot.
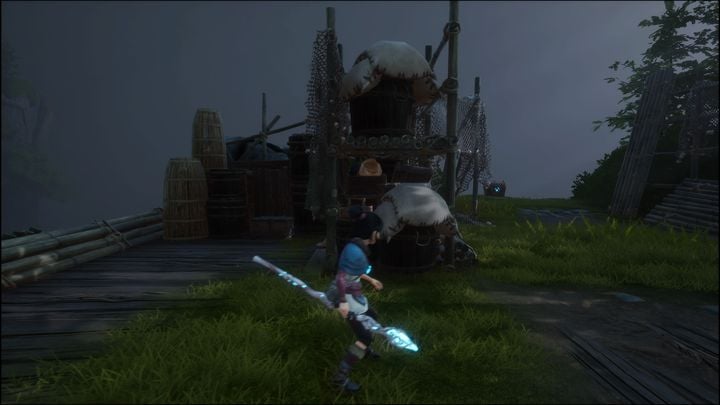
Then head the other way, jumping down onto the wooden platforms. As you keep going forward, you'll spot two chests with gems. Open them, then head right.
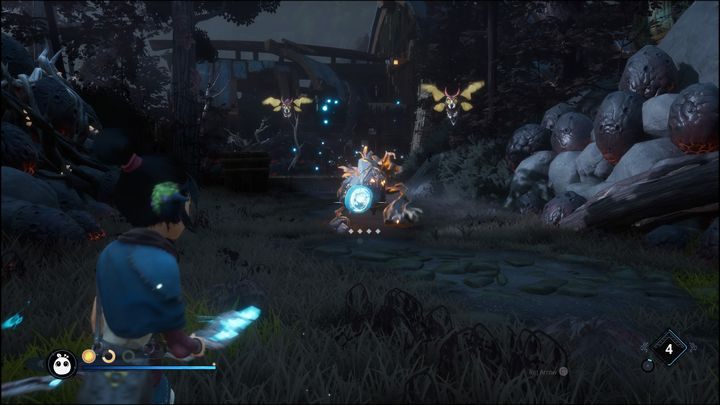
Proceed, and you'll be attacked by a new enemy. It's a small creature carrying a red bag. These enemies are walking, leaving bombs which detonate as soon as they get close to you. Shoot them from far away with your bow. A quick, uncharged shot is enough to deal with them. Once you defeat them, two flying creatures and a golem will appear - you need to kill it with a bomb, then an arrow.
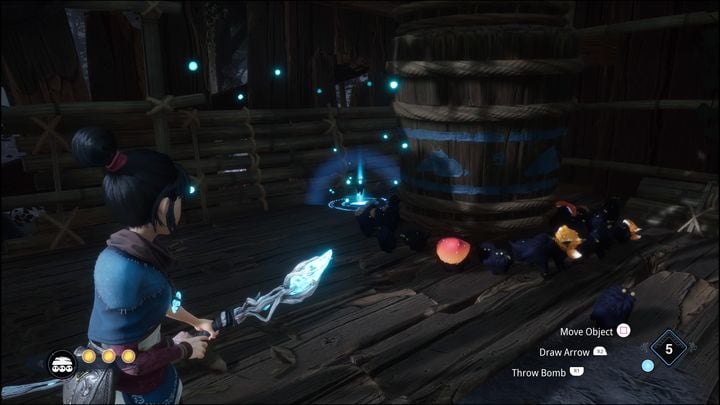
Defeat them and move on. You'll now be able to move some huge barrels. Place the tall barrel on the left, near the root.
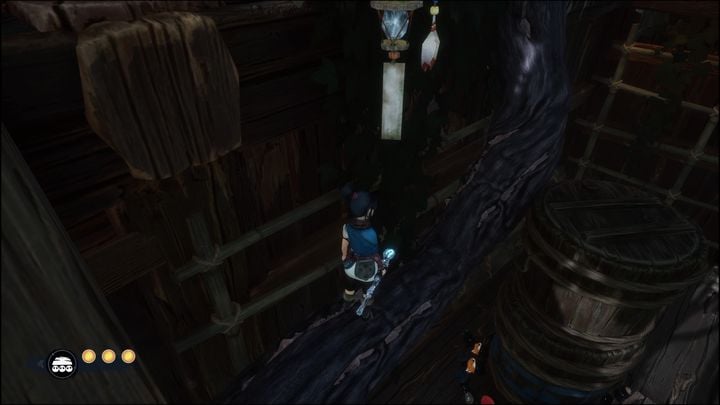
Then jump onto the root. In the spot shown on the picture jump onto the barrel, then jump onto the ledge and crab it, climbing up.
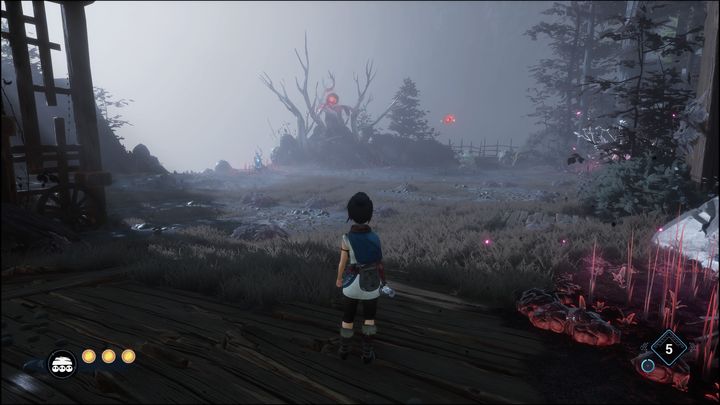
You'll encounter some enemies - once you defeat them you'll be attacked by a boss, the Vine Knight. The description of the boss fight is on a separate page of this guide.
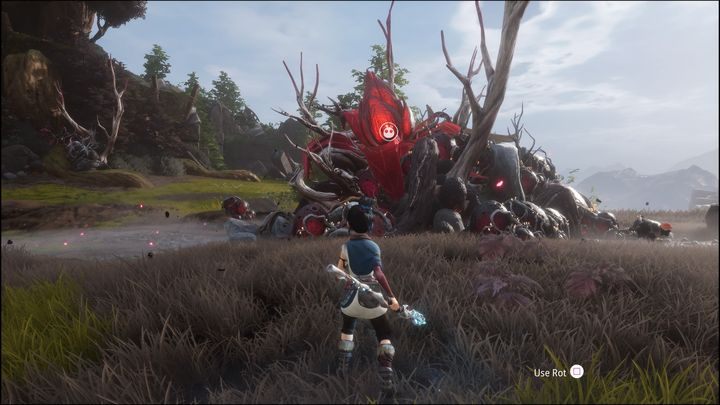
After defeating the boss you must approach the flower near the tower and use Rot and Pulse to cleanse the area. This concludes the quest.
- Kena Bridge of Spirits Guide
- Kena Bridge of Spirits: Game Guide
- Kena Bridge of Spirits: Walkthrough
- Kena: Bridge of Spirits: All missions - list
- Kena Bridge of Spirits: Tutorial - walkthrough
- Kena Bridge of Spirits: Help Taro - walkthrough
- Kena Bridge of Spirits: Find Rusu - walkthrough
- Kena Bridge of Spirits: Taro's Fear - walkthrough
- Kena Bridge of Spirits: Taro's Love - walkthrough
- Kena Bridge of Spirits: Taro's Regret - walkthrough
- Kena Bridge of Spirits: Free Taro - walkthrough
- Kena Bridge of Spirits: Help the Woodsmith - walkthrough
- Kena Bridge of Spirits: Adira's Love - walkthrough
- Kena Bridge of Spirits: Adira's Fear - walkthrough
- Kena Bridge of Spirits: Adira's Regret - walkthrough
- Kena Bridge of Spirits: Free Adira - walkthrough
- Kena Bridge of Spirits: Honor Adira - walkthrough
- Kena Bridge of Spirits: Help Toshi - walkthrough
- Kena Bridge of Spirits: Mask Maker Path - walkthrough
- Kena Bridge of Spirits: Warrior Path - walkthrough
- Kena Bridge of Spirits: Hunter Path - walkthrough
- Kena Bridge of Spirits: Free Toshi - walkthrough
- Kena Bridge of Spirits: The Sacred Mountain Shrine - walkthrough
- Kena Bridge of Spirits: Walkthrough
- Kena Bridge of Spirits: Game Guide
You are not permitted to copy any image, text or info from this page. This site is not associated with and/or endorsed by the developers and the publishers. All logos and images are copyrighted by their respective owners.
Copyright © 2000 - 2026 Webedia Polska SA for gamepressure.com, unofficial game guides, walkthroughs, secrets, game tips, maps & strategies for top games.
