Kena Bridge of Spirits: Help the Woodsmith - walkthrough
On this page of Kena Bridge of Spirits guide, you will learn how to complete the main mission, which is called Help the Woodsmith.
On this page of the guide to Kena Bridge of Spirits you'll learn how to get through the next main mission, Help the Woodsmith. The mission starts automatically after completing the Honor Taro quest.
After completing the short Honor Taro quest, which tasks you with honoring Taro at the Mask Shrine, you'll obtain another quest during which you must help the Woodsmith.
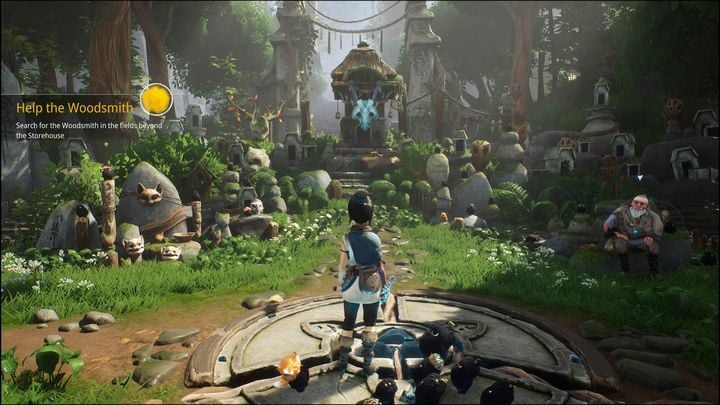
By getting a new mask, you will be able to progress to the deeper areas of the forest.
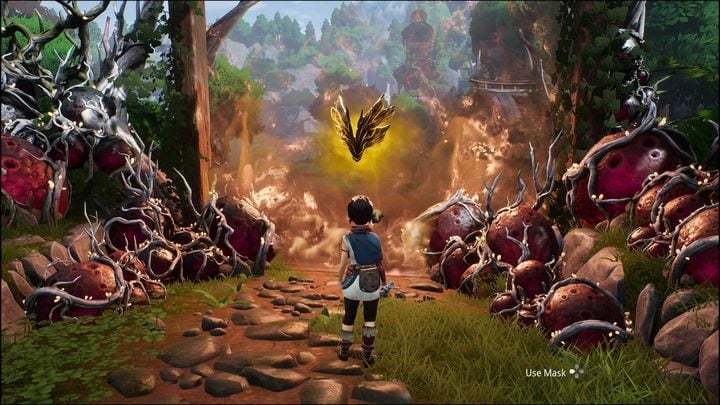
To do so, head to the location shown on the photo. Take advantage of the new mask you have acquired to reach the other side.
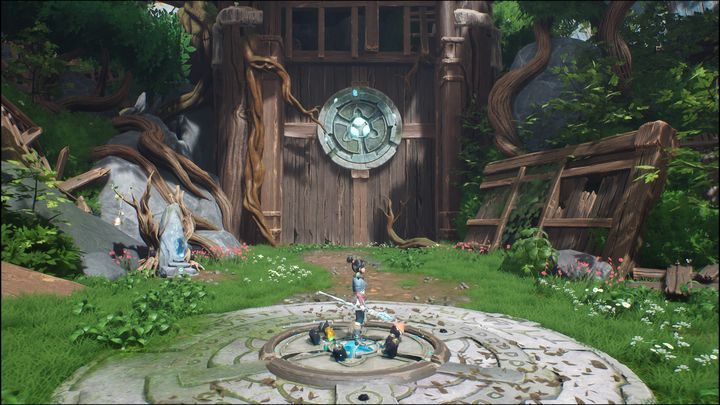
You must cross a large area, walking forward until you reach a huge, wooden gate with a crystal in its center. Get onto a platform and open the gate with Pulse.
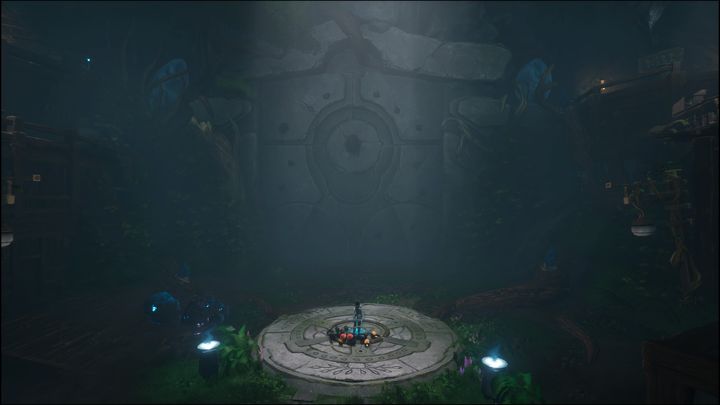
Go inside, stand on the platform and use Pulse again. A cutscene will start, after which you'll meet another NPC.
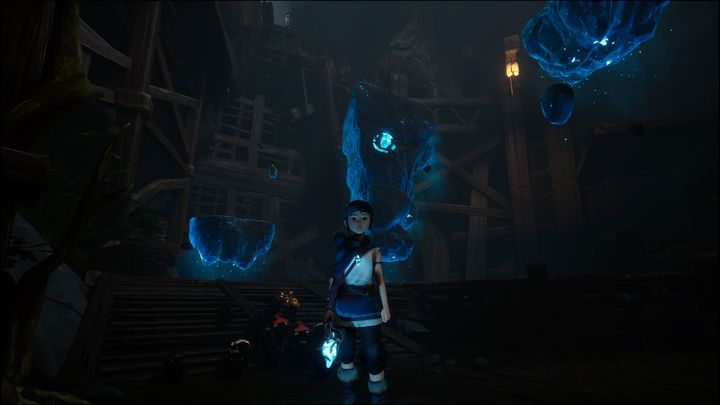
You'll receive bombs - a new weapon. Not only are they used in combat, they can also activate blue-glowing rocks. Once the bomb you throw at them explodes, they materialise into platforms you can jump across to reach new parts of the area. First, head to the rocks on the left and throw a bomb at them.
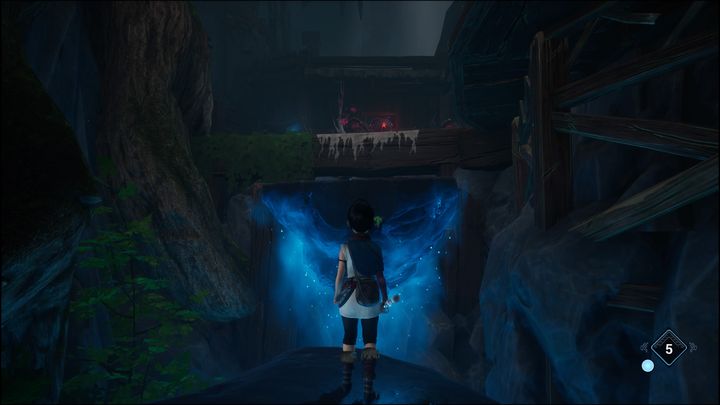
You can detonate the bomb by shooting it or by using Pulse. First stick the bomb to some rocks, once you jump onto them throw another one at the lower rocks to activate more platforms, which will lead you to the other side. You should know the platforms don't float for long, so you should hurry.
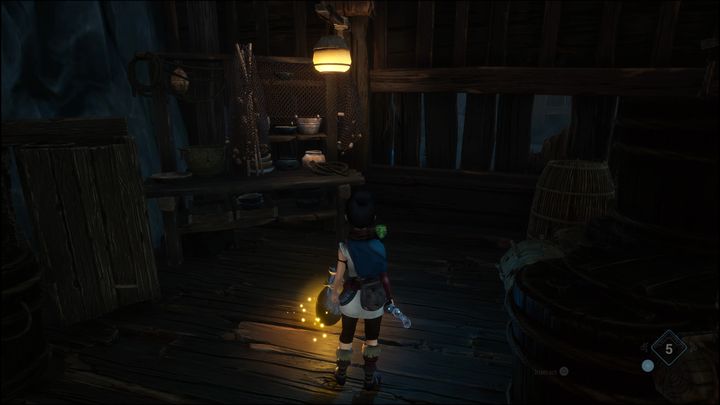
After grabbing the ledge and climbing up, you'll be attacked by three enemies. Stick a bomb to a land enemy and shoot it to cause an explosion, heavily damaging all foes. After defeating them, cleanse the flower and enter the building to pick up an item.
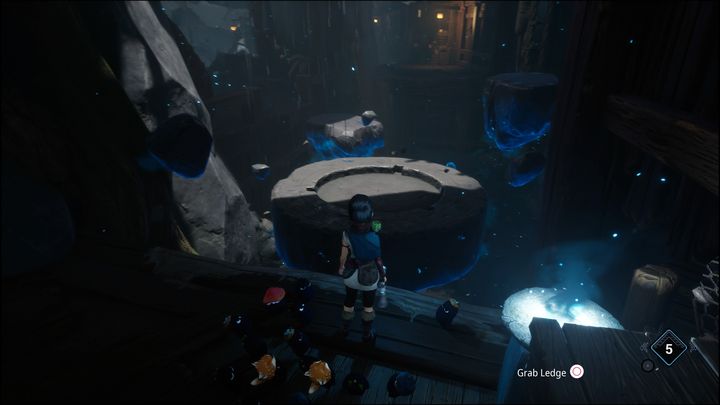
Leaving the room, go up the stairs. You'll see a pit with glowing rocks on the bottom. Once again, throw a bomb at them to activate the platforms. You'll find a chest with gems on your right and the way forward in front of you.
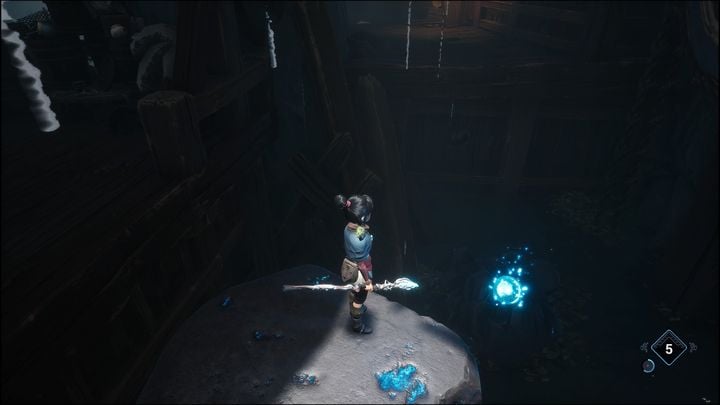
To get there, you must activate another rock. Throw a bomb and shoot it, then jump onto the platform and go on.
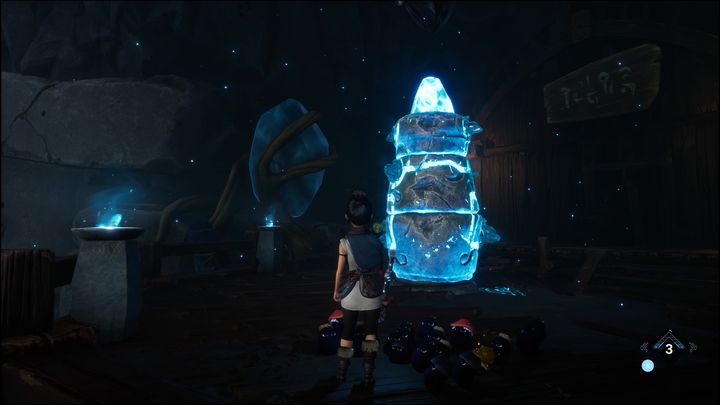
You'll see more rocks. They'll form into a single column made of three parts. To activate the crystal, you must arrange them into a single, matching piece. Shoot the lower crystal once, middle crystal once, and the upper crystal twice.
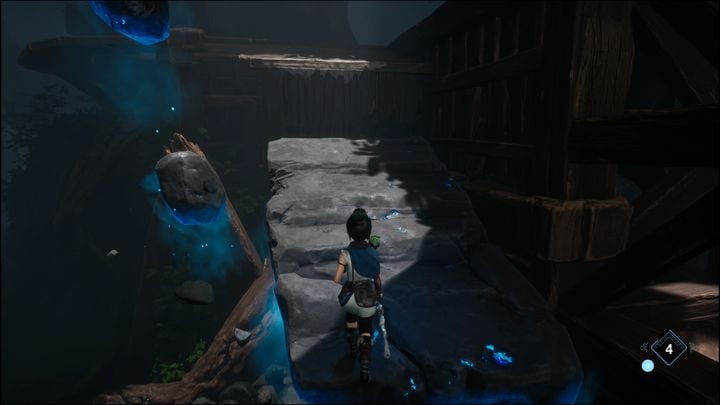
Now you need to get down and head the other way. Use the bomb to activate the rocks on the right. Climb the stairs, shoot the crystal to reposition the platform which should let you progress.
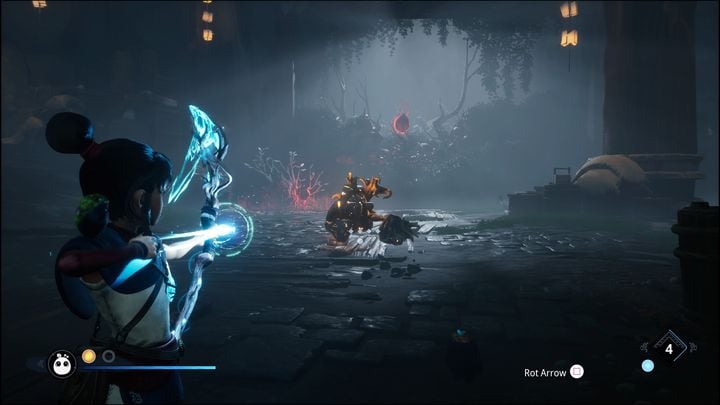
Keep going, then go down the hill. You'll encounter a new enemy. He's heavily armored and can only be killed by sticking a bomb to him. Once the bomb explodes, pieces of his body will scatter in several directions.
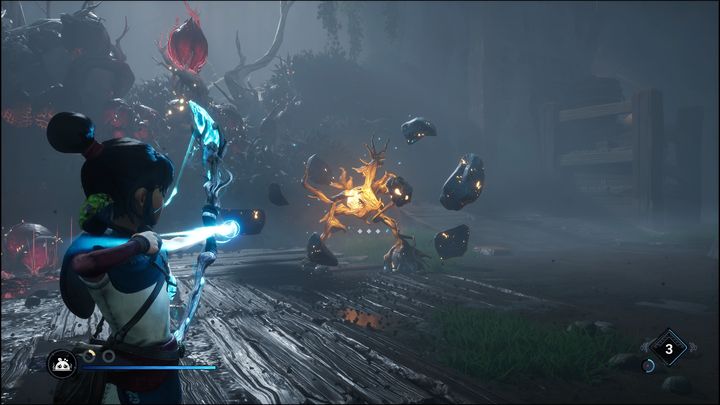
Once that happens, shoot his weak spot in the center of his body. An accurate shot will kill him. Some more identical enemies will appear, at the end of the encounter you'll by attacked by flying creatures as well. Get rid of them, preferably by using the bombs and the bow.
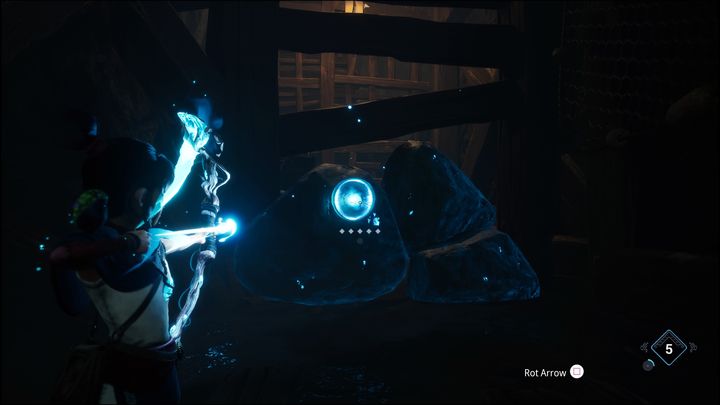
There are rocks on the right, throw a bomb and go inside where you'll find a chest with gems.
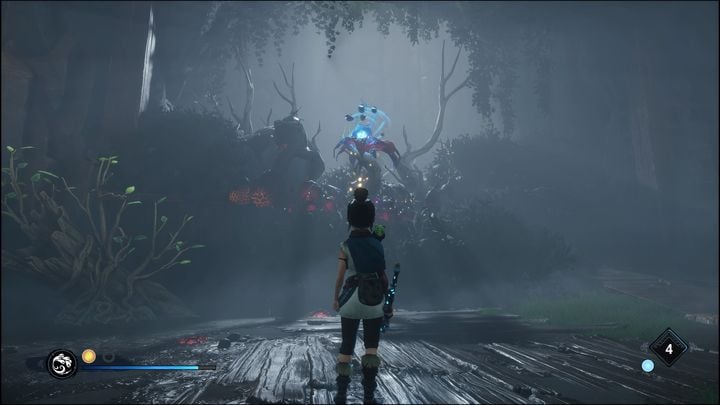
Then cleanse the flower, go up and throw a bomb at some more blue-glowing rocks.
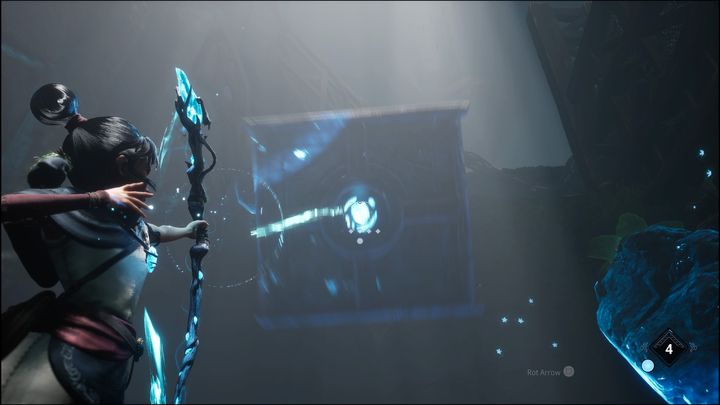
Once the platforms have formed, jump onto the two on the left, then the one in front of you, then the one behind you.
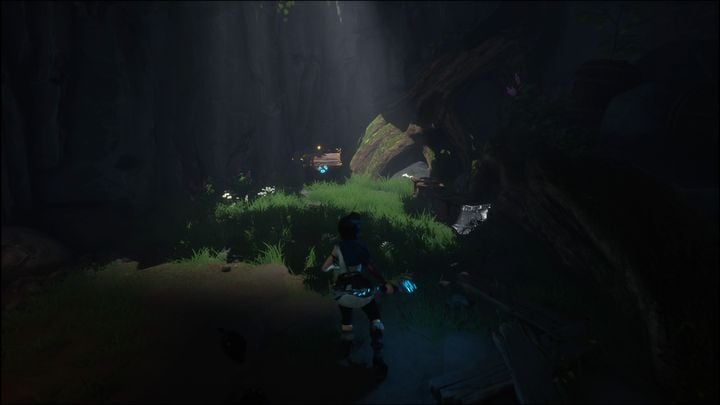
Behind you there's a chest with a Beetle Hat and a barrel of gems.
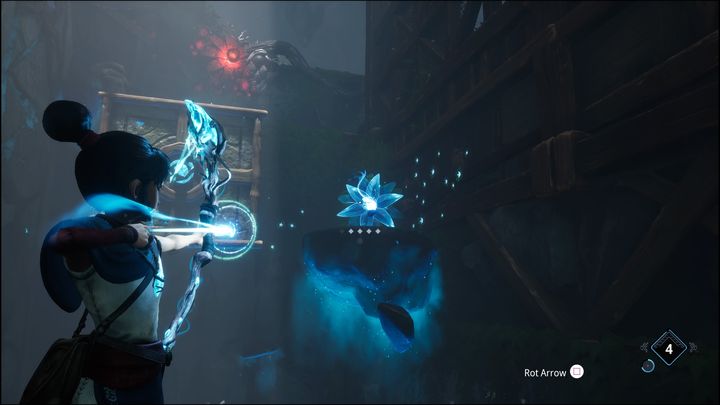
Turn around and shoot the flower, grappling yourself to the platform. Shoot the crystal of the next platform in front of you, get onto it, then grab the ledge on the right and climb up, purifying the flower beforehand.
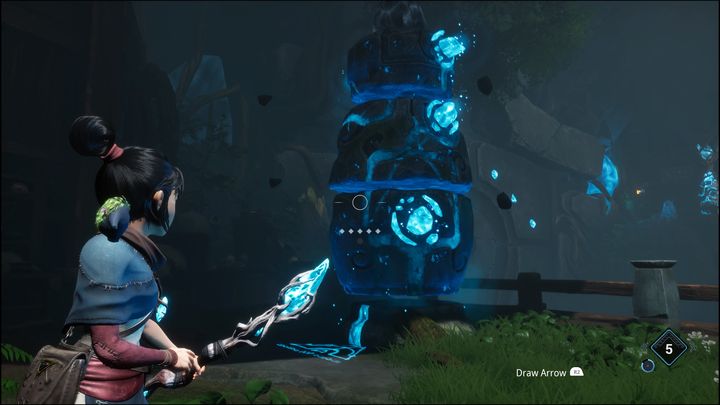
There's another crystal on the top, which will form together when you throw a bomb at the rocks. You need to shoot the lower part twice, the middle part twice and the upper part once. By doing so you'll activate the second crystal, which means you can open the way forward.
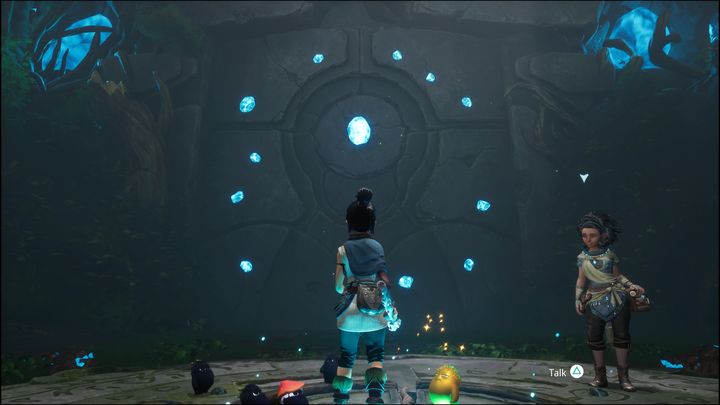
Go down, stand on the platform and use Pulse. The door will open, letting you proceed.
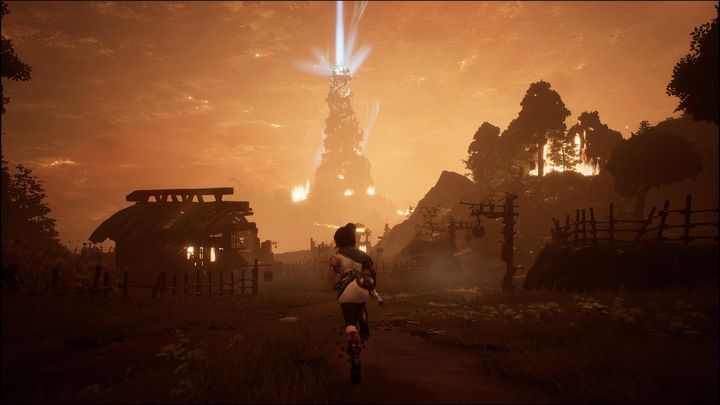
Your destination is the huge tower shown on the picture. Go there to finish the quest.
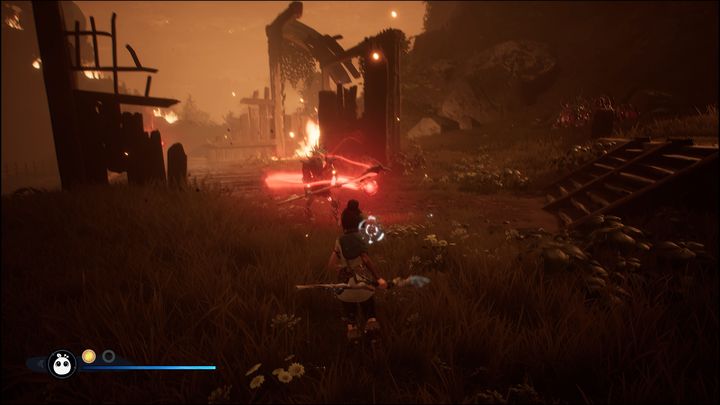
Be careful, you'll encounter some enemies on your way. There aren't many of them, so they shouldn't pose too big of a threat.
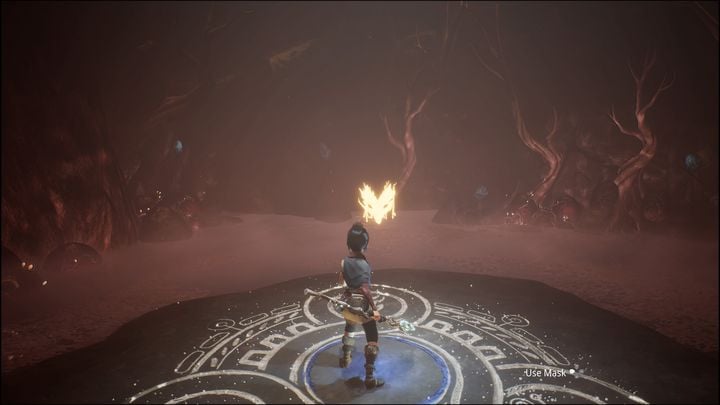
Once inside the tower, stand on the painting and use the mask. The following cutscene concludes this mission.
- Kena Bridge of Spirits Guide
- Kena Bridge of Spirits: Game Guide
- Kena Bridge of Spirits: Walkthrough
- Kena: Bridge of Spirits: All missions - list
- Kena Bridge of Spirits: Tutorial - walkthrough
- Kena Bridge of Spirits: Help Taro - walkthrough
- Kena Bridge of Spirits: Find Rusu - walkthrough
- Kena Bridge of Spirits: Taro's Fear - walkthrough
- Kena Bridge of Spirits: Taro's Love - walkthrough
- Kena Bridge of Spirits: Taro's Regret - walkthrough
- Kena Bridge of Spirits: Free Taro - walkthrough
- Kena Bridge of Spirits: Help the Woodsmith - walkthrough
- Kena Bridge of Spirits: Adira's Love - walkthrough
- Kena Bridge of Spirits: Adira's Fear - walkthrough
- Kena Bridge of Spirits: Adira's Regret - walkthrough
- Kena Bridge of Spirits: Free Adira - walkthrough
- Kena Bridge of Spirits: Honor Adira - walkthrough
- Kena Bridge of Spirits: Help Toshi - walkthrough
- Kena Bridge of Spirits: Mask Maker Path - walkthrough
- Kena Bridge of Spirits: Warrior Path - walkthrough
- Kena Bridge of Spirits: Hunter Path - walkthrough
- Kena Bridge of Spirits: Free Toshi - walkthrough
- Kena Bridge of Spirits: The Sacred Mountain Shrine - walkthrough
- Kena Bridge of Spirits: Walkthrough
- Kena Bridge of Spirits: Game Guide
You are not permitted to copy any image, text or info from this page. This site is not associated with and/or endorsed by the developers and the publishers. All logos and images are copyrighted by their respective owners.
Copyright © 2000 - 2026 Webedia Polska SA for gamepressure.com, unofficial game guides, walkthroughs, secrets, game tips, maps & strategies for top games.
