Kena Bridge of Spirits: Tutorial - walkthrough
On this page of the Kena Bridge of Spirits tutorial walkthrough you will learn how to complete the first tutorial mission.
On this page of the Kena Bridge of Spirits guide, you'll learn how to complete the first tutorial mission so you can get to the next stage of the game.
Beginning
The first thing you have to do is to choose a difficulty level. By default, the easiest level is at the top while the most challenging is at the bottom.
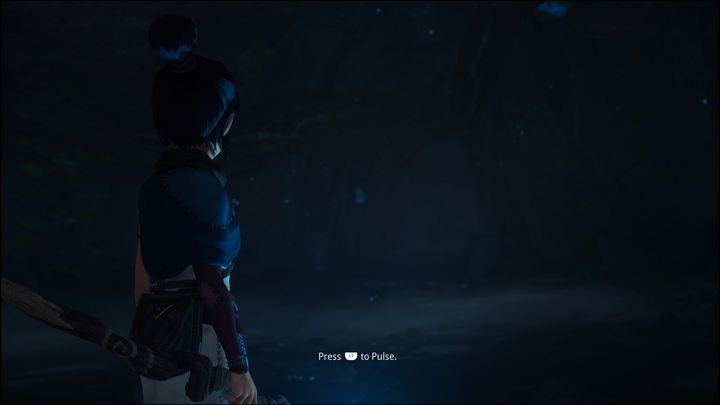
After selecting the difficulty level, you will see a short video after which you will control the titular Kena. Your first step will be to use Pulse to activate nearby lanterns. To do that, press the corresponding button (a hint will appear on the screen).
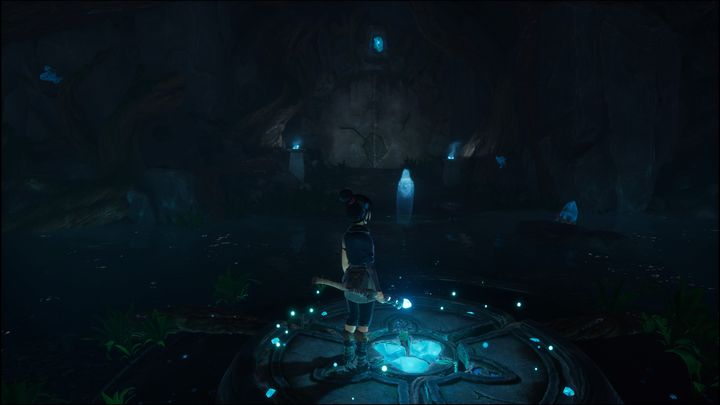
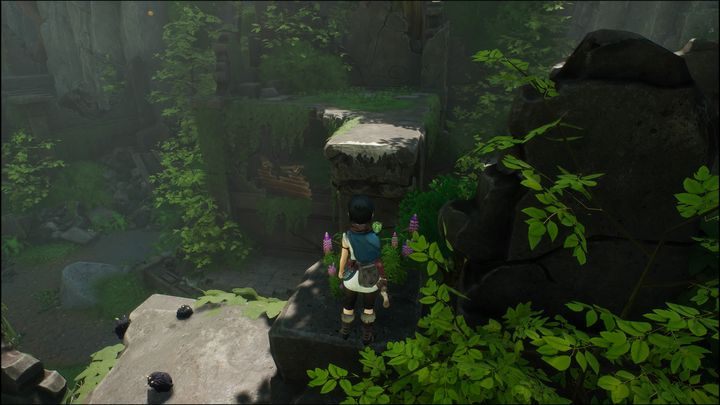
Then, follow the blue souls. You should reach the spot shown in the picture. Stand on the platform and then use Pulse. This will open the passage opposite you. Head there.
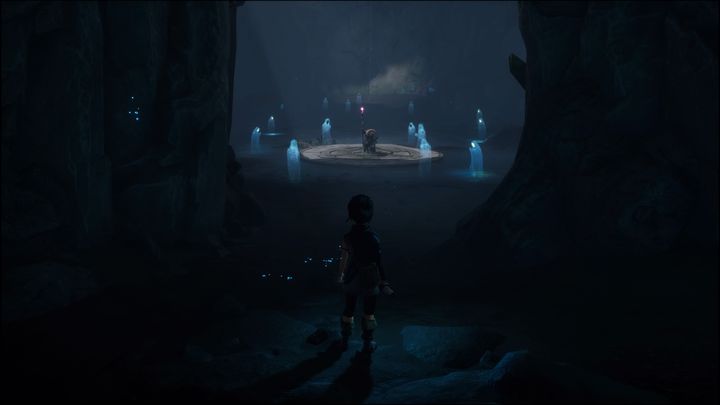
Once you get to the other side, you will see a figure in the distance standing in the middle of the circle. Approach it to trigger a cut-scene. After that, you will learn the basics of combat.
Combat basics
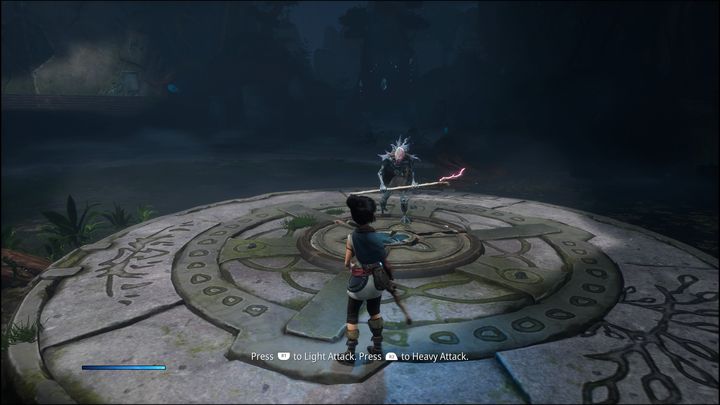
On the PS4/PS5 console, use R1 and R2 to attack the enemy. The enemy is very easy to defeat - you shouldn't have much trouble. R1 is used for quick attacks, usually ideal for defeating smaller opponents since you don't give them enough time to counterattack.
R2 activates a powerful attack that deals much more damage and knocks enemies off-balance. However, these attacks are much slower. They work best against a larger group of opponents or a single, more powerful enemy.
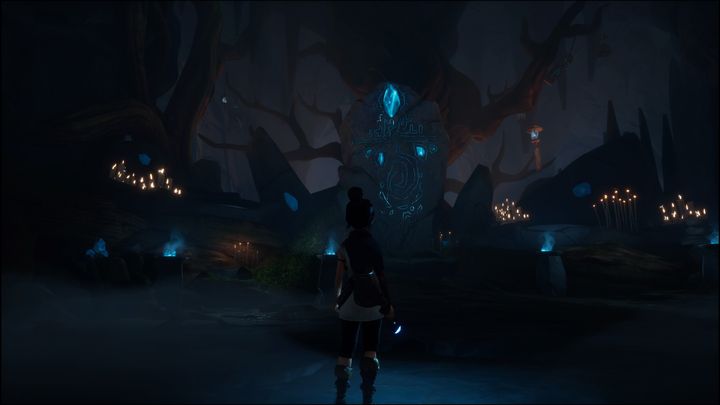
Pulse
After learning how to fight, you need to move out. On both the left and right are altars with crystals and inscriptions on them. They are near the tree. Your task will be to use Pulse near them to light them up.
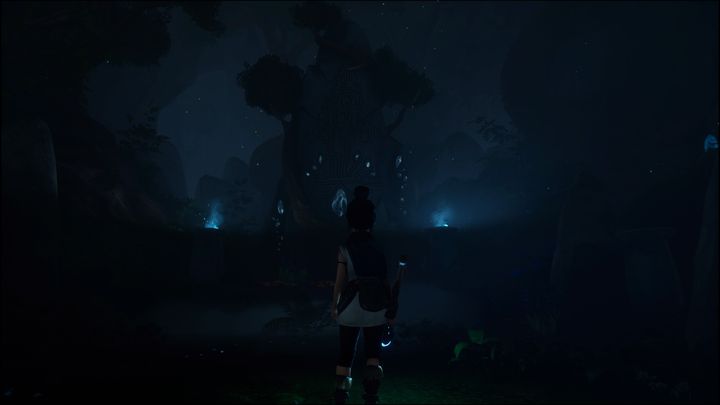
Go to each altar and light it up using Pulse. Then go to the middle of the room - you will find a platform.
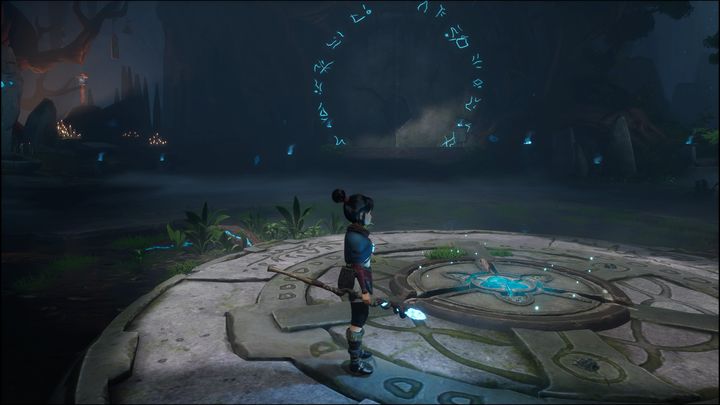
The runic characters should piece together. Head to the platform and use Pulse to open the passage.
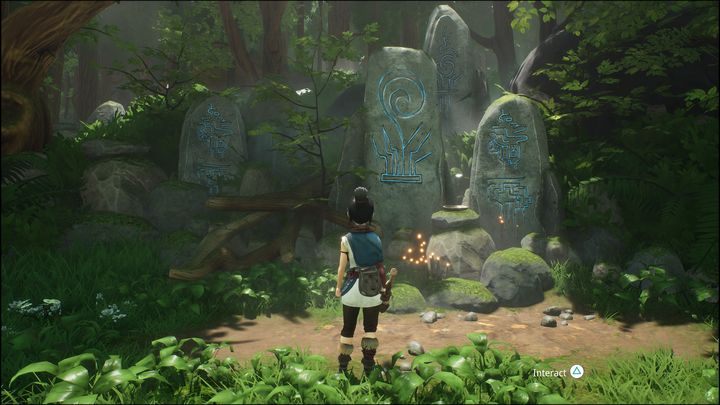
You should now be able to exit the Ruins. You can interact with the altar on the right, however, this will not do anything special. Head further - go under the collapsed tree to activate the next cut-scene.
1st Rot
Now you will have to find new friends - Rot. They are small, black creatures hidden throughout the forest.
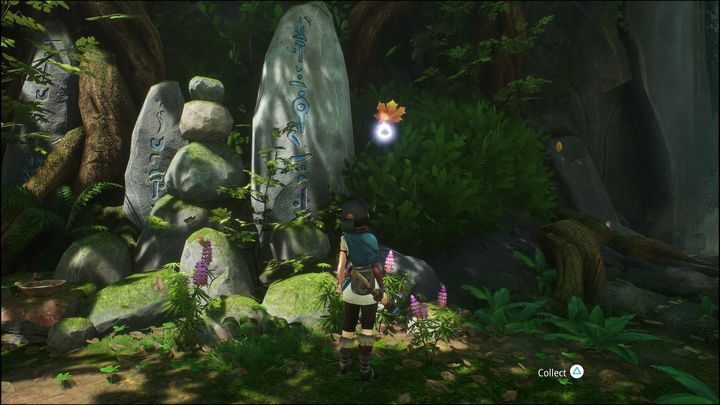
The first Rot will appear near the stones with runic inscriptions. The universal advice to finding Rot is that they glow blue and are tiny. Use Pulse near the stones shown in the picture, then collect your first Rot!
2nd Rot
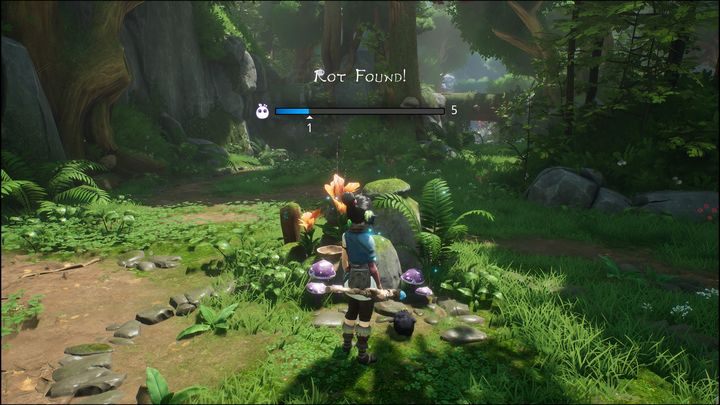
The next Rot will appear near smaller stones in the middle of the forest. To get there, you have to do a double jump - the path is blocked by larger rocks.
3rd Rot
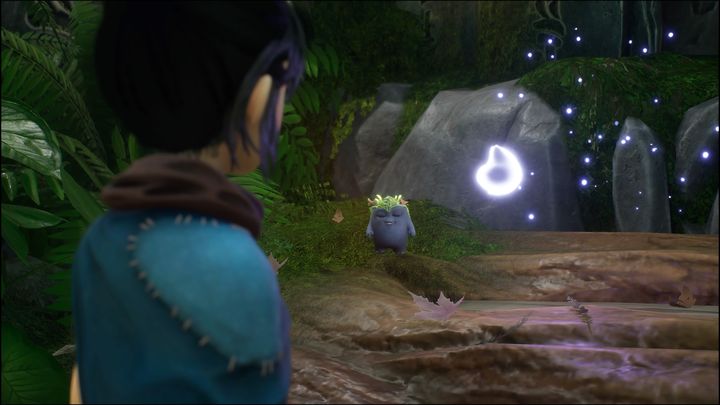
Another Rot will appear as you go up the hill. You should see an altar on the right. Use Pulse to discover Rot.
4th Rot
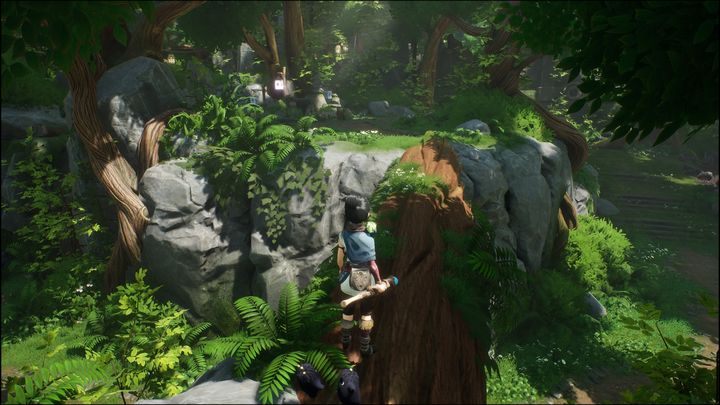
The fourth Rot will be located on the other side of the hill. You will have to walk on a wooden log.
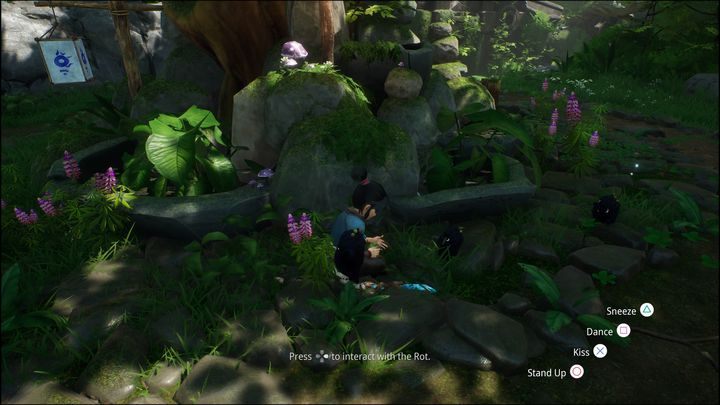
Then approach the stones close to the tree and lanterns. Use Pulse to discover Rot.
5th Rot
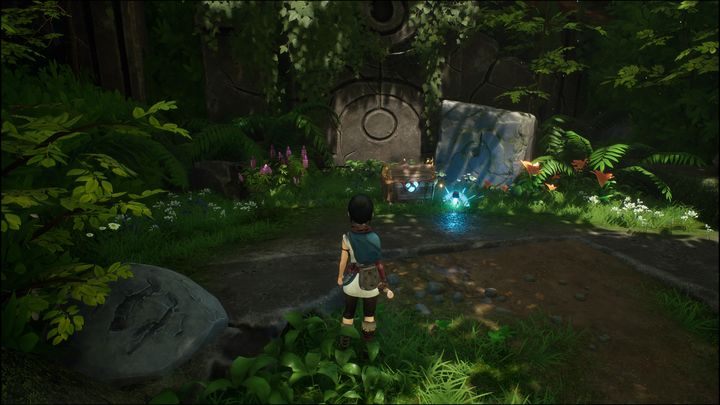
The penultimate Rot is located near the wooden box. To get there, head down from the hill you got to by walking over the wooden log - you will find a passage on the left. Then go down the stairs - you will see a chest with Rot.
6th Rot
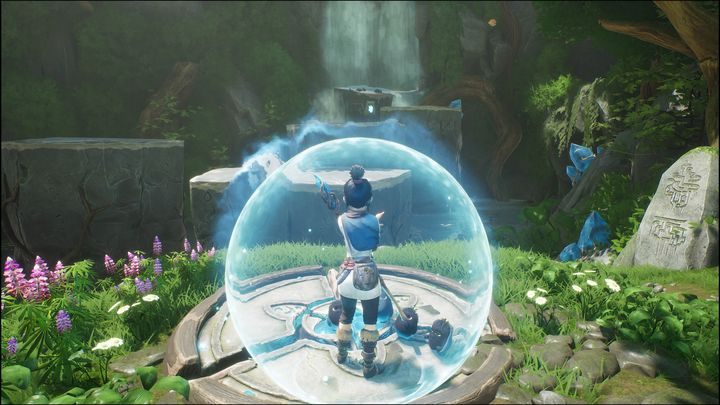
The last Rot is located behind the waterfall. To get to it, you must first descend to the platform and stand on it, then use Pulse. The light should bounce off the crystals on the right and change the position of the platforms in the water.
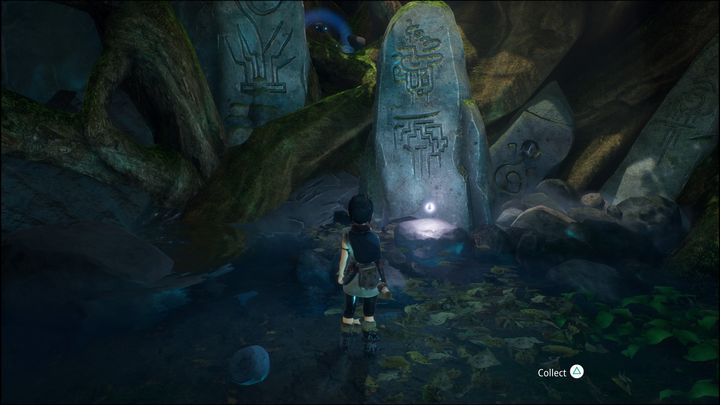
Climb the stone platforms that are in the water and walk behind the waterfall. There you will find a small altar that will contain the last Rot.
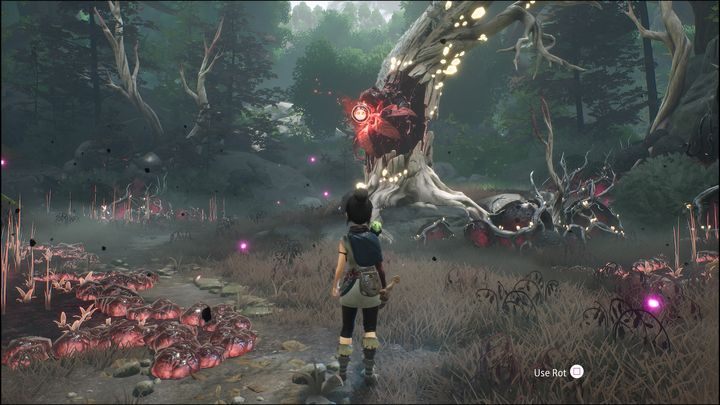
By finding the 6th Rot, you will level up and be able to use Rot skills. To do this, go to the infested forest shown in the picture. Then, use Rot's help by aiming for the red flower to clear the area. Once you have done this, press the Pulse button and head up the hill.
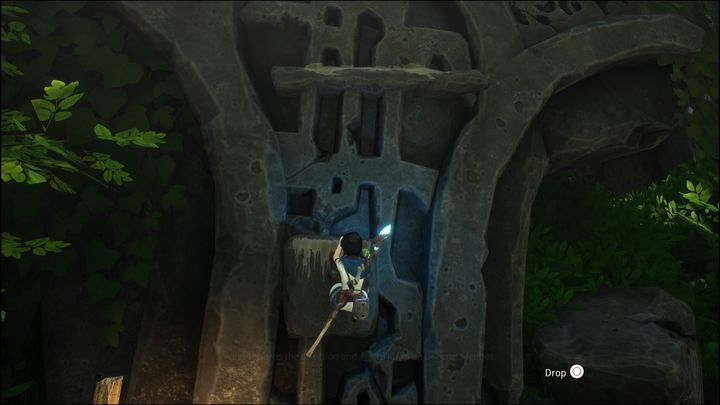
After reaching the top, you will have to fight more opponents.
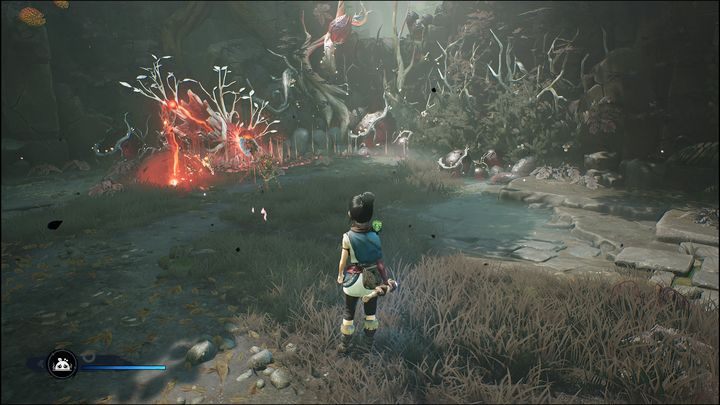
Your goal is to attack opponents to gain Courage - your Rot are too scared to help in the fight. You can gain Courage in different ways, depending on the difficulty level you set. However, the most standard way to gain Courage is to attack enemies. Courage Drops will fall out of them - pick them up with Pulse.
You can tell if you have enough Courage by the yellow icon above your health bar. Then you will be able to use the Rot abilities.
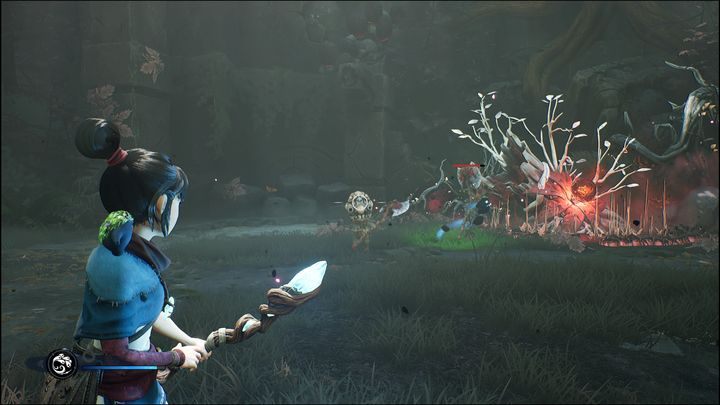
Use the Rot abilities to purify the forest. Then use Pulse. This will get rid of the corruption and let you access the next location.
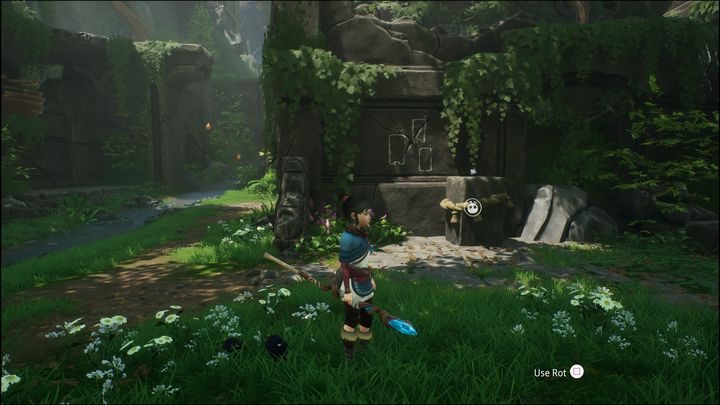
After clearing the forest, you will need to move a small block near the wall. Use Rot to do that.
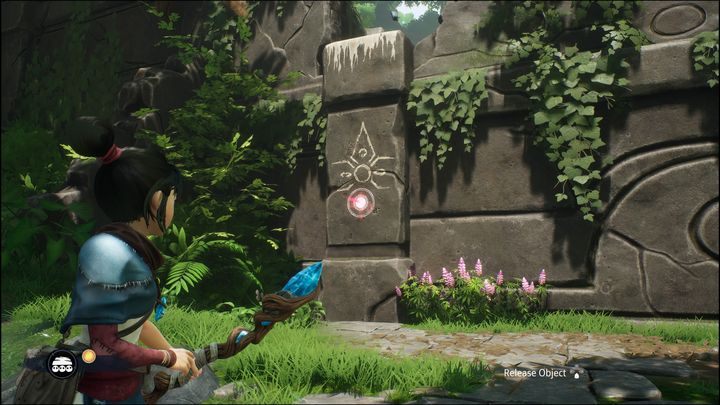
Then go to the left side and place the block in the spot shown in the picture. Lower it and then jump to the next level.
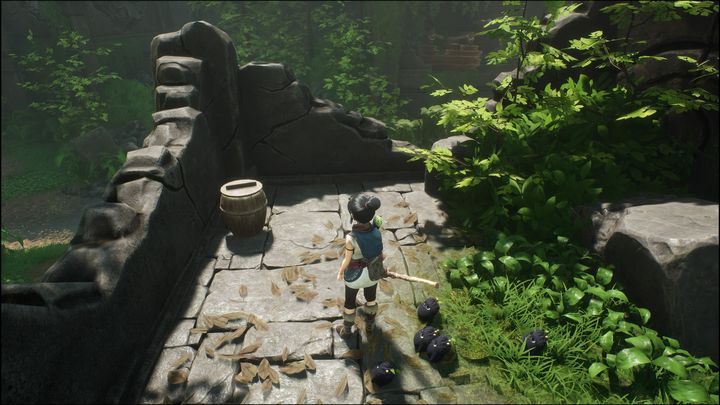
At the top, you will see a wooden barrel with currency - you can spend it on new hats.
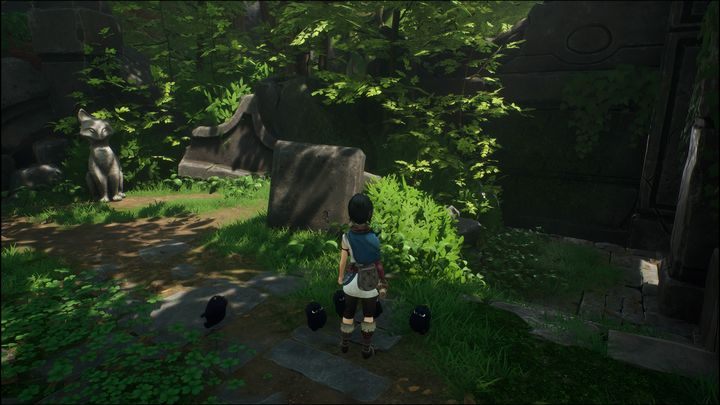
You can also pick up a cat sculpture not far from the barrel to gain more money. Call Rot to lift the sculpture and place it back to its spot.
Then jump to the other side of the hill and head ahead. You will face the first boss, Sprout. You can read more about Sprout on a separate page of the guide.
You are not permitted to copy any image, text or info from this page. This site is not associated with and/or endorsed by the Ember Lab or Ember Lab. All logos and images are copyrighted by their respective owners.
Copyright © 2000 - 2025 Webedia Polska SA for gamepressure.com, unofficial game guides, walkthroughs, secrets, game tips, maps & strategies for top games.
