Ghost of Tsushima Iki Island: The Lightning in the Storm - walkthrough
This page of the Ghost of Tsushima Iki Island DLC guide contains a walkthrough of The Lightning in the Storm quest. This guide explains how to defeat the boss Khunbish.
On this page of the Ghost of Tsushima Iki Island DLC game guide you will find the walkthrough of The Lightning in the Storm quest. From the following guide you will learn how to infiltrate Fort Sakai for the second time, how to win all the basic battles in the fort, how to free all the prisoners and how to win the boss fight against Khunbish.
- Quest rewards
- Meeting with Fune
- Travel to Fort Sakai
- Free the prisoners outside the fort
- Enter Fort Sakai
- Release the prisoners in the lower fort
- Defeat the Mongols in the upper fort
- Advance through the tenshu gates
- Boss fight - Khunbish
Quest rewards


You will obtain a very valuable reward for completing this quest, namely the Saddlebag. It's automatically placed on the character's mount and can be used to transport large quantities of items - ammunition and consumables. Once Jin runs out of supplies, you can hop on the horse to move the items from the bag to the main character's inventory.

Another unique reward is the Tribal Terror headwear - this is a set consisting of a helmet and a mask.
Additionally, you will get a sizeable bonus to your legend (XP) and Fort Sakai will become an allied location (the NPCs will offer their various services to you and fast travel will be available).
Meeting with Fune
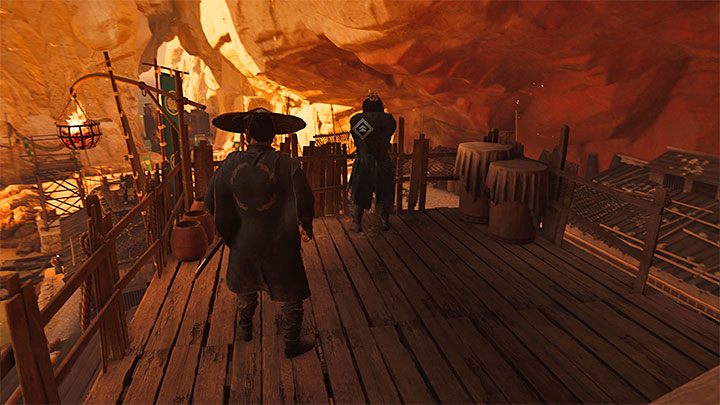
You will be able to do this quest after completing the Jin of Yarikawa tale. You need to talk to Fune at Fune's Refuge. The woman is standing on the balcony of one of the buildings in the raiders camp. You need to enter the building, use the ladder and reach the balcony from the roof. The conversation with Fune will be about capturing Fort Sakai in the absence of The Eagle and most of the Mongolian army.
Travel to Fort Sakai

Once again, you will need to head out to Fort Sakai. You won't be able to fast travel there, but you can select one of the nearby locations to shorten the journey from the raiders camp. As before, you must use the only accessible upper path leading to the fort gate.
Free the prisoners outside the fort

It is worth taking advantage of the fact that initially the Mongols won't be expecting your arrival and use stealth. You can eliminate single guards by surprise and then plan an attack on the large group of Mongols standing next to the prisoners.
No matter how you deal with the opponents, talk to the rescued raiders. They'll start following Jin and in the later part of the quest, you can expect many more allies to join you.
Enter Fort Sakai
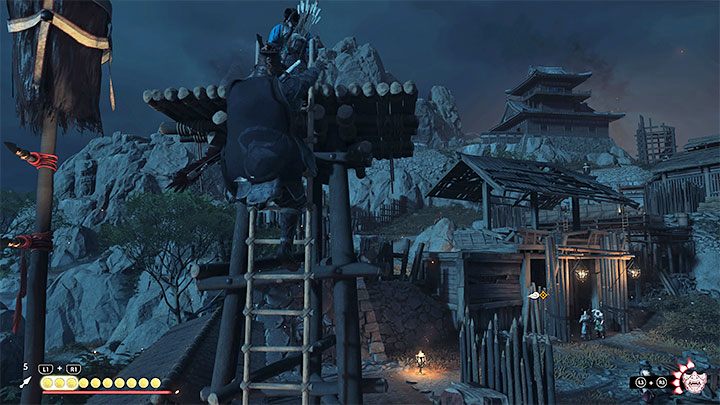
Despite having the first few comrades join you, the recommended tactic is still to remain hidden. We advise you to use a long bow to dispose of the archers from the observation points along the way to stop them from alerting the area. Alternatively, you can sneak into the towers and silently assassinate them.
Leave the two opponents standing at the lower gate to the fort for last.
Release the prisoners in the lower fort
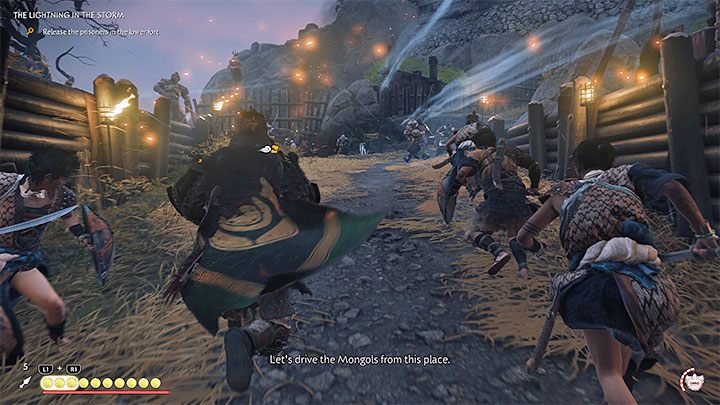
From now on, be ready to participate in direct fighting. As in the previous fights of this kind, try to focus mainly on eliminating enemy shamans so that they stop encouraging the nearby Mongols to fight. It's also a good idea to attack those enemies who are busy attacking other raiders.

Cages with prisoners are always marked - you can hold the R2 trigger to open them or destroy the gates by attacking with your katana. You don't have to hurry to open them, because the prisoners aren't in danger of death. They will simply be able to join the fight earlier.
Defeat the Mongols in the upper fort

A cut-scene should play depicting the opening of the gates and the trap set by the Mongols. Go to the new location, where the next battles await you. In this location, avoid coming into contact with fire and try to quickly eliminate the enemy archers in addition to the shamans.
In the next stage of the battle, seek out new shamans who haven't taken part in the previous battles. Quickly kill them at a distance or in melee.
Advance through the tenshu gates

You need to head for the next big fort gate. Once it opens, you will witness a new vision and you will encounter Khunbish - a boss that you will need to battle.
Boss fight - Khunbish
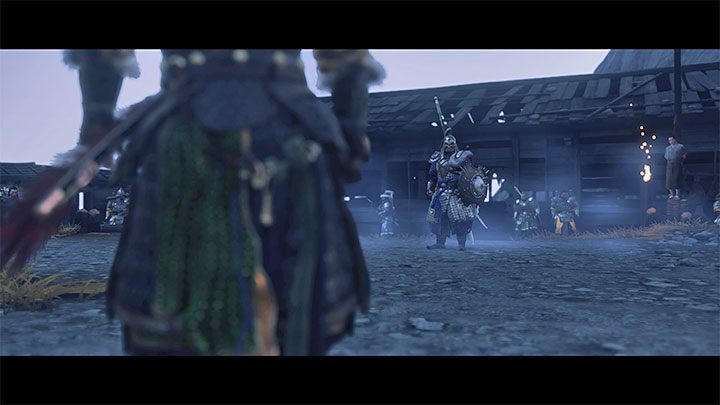
Khubish may prove to be quite a challenging opponent. By default, you should use armor that protects you well from receiving heavy damage, but if you have already completed the mythic tale The Legend of Black Hand Riku, you might want to consider wearing the Sarugami armor. It will help you win the fight faster by chaining perfect parries, but if you're not very good at perfect parrying, then the final effect may be the opposite of what was intended and the fight may become more difficult due to regular parries being disabled.

The key to surviving this fight is to react to the boss switching weapons by continuously changing Jin's current stance (hold the R2 trigger and press the stance button). Three options are possible:
1) Khunbish uses two swords to perform attacks - switch to the stone stance.
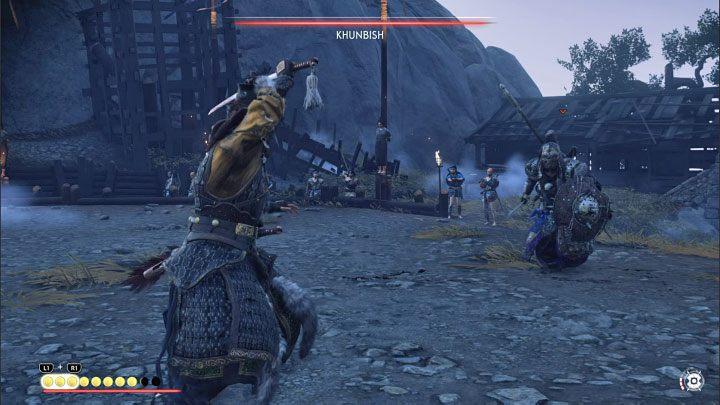
2) Khunbish uses a sword and shield - switch to the water stance.

3) Khunbish takes the spear off his back and begins to use it - switch to the wind stance.

Khunbish likes to chain attacks and these can be regular, blue or red attacks. The most problematic of course are the last two groups - you can (and should) parry the blue attacks, but the red ones can only be dodged.
If you don't want to take great risks, then after performing a simple dodge or parry, jump away from the boss so as not to be surprised by the next attack he chains.

The best way to quickly damage Khunbish is by performing perfect parries. If you have the Sarugami armor equipped as per our recommendation, then after each such action you will be able to perform 2 or 3 strong attacks, although even one perfect parry can significantly damage the boss.
If you take significant damage, then quickly move away from the boss and use Mental Fortitude to regenerate your health.
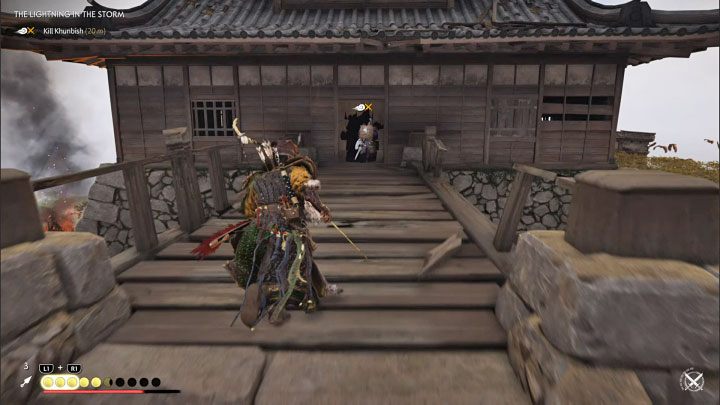
The battle against Khunbish won't end in the arena. Once the boss is on the verge of death, he will hurry to escape. Go after him by running into the building and using the ladder. Fortunately, the chase sequence is short. Once you reach one of the balconies, a cut-scene will play in which you will capture and eliminate the huge Mongol.
This quest will end once you talk with one of the raiders. From now on, Fort Sakai will become the new main base for the raiders. A new main quest will appear in the journal: Massacre at Kidafure Village.
- Ghost of Tsushima Guide, Walkthrough
- Ghost of Tsushima Iki Island DLC
- Ghost of Tsushima Iki Island: Walkthrough
- Ghost of Tsushima Iki Island: Main Missions
- Ghost of Tsushima Iki Island: Journey Into the Past - walkthrough
- Ghost of Tsushima Iki Island: A Lost Friend - walkthrough
- Ghost of Tsushima Iki Island: The Eagle's Cry - walkthrough
- Ghost of Tsushima Iki Island: A Raider's Return - walkthrough
- Ghost of Tsushima Iki Island: Jin from Yarikawa - walkthrough
- Ghost of Tsushima Iki Island: The Lightning in the Storm - walkthrough
- Ghost of Tsushima Iki Island: Massacre at Kidafure Village - walkthrough
- Ghost of Tsushima Iki Island: The Blessing of Death - walkthrough
- Ghost of Tsushima Iki Island: Main Missions
- Ghost of Tsushima Iki Island: Walkthrough
- Ghost of Tsushima Iki Island DLC
You are not permitted to copy any image, text or info from this page. This site is not associated with and/or endorsed by the developers and the publishers. All logos and images are copyrighted by their respective owners.
Copyright © 2000 - 2025 Webedia Polska SA for gamepressure.com, unofficial game guides, walkthroughs, secrets, game tips, maps & strategies for top games.
