Ghost of Tsushima Iki Island: Nakajima Shrine
This page of the Ghost of Tsushima game guide describes the location of the Nakajima Shrine on Iki Island, how to reach it and what rewards are in store.
On this page of the Ghost of Tsushima game guide, you will find description of the Nakajima Shrine located on Iki Island from the DLC. We inform you how to properly explore the different areas of Nakajima Island and what rewards can be earned for successfully reaching the Nakajima Shrine.
- Where is the Nakajima Shrine?
- Rewards for visiting the Nakajima Shrine
- How to reach the shrine - Nakajima Island
Where is the Nakajima Shrine?
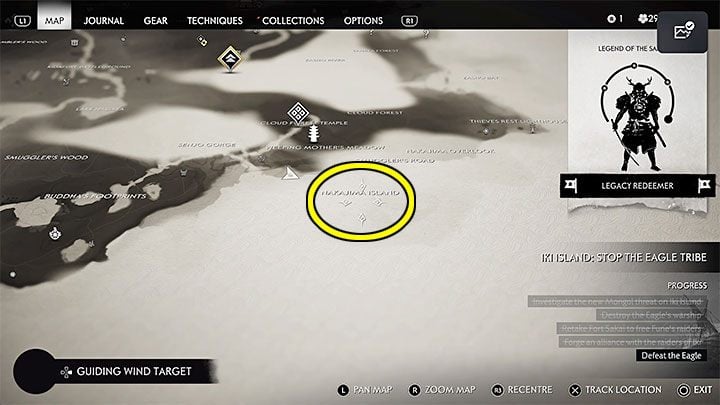
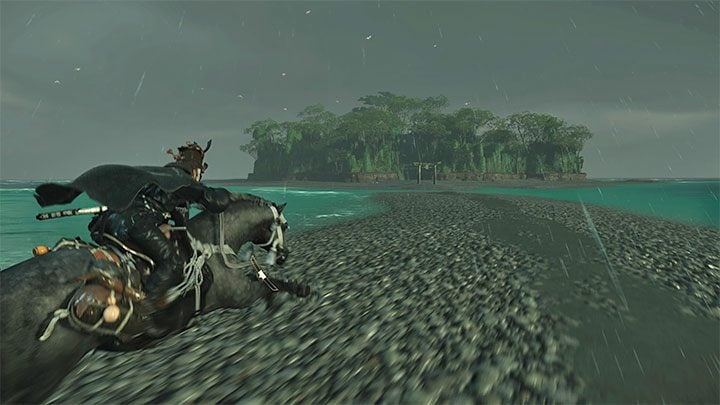
The Nakajima Shrine can be found on Nakajima Island located in the south-eastern part of Iki Island. There is a path leading to this place and you don't have to swim to reach Nakajima.
Rewards for visiting the Nakajima Shrine
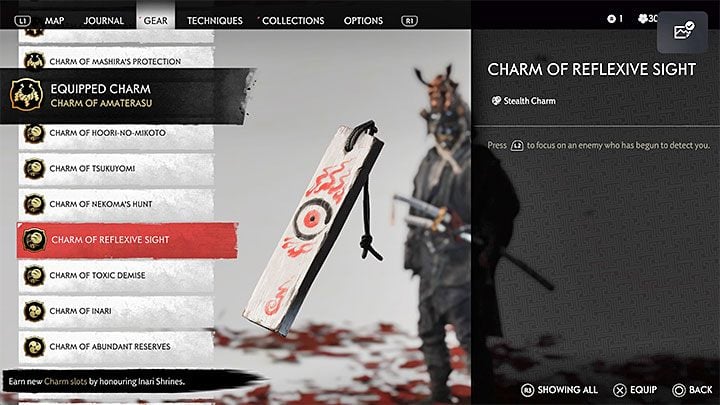
You will obtain 2 rewards for reaching the shrine:
- Stealth Charm - it allows you to quickly focus on the opponent who noticed Jin.
- Wax Wood x1
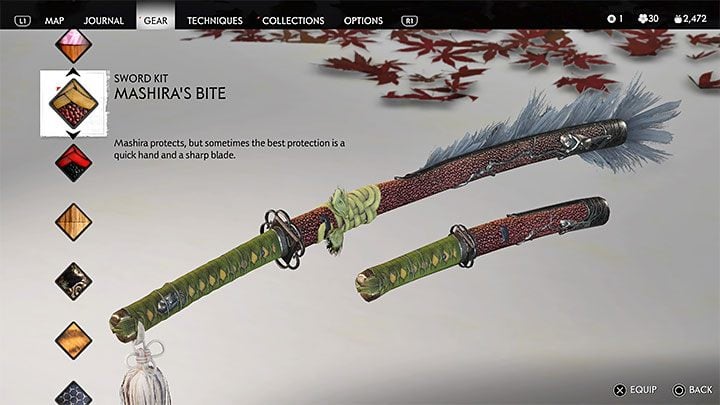
While exploring Nakajima Island, you can also find other treasures, the most valuable of which is the sword decorating kit (Mashira's Bite).
How to reach the shrine - Nakajima Island
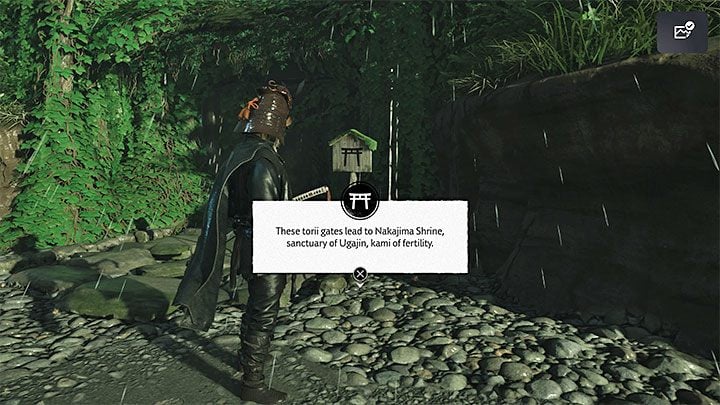
Start your journey near the sign that informs you about the Nakajima Shrine nearby. You must slip between the rocks right behind it.
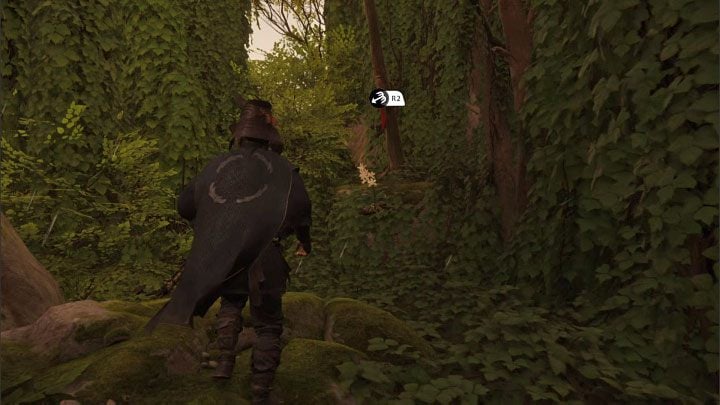
Follow the linear path through the forest, which will lead you to another narrow passage between rocks.
In the next area, latch onto the hook on the tree- hold R2 and then L2 to start pulling the rope towards you. This will cause the tree to fall.
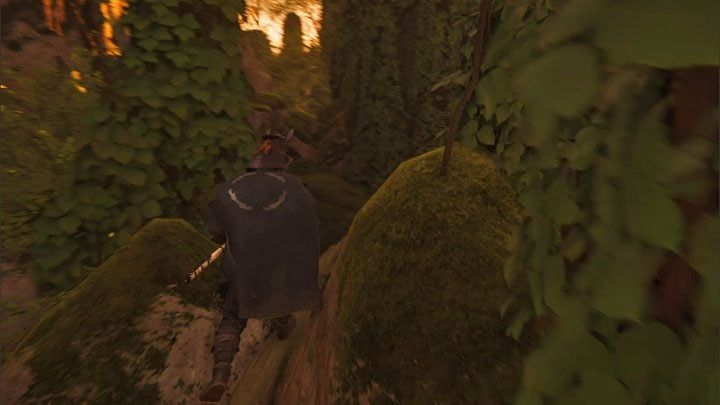
Climb onto the tree and immediately turn left. Here, you will find another passage, which is pictured in the attached screenshot.
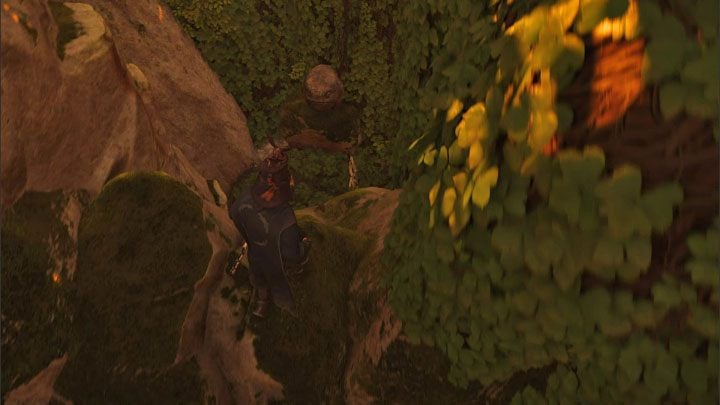
A bit further, you can optionally jump to the lower area from the screenshot, where the Sakai Banner can be found - one of the DLC collectibles. However, obtaining this secret is not required to reach 100% completion in the shrine.
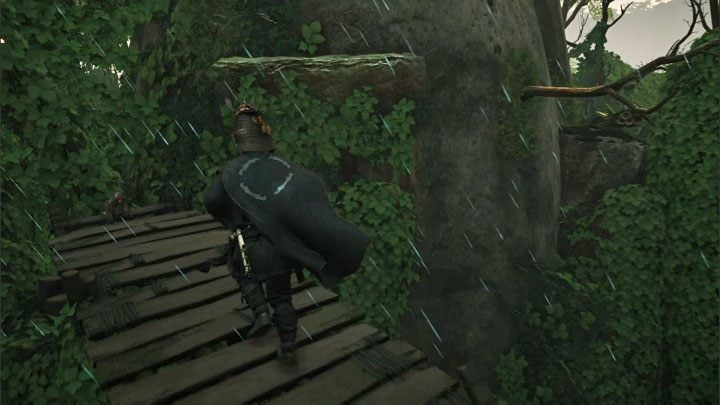
Continue your journey. You need to reach another location where Jin can jump to the interactive edge. Move as far as possible to the right, jump on the branch and after climbing up, jump again.
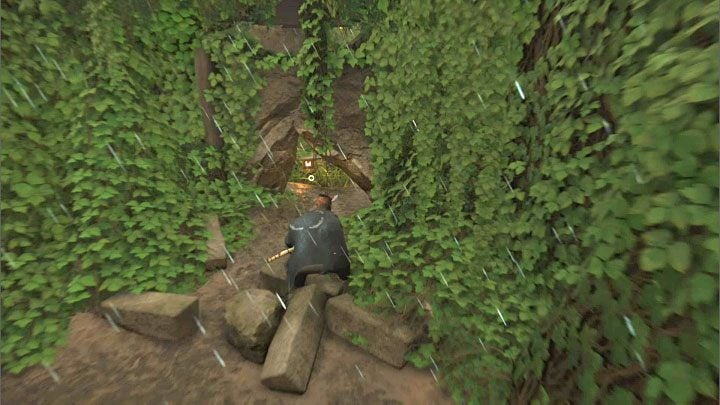
Eventually you will reach a place with a small pool of water. Check the hole pictured on the screenshot, which you will have to slip through.
Directly ahead of the hole exit, you will find another optional secret - the Mashira's Bite sword kit.
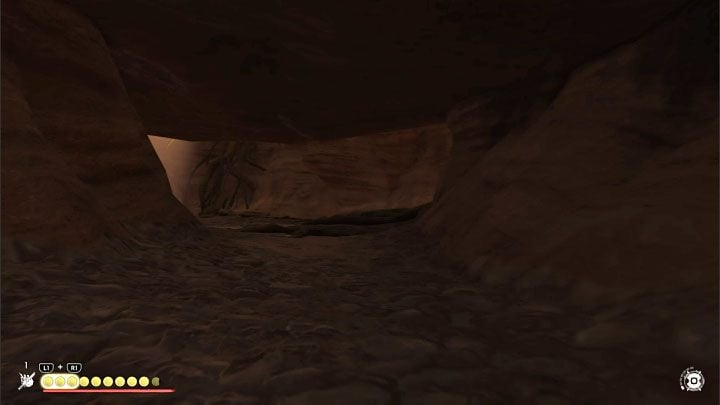
To the left of the sword kit, there is another hole you can slip through. This time, you will end up in a small cave and the game will switch to the FPP. Fortunately, you don't have to worry about getting lost along the way.
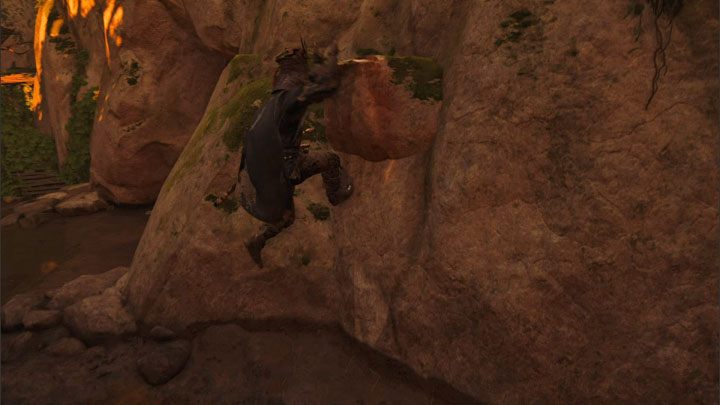
After climbing out of the cave, go to the left and check out the nearest interactive edges that will let you start climbing.
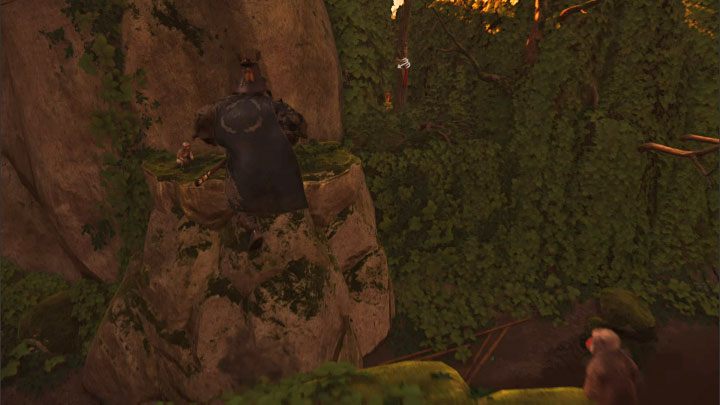
After climbing up, turn around 180 degrees and jump to the next high ledge, where one of the monkeys should be.
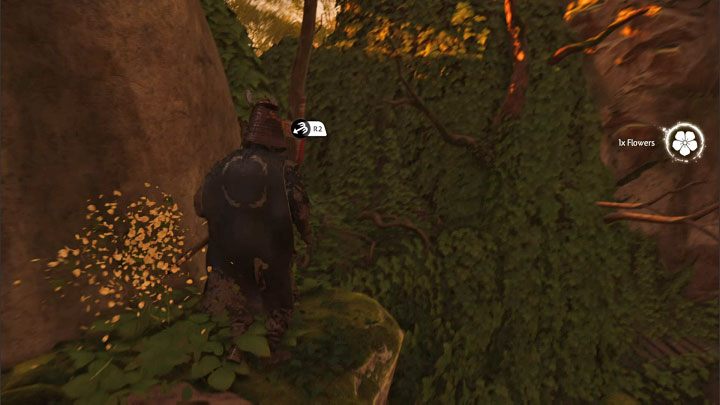
Latch onto the hook to the right pictured in the screenshot with the grappling hook. Hold R2 and then L2 to knock down the tree and make it possible to jump on trees. The final jump in this section will allow you to grab onto the interactive edges on the vertical wall.
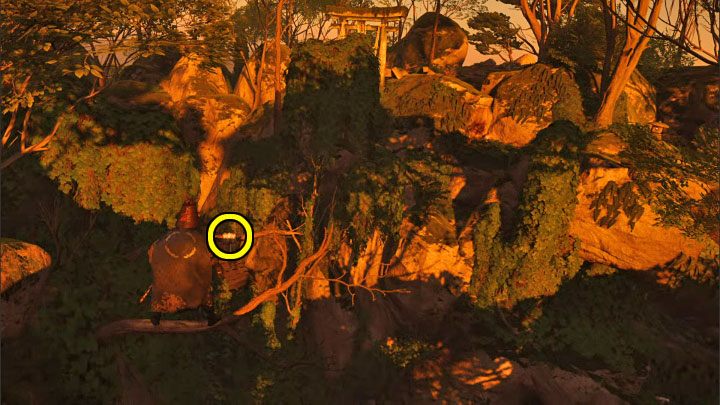
Jump to the higher edges, then jump towards the protruding branch.
Stand on the branch in the position pictured in the screenshot above. You must jump towards the marked hook and latch onto it in mid-air bypressing R2. Swing on the ropes and land on a remote wooden path.
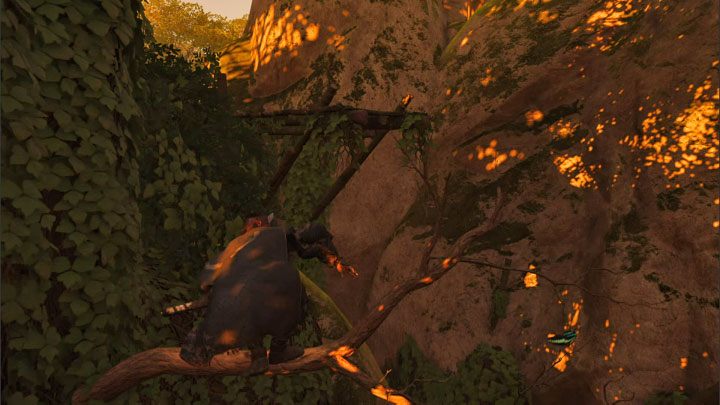
Ahead, you will find another protruding branch, to which you can jump. Pull yourself up and jump to the protruding top ledge (note: the game might not let you grab it if you jump at the wrong angle - aim at its side).
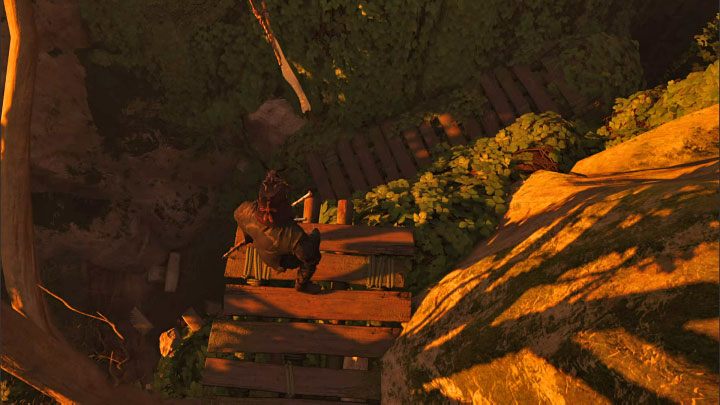
Run along the boards and after reaching the other end of this ledge, jump down to the lower path.
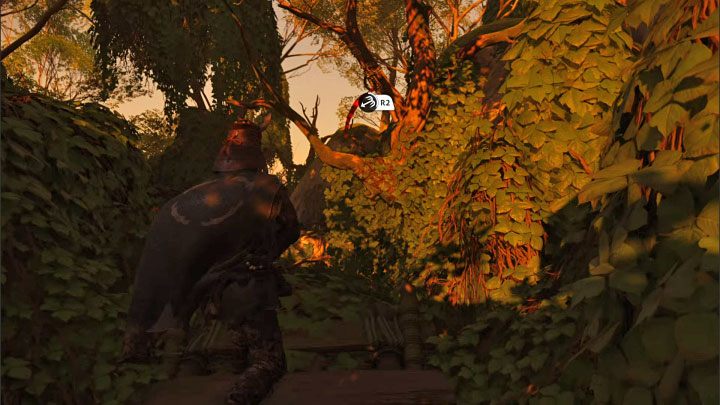
You will reach a new hook, which you need to pull, i.e. first hold R2 and then L2. After you knock the branch down, jump on it. Make a long jump towards the nearby lower branch and then jump to a new path.
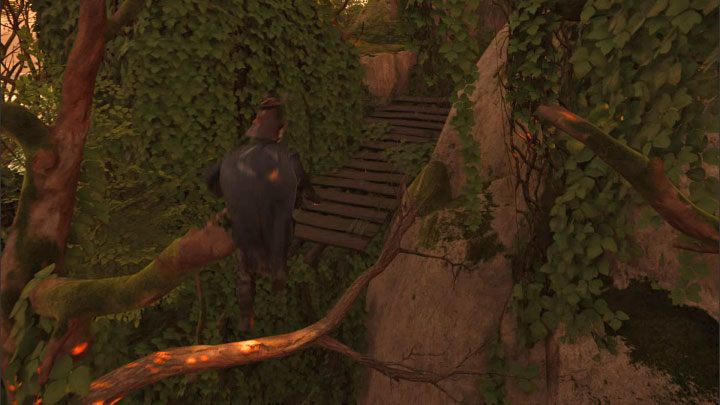
A little further you need to jump on another branch. You will have to jump two more times (the last jump is made towards the boards shown in the picture) and before each jump, turn the camera to the right.
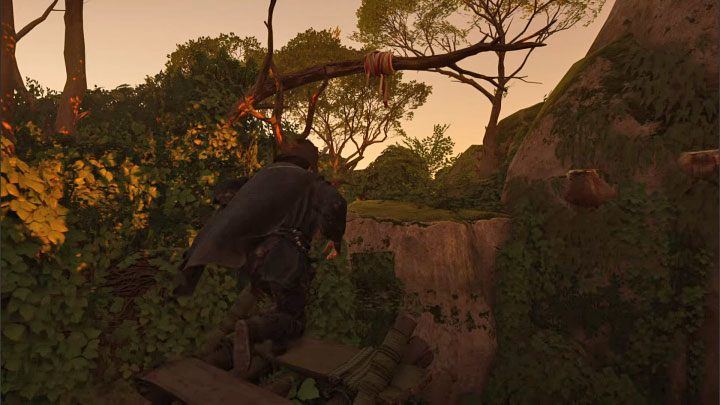
Reach the location pictured in the screenshot, where you can latch onto the upper hook. Swing on the rope and jump to the next ledge. To its right, you'll find more interactive edges, which you can grab and move sideways and as well as upwards.
Along the way, you might see one of the visions. If you don't want to make an avoidable mistake because of the limited field of view, then wait a bit until it stops.
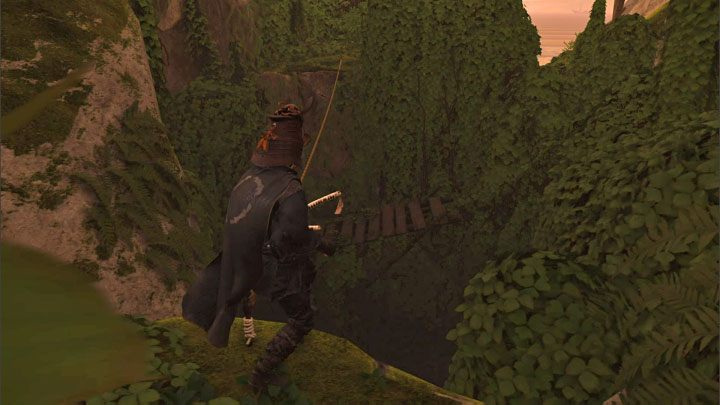
Go as far as possible to the right, where you can lower yourself on a rock ledge. Explore the obscured left area - the main character can walk on a rope here, and then on a downed tree.
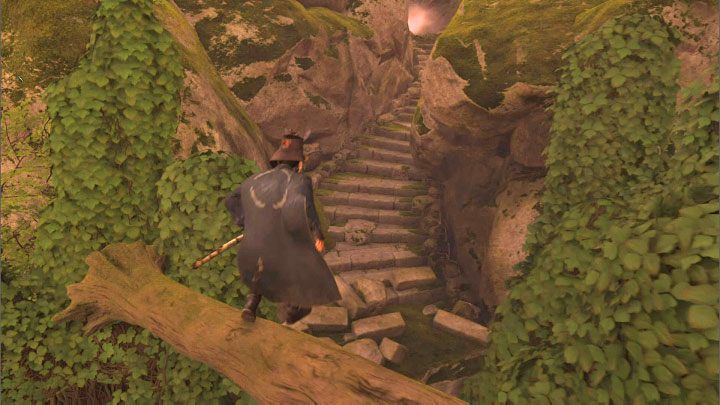
Turn right and jump towards the stone steps. Take the linear path that involves slipping through the hole. The FPP mode will be activated for a few seconds.
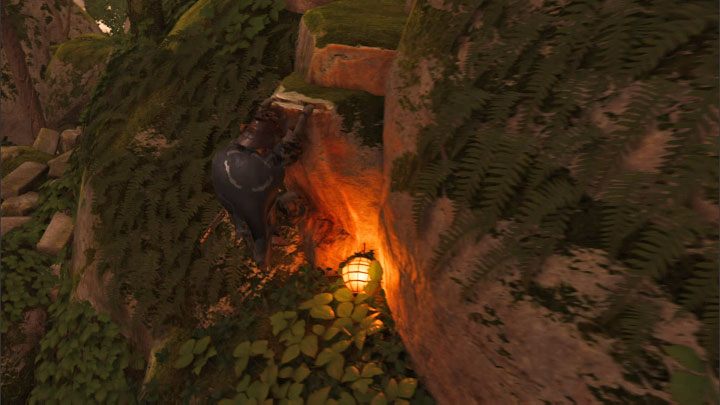
Once out of the tight area, go straight ahead and then make a sharp right turn. You will reach more interactive edges near a lit lamp - climb to the top.
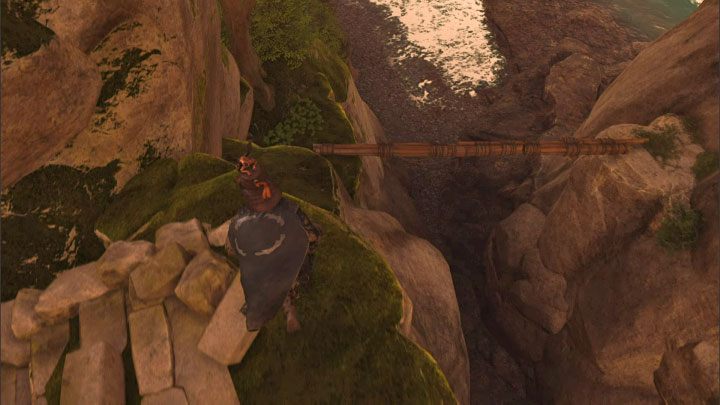
Follow the fallen tree and you'll be back on the main path. Unfortunately, the final part of the path to the shrine is destroyed and there's no point in trying to jump over the precipice, as it will always fail.
Check out the lower left area pictured in the screenshot. Carefully jump down to the lower ledges here and walk across the log to the other side.
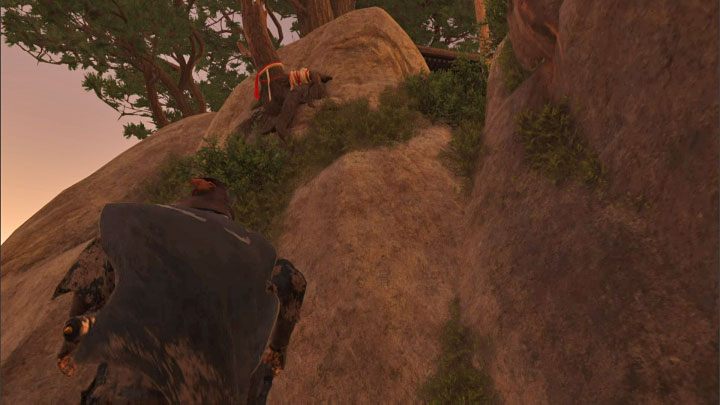
You will spot another interactive hook right above you, which you can grab onto by using the grappling hook. Pull yourself as close as possible to it, then jump towards the interactive edge to the right.
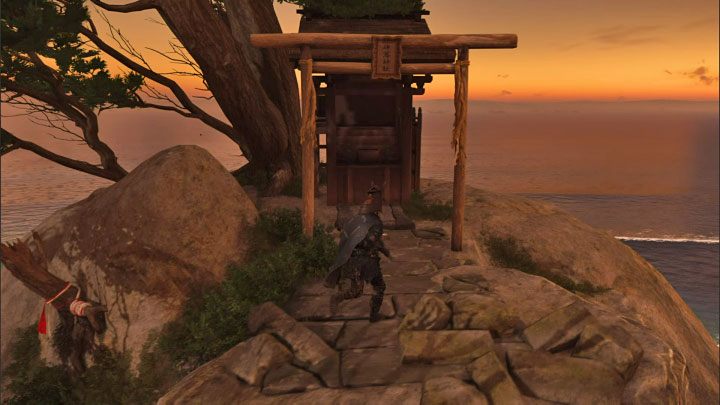
After climbing onto another ledge, you'll find yourself next to the shrine.. You can immediately interact with it to collect rewards and thus finish exploring the location.
You don't have to return from the island the same way, of course. You can press R2 to quickly move to the beach or open the island map and fast travel.
You are not permitted to copy any image, text or info from this page. This site is not associated with and/or endorsed by the developers and the publishers. All logos and images are copyrighted by their respective owners.
Copyright © 2000 - 2026 Webedia Polska SA for gamepressure.com, unofficial game guides, walkthroughs, secrets, game tips, maps & strategies for top games.
