Final Fantasy 7 Remake: Deliverance from Chaos, walkthrough
The following page of the Final Fantasy 7 Remake guide has a walkthrough for Chapter 17 - Deliverance from Chaos. After rescuing Aerith, the team attempts to get out of Shinra's building, but this won't be easy.
A Way Out
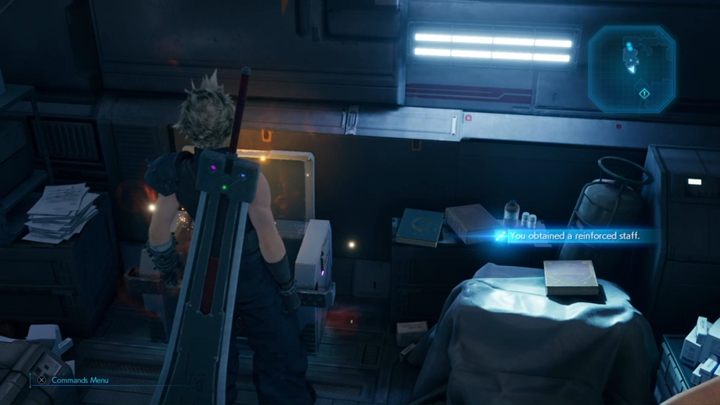
Talk to Aerith and watch a long cut-scene. After that, take Aerith's new weapon out of the chest - Reinforced Staff. Leave the room and follow the others - along the way you can open chests located behind the doors in the hallway.
Take the elevator up, and you will come across an Unknown Entity - you met it in previous chapters. Fight enemies and continue moving upward - you will encounter Sephiroth.
Find The Others
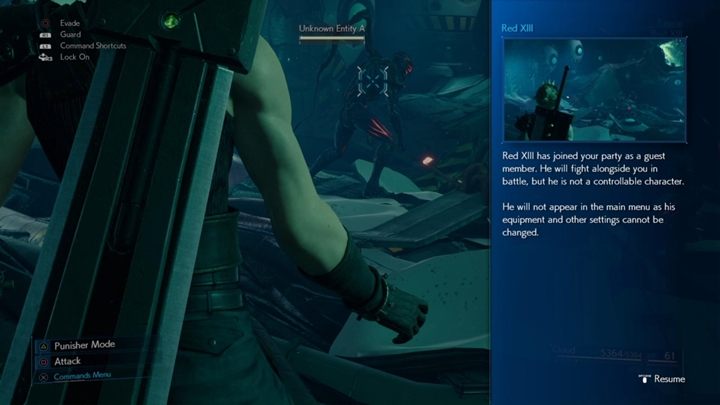
When you fall down, go ahead and pull a lever on the wall to move the domes - walk on them to get to the other side. Along the way, you will come across a Monodrive - defeat it. After a while, you will be joined by Red XIII.
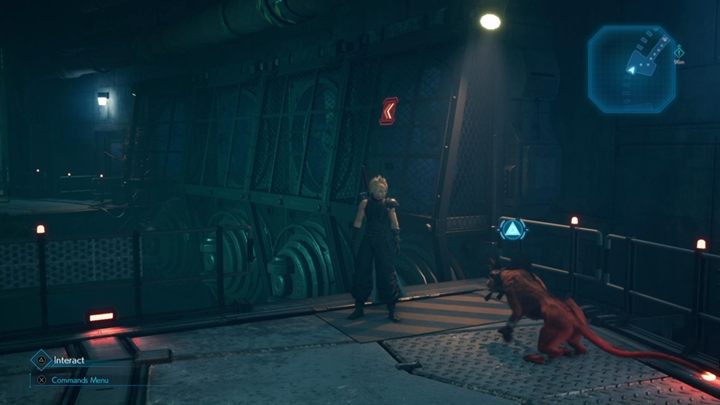
Keep going up until you reach a passage. Order Red to get to the other side - he will pull the lever. Join him. Go through the door and keep walking - you will encounter Barret and a bunch of monsters.
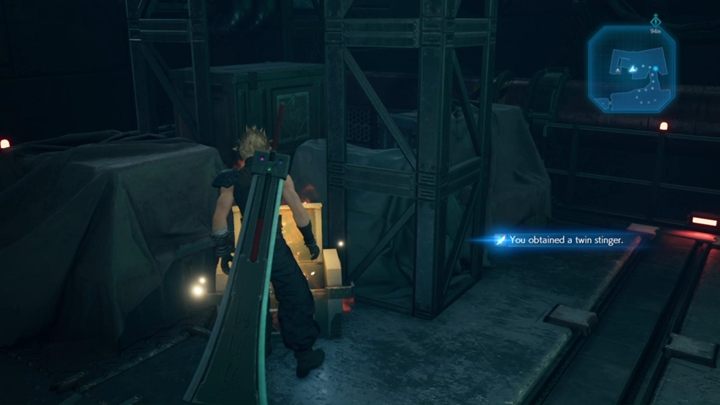
After dealing with the threat, pick up a new weapon for Cloud - Twin Stinger. It's a very good weapon for Cloud's magic build.
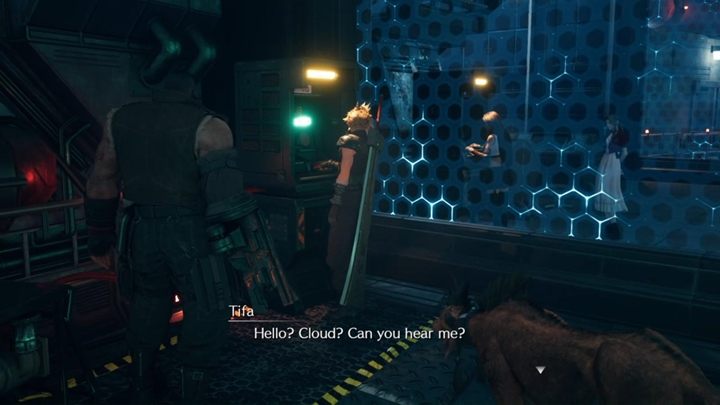
Continue your way forward until you come across the next grid - Red can move on it to the other side. Go to the console next to the barrier to communicate with Tifa and Aerith. Now switch to Tifa and Aerith - make sure both teams have, e.g. Healing Materia, because you will fight with incomplete teams.
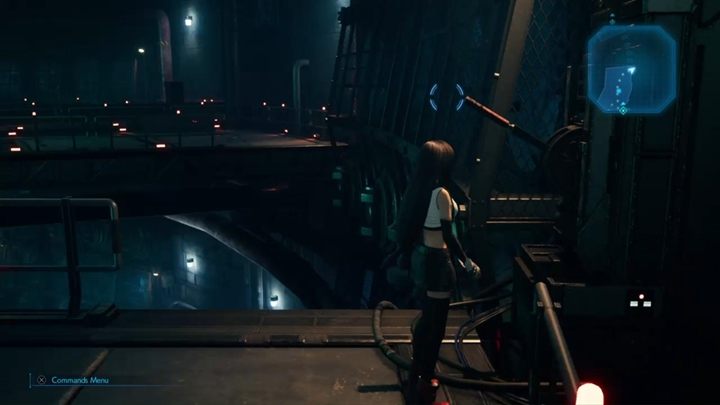
Keep moving up until you reach a familiar lever - pull it, take ether from the crate and walk up to the console to switch to Cloud and Barret.
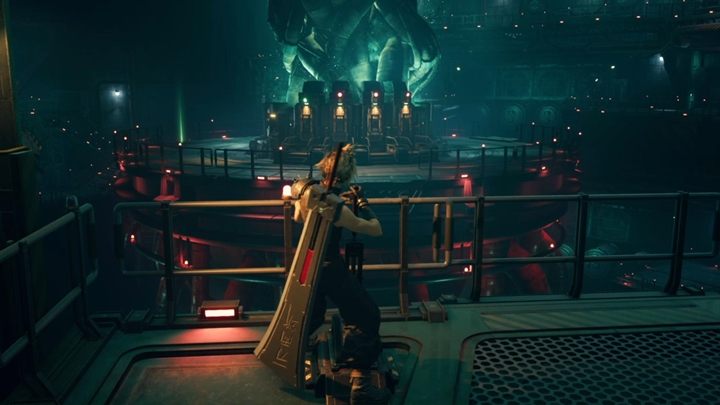
Pull the levers to get to the central platform. Come to station no. 3 and pull the lever to open the gate for Tifa and Aerith. Go back to the console and switch to the girls.
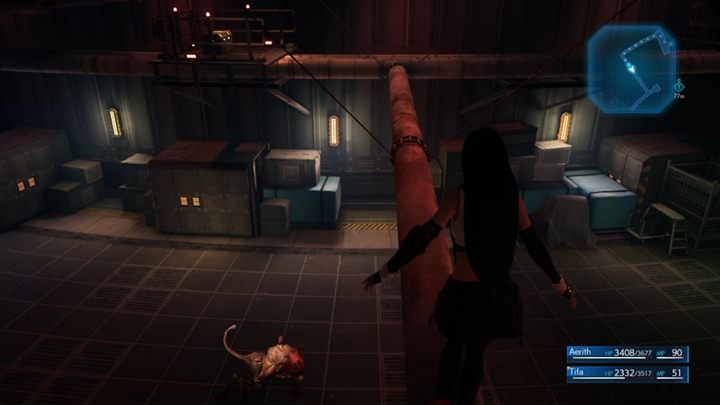
As a Tifa, enter the open door and move the next lever. Defeat the monsters and move on. At some point, you will climb the pipe. However, Tifa and Aerith will fall down - defeat the enemies at the bottom.
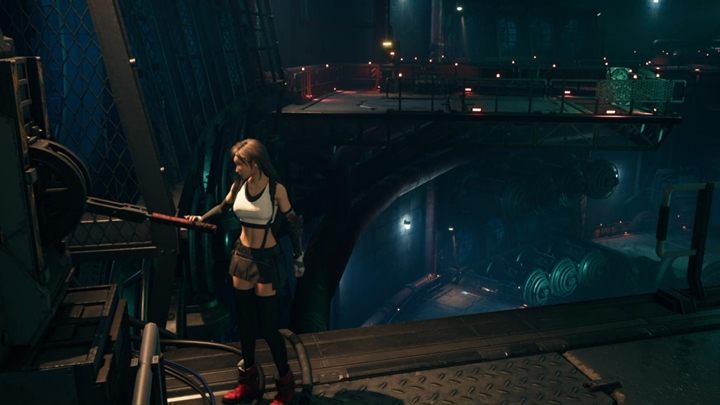
Go under the tilted gate, defeat the guard turrets and then climb up a ladder. You find another lever that will make it easier for Cloud's team to proceed. Switch to Cloud and switch lever number 2.
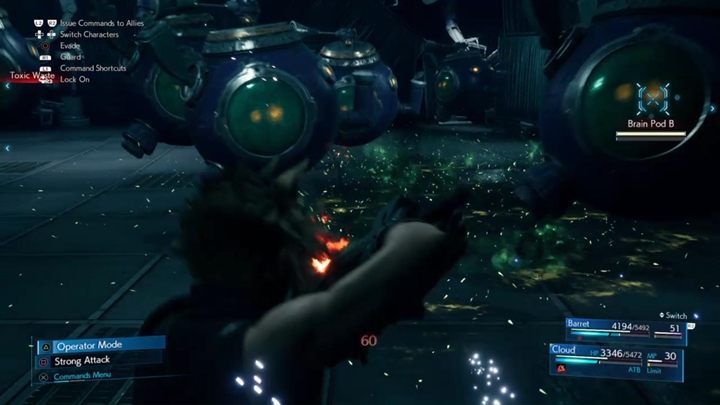
Go to the open gate 02 and defeat more opponents. After winning the fight, run to Red and save him. After a while, you will fight e.g. Brain Pod, who can create a lot of his clones. Cloud's area attacks work well here.
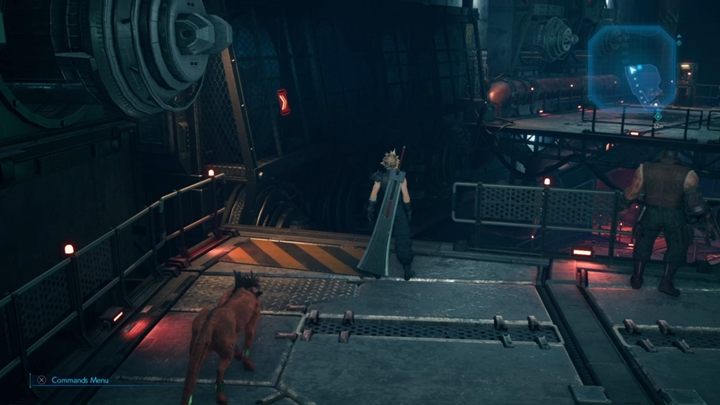
Step out of Section 02, go past the locked door 04, and approach the next chasm. Tell Red to go to the other side and then defeat the enemies. Red falls down and you have to help him - run quickly to the panel and switch to Tifa's team.
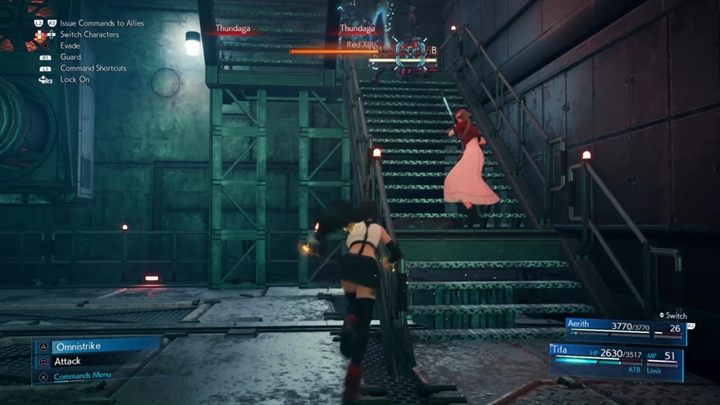
You have to break through enemies to reach Red. Red has limited health points so you have to get to him before he dies - you have a lot of time so don't worry.
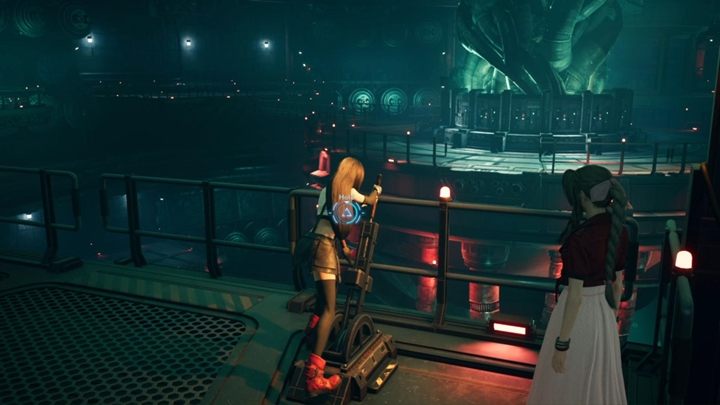
Red will now join the women's team. Run downstairs, then tell Red to go to the other side. Join him and pull the lever that unlocks the bridge to the main platform. Use lever 04 and then switch to Cloud.
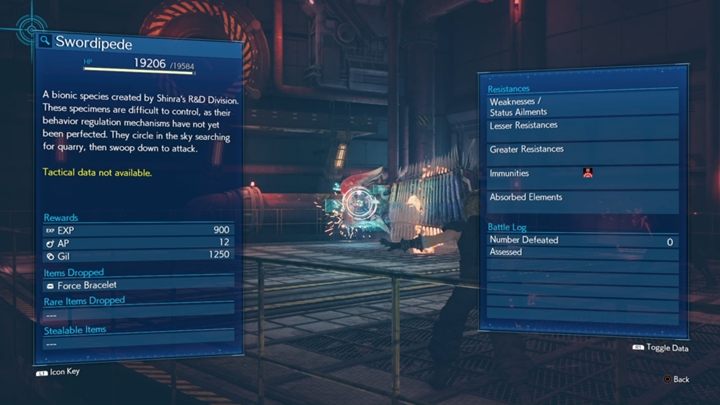
Run to the open passage. Walk on the big pipe further, and you will encounter an enemy - Swordipede. This opponent is quite annoying as Cloud's sword attacks will be mostly ineffective - you have to attack the enemy's head. The enemy, however, loves to use shock attacks, spin around and use spinning attacks across the arena.
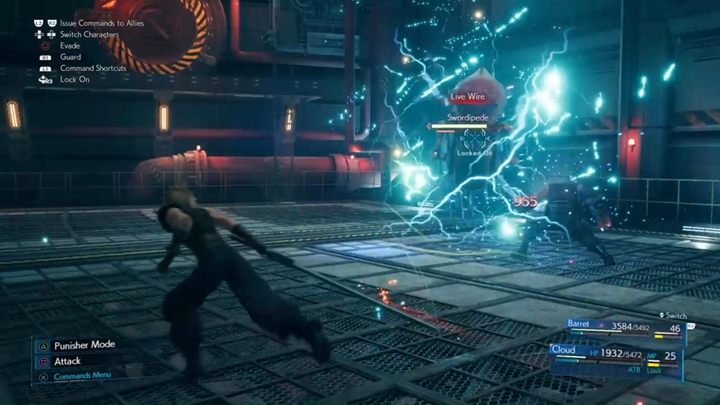
The opponent also climbs the walls, which complicates the fight greatly - it is best to attack the enemy as Barret and Cloud's Command skills. When you take a lot of his life, the enemy will flee - you will continue this fight as Aerith and Tifa.
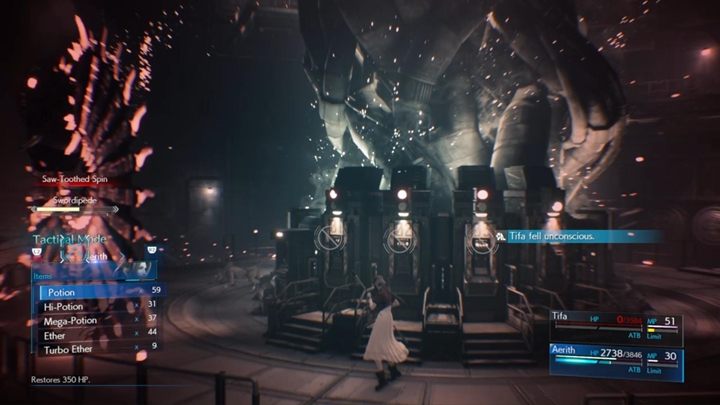
The course of the battle is similar, except that the enemy makes a spinning attack around the platform every now and then, which is difficult to avoid due to the limited field of vision. Order Aerith to heal, focus on using powerful Materia spells and perform your strongest attacks when the enemy lies weakened after a spin attack.
After the fight, go to the elevator and move the hatch - the team is finally reunited.
The Ominous Trail
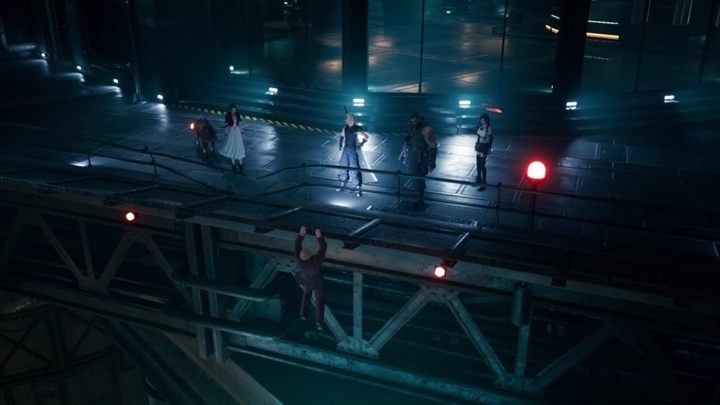
Take the elevator up and then follow the spilled substance. When you are ready, head to the roof, where there will be some pretty tough fights - equip your team well. Run to President Shinra, who hangs from the roof and watch a cut-scene.
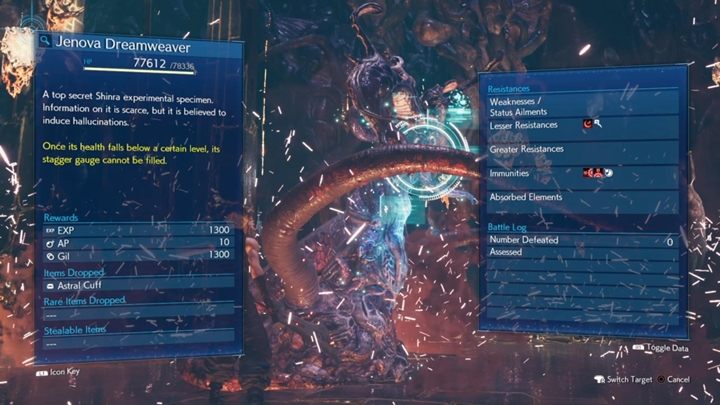
Time for a boss fight - Jenova Dreamweaver. A description of this boss fight can be found in a separate section of the FF7R guide.
The Showdown / The Great Escape
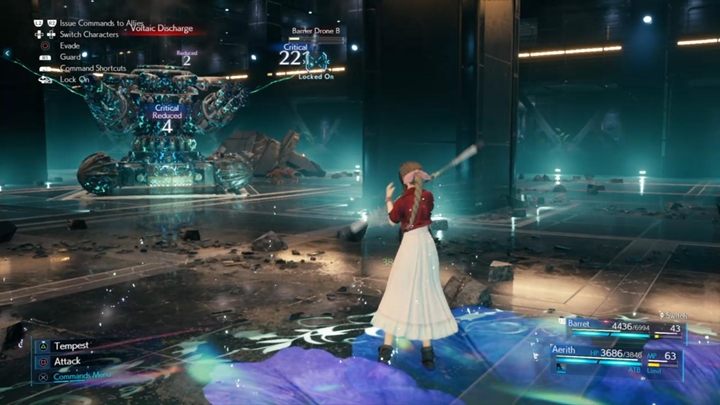
Restock at the shop and get ready for two more boss fights. The first is a fight against Rufus - Cloud will fight alone. Equip the hero with Healing Materia and Elemental Materia + Lightning Materia. The second, tougher clash is against Arsenal. Both fights are described in the Bosses section.
Watch a cut-scene that ends the chapter.
- Final Fantasy 7 Remake Guide
- Final Fantasy 7 Remake: Walkthrough
- Final Fantasy 7 Remake: Chapters
- Final Fantasy 7 Remake: All chapters, list
- Final Fantasy 7 Remake: The Destruction of Mako Reactor 1, walkthrough
- Final Fantasy 7 Remake: Fateful Encounters, walkthrough
- Final Fantasy 7 Remake: Home Sweet Slum, walkthrough
- Final Fantasy 7 Remake: Mad Dash, walkthrough
- Final Fantasy 7 Remake: Dogged Pursuit, walkthrough
- Final Fantasy 7 Remake: Light the Way, walkthrough
- Final Fantasy 7 Remake: A Trap is Sprung, walkthrough
- Final Fantasy 7 Remake: Budding Bodyguard, walkthrough
- Final Fantasy 7 Remake: The Town That Never Sleeps, walkthrough
- Final Fantasy 7 Remake: Rough Waters, walkthrough
- Final Fantasy 7 Remake: Haunted, walkthrough
- Final Fantasy 7 Remake: Fight for the Survival, walkthrough
- Final Fantasy 7 Remake: A Broken World, walkthrough
- Final Fantasy 7 Remake: In Search of Hope, walkthrough
- Final Fantasy 7 Remake: The Day Midgar Stood Still, walkthrough
- Final Fantasy 7 Remake: The Belly Of The Beast, walkthrough
- Final Fantasy 7 Remake: Deliverance from Chaos, walkthrough
- Final Fantasy 7 Remake: Destiny's Crossroads, walkthrough
- Final Fantasy 7 Remake: Chapters
- Final Fantasy 7 Remake: Walkthrough
You are not permitted to copy any image, text or info from this page. This site is not associated with and/or endorsed by the developers and the publishers. All logos and images are copyrighted by their respective owners.
Copyright © 2000 - 2025 Webedia Polska SA for gamepressure.com, unofficial game guides, walkthroughs, secrets, game tips, maps & strategies for top games.
