Destiny 2: The Menagerie - game mode
Last update:
In this chapter of the Destiny 2 game guide you will learn what The Menagerie gameplay mode is, what its stages are, how to successfully complete them and get the maximum score, how to unlock Triumph points, and how to kill the last boss.
The Menagerie is one of the gameplay modes available in Destiny 2. The Menagerie can be joined solo. Then, you get assigned to a team through a matchmaking system or join the game in a group of up to 6 people. The Menagerie consists of several random stages that must be completed in order to fight against the final boss and earn great rewards. We suggest how to play through the different stages of The Menagerie and how to get the maximum score.
- Menagerie - General Tips
- The Lamplightning
- The Riposte
- The Arkborn
- The Gauntlet
- The Mockery
- The Hunted
- The Crystals
- Hasapiko, Beloved by Calus - Boss Fight
- Arunak, Beloved by Calus - Boss Fight
- Pagouri, Beloved by Calus - Boss Fight
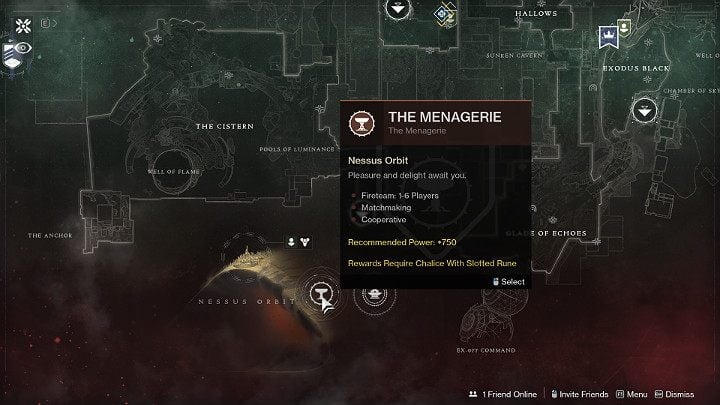
Menagerie - General Tips
Before you jump into the game in The Menagerie mode, it's worth knowing a few key tips to make it easier for you to successfully pass all the trials, complete the run through The Menagerie and earn valuable rewards.
- Triumphs - for performing various activities while passing The Menagerie, you can gain additional achievements in the form of Triumphs and for each of them you get an additional 500 Imperials, which can be used to improve the Chalice of Opulence;
- Gameplay - you cannot participate in The Menagerie mode if you have not placed at least one rune in the Chalice of Opulence;
- Progress bar - in The Menagerie mode, you have to play through different stages where you earn points so you are constantly filling up the progress bar. Once you charge it up to 100% you can fight the boss. If you collect perfect scores you will quickly move on to the boss fight, but the worst runes may require you to advance through as many as 4 - 5 stages;
- Runes - you can obtain runes for the Chalice of Opulence by performing Weekly Bounties for Werner 99-40 NPC from which you will receive a Treasure Map, after looting Imperial Chests, and after completing entire gameplay in The Menagerie mode;
- Modifications - each week The Menagerie may receive different modifications, for example, increased damage from melee attacks. For this reason, in a particular week, some stages may be more difficult than others;
- Difficulty level - The Menagerie can be completed at various difficulty levels and provide powerful rewards;
- Bosses - bosses in The Menagerie mode change every Tuesday at 19:00 CET;
- Raid Banner - before each subsequent stage, it is worth using the banner to replenish the ammo supply and recharge the cooldown of super ability to full capacity. The Raid Banner can be placed in a spot marked by a white circle, just behind the item that starts the task;
- Stages - each run through The Menagerie looks a little different because its stages are being selected at random;
The Lamplightning
Each run through The Menagerie begins with a stage called The Lamplighting in which the players' task is to light a fire in all 6 lamps that have been placed in the middle of the arena. Once this challenge begins, opponents will come from all over. These enemies must be eliminated, so that a mini-boss will appear in the arena after a short time.
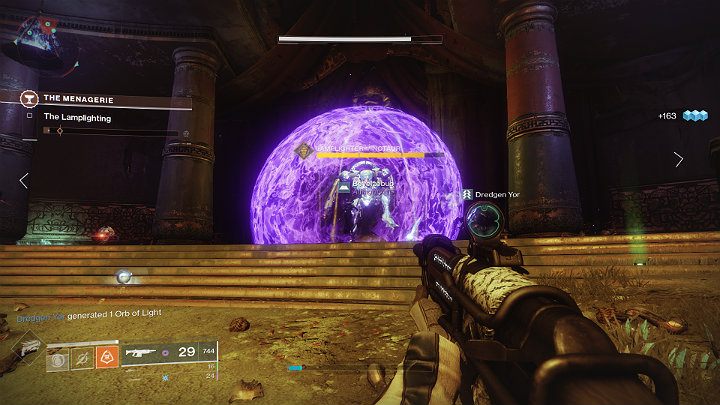
Mini-boss is not a very demanding opponent so you should deal with him quite quickly. Once he is eliminated, he will drop a few spheres. Pick up the latter and use them to light a fire in the lamps set up around the arena. Each Boss drops 2 orbs, so you have to kill three of them in total in order to lit all the lamps.
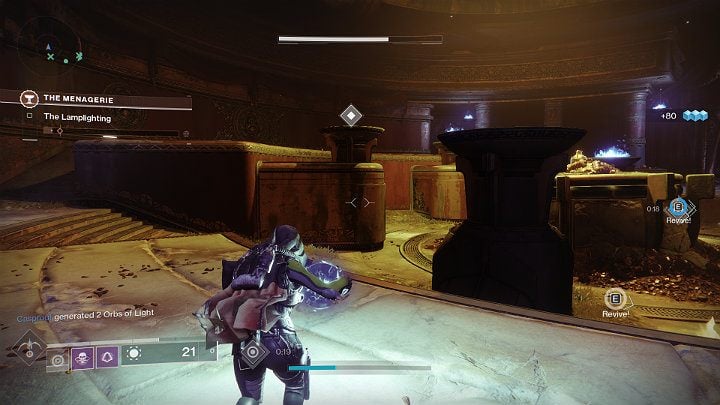
After you pick up the orb from the ground above the appropriate lamps you will notice a distinctive marker that navigates you to the right place. Jump into the middle of the lamp and use the action button to ignite it.
To score Triumph in this stage of The Menagerie, each player must ignite one lamp. On a team made up of random players, this can be difficult, but on a pre-made team, you can certainly handle this task easily.
The Riposte
The Riposte is one of the 6 random stages you can encounter during The Menagerie gameplay mode of Destiny 2. As you play through this stage you will have to face a huge number of minor opponents as well as Champions.
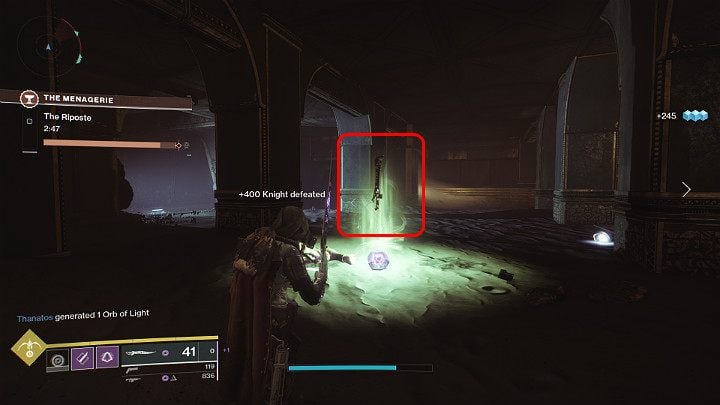
Look for knights called Tamed Knight because you have to eliminate them to get their sword. This weapon is necessary to defeat the mini-bosses that will begin to spawn in the arena.
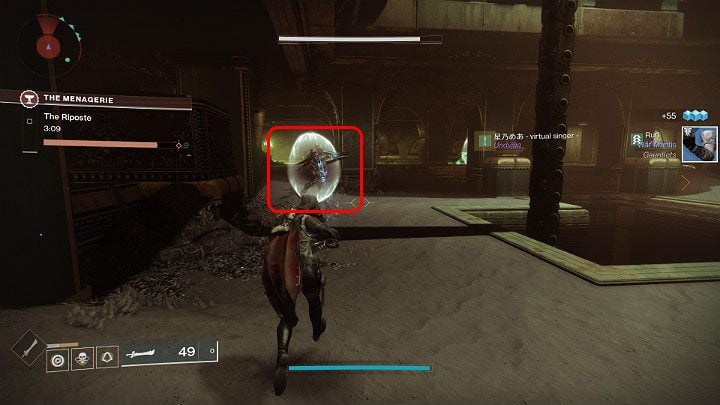
As soon as someone comes into possession of a sword dropped by a knight, more Knights will appear in the arena, but much stronger ones. Furthermore, these Tamed Knights have protective shields and only players who acquired swords can break those barriers and expose opponents to attack.
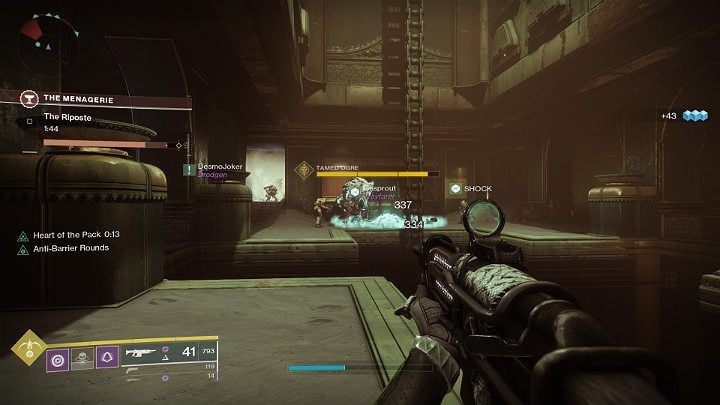
As soon as you kill enough of Tamed Knights in the arena, a mini-boss called Tamed Ogre will appear. This opponent will also possess a protective shield, which must be broken with a sword. As soon as the shield breaks, the Ogre will be vulnerable to all kinds of attacks.
In order to get a perfect point score and the Triumph from The Riposte, you need to kill all Champions and mini-bosses. As soon as you notice an opponent like Tamed Knight, engage in combat and try to eliminate him.
The Arkborn
The Arkborn is one of the 6 random stages you can encounter during gameplay in The Menagerie mode in Destiny 2. As you play through this stage, you will not only have to fight opponents and mini-bosses, but also perform other activities.
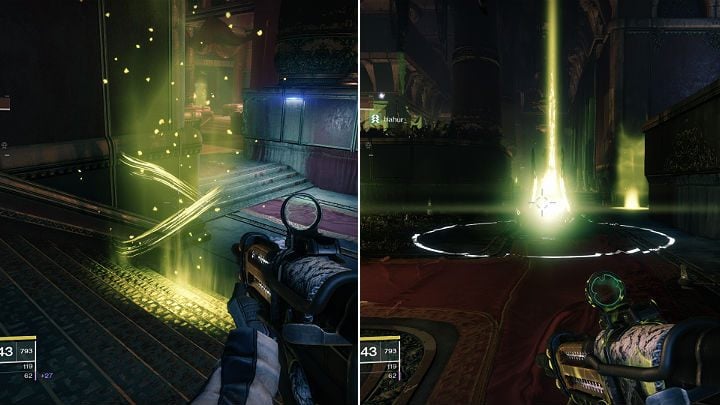
Green light points were placed in the arena, the so-called Souls (on the left in the screenshot above) and Altars (on the right in the screenshot above). The player's task is to collect souls by running through luminous points and depositing them at the altars. A maximum amount of 3 souls can be carried at a time and you can lose them if you die. You only have 15 seconds to return souls to the altars.
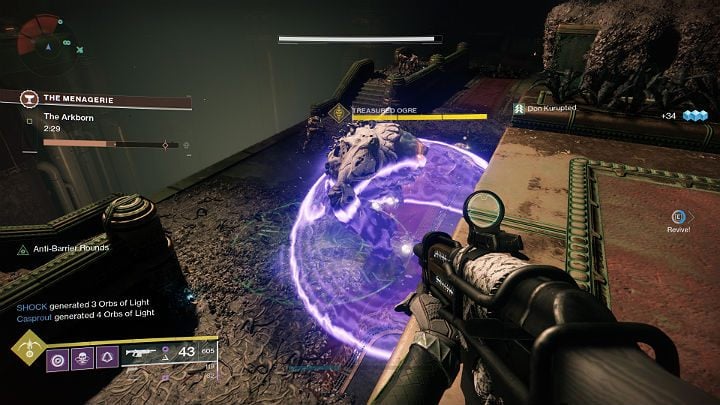
When you deposit the right amount of Souls at the end of the arena, the first mini-boss will appear - Treasured Ogre. The Ogre must be eliminated quickly. Then, continue collecting the souls and deposit them at the altar to summon two more mini-bosses, Sky-Eater Wizard. Once you eliminate these opponents, you will have to re-collect souls and deposit them at the altar to summon the final wave of mini-bosses, which will feature the Treasured Ogre and two Sky-Eater Wizards.
In order to get the perfect score and the Triumph of The Riposte, you must complete all 3 phases of this trial and kill the last 3 mini-bosses within the set time limit.
The Gauntlet
The Gauntlet is one of the 6 random stages you can encounter during gameplay in The Menagerie mode in Destiny 2. During this stage you will not only have to fight opponents and mini-bosses, but also perform other activities such as obstacle runs.
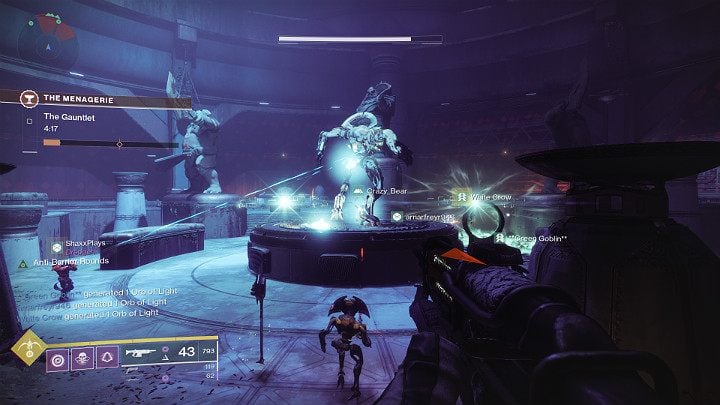
As soon as The Gauntlet stage begins, the first mini-boss called Councilor's Minotaur will appear in the middle of the arena with his vanguards. They must be quickly eliminated in order to proceed to the next stage of the trial.
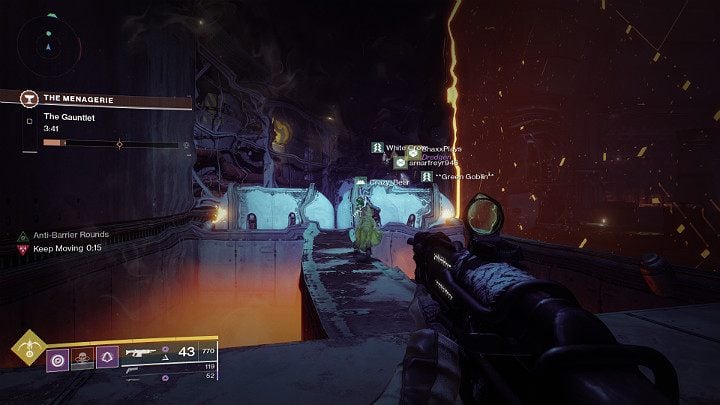
Then, you will be moved to the outer circle of the arena where you have to complete an obstacle course within a set time limit. Falling off the track or dying due to another reason will end your participation in the race. After completing the first race it will be time to fight the second mini-boss (Councilor's Hydra) and take part in another run, this time with an additional impediment in the form of fire obstacles. After completing the second run, it's time to take part in the battle against the final mini-boss called Councilor's Cyclops and engage in the final, hardest run in order to complete The Gauntlet stage.
To earn perfect score and Triumph of The Gauntlet each member of the team must complete the obstacle course which is rather hard, because the contestants can accidentally push their teammate them into the precipice, that is, end his run. Try not to run all together, but only in short intervals so as not to disturb each other.
The Mockery
The Mockery is one of the 6 random stages you can encounter during gameplay in The Menagerie mode in Destiny 2. This stage takes place in the same arena as The Arkborn and also focuses on collecting souls and depositing them at the altar.
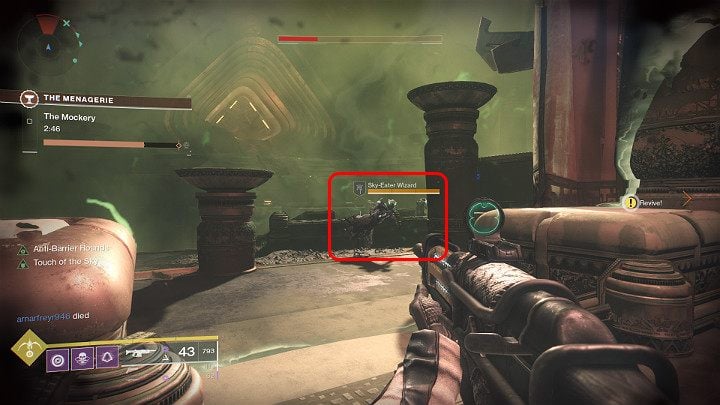
Sky-Eater Wizard opponents will fly around the arena, who have to be eliminated in order to gain Souls. The latter must be deposited at the altar. It is best to divide two people per altar so that none of the points are left unoccupied, because if the souls are not successively deposited, the altars may eventually fall apart and you will lose points.
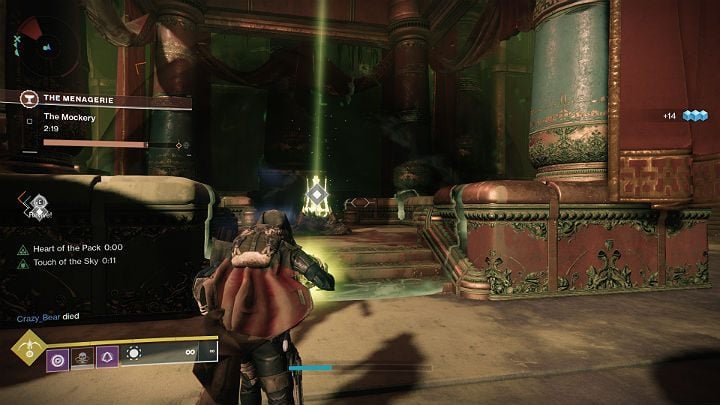
There are 3 different altars in The Mockery stage - one on the right side of the arena, the other in the middle and the last on the left side of the arena. A barrier has been set around the altar to keep players alive. If you go out of this area for more than 15 seconds, your character will die instantly.
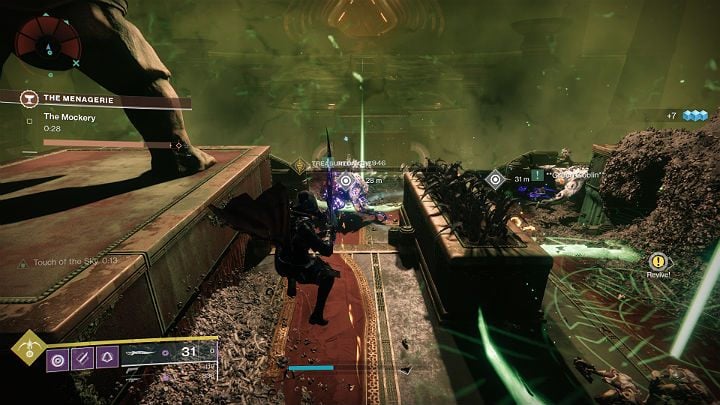
When you deposit the right amount of souls into the altars, then 3 mini-bosses will appear on the arena - Treasured Ogres, one for each altar. After killing the Ogre, you can move on to the next point and support your allies in battle.
In order to earn a perfect score and Triumph of The Mockery, you have to protect the altars by depositing souls and kill 3 mini-bosses within a set time limit.
The Hunted
The Hunted is one of the 6 random stages you can encounter during gameplay in The Menagerie mode in Destiny 2. This attempt consists in capturing points distributed around the arena and fending off attacks from opponents.
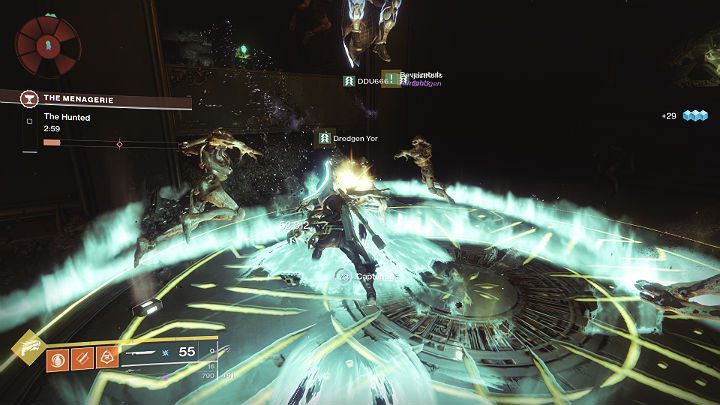
There are 5 different points in the arena: one in the middle and the other four in each corner of the location. After the trial begins, only 2 points will be activated. Thus, it is worth dividing the team into 3-man groups, which will capture points in a specific area. Once the first points are being captured, the next points will be activated. Your team will have to be separated again.
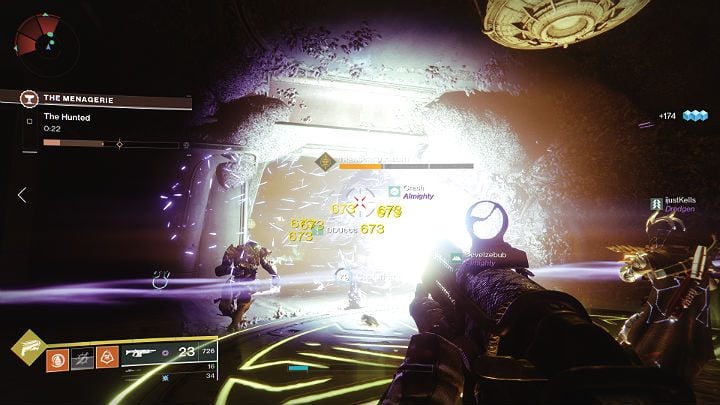
Dozens of minor opponents will arrive in waves at the captured points, and some of them blow up when they make contact with the target, so you have to eliminate them from distance. From time to time, Treasure Knight's mini-bosses will appear alongside lesser opponents, who are extremely durable and can kill a player with just one blow.
To earn a perfect score and Triumph of The Hunted you must capture as many points as possible and kill all the Treasured Knight mini-bosses that appear during this attempt.
The Crystals
The Crystals are one of the 6 random stages you can encounter during the gameplay in The Menagerie mode in Destiny 2. As the name of this attempt suggests, the player's task consists in destroying the crystals. The crystals, however, are resistant to the usual sources of damage, so a specific weapon will have to be used in order to do so. Large groups of Vex-type opponents will appear in the arena: Goblins, Minotaurs, and Harpies. Your primary target are mainly the Harpies, who, after death, will drop the Void Cranium weapon with which you can destroy the crystals.
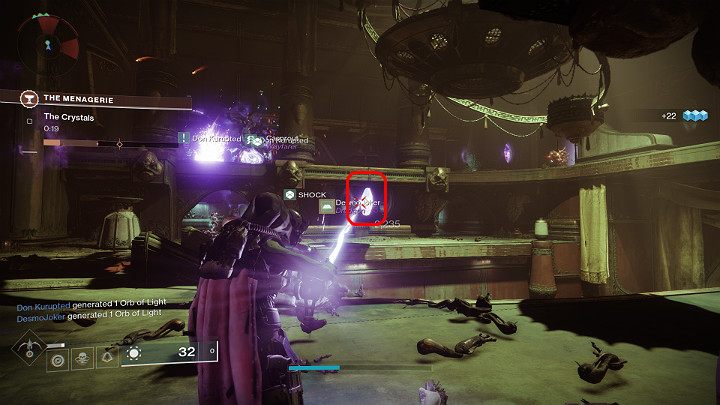
By using the Void Cranium weapon, you can eliminate opponents, of course, but its main task is to destroy the purple crystals that have been distributed around the arena on the middle and upper floors. When you break all the crystals in the arena, then a Councilor's Minotaur mini-boss will appear that has to be eliminated. When you kill the mini-boss there will be even more enemies and crystals in the arena. Thus, you will have to destroy them all again to summon the last opponent called Councilor's Cyclops.
To earn a perfect point score and the Triumph of The Crystals stage you must destroy all crystals and kill 2 mini-bosses within a set time limit. To achieve this, try not to use Void Cranium charges to fight opponents or mini-bosses, but focus on destroying the crystals.
Hasapiko, Beloved by Calus - Boss Fight
Hasapiko, Beloved by Calus, is one of the main bosses who must be defeated to complete The Menagerie mode. The duel with this boss begins with the appearance of 3 Hasapiko's Living Firewall Harpies, which must be eliminated in order to remove the shield from the Boss and make him vulnerable.
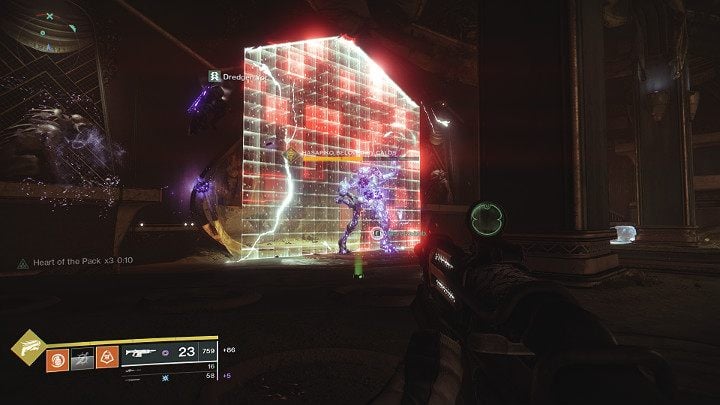
When Hasapiko stands still and raises his left hand up, he begins his super attack. In the arena, behind the boss's back, glowing walls of energy will begin to appear. After a brief moment these will begin to move towards the opposite end of the arena. Hasapiko can release single or double walls, and contact with this energy will lead to your character's death. Once the Boss has half of HP, the second phase of the duel will begin, in which you once again have to kill the Harpies in order to remove the shield from The Boss and eliminate him completely.
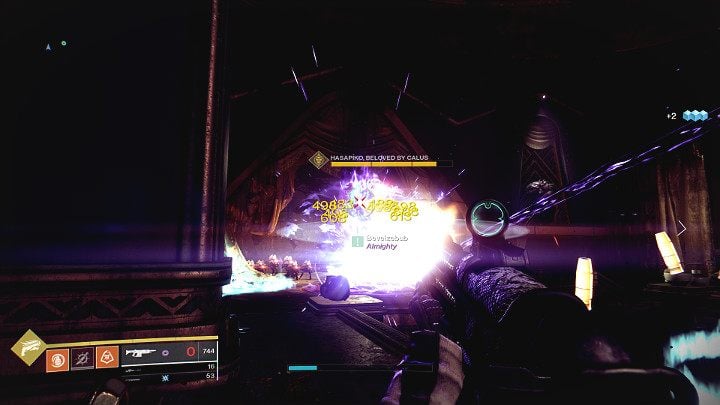
During the battle against the boss in the arena, as well as on the balconies located on both sides of the room, minor opponents of the Vex type will appear: Harpies, Goblins and Hobgoblins, so you have to remember not to fall into the Hasapiko's luminous wall during the fight.
During the battle with Hasapiko, Beloved by Calus you can unlock the secret Triumph Divided We Conquer. In order to earn this Triumph during combat, only one member of the team can break the shield of the boss, but the rest of the DPS team can launch attacks on the opponent.
Arunak, Beloved by Calus - Boss Fight
Arunak, Beloved by Calus, is one of the main bosses who must be defeated to complete The Menagerie mode. The Boss has a protective shield from the beginning, which must be broken in order to make him vulnerable.
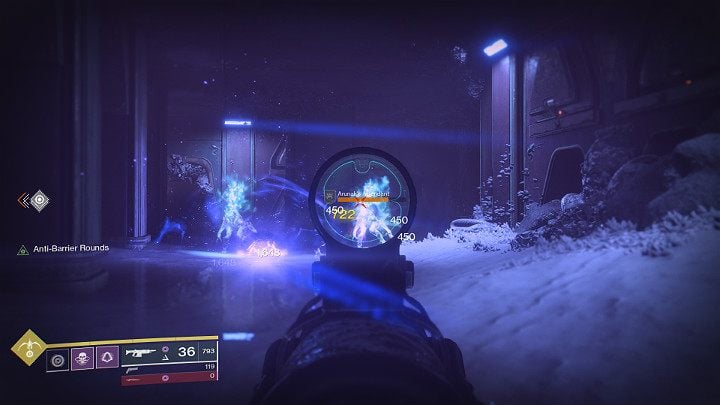
On both sides of the arena, glowing opponents of Arunak's Attendant will begin to appear. After you kill one of them, the opponent will drop a glowing orb called Relic, which is necessary to break Arunak's protective shield. You have a certain amount of time to collect the sphere so try to do it efficiently and don't get killed in the process.
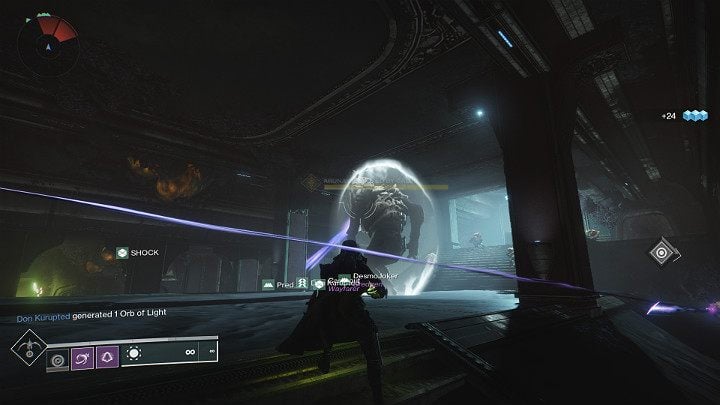
When you pick up the Relic off the ground, turn towards the boss and throw the sphere at him in the same way as if you were firing a gun (LMB by default in case of the PC version). When the right amount of bullets hit Arunak, his shield will shatter and the boss becomes vulnerable. After some time, the boss will receive the protective shield again and the whole sequence has to be repeated.
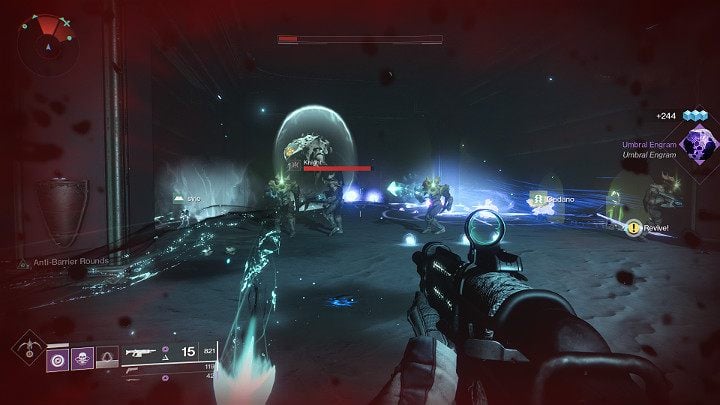
During the boss fight, minor Hive opponents and even Champions will attack you from all sides. You will have to take some time to eliminate them so that the arena is not literally flooded with enemies. It may be hard to survive there without killing minor enemies - especially at higher levels of difficulty.
Pagouri, Beloved by Calus - Boss Fight
Pagouri, Beloved by Calus, is one of the main bosses who must be defeated to complete The Menagerie mode. At the very beginning of the duel, Pagouri appears before your eyes for a moment, and then he hides behind an electrical wall which protects him from all damage.

The arena features three large-sized Vex plates: one in the middle and two on the sides. The middle plate always lights up first. You have to stand in the area of the Sync Plate and take it over so that the opponent comes out from behind his protective barrier and becomes vulnerable. It is also worth noting here that while capturing the plates you have to fend off attacks from Vex-type opponents: Harpies, Goblins, and Minotaur Champions.
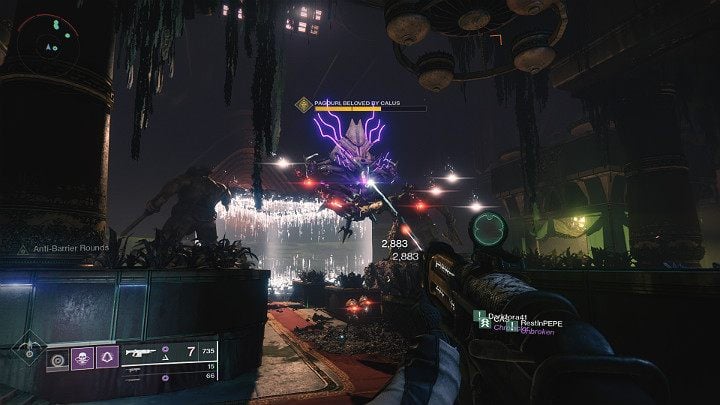
When an opponent appears in the middle of the arena, it is possible to launch DPS attacks on him. After some time, Pagouri will retreat behind his barrier. Two more plates (their choice is random) will appear on the map. Once again they will have to be taken over if you want to cause damage to the boss. The plate you capture as the last one is the spot in which the Boss will appear. In the third phase of the duel, all plates will be lit. Therefore, you will have to capture them again. Depending on the firepower of the team, the Pagouri, Beloved by Calus boss can be killed during 2-3 phases.
During the battle with Pagouri, Beloved by Calus you can unlock the secret Triumph Come out and Play. In order to achieve this Triumph in the course of the battle, Pagouri has to be lured to each Vex Sync Plate just once. If in the first phase of the duel you took over the middle plate of the Vexs and in the second phase the middle plate lit up again with one of the side plates - first take over the middle plate and then the side plate to summon the boss there. In the next phase of the duel, you will have to lure the boss to the last plate in the same way.
You are not permitted to copy any image, text or info from this page. This site is not associated with and/or endorsed by the developers and the publishers. All logos and images are copyrighted by their respective owners.
Copyright © 2000 - 2026 Webedia Polska SA for gamepressure.com, unofficial game guides, walkthroughs, secrets, game tips, maps & strategies for top games.
