Star Wars Outlaws: All Nix Treasures map
Nix treasures is a collectible in Star Wars Outlaws. In this guide and map we show you where all 15 secrets are hidden, how to dig up Nix's treasures and their uses in the game.
One of the categories of secrets and collectibles available in Star Wars Outlaws are Nix Treasures, which can be found by your animal companion. On this page, you will find a list of all 15 treasures with their locations. Additionally, we advise who to give your found Nix treasures to and what you can get from it.
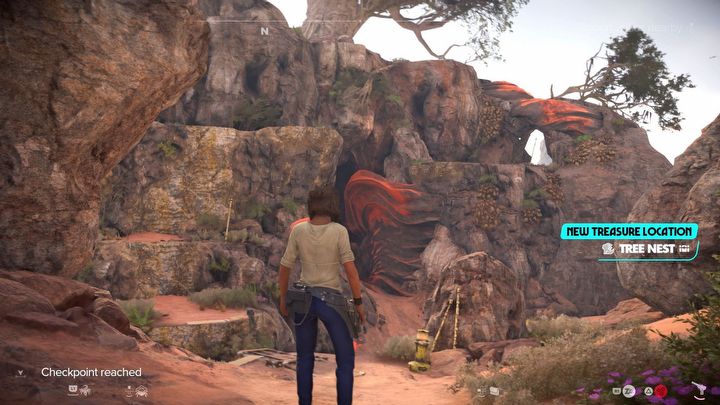
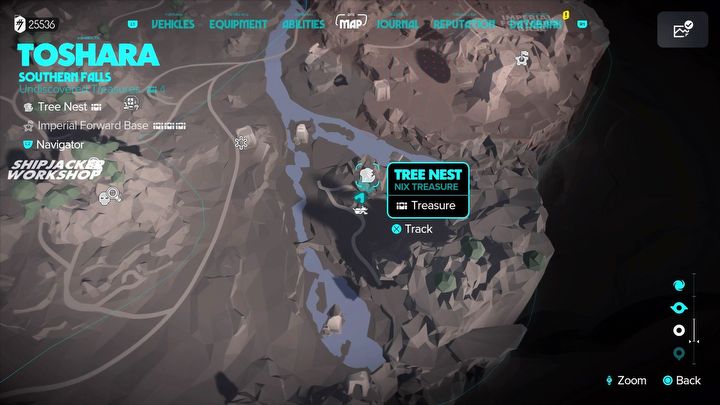
- #1 Droid Eye - Tree Nest, Toshara
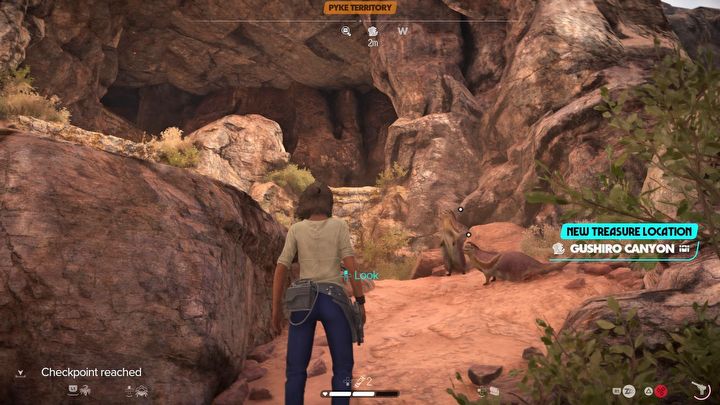
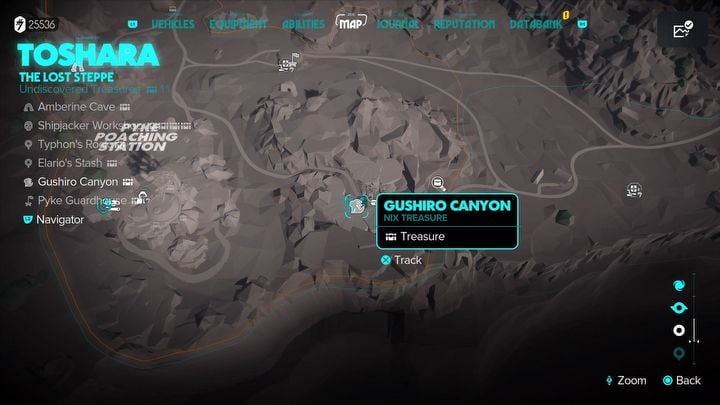
- #2 Secret Amulet - Gushiro Canyon, Toshara
- #3 Twinkly Metal - Windy Cliff, Toshara
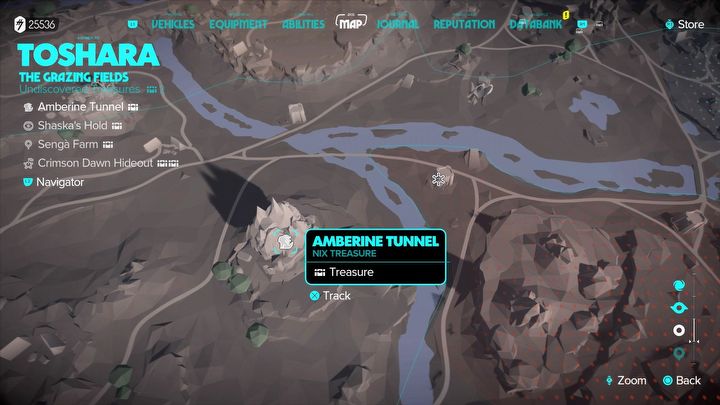
- #4 Gun Piece - Amberine Tunnel, Toshara
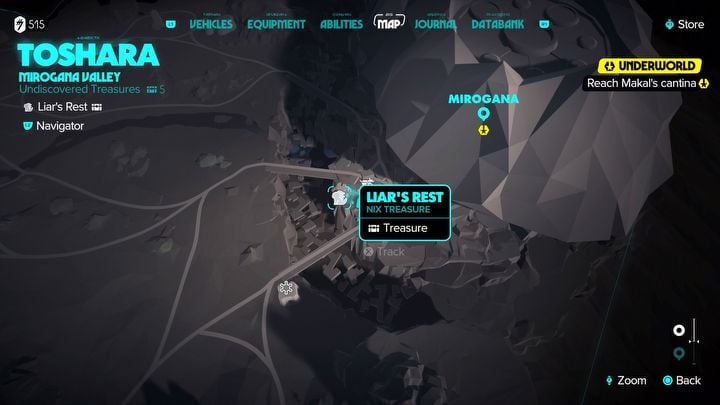
- #5 Lucky Cubes - Liar's Rest, Toshara
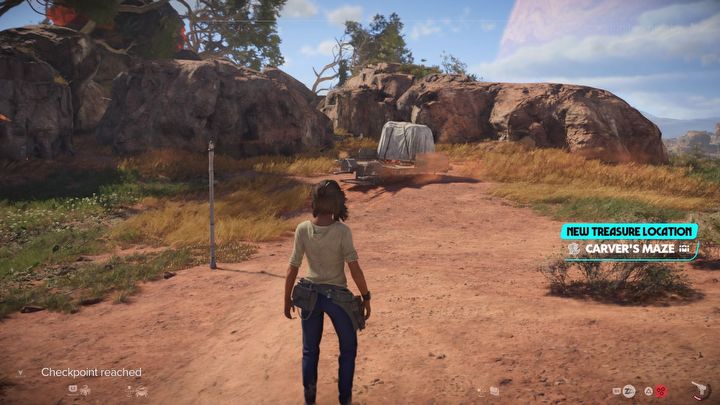
- #6 Shiny Lump - Carver's Maze, Toshara
- #7 Bang Button - Strange Pillar, Tatooine
- #8 Hammer Rock - Mine Cart, Tatooine
- #9 Horns - Dark Cave, Tatooine
- #10 Tiny Ship - Old Junkyard, Tatooine
- #11 Picture Card - Secluded Backalley, Kijimi
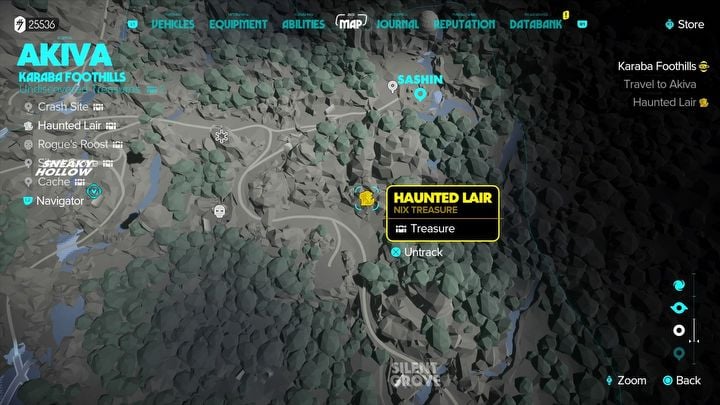
- #12 Smelly Bone - Haunted Lair, Akiva
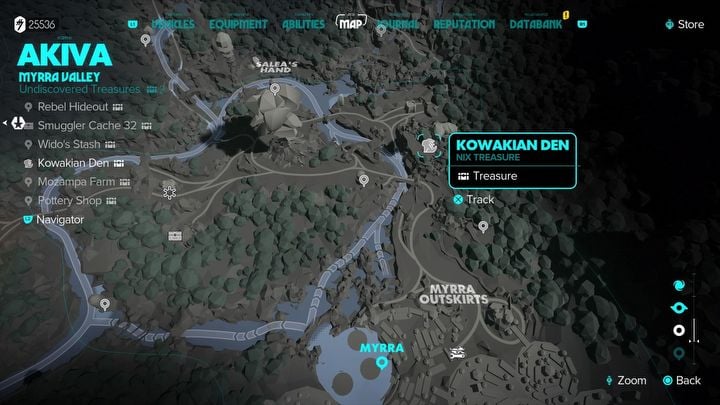
- #13 Old Money - Kowakian Den, Akiva
- #14 Talk Box - Sodor Falls, Akiva
- #15 Fruit Wrapper - Temple Ruins, Akiva
- Use for Nix's Treasures
#1 Droid Eye - Tree Nest, Toshara
Related map marker: Tree Nest - Southern Falls @ Toshara
Travel to the southeastern part of the map. Start climbing by using the grappling hook. Follow Nix to the buried treasure site - it's a lookout point with a lot of scrap.
#2 Secret Amulet - Gushiro Canyon, Toshara
Related map marker: Gushiro Canyon - The Lost Steppe @ Toshara
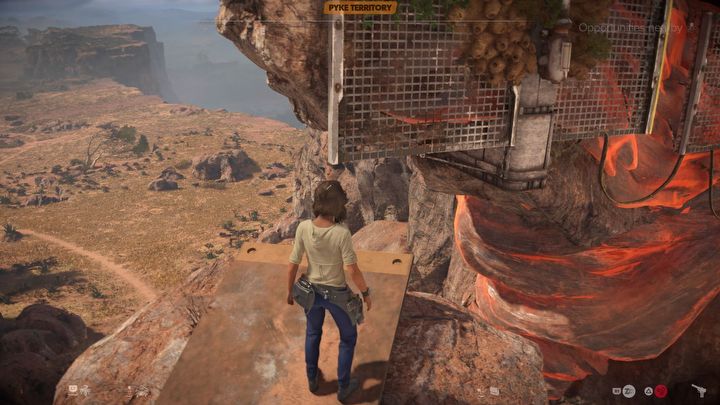
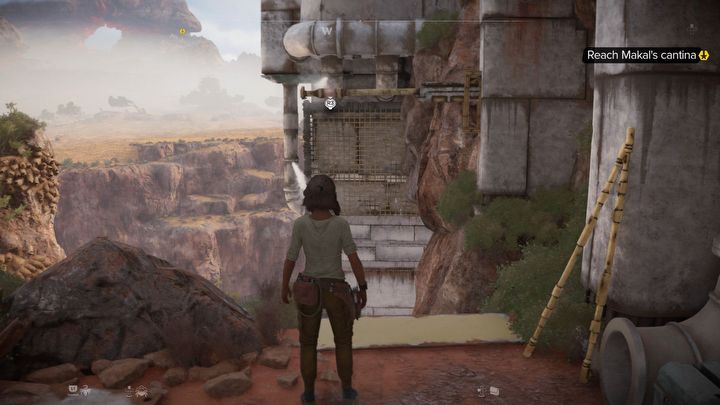
Reach the cave area in the southwest part of the map, east of the Pyke Syndicate outpost. In the place shown in picture 1 you can start the crossing and use the grappling hook.
In the place shown in the attached image, jump to the metal structure and grab onto the bars, then move sideways. Nix will lead you to the buried treasure.
#3 Twinkly Metal - Windy Cliff, Toshara
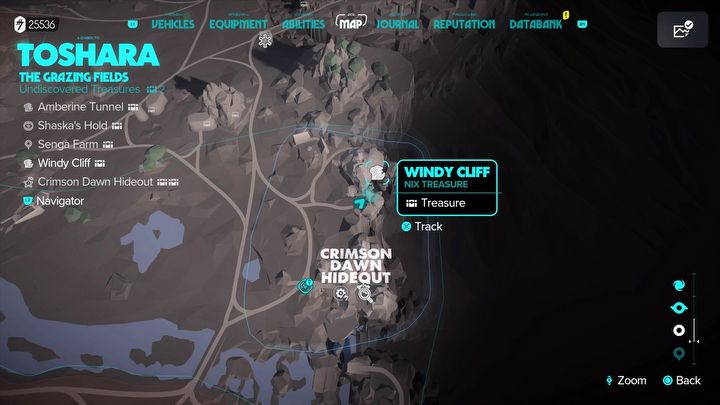
Related map marker: Windy Cliff - The Grazing Fields @ Toshara
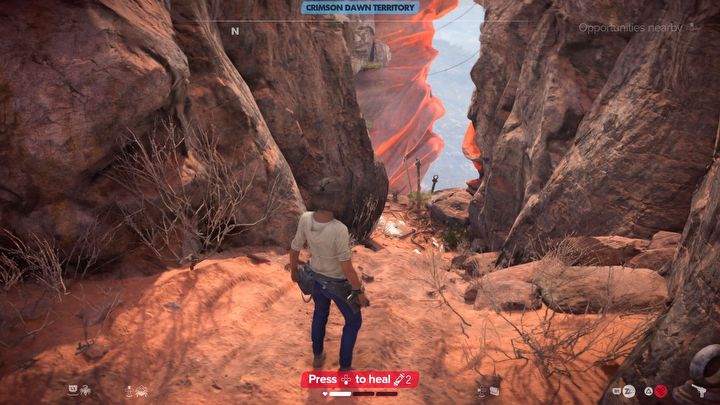
Reach the eastern part of the map, north of the Crimson Dawn hideout. Reach the location in picture 1 and travel along the cliff - you will have to climb and use the grappling hook. Nix will take you to the treasure dig site.
#4 Gun Piece - Amberine Tunnel, Toshara
Related map marker: Amberine Tunnel - The Grazing Fields @ Toshara
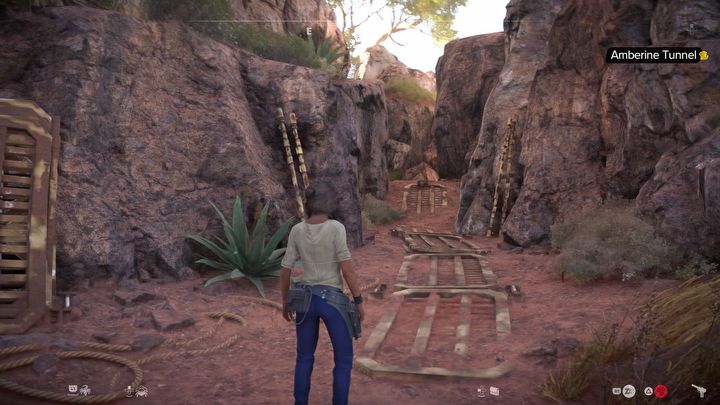
Get to the central part of the map. At the place in picture 1 you have to go between the rocks. Follow Nix all the way to the viewpoint - your companion will show you the place where the treasure is buried.
#5 Lucky Cubes - Liar's Respite, Toshara
Related map marker: Liar's Rest - Mirogana Valley @ Toshara
Get near the southwest entrance to Mirogana . You can look for a place to use a grappling hook here - grab onto the climbing wall and reach a new rocky ledge. Nix will lead you a little further to the buried treasure.
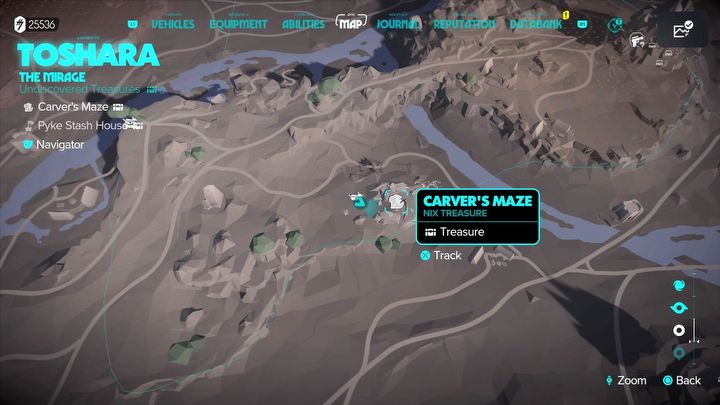
#6 Shiny Lump - Carver's Maze, Toshara
Related map marker: Carver's Maze - The Mirage @ Toshara
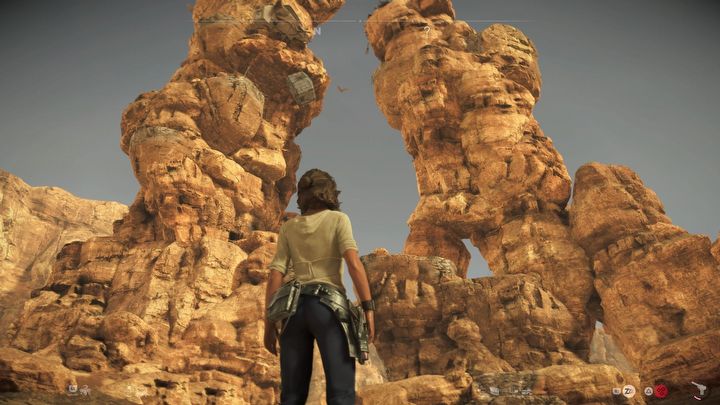
Reach the entrance to the stone labyrinth in the central part of the map . Follow the linear path behind your animal companion. Nix will lead Kay to a lookout point with buried treasure she seeks.
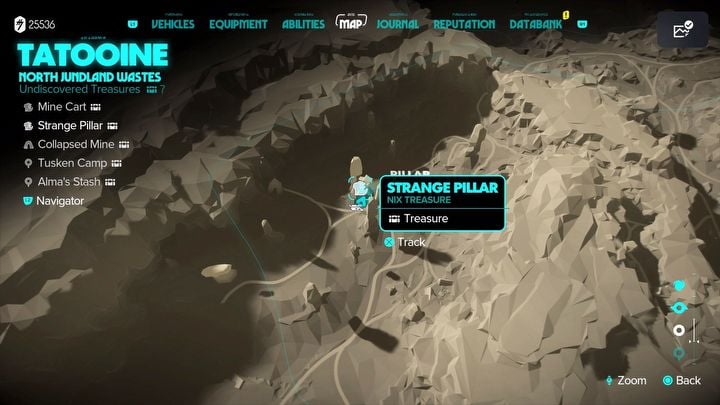
#7 Bang Button - Strange Pillar, Tatooine
Related map marker: Strange Pillar - North Jundland Wastes @ Tatooine
Get to the northwestern part of the map. You have to make a very long climb to the top of the stone column, requiring reliance on a grappling hook and climbing walls. At the top, Nix will show you where the treasure is hidden.
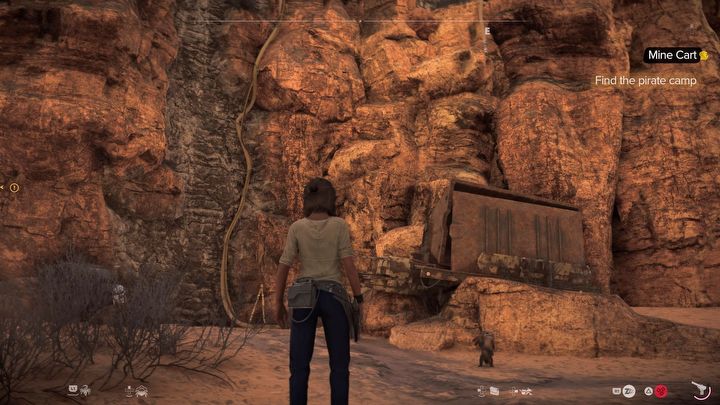
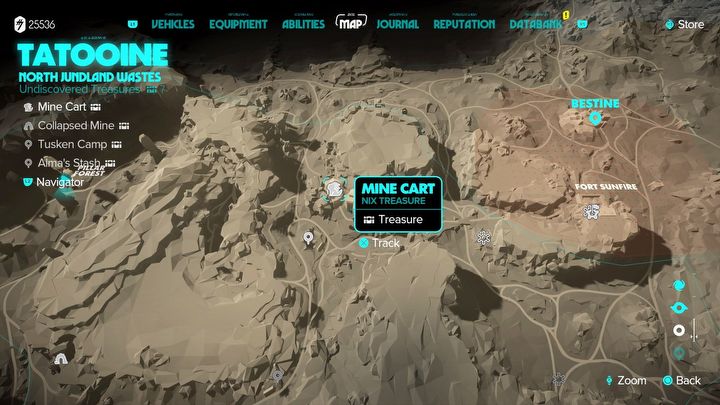
#8 Hammer Rock - Mine Cart, Tatooine
Related map marker: Mine Cart - North Jundland Wastes @ Tatooine
Reach the northwestern part of the map, west of Bestine. In the place shown in image 1 you can start climbing using the climbing wall. You will also need to use a grappling hook along the way. Nix will lead you to a lookout point with a treasure.
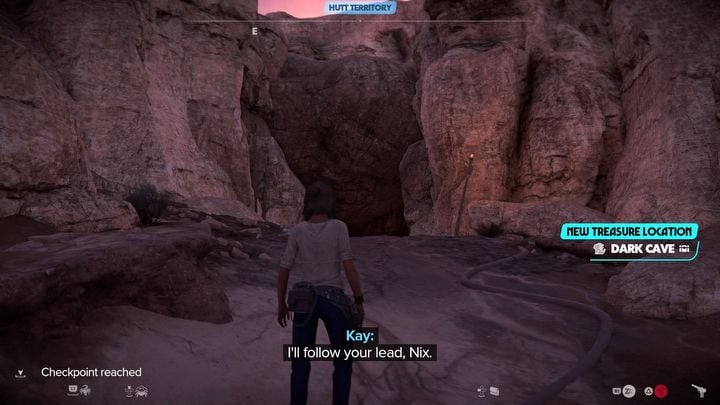
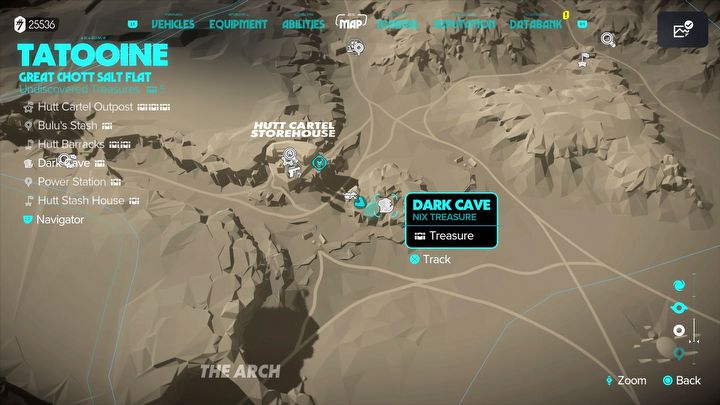
#9 Horns - Dark Cave, Tatooine
Related map marker: Dark Cave - Great Chott Salt Flat @ Tatooine
Reach the cave entrance near the Hutt Cartel outpost in the southeastern part of the map. Go through the dark cave and use the climbing wall. At the top, Nix will show you the place where the treasure is buried.
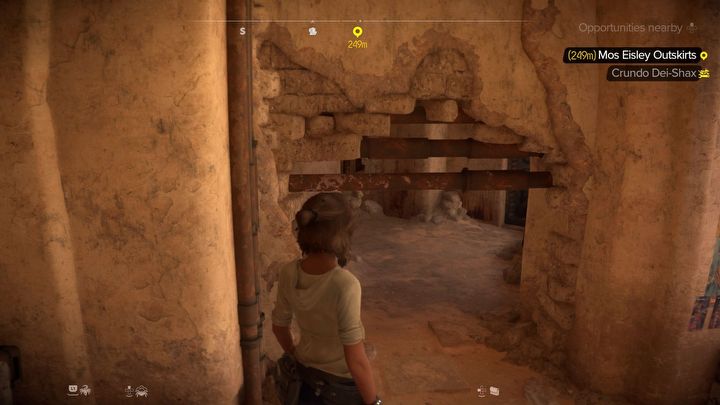
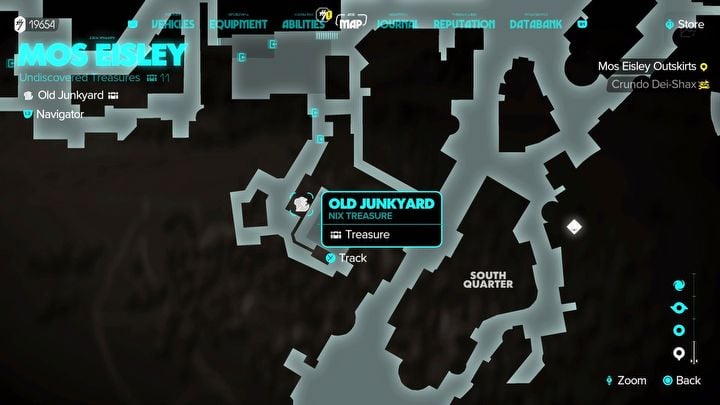
#10 Tiny Ship - Old Junkyard, Tatooine
Related map marker: Old Junkyard - Mos Eisley @ Tatooine
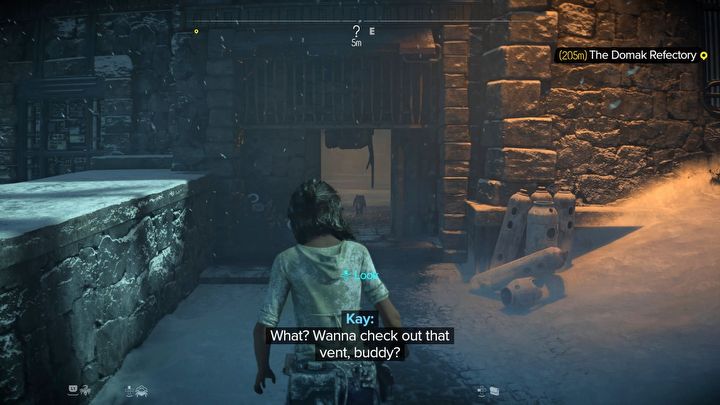
You need to get to the junkyard in the southern part of Mos Eisley City. Explore the alley to the northeast of the collectible marker. In the place in picture 1 he can pass through a hole in the wall. Follow Nix to a place where he will point you to buried treasure.
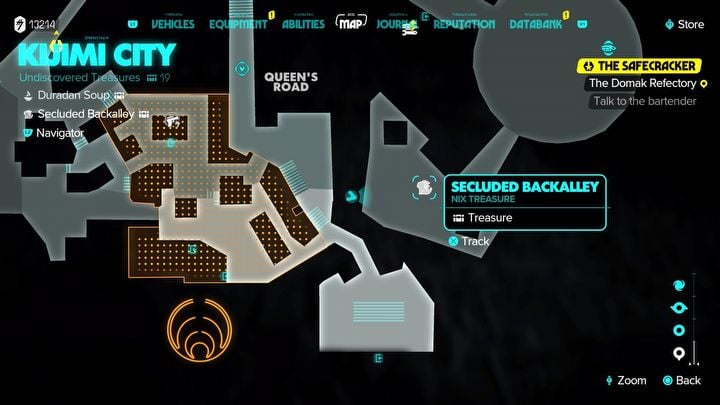
#11 Picture Card - Secluded Backalley, Kijimi
Related map marker: Secluded Backalley - Kijimi City @ Kijimi
The alley with the collectible is south of the landing site in Kijimi City , but you can get there from the west. Start north from the fortress entrance. In the place shown in picture 1, find the hole for Nix to pass through. Kay can squeeze through too. Follow your companion and help yourself along the way by using ladders. You will reach the treasure buried in the snow.
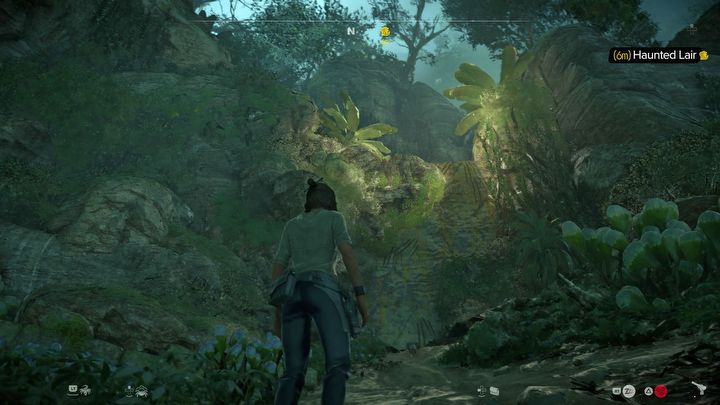
#12 Smelly Bone - Haunted Lair, Akiva
Related map marker: Haunted Lair - Karaba Foothills @ Akiva
Get to the eastern part of the map - is the area south of the village of Sashin. Kay can start climbing here - look for climbing walls and grappling hook locations. Squeeze between the rocks and reach the place where Nix will show you the buried treasure.
#13 Old Money - Kowakian Den, Akiva
Related map marker: Kowakian Den - Myrra Valley @ Akiva
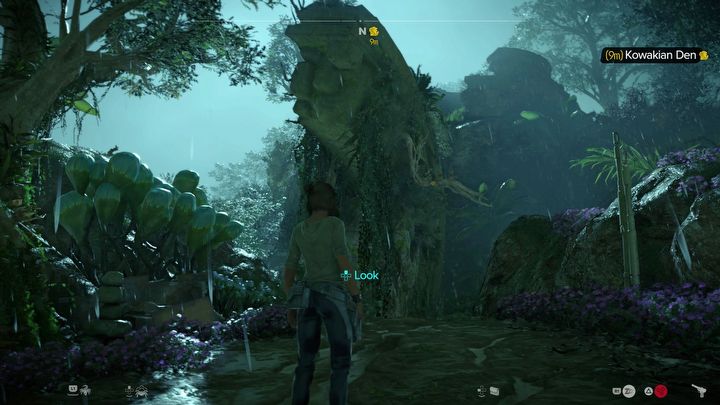
Reach the eastern part of the map, the area next to the bridge over the river and north of the city of Myrra. You can start your crossing here.
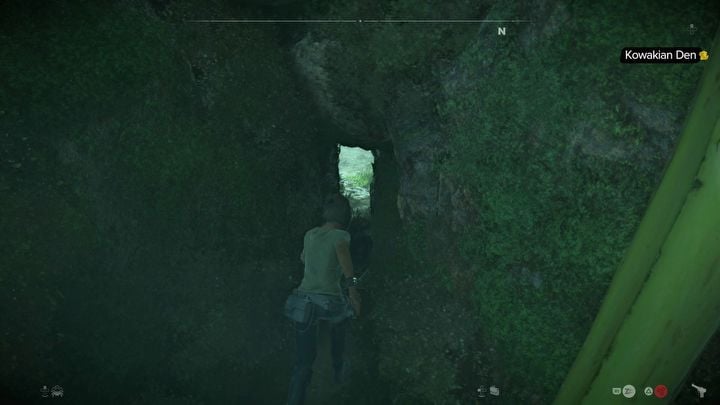
Look for narrow passages along the way (examples in the image). In the area with tall grass, watch Nix closely to make sure you don't lose him (if you have trouble, go back to the previous area). The pet will lead you to buried treasure.
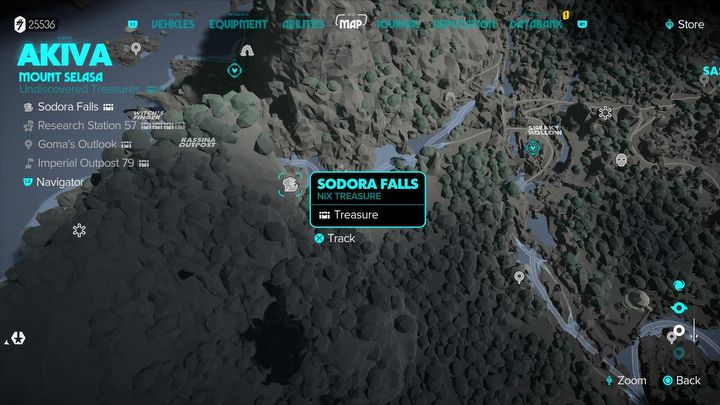
#14 Talk Box - Sodor Falls, Akiva
Related map marker: Sodora Falls - Mount Selasa @ Akiva
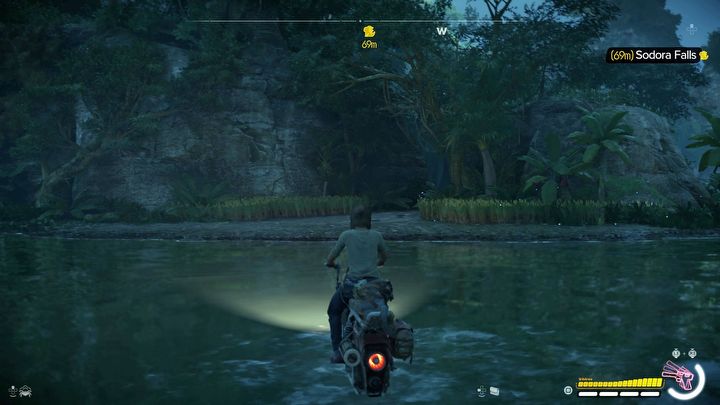
To reach this secret, you need an upgraded speeder that can float above water - unlocking its upgrade is described on the FAQ page How to travel on water?.
You have to sail along the river to the central part of the map - is an area hidden on the map behind the southern mountain.
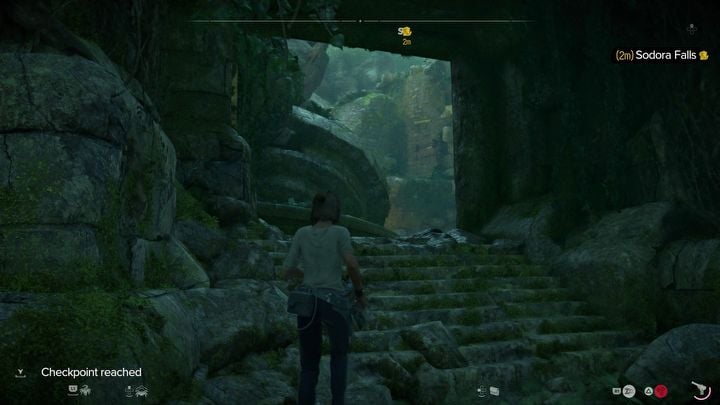
Stop your speeder once you're above dry land and begin climbing to the top of the ruins here. As always, Nix will lead you to the place where the treasure is buried (a vantage point overlooking the nearby Imperial base).
#15 Fruit Wrapper - Temple Ruins, Akiva
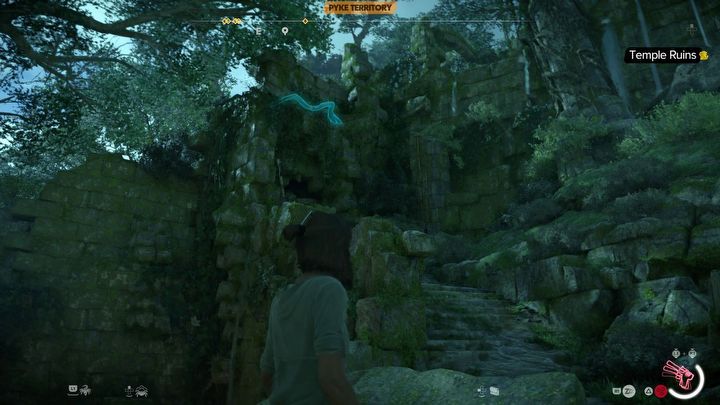
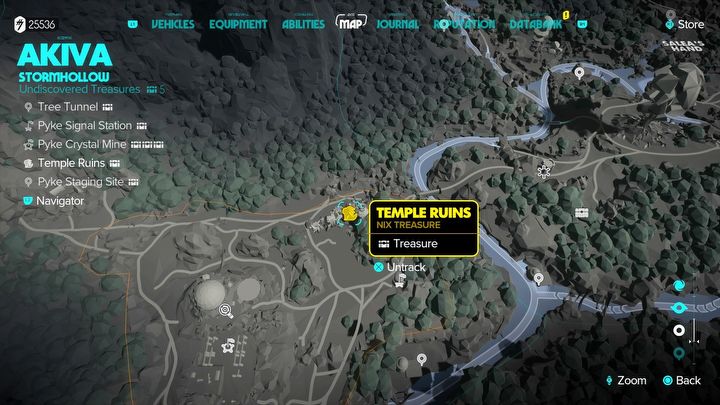
Related map marker: Temple Ruins - Stormhollow @ Akiva
Get to the southern part of the map - the titular ruins are located on the border of the Pyke Syndicate territory. You'll need to start climbing here, using the grappling hook to help you along. You will reach a place where Nix will point out buried treasure.
Use for Nix's Treasures
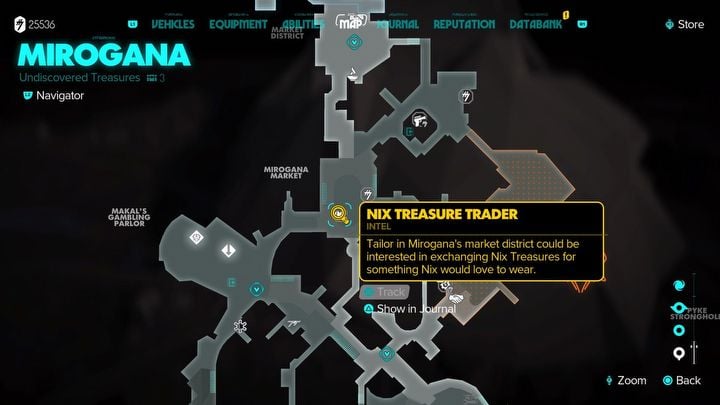
Related map marker: Nix Treasure Trader - Mirogana @ Toshara
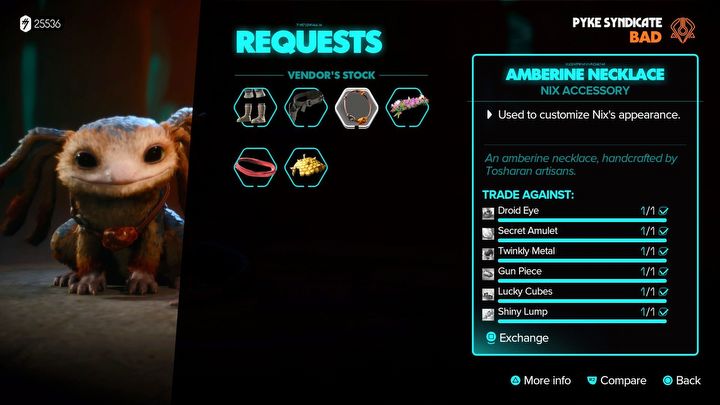
With collectibles from this category, return to the city of Mirogana on the moon of Toshara. In the city there is a treasure merchant Nixa - this is the merchant whose shop is shown in the image above.
Once the chat window appears, select the Requests option. A list of rewards will appear and some of them are cosmetic items from the Nixa Accessory category. You can receive them in exchange for delivering the treasures Nixa is looking for to the merchant (the merchant may require 1 treasure or a whole group of them).
You are not permitted to copy any image, text or info from this page. This site is not associated with and/or endorsed by the developers and the publishers. All logos and images are copyrighted by their respective owners.
Copyright © 2000 - 2026 Webedia Polska SA for gamepressure.com, unofficial game guides, walkthroughs, secrets, game tips, maps & strategies for top games.
