Star Wars Outlaws: The Safecracker - walkthrough
The Safecracker is the name of the first main quest on the winter planet of Kijimi. In this walkthrough we will tell you how to infiltrate the Ashiga Clan base, how to recover the relic and how to win the favor of the Queen.
You will initiate The Safecracker mission during your first visit to Kajimi. During the quest you will gain information about Ank, a debt-ridden thief held captive by the Ashiga Clan. On this page of the guide, you'll find a detailed description of the entire quest along with the optimal paths to complete it.
- Where can I find information about Ank?
- How to retrieve the relic?
- Speaking to the clan's queen
- Gunsmith
Where can I find information about Ank?

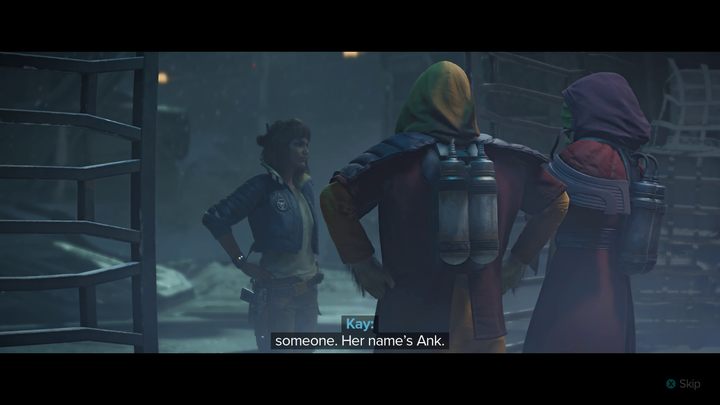
After landing on Kajimi, talk to the representatives of the Ashiga Clan waiting in front of the ship. After a short exchange, head to the canteen in the northwestern part of the city.


Talk to the bartender, who will tell you that the safecracker is being held by the Ashiga as compensation for unpaid debts.


Go to the clan's territory in the southern part of the city. Of course, the guards won't let you in through the main gate, but you'll find a wall you can jump over on the western border of the location.


Your destination is a large building in the southern part of the location. You will recognize it by the large antenna on top of the roof.


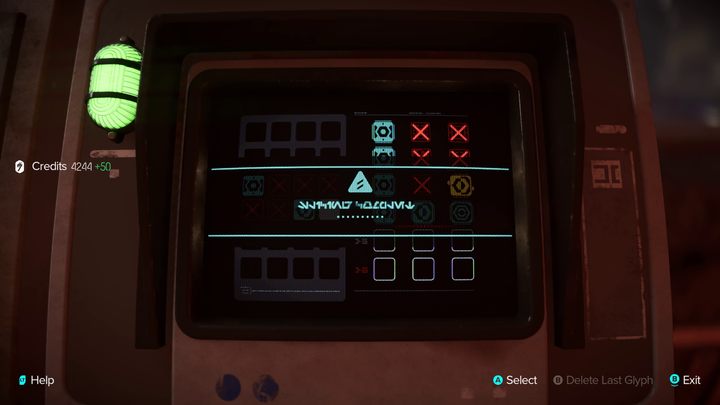
Silently eliminate all enemies standing in your way and go inside. After breaking the lock on the large door, enter the room with the computer. Crack the security on it and copy the data from it.
How to retrieve the relic?
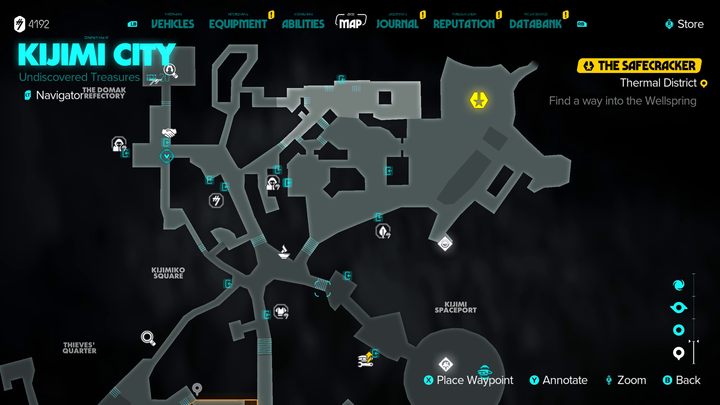
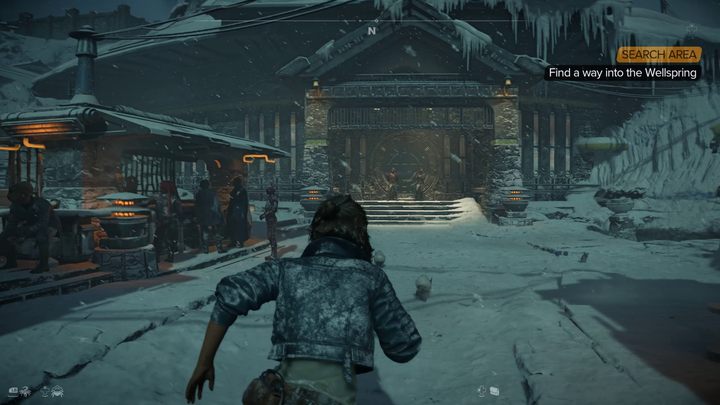
From the stolen file you will learn that Crimson Dawn has stolen a relic important for the Ashiga Clan and is currently keeping it in the hot springs building. Head there by following the marker.

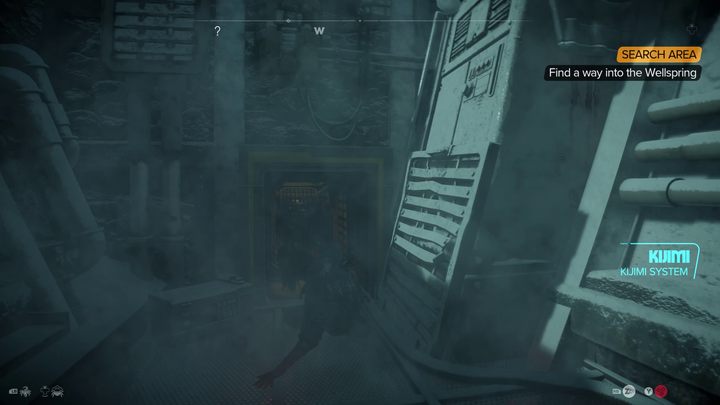
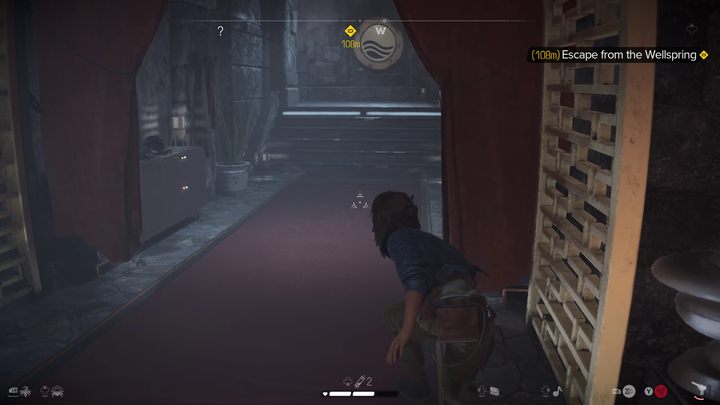
The best way to get to the guarded area is to use the passage to the right of the building. Squeeze through between the rocks and then enter the ventilation shaft that will lead you inside.


Move from the kitchen and the bar into the large, open room. The stolen relic is in a display case, behind a force field.

First, steal the control room access card from one of the guards. You will recognize it by its yellow glow when Nix Sense is activated.

Enter the control room upstairs, crack the computer's security and then disable the display case's barrier.


Now you can try to sneak in and steal the uncovered relic. You will be aided in this by exploding barrels of smoke that are scattered around the room. Remember that sneaking is not necessary in this part of the mission, so feel free to engage in combat if you want.

Head back to the courtyard through the door on the ground floor. Outside, another wave of enemies awaits you and it will be quite difficult to avoid them. Prepare for a tough fight. Make use of weapons, grenades and additional healing shots scattered around the arena.
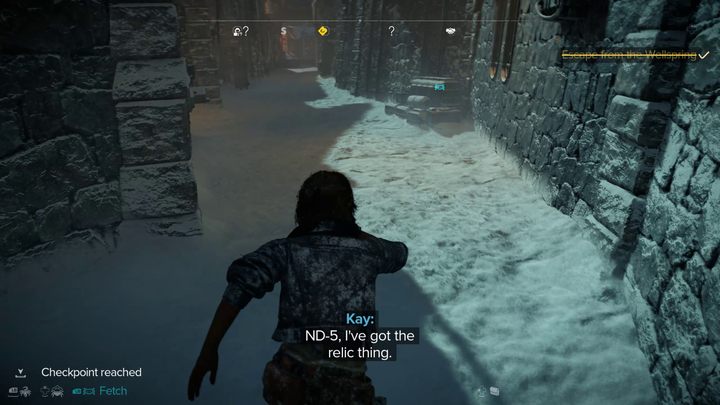
After defeating the enemies, leave the hot springs area.
Speaking to the clan's queen

The mission marker will direct you to the Clan territory. Talk to the guards who will escort you to the queen. She will thank you for retrieving the relic and give you another mission. The Safecracker quest will come to an end and your relationship with the Ashiga Clan will improve significantly.
Gunsmith
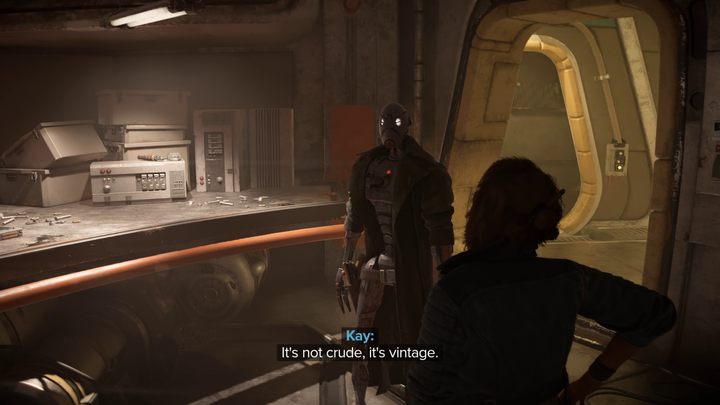
Before continuing the main storyline, you must complete one short task that involves modifying your blaster. Return aboard the Trailblazer and speak with ND-5. He will give you the parts needed to install the exploding projectiles.

Go to the table and install the new elements highlighted in yellow. Your blaster will now be able to fire charged projectiles that explode on impact. Once installed, the Gunsmith quest will be completed.

You are not permitted to copy any image, text or info from this page. This site is not associated with and/or endorsed by the developers and the publishers. All logos and images are copyrighted by their respective owners.
Copyright © 2000 - 2025 Webedia Polska SA for gamepressure.com, unofficial game guides, walkthroughs, secrets, game tips, maps & strategies for top games.