Star Wars Outlaws: How to break into the vault in the Outlaws mission?
The vault from the main quest of the Outlaws from the game Star Wars Outlaws is the place to play the slicing mini-game. From the guide you will learn how to hack a computer properly, as well as how to unlock the slicing kit for advanced hacking.
Completing the Slicing mini-game is a mandatory step to break into the vault in the Cantonica mansion in Star Wars Outlaws. On this page of the guide we have described the first mini-game of this type in the Outlaws quest. You will learn how to arrange glyphs correctly, how to reduce the difficulty level of the mini-game and where to find a slicing kit for more difficult slicing games later in the campaign.
- Getting to the vault - Slicing mini-game
- How to hack properly?
- Decreasing the difficulty of slicing
- Unlocking the slicing kit
Getting to the vault - Slicing mini-game
While playing the main Outlaws mission in the mansion on the Cantonica planet, you will be given a mission objective to break into the vault.
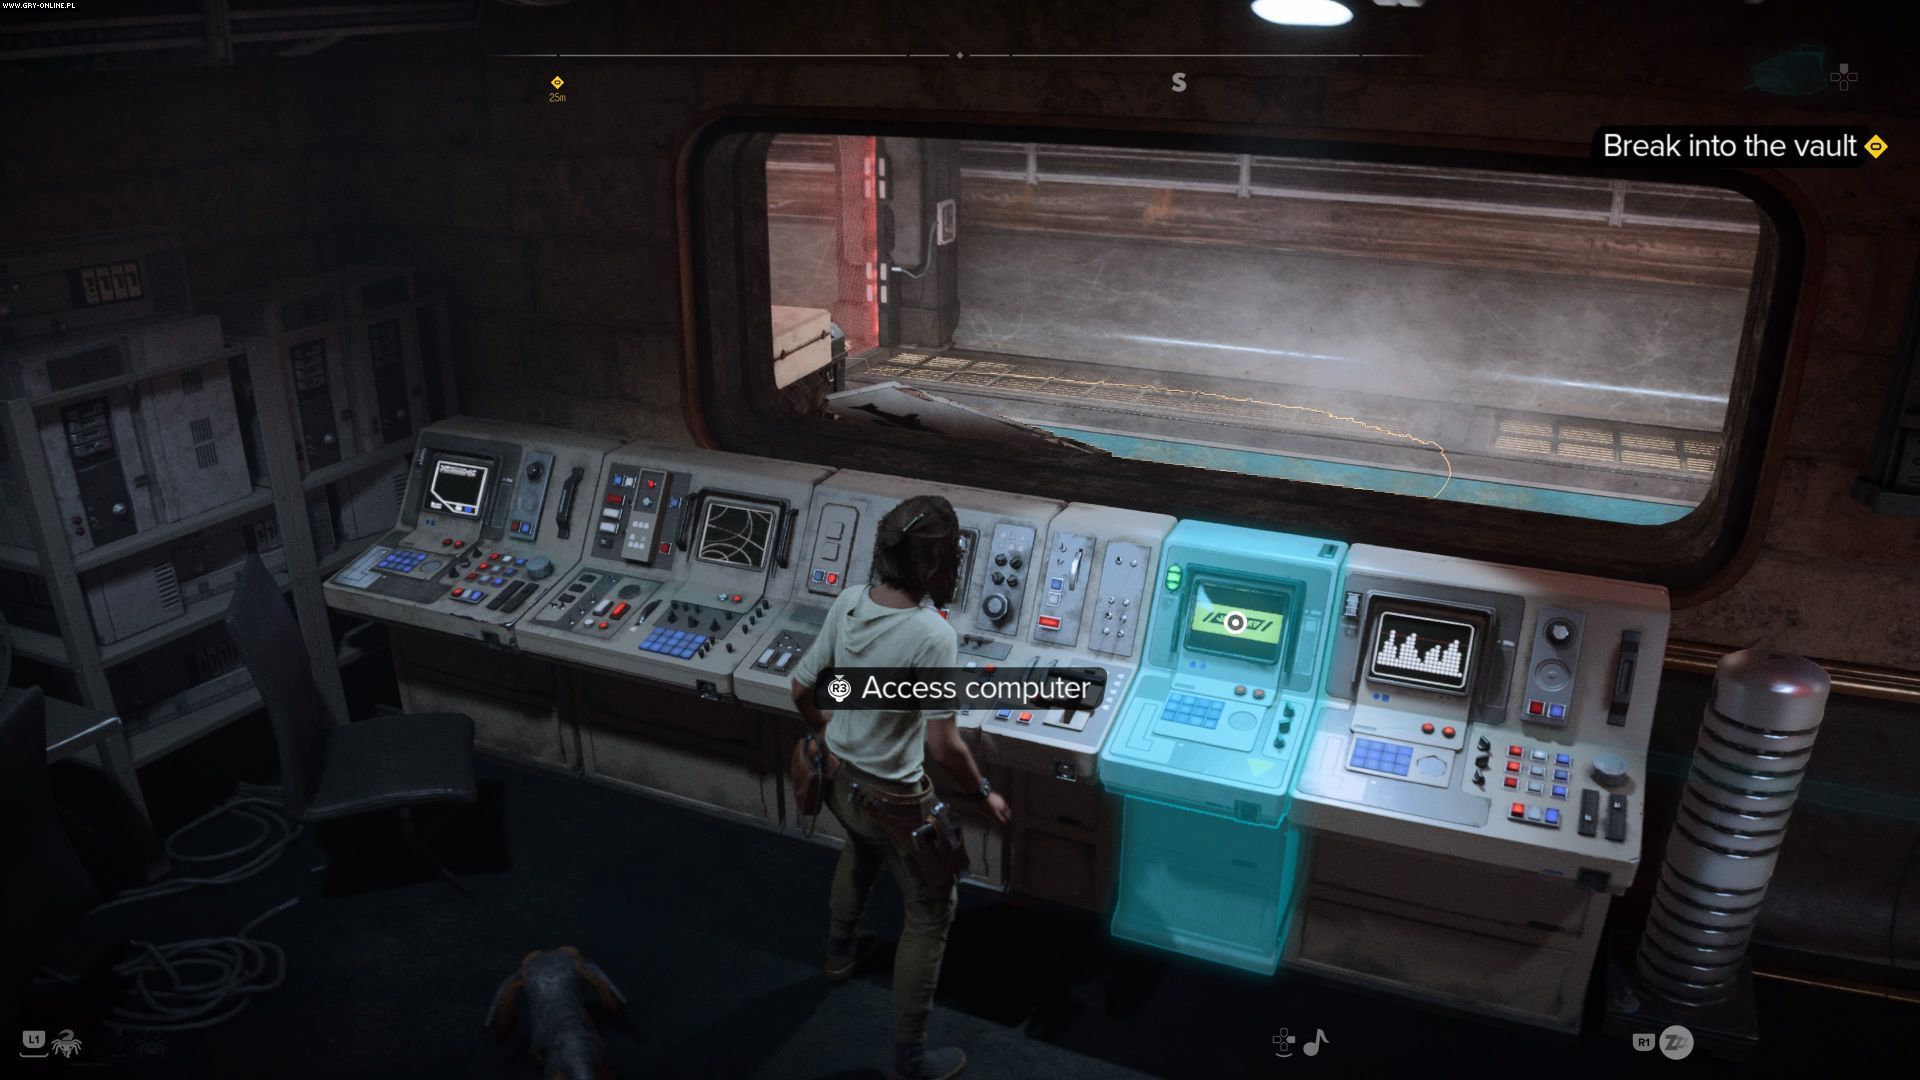
- Ultimately, Kay must reach the control room where the computer is located (see the screenshot). Interacting with it for the first time will trigger the Slicing mini-game.
How to hack properly?

The aim of the mini-game is to determine the correct combination of glyphs while having a limited number of attempts to do so. The mini-game can be replayed and also undo your last move. The computer responds to your hacking attempts with colors:
- Red - the given glyph is not in the combination at all and can be ignored.
- Yellow - the given glyph is in the combination, but in a different place. You must try a different slot in subsequent attempts.
- Blue - the glyph has been placed in the correct place and will be blocked for the rest of the mini-game.
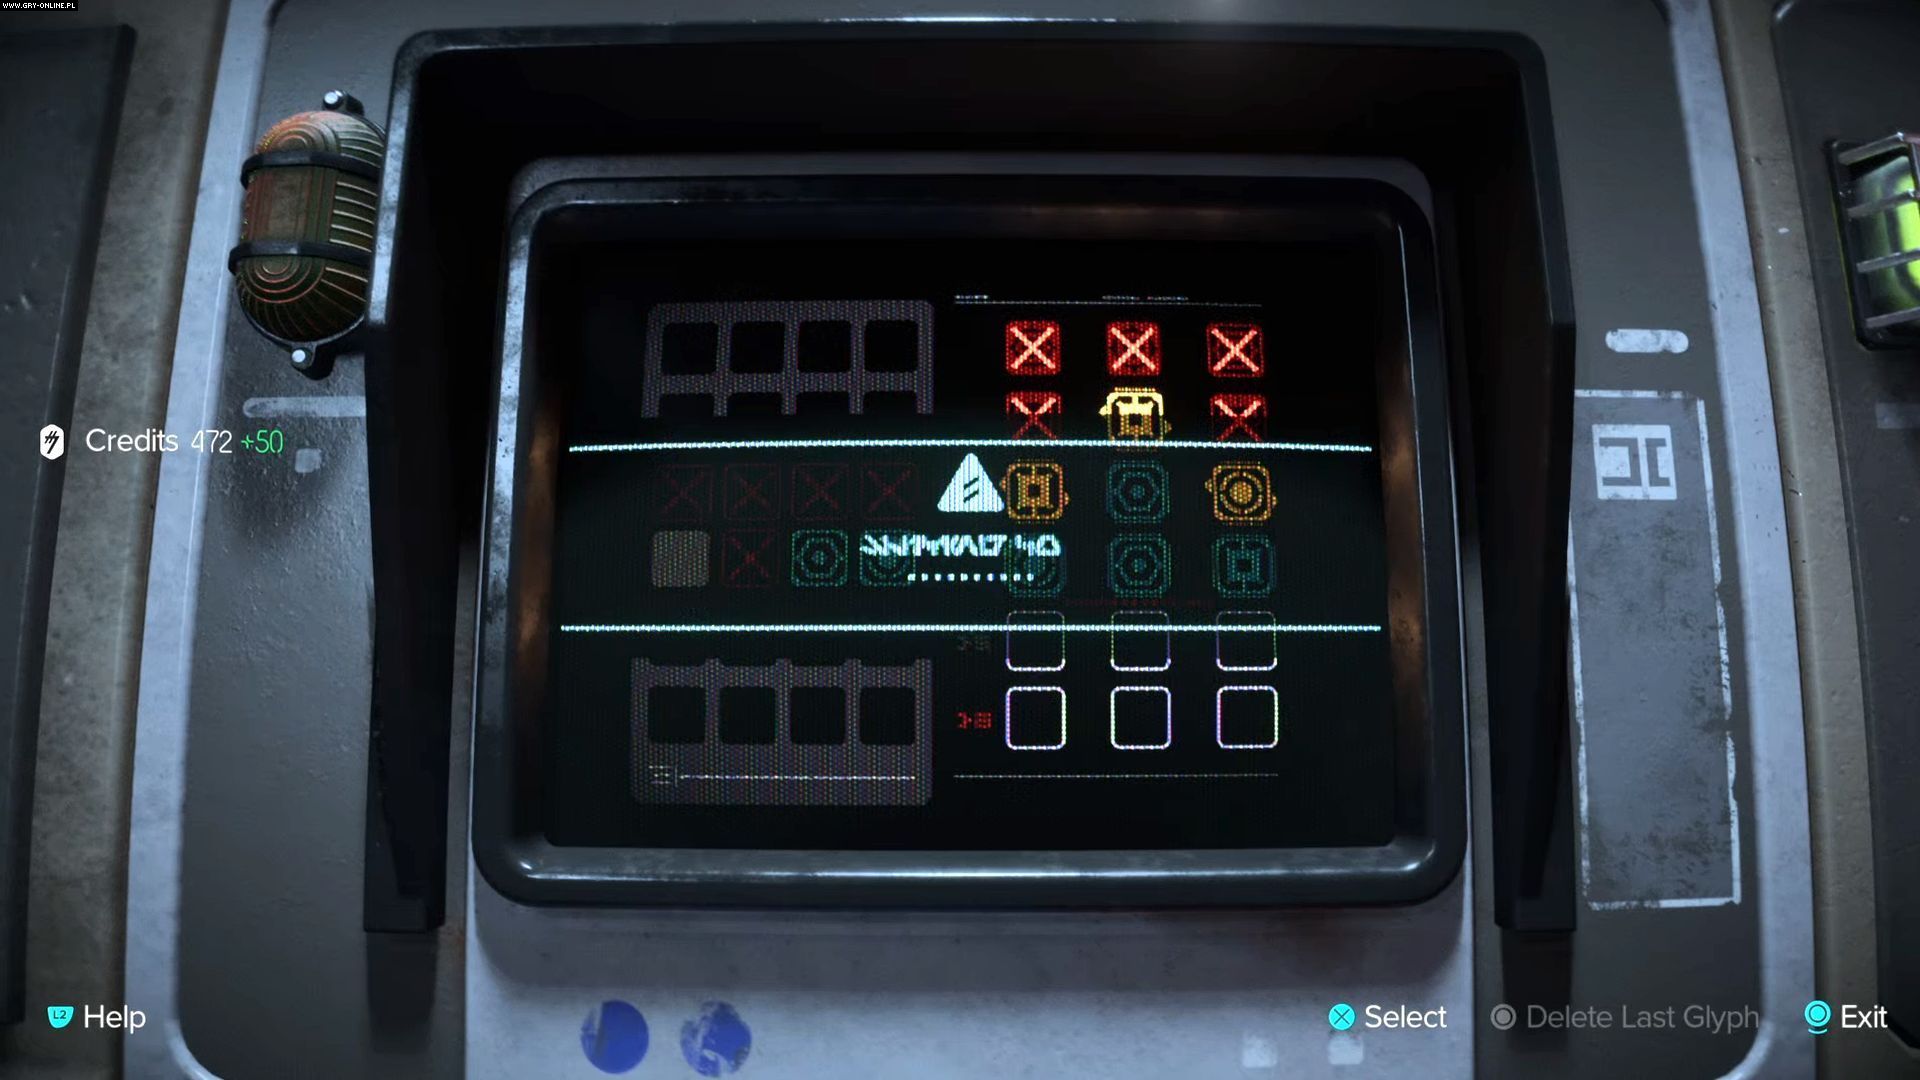
- Try to check as many glyphs as possible first. Don't look for the correct locations for the yellow glyphs right away, as they will be permanently placed and you will have fewer slots available in subsequent attempts.
- A blue message indicates successful completion of the mini-game. This allows you to select previously unavailable command(s) from your computer screen.
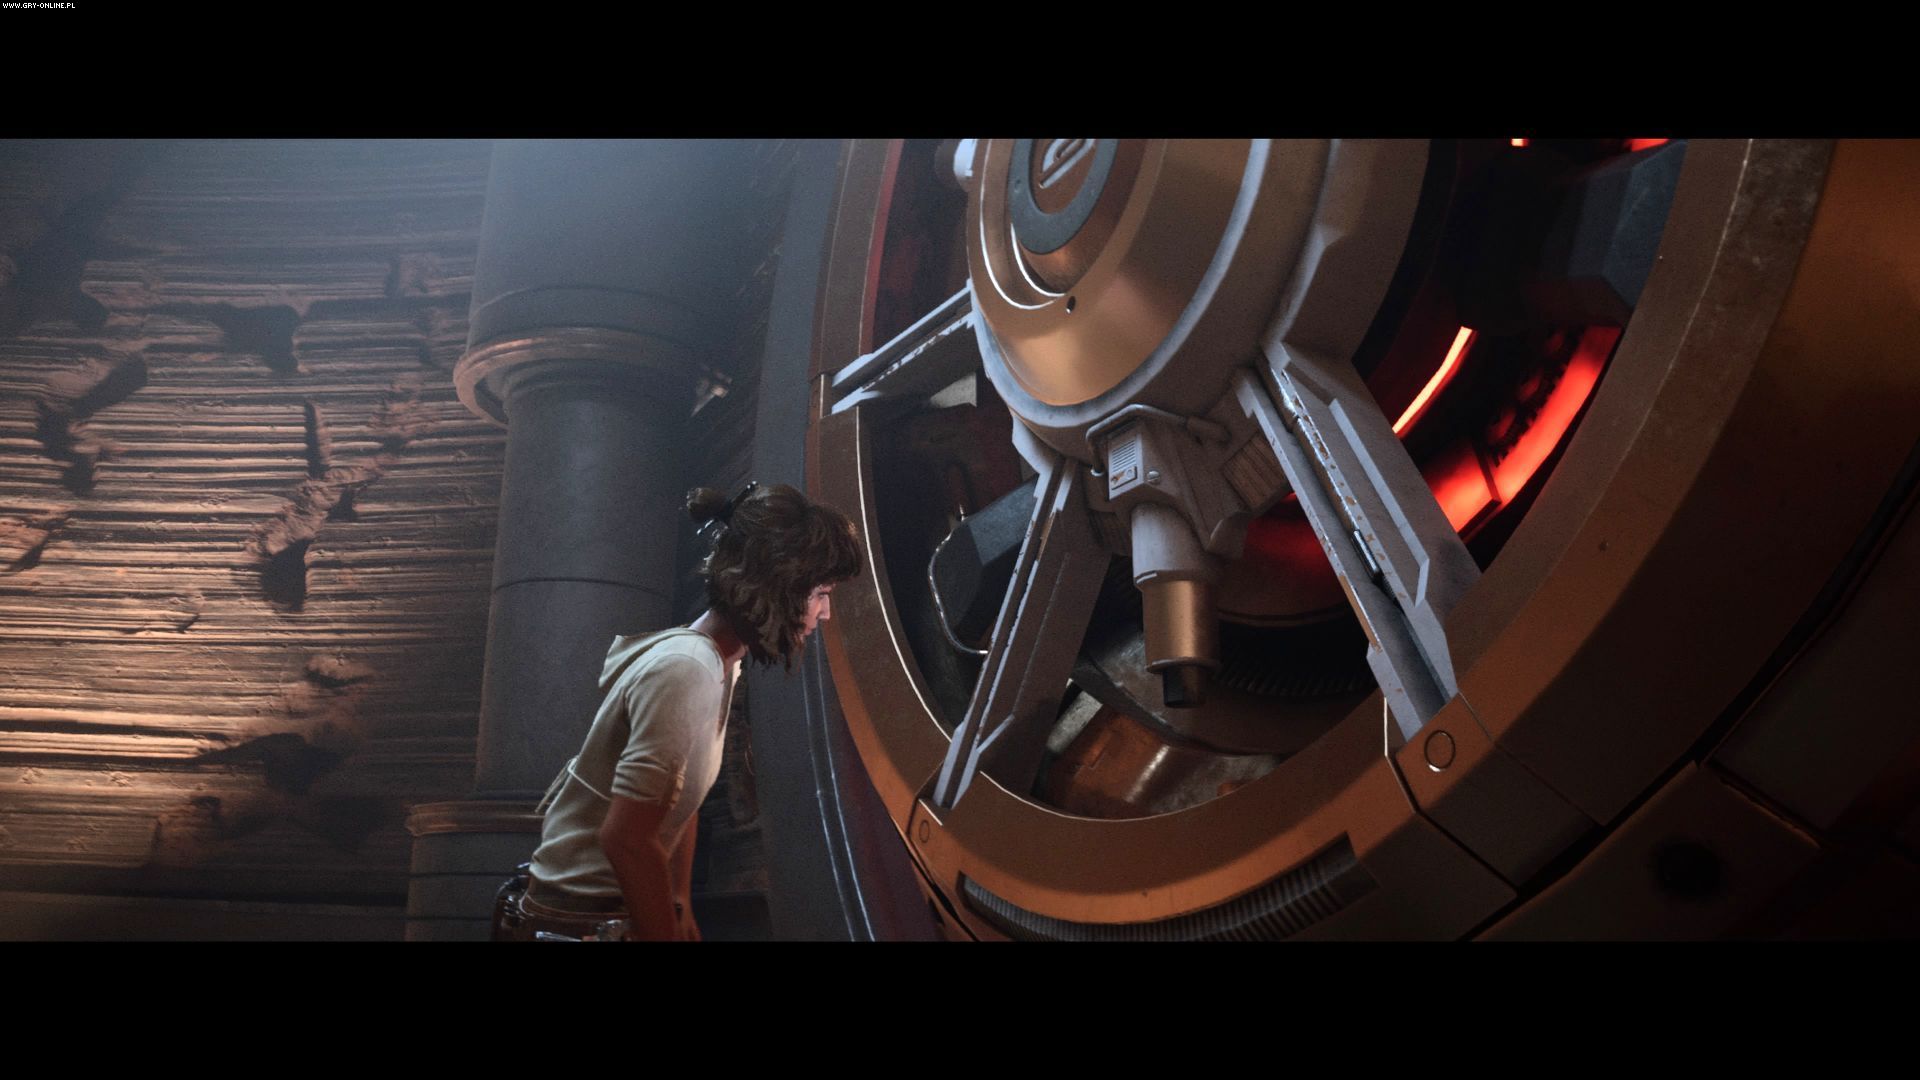
- There are different rewards for completing the mini-game - in the described case, the vault security will be disabled (you can leave the room and open the vault door). In other mini-games you can, for example, disable defensive turrets or collect a large bundle of credits.
- In the future, more difficult variants of the game will appear - instead of a combination of 3 glyphs, it may be required to arrange four or five of them. In such cases, it becomes even more important to check a large number of glyphs from the available pool.
Decreasing the difficulty of slicing
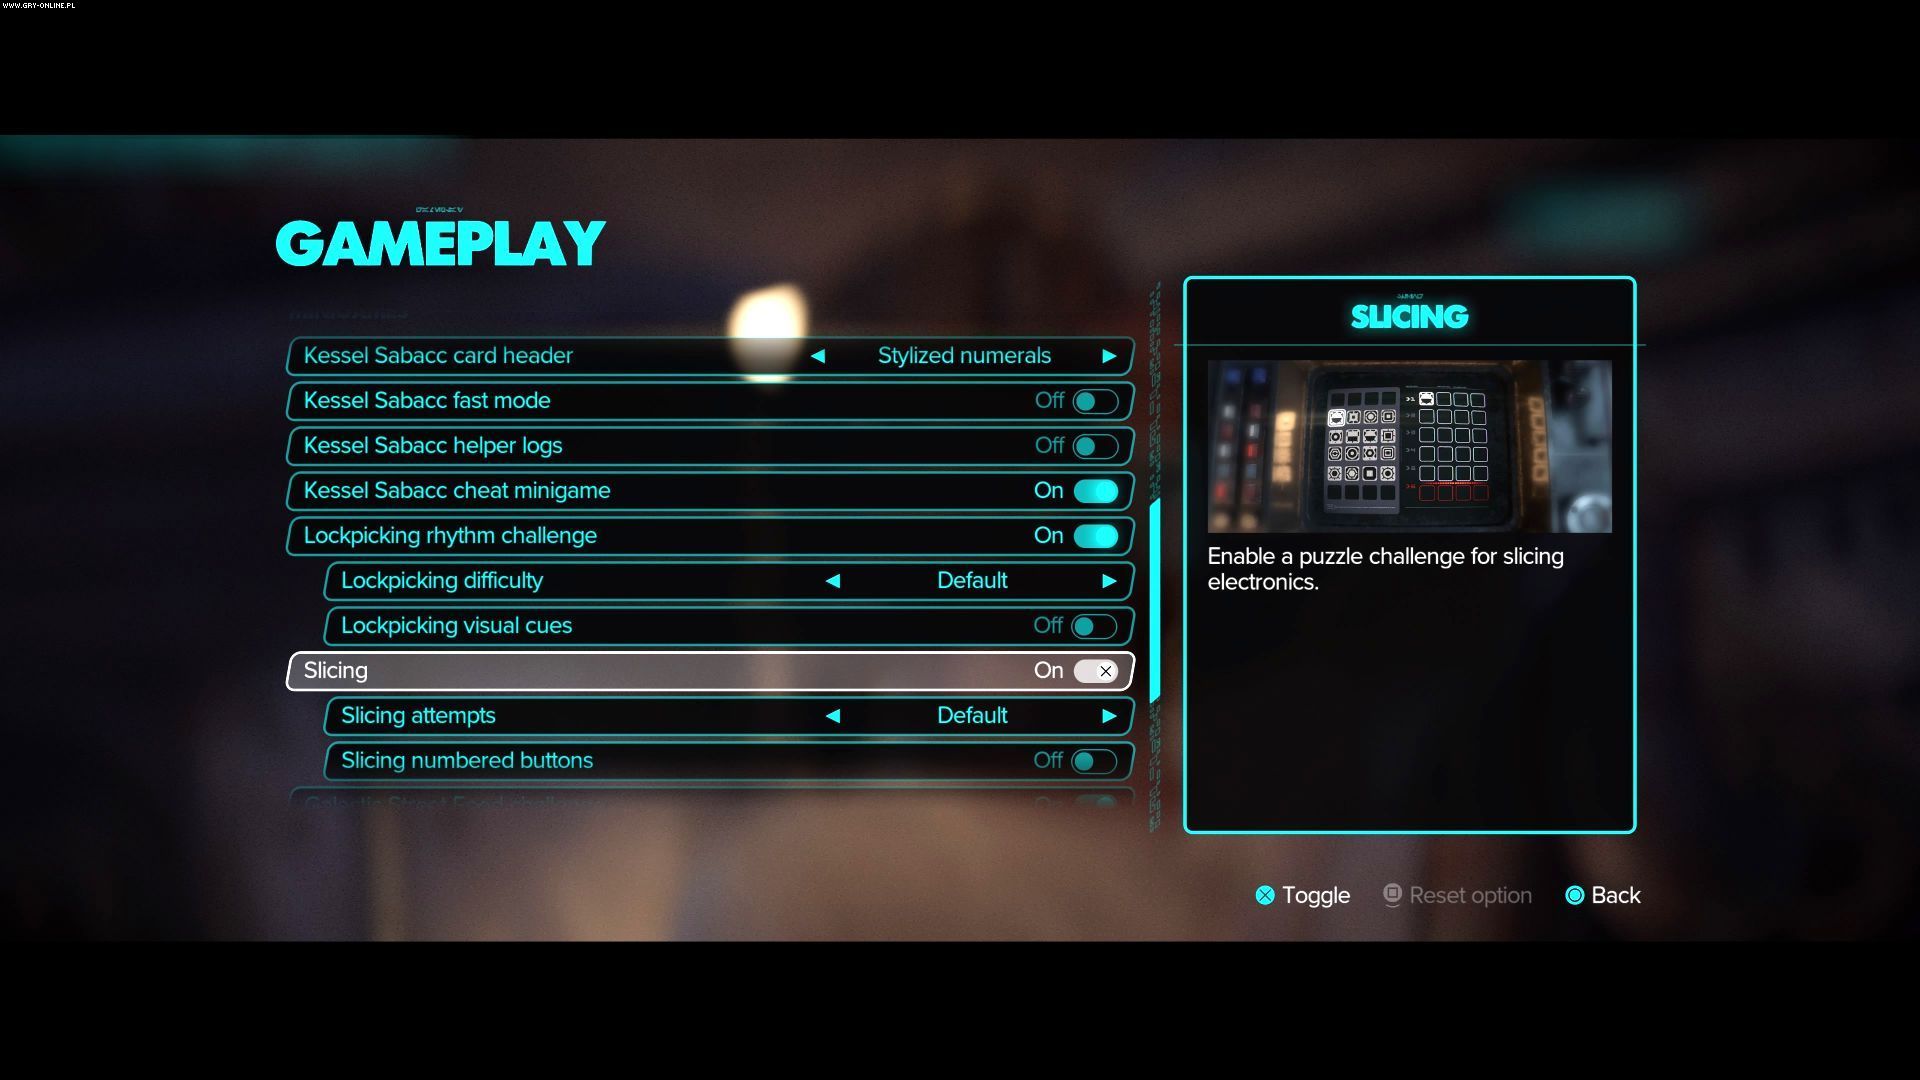
In the game options, in the Gameplay tab, you can find settings related to reducing the difficulty level:
- Slicing- this option allows you to completely disable the mini-game and remove the requirement to play it.
- Number of slicing attempts - you can increase the default number of attempts and reduce the risk of running out of attempts to test various glyph combinations.
- Slicing numbered buttons - you can improve the readability of the mini-game and replace the default glyphs with numbers.
Unlocking the slicing kit
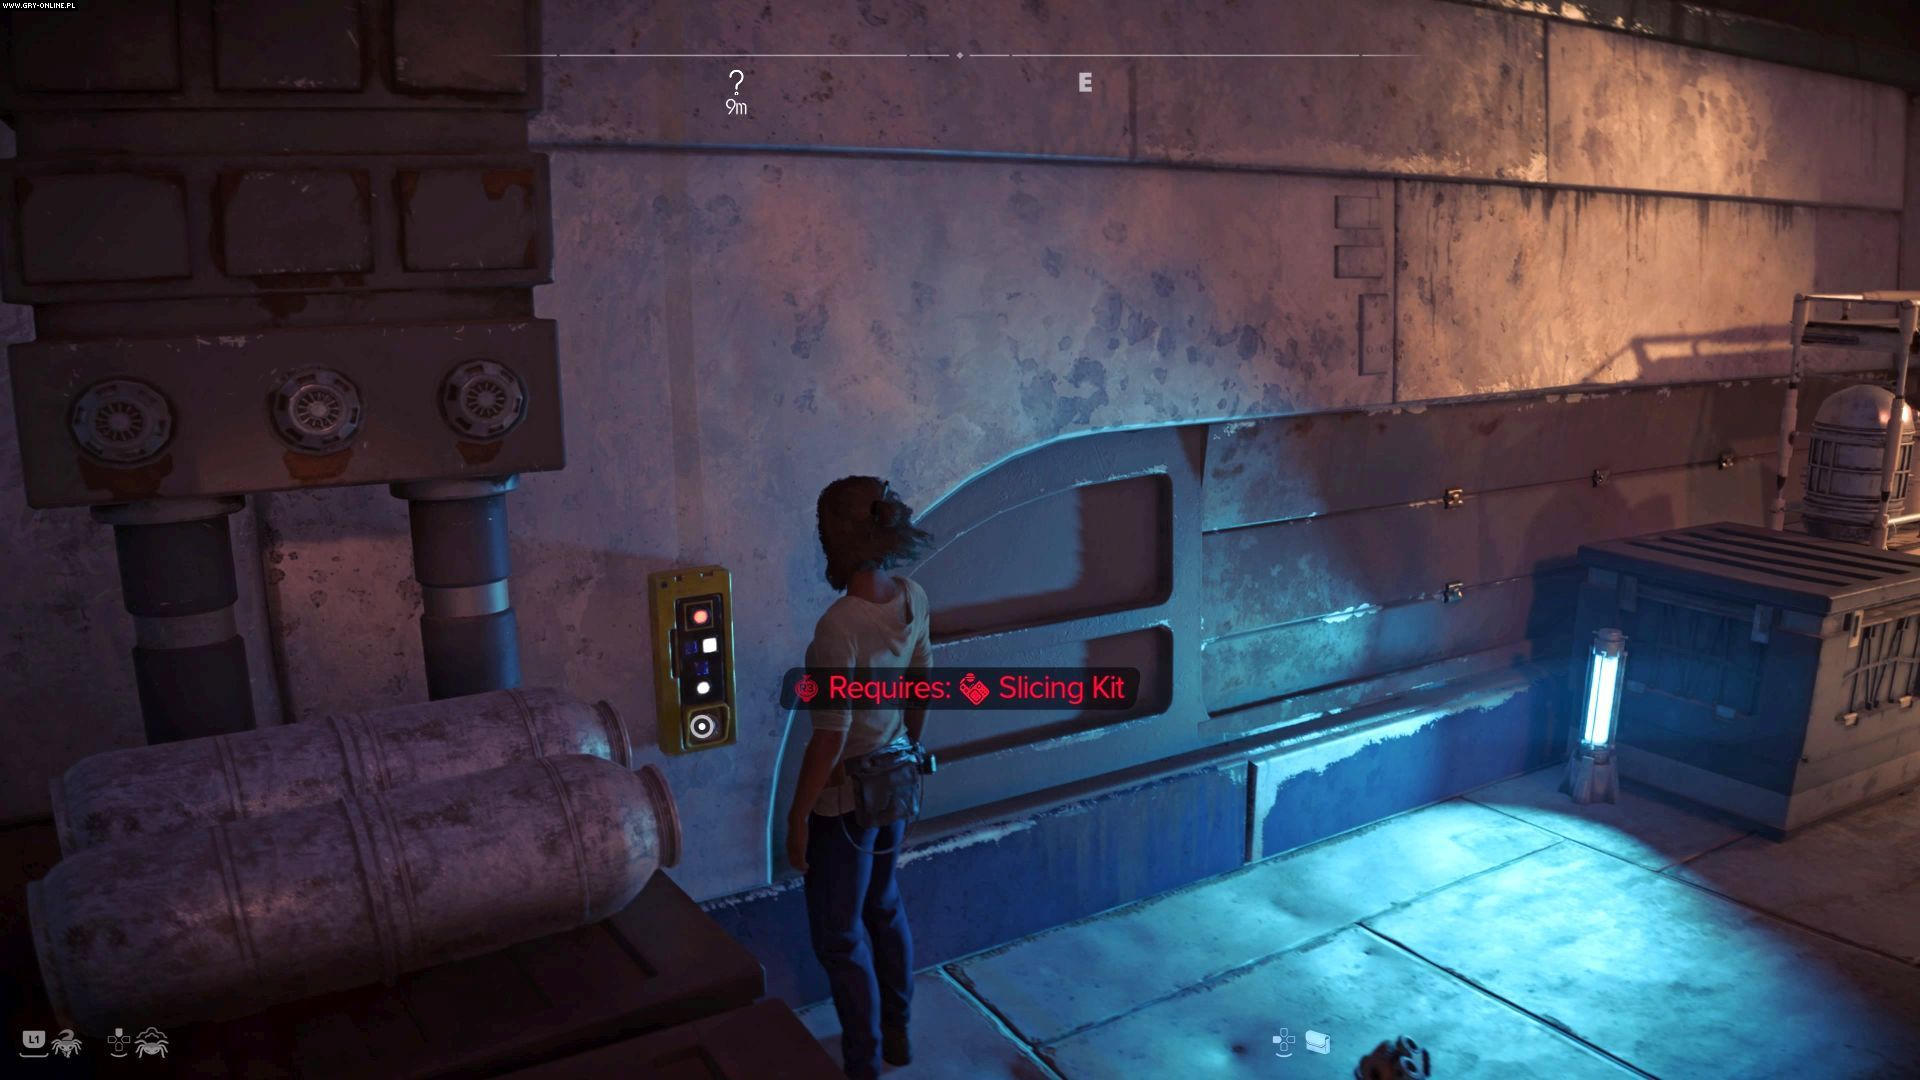
- Later in the campaign, in addition to mini-games with more glyphs, you may encounter locked devices that require you to have a slicing kit.
- Initially, you cannot hack them, but try to remember where these devices appear (or mark them with your own marker on the map).
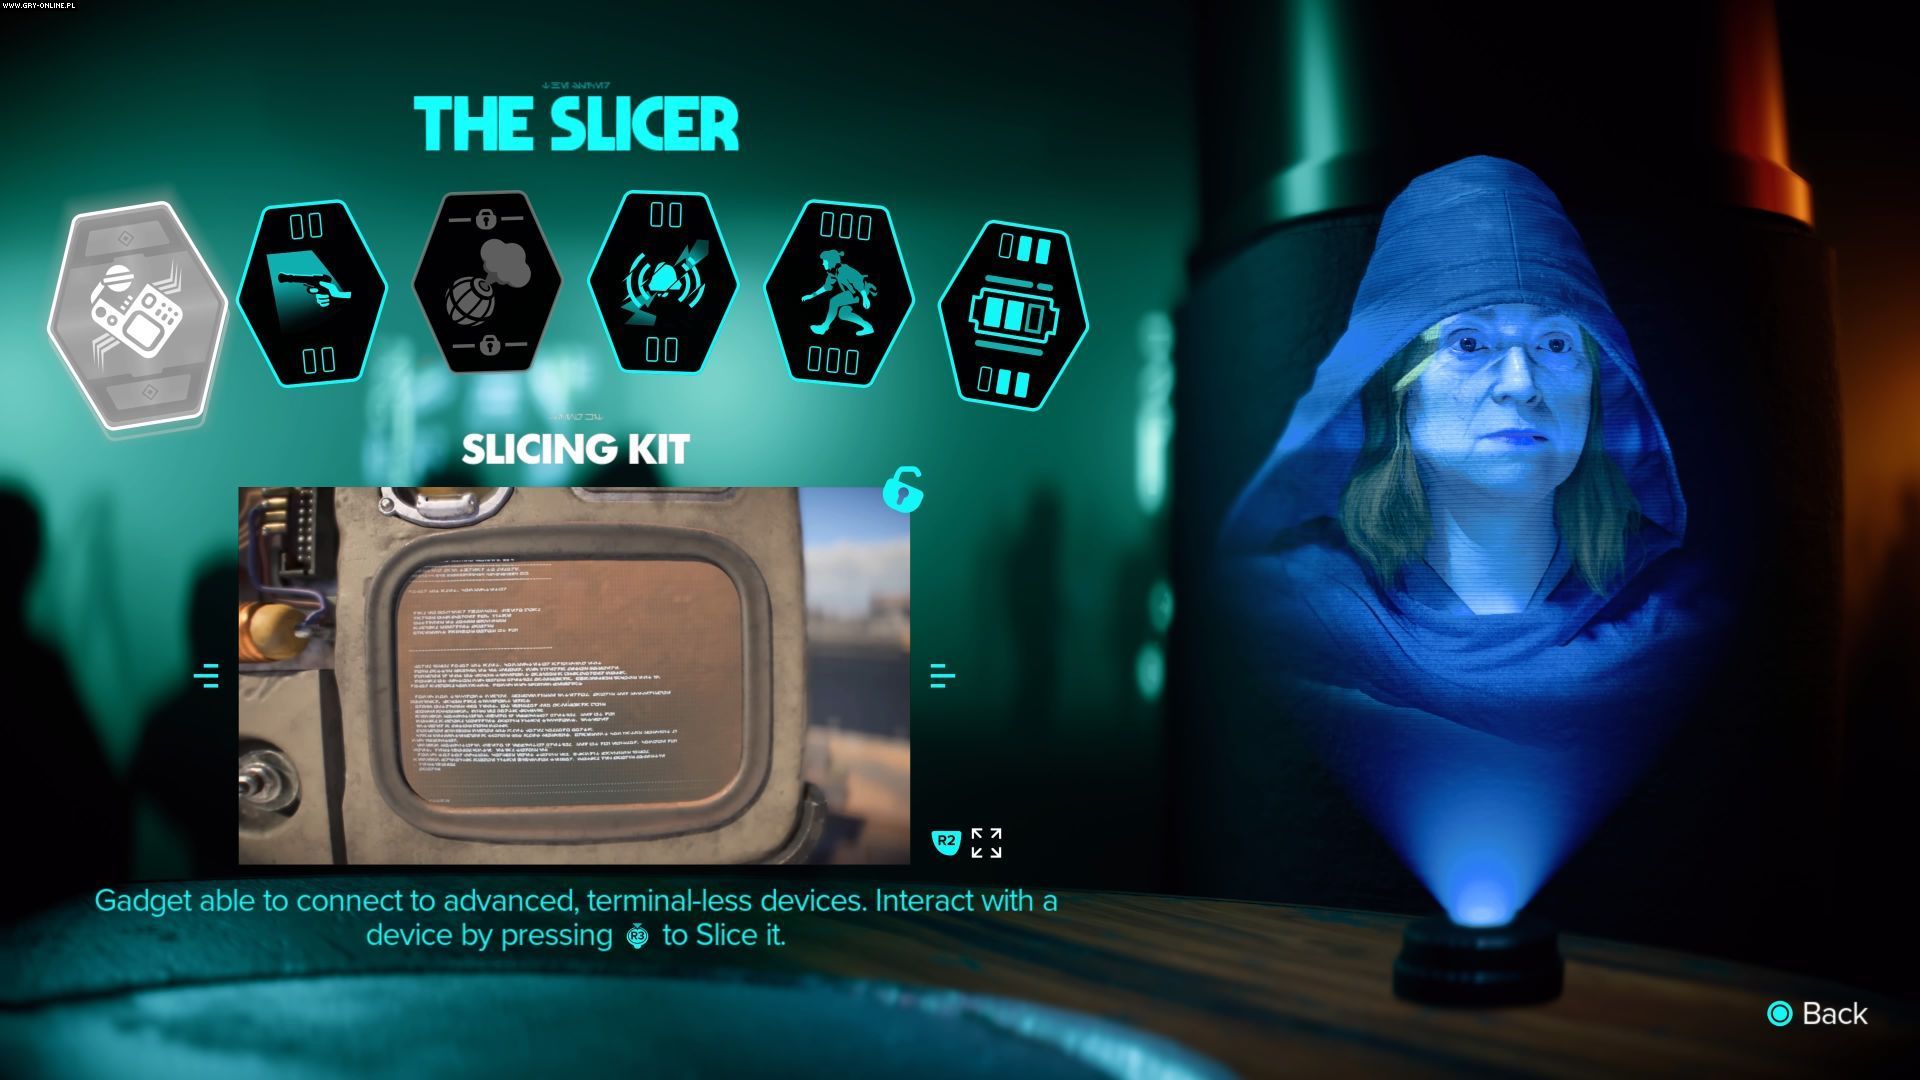
- Wait until you unlock The Slicer quest - this is one of the quests on the Toshara planet.
- Upon completing said mission, you will unlock a new expert and the Slicing Kit skill.
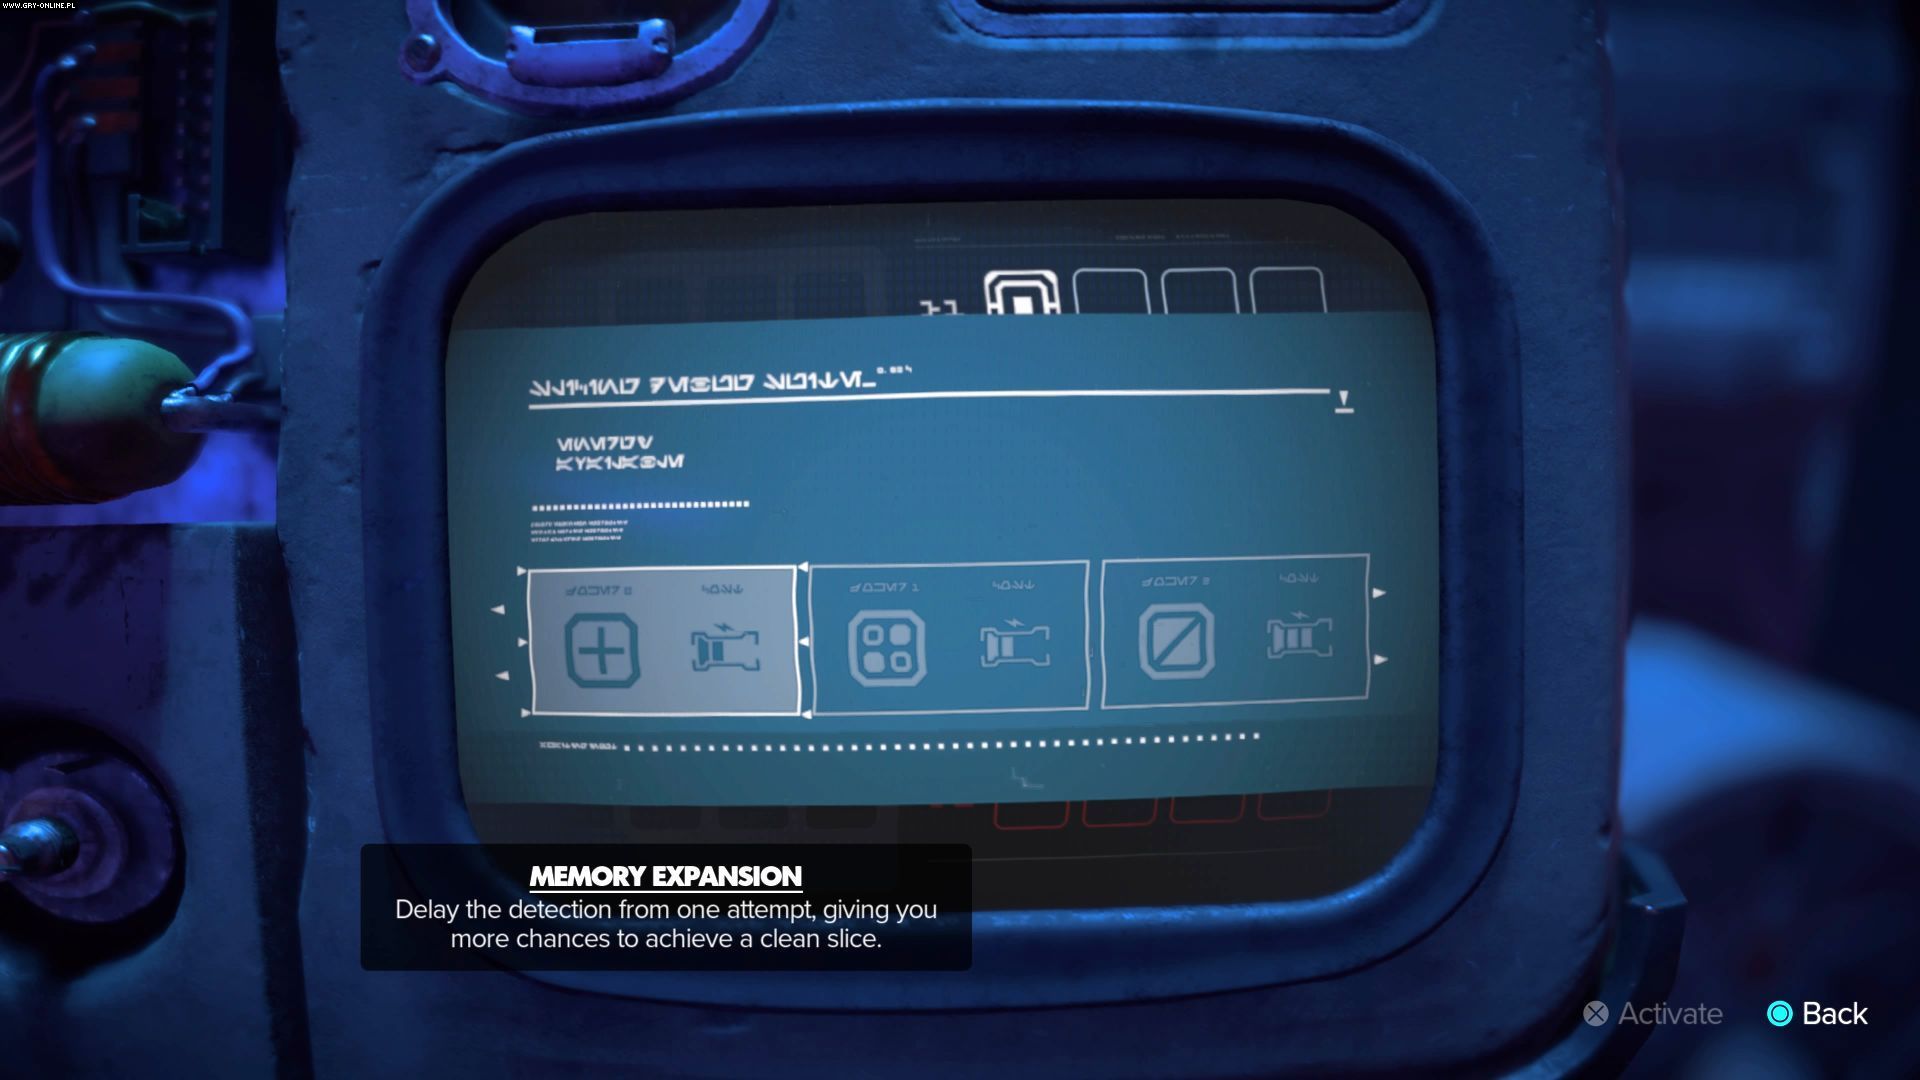
- Not only does the Slicing Kit allow you to hack into advanced systems, but there are also additional unlockables associated with it - you can delay detection, make yellow glyphs be placed in the correct spots, and remove some invalid glyphs from the pool.

- Star Wars Outlaws Guide
- Star Wars Outlaws: Game Guide
- Star Wars Outlaws: FAQ
- Star Wars Outlaws: Quests and data
- Star Wars Outlaws: How to break into the vault in the Outlaws mission?
- Star Wars Outlaws: Who is the Mirogana market trader?
- Star Wars Outlaws: How to defeat the rancor?
- Star Wars Outlaws: Where is the Research Station 57 Lobby Keycard in Kijimi?
- Star Wars Outlaws: How to win the fixed fathier race?
- Star Wars Outlaws: Where to find the BT-009S Fastshot Trigger in Typhon Rock?
- Star Wars Outlaws: Is there a point of no return?
- Star Wars Outlaws: Where to find the smoke bomb compressor?
- Star Wars Outlaws: How to get Flux Compressor?
- Star Wars Outlaws: Quests and data
- Star Wars Outlaws: FAQ
- Star Wars Outlaws: Game Guide
You are not permitted to copy any image, text or info from this page. This site is not associated with and/or endorsed by the developers and the publishers. All logos and images are copyrighted by their respective owners.
Copyright © 2000 - 2026 Webedia Polska SA for gamepressure.com, unofficial game guides, walkthroughs, secrets, game tips, maps & strategies for top games.