Horizon Forbidden West: Hunting Grounds: The Raintrace - trials walkthrough
This page of the Horizon Forbidden West guide contains a walkthrough of all the trials in Hunting Grounds: The Raintrace.
This page of the Horizon 2 Forbidden West game guide contains a walkthrough of all of the hunting trials in the Hunting Grounds: The Raintrace. We explain the requirements you need to meet to unlock the trials and the recommended experience level, how to prepare for the Raintrace trials and what to do during the trials to get the best rewards.
- Location of the Raintrace Hunting Grounds
- Challenge 1 - Shock and Remove Trial
- Challenge 2 - Mounted Combat Trial
- Challenge 3 - Heavy Weapons Trial
Location of the Raintrace Hunting Grounds
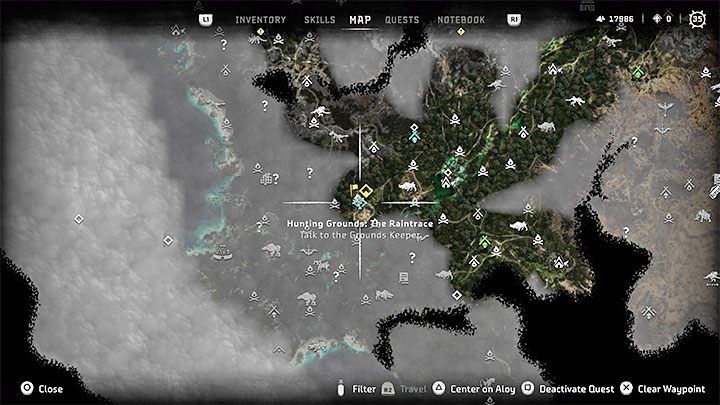
The recommended level for this activity is 25. We strongly advise being this or an even higher level, as the trials involve taking part in difficult battles involving an elite type of machine. Additionally, completing The Broken Sky main quest can help as well, because you will know what to do when pitted against Tremortusks (mechanical mammoths).
The hunting grounds are located in the western part of the world map, west of Razor's Edge.
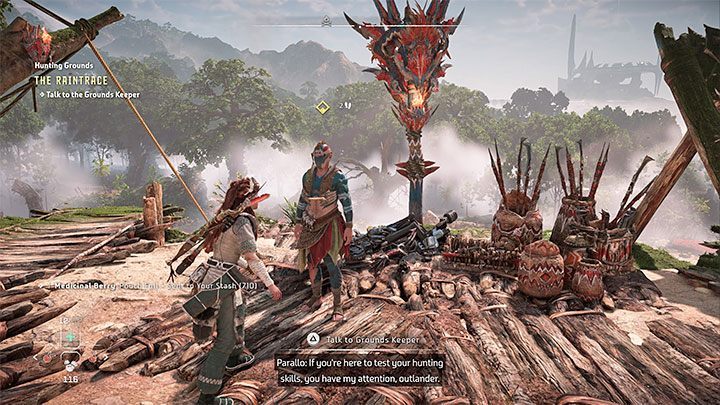
In this location, you will encounter a hunter who sells, among other things, rare and very rare variants of weapons. These should include a weapon with Purgewater ammo, which will be useful during one of the trials.
To enter the trial, you need to speak to the Grounds Keeper. There are 3 trials available, with each one letting you get 3 kinds of Stripes.
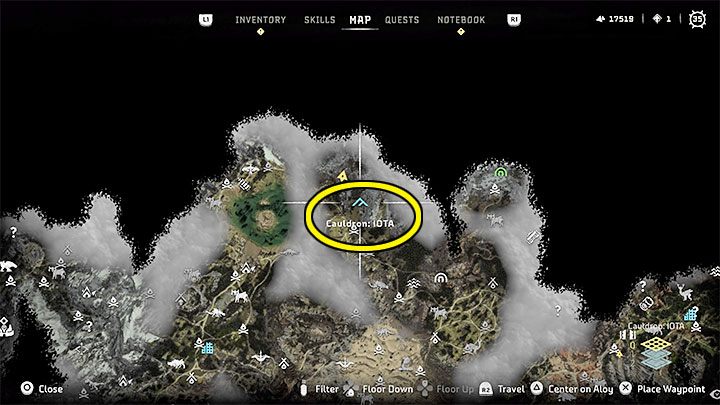
It's important to note that the second challenge (the Mounted Combat Trial) may not yet be available. This happens if you haven't already visited the IOTA Cauldron in the northern part of the map, pictured in the screenshot above.
Completing the IOTA cauldron (which involves puzzles, a boss and freeing a Tallneck) will, among other things, unlock the option to use the Clawstrider machine species as mounts. This is necessary to meet the requirements of the second trial.
Challenge 1 - Shock and Remove Trial
This trial consists of firing Shock Ammo at a Tremortusk until the machine enters the Shocked State, then shooting off its Tusks before it regains its bearing. To earn full stripes, you have to break off 2 of the shocked Tremortusk's tusks in less than 2 minutes.
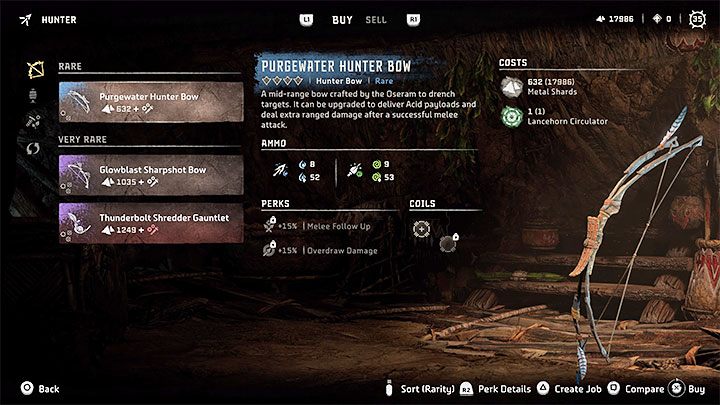
This trial is especially challenging, as the Tremortusk is, by default, strong vs. shock ammo attacks. As a result, you first need to lower the mammoth's resistance with Purgewater ammo. A hunter in the hunting grounds should have one of these bows for sale if you don't have any matching weapons in your inventory. Try to upgrade this bow as much as possible, as well as all any other weapons you intend to use during this trial. The point is to deal as much damage as possible.
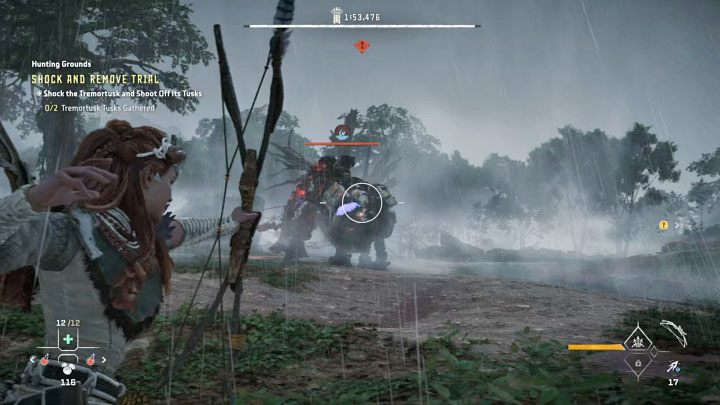
At the beginning of the trial, start attacking the Tremortusk as early as possible with Purgewater ammo in order to gradually lower its resistance (this will be indicated by the circle visible above its energy bar). At the same time, try to avoid the mammoth's ranged attacks and well as the other machines in the area. Change your position if necessary, but don't stop attacking.
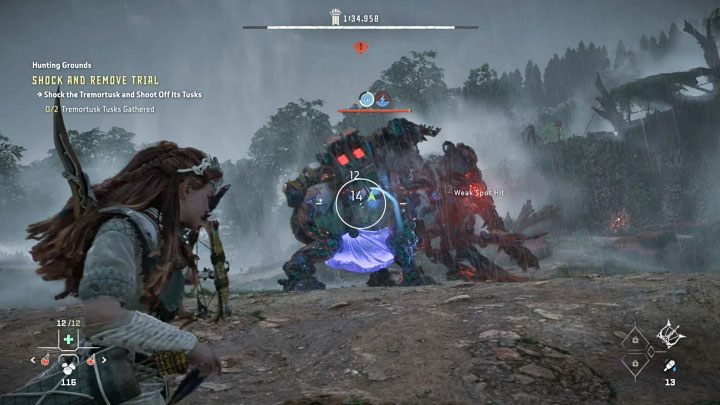
After the Tremortusk is sufficiently weakened, switch to a weapon with shock ammo. Once again, it's important to continue attacking, as hits with this type of ammo will only be effective as long as the Tremortusk remains in a weakened state as a result of the Purgewater ammo.
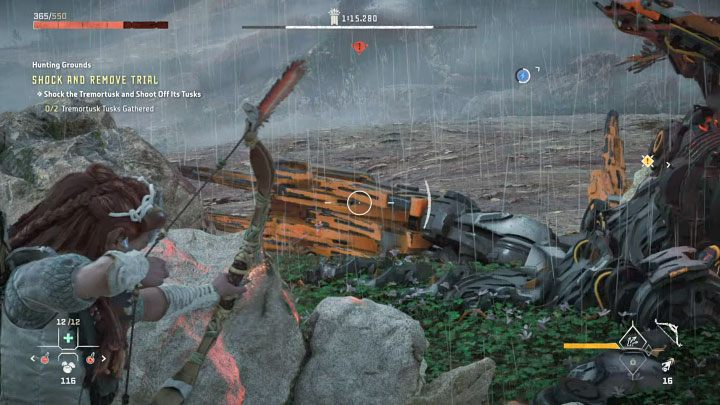
Filling up the mammoth's shock bar should result in the Tremortusk crashing to the ground. When this happens, you need to act very quickly. Choose a weapon from your inventory that deals as much damage as possible to tear parts off the attacked machines. Target the tusks of the fallen mammoth and try to break them off before the Tremortusk shakes off the Shocked State and stands up from the ground.
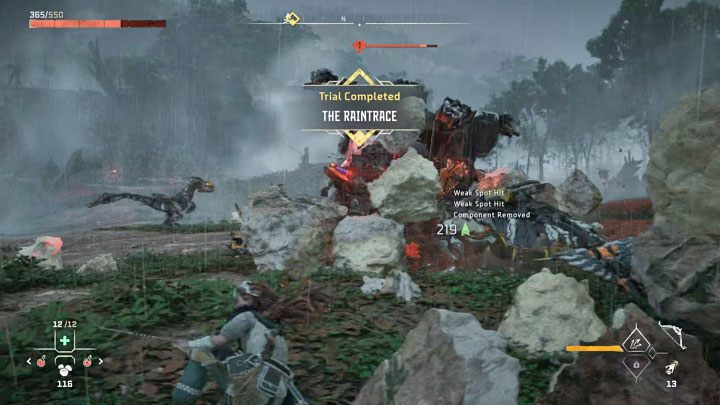
You will pass the trial as soon as the second tusk breaks off. You don't need to pick up these items. Start running away and get out of range of the Tremortusk and the other machines.
Challenge 2 - Mounted Combat Trial
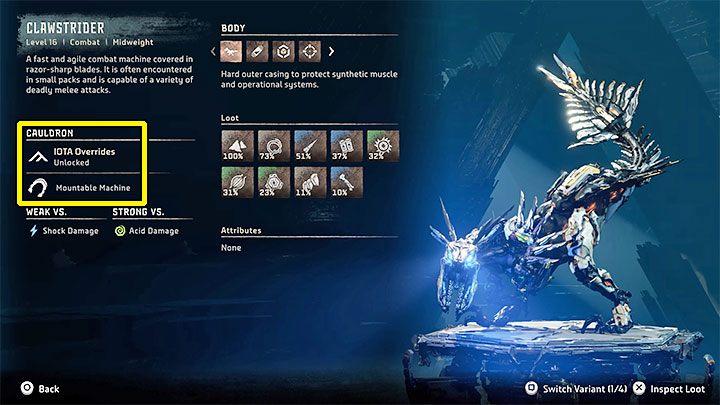
This trial consists of overriding a Clawstrider in order to use it as a mount, then having the ridden Clawstrider kill other machines. To earn full stripes, you have to kill 2 machines with your mount in less than 2 minutes and 30 seconds.
Keep in mind that this challenge requires you to first complete the IOTA Cauldron. Only then will you be able to use the Clawstrider as a mount, as indicated by its entry in the machine catalogue (Mountable Machine - we've highlighted this in the screenshot above).
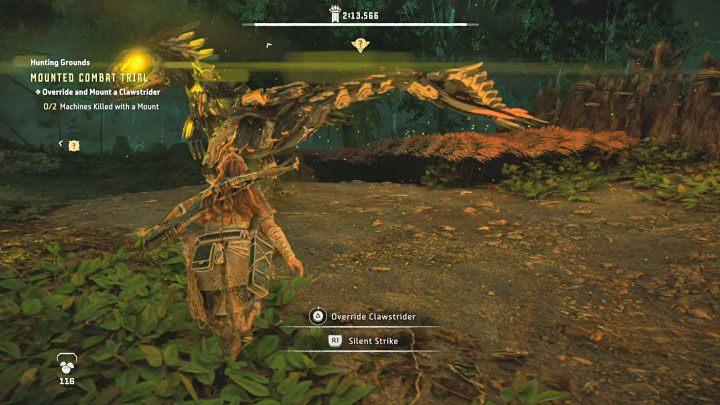
Once the trial begins, focus on overriding the closest Clawstrider as quickly as possible (by holding Triangle), but don't let it notice you too early. As soon as you successfully override it, mount it.
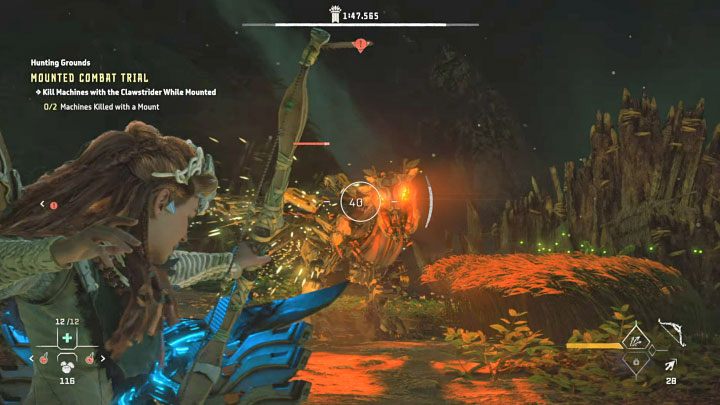
You can make this trial easier by first weakening the other machines with Aloy's ranged weapons while riding the Clawstrider. If you have strong weapons, they can damage the enemy machines much more effectively than mounted attacks. Just be careful not to kill them too early.
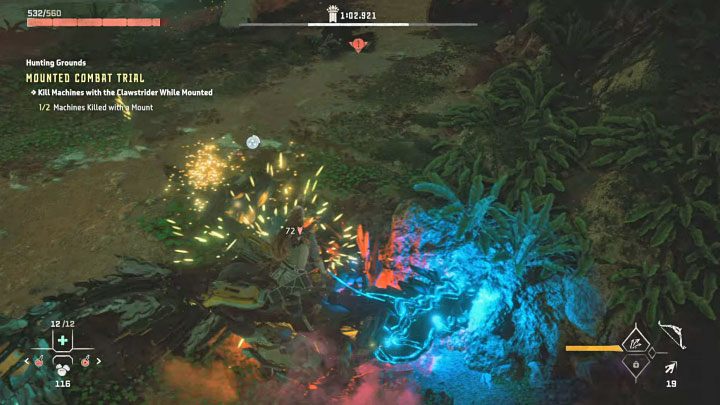
While completing this challenge, make sure to ignore the Tremortusk and avoid its attacks. Choose to target smaller machines - press the R1 and R2 buttons to use two types of Clawstrider attacks.
Challenge 3 - Heavy Weapons Trial
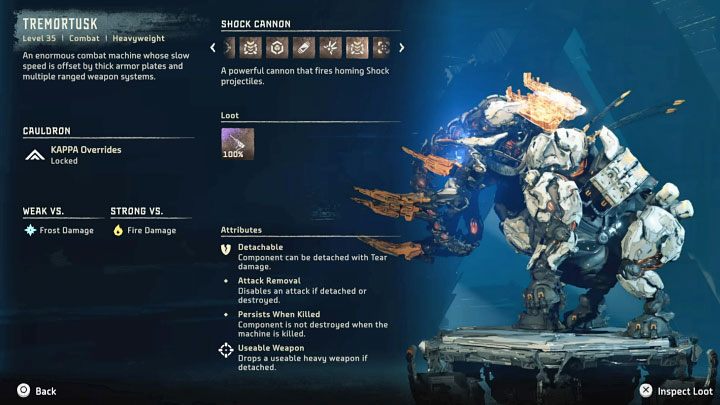
This trial consists of detaching one of the Tremortusk's heavy weapons and then using it to kill other machines. To earn full stripes, you have to kill 3 machines with heavy weapons in less than 3 minutes.
An important part of this trial is that you can choose between the different types of heavy weapons mounted on the mammoth. Shock Cannons are the easiest to detach due to their sheer size and the fact that they are clearly visible on the Tremortusk's back.
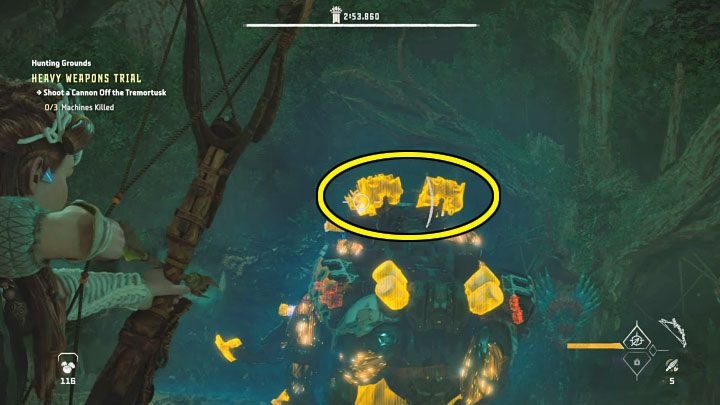
Once the trial begins, make sure to equip weapons that use tear ammo, which can break off machine parts. It's a good idea to detach both shock cannons from the mammoth's back at once, as it's almost guaranteed that a single cannon won't be enough to pass the trial.
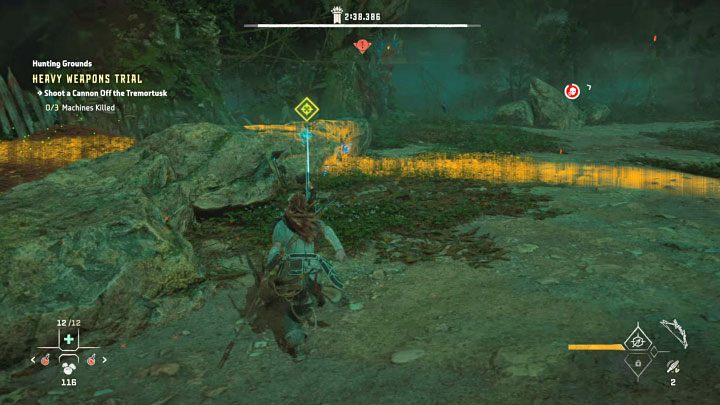
Don't immediately rush towards the detached heavy weapons and instead spend some time to try and lure the Tremortusk away from them. This will make it less likely that you will be hit with a strong attack while trying to grab the cannon, causing Aloy to not only drop it but also take a lot of damage.
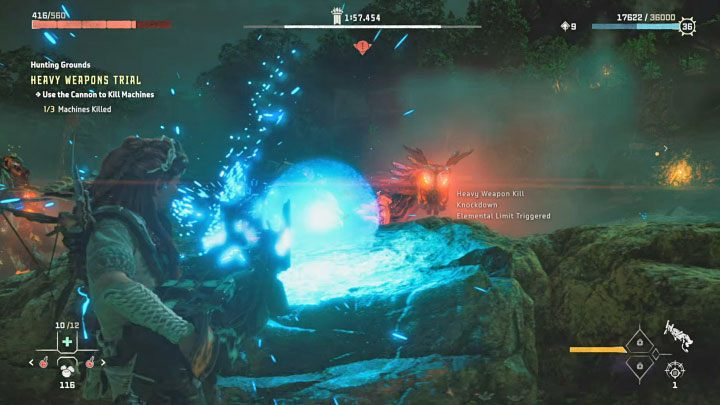
Focus on targeting the smaller machines with your cannons. The shock cannons need to be briefly charged before firing each shot, but 2-3 hits should be enough to destroy the machine in question. Try not to miss to avoid running out of ammunition from both of the detached heavy weapons.
- Horizon Forbidden West Guide
- Horizon Forbidden West: World Map
- Horizon Forbidden West: Hunting grounds
- Horizon Forbidden West: Hunting Grounds - List and general information
- Horizon Forbidden West: Hunting Grounds: The Daunt - walkthrough
- Horizon Forbidden West: Hunting Grounds: Plainsong - Hunting Trials
- Horizon Forbidden West: Hunting Grounds: The Raintrace - trials walkthrough
- Horizon Forbidden West: Hunting Grounds: Sheerside Mountains - trial walkthrough
- Horizon Forbidden West: Hunting grounds
- Horizon Forbidden West: World Map
You are not permitted to copy any image, text or info from this page. This site is not associated with and/or endorsed by the developers and the publishers. All logos and images are copyrighted by their respective owners.
Copyright © 2000 - 2025 Webedia Polska SA for gamepressure.com, unofficial game guides, walkthroughs, secrets, game tips, maps & strategies for top games.
