Dragon Age 2: The Last Straw p. 7
 | 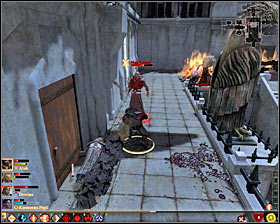 |
Once you eliminate the mages in the main group, move to attacking the enemies on the left #1 and right balcony #2. Take care of the health of your party members, so that they don't die prematurely.
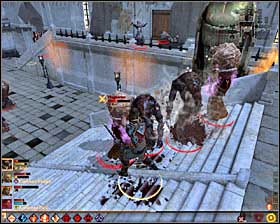 |  |
Unfortunately you have to consider that monsters will also participate in the fights. While the Shades aren't too problematic, the Shades need to be taken care of rather quickly #1 and the same applies to the Rage Demons #2. Look out for weaker members of your party and keep fighting until you eliminate all enemies.
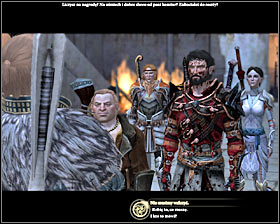 | 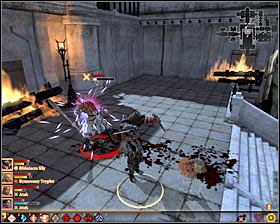 |
If someone from your party refused to follow the main hero, he will appear and you'll have to defeat him in a fight. It probably will be Anders #1, but if you already eliminated him (during the conversation cutscene), someone else might appear in his place. Start attacking your ex-party member at once #2, however you will also have to deal with two mages on the side balconies. If you haven't discouraged anyone, you will have to "only" eliminate the mentioned mages.
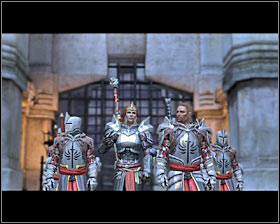 | 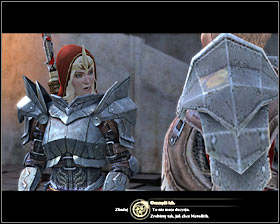 |
A cutscene showing Meredith's arrival will start #1. You will be able to talk with the capture apostates and also ask captain Cullen for his opinion. In the end you will have to decide what to do with the mages. The possible options are #2:
- Asking Meredith to spare the mages (upper right dialogue option)
- Leaving the decision to Meredith (middle right dialogue option): the mages will be executed
- Ordering an executions, as Meredith wants (lower right dialogue option): the mages will be executed
 | 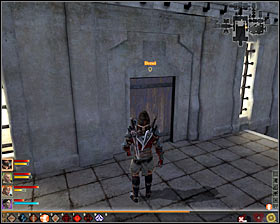 |
Now you can act in two ways. If you want to get to Orsino as fast as possible, choose the eastern door #1. Otherwise head with your team to the western door #2, towards the wing of the building where Orsino and Meredith had their offices. Be sure to save you game before opening the door, as hard fights await you.
 | 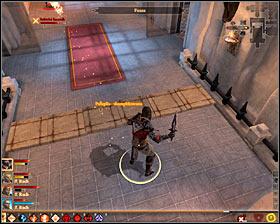 |
The closest to the door are Abominations. It would be good to retreat a bit and wait for the monsters to get here on their own #1. Only after eliminating the Abominations should you step into the western corridor. It's worth to use to rogue's skills here, as the area is filled with traps #2.
 | 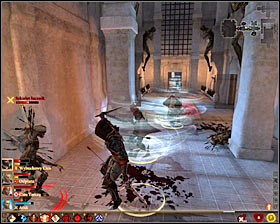 |
Initially ignore the Skeleton Archers and focus on the Abomination, "encouraging" it to come closer to where it will be an easy target #1. Take care of the skeletons in the end #2. Fortunately they shouldn't pose too much of a threat.
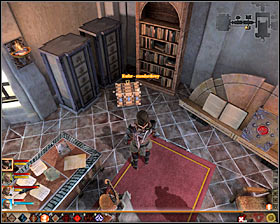 |  |
It would be now good to devote some time to exploring the whole area. Inside Orsino's office you will find a chest #1 containing, inter alia, Dreamcatcher amulet and Mark of the Fallen ring, and inside the chest in Meredith's office #2 there's a Templar Ceremonial Cummerbund. Eventually go to the second northern room to find two additional chests inside.
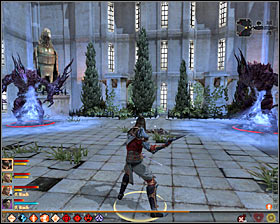 | 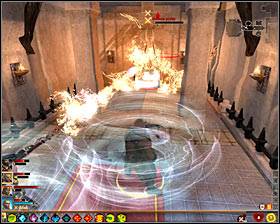 |
As you try to investigate the room furthest to the west you will note that it's guarded by two Pride Abominations #1 (M87, 8). Luckily you can get rid of those monsters with a trick. Retreat your party to the previous corridor, which the beasts cannot enter because of their size. Now all you have to do is attack them from a distance #2, looking out only for the blue light pillars which they emit.
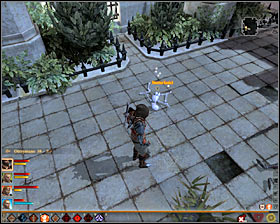 |  |
Apart from Pride Abominations you will also have to eliminate Shades, but they won't pose too much of a threat. Curiously, the Demons won't leave any precious items. Instead look around for a pile of bones #1, beside which you will find the great Shield of Resolute. You can now return to the main location and head to the eastern part of the Templar Halls. After getting there you will have to eliminate a new group of mages, led by an Enchanter #2. He should be the first one to die.
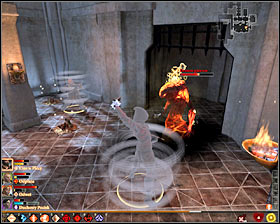 | 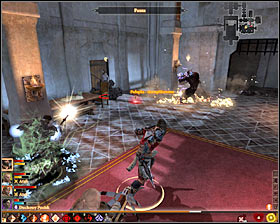 |
Eliminating the first group won't be the end, as new enemies will start appearing. Especially look out for the Blood Mages and Rage Demons #1, leaving the Shades for later. It's also worth to use the rogue's skills to quickly disarm the traps #2, so that no one from your party steps on them during the fight.
 | 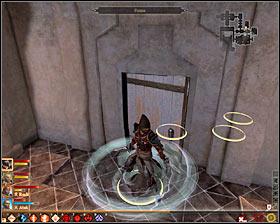 |
You can now head north. There are two rooms in the area and exploring them isn't obligatory. In the northern room you would come across traps and a Rage Demon #1. It's best to enter with a rogue, as you will need to quickly open the lock once the Demon appears #2. Return to the main corridor and take care of the Demon with the help of the rest of your team.
- Dragon Age II Game Guide
- Dragon Age 2: Game Guide
- Dragon Age 2: Main quests
- Dragon Age 2: Act 3 Main quests
- Dragon Age 2: The Last Straw p. 1
- Dragon Age 2: The Last Straw p. 2
- Dragon Age 2: The Last Straw p. 3
- Dragon Age 2: The Last Straw p. 4
- Dragon Age 2: The Last Straw p. 5
- Dragon Age 2: The Last Straw p. 6
- Dragon Age 2: The Last Straw p. 7
- Dragon Age 2: The Last Straw p. 8
- Dragon Age 2: The Last Straw p. 9
- Dragon Age 2: On the Loose p. 1
- Dragon Age 2: On the Loose p. 2
- Dragon Age 2: Best Served Cold p. 1
- Dragon Age 2: Best Served Cold p. 2
- Dragon Age 2: Act 3 Main quests
- Dragon Age 2: Main quests
- Dragon Age 2: Game Guide
You are not permitted to copy any image, text or info from this page. This site is not associated with and/or endorsed by the developers and the publishers. All logos and images are copyrighted by their respective owners.
Copyright © 2000 - 2025 Webedia Polska SA for gamepressure.com, unofficial game guides, walkthroughs, secrets, game tips, maps & strategies for top games.
