Dragon Age 2: No Rest for the Wicked p. 1
Received from: Isabela [Hightown - Hawke Estate]
Step 1: A conversation with Isabela
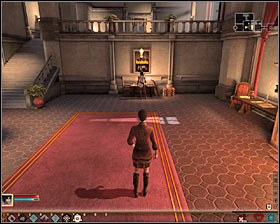 | 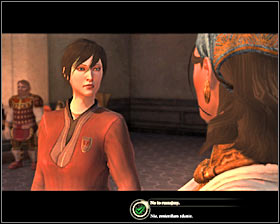 |
The chance to complete this task will appear after you finish the companion quest titled Isabela's Regret. During a visit in localization [Hightown - Hawke Estate] you should notice that Isabela is standing by the desk (M14, 12), where you always read new messages #1. Talk to her and you will learn that she is planning to catch Castillon who is in the town. The plan is to lead Isabela to Castillon's accomplice called Velasco and the to follow Isabela to his hideout. At the end on the game, in theory at least, you can either agree to the plan or not #2, in any case this quest will be added to your notebook.
Step 2: Going to a meeting with Velasco
 | ![Enter the mansion, join Isabela to an active team and at night go to localization [Hightown] - No Rest for the Wicked - p. 1 - Act III - Dragon Age II Game Guide](/dragonageii/gfx/word/252943343.jpg) |
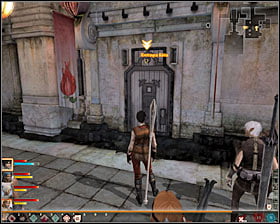
Enter the mansion, join Isabela to an active team and at night go to localization [Hightown]. Here you can naturally reach the localization [Hightown - The Rose in Blossom] #1 (M4, 2), situated in the southern-eastern part of this area. After getting inside head upstairs #2, where you will listen to a scene with conversation with Isabela.
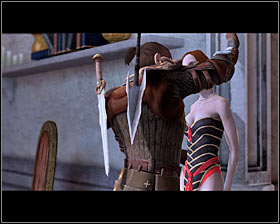 | 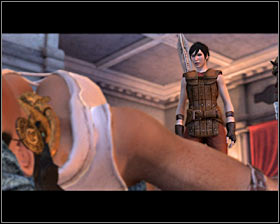 |
Open the door to the eastern room (M6, 6), because here you will meet Velasco #1. During the meeting you can behave in four different ways but all options will lead to convincing the man that you really wanted to give him Isabela. If you intend to "sell" the story better, choose left bottom or right bottom dialogue option and as a result, you will knock your opponent down in an effective way #2. No matter which option you choose you will get 3 sovereigns and other clues.
Step 3: Reaching the place where Isabela is kept
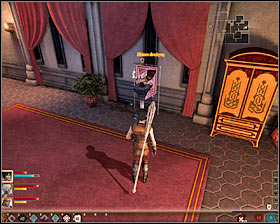 | 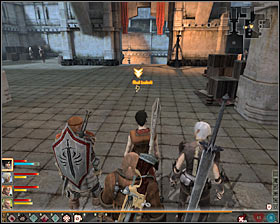 |
Before you leave the room, use the point of collecting your team here #1, because it is a good idea to choose someone to fill the empty place. Now you can go outside (M6, 1). Notice the first mark left by Isabela #2. Now you are able to follow her.
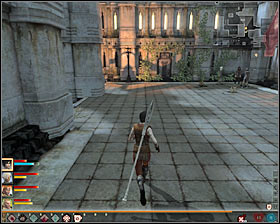 |  |
Go north. Then turn west and then north, heading towards the market #1. If you haven't dealt with all quest concerning eliminating the rogues lurking in Kirkwall at night, you may expect that there will be few groups to eliminate. The aim is to reach the exit of Hightown situated on the market #2 (M4, 1).
 | ![From the map of Kirkwall choose to travel to [Lowtown] at night (M13, 1) - No Rest for the Wicked - p. 1 - Act III - Dragon Age II Game Guide](/dragonageii/gfx/word/252943468.jpg) |
From the map of Kirkwall choose to travel to [Lowtown] at night (M13, 1). You should start at the market and first head towards the entrance to inn The Hanged Man. Here turn south #1, move towards the area with blacksmiths. Then move north-east, to the back of the inn #2.
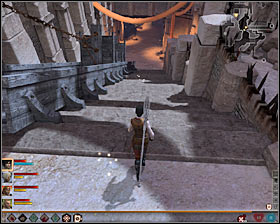 | 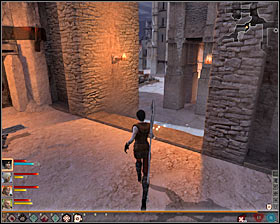 |
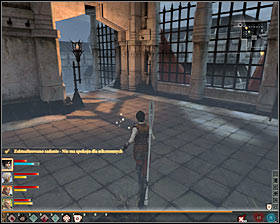
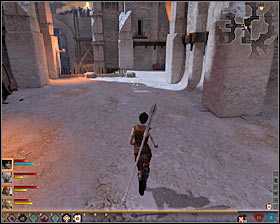
After getting to the back of the inn turn east which means going downstairs #1. You will get to one of exits of Lowtown (M13, 1) and as another destination you choose [Docks] (M20, 1). This localization you also have to check at night. After reaching the place, move toward the western area with warehouses #2.
 | ![Stop more or less halfway, to be more precise, by the door (M20, 21) leading to localization [Docks - Castillons Port] #1 (M95, 1) - No Rest for the Wicked - p. 1 - Act III - Dragon Age II Game Guide](/dragonageii/gfx/word/252943531.jpg) |
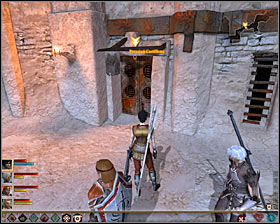
Stop more or less halfway, to be more precise, by the door (M20, 21) leading to localization [Docks - Castillon's Port] #1 (M95, 1). After getting inside, go towards the passage to the main part of the warehouse #2 (M95, 2), and as a result you will see the cut-scene with Isabela and Velasco (M95, 3).
Step 4: Defeating Velasco and his people
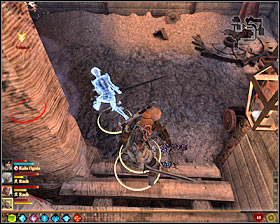 | 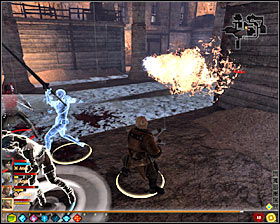 |
Do not go to the lower level too fast, because there are some traps #1. Moreover, some of them are constant traps #2, you may have come across them. It is worth mentioning that you should throw away or eliminate the enemies standing on pressure panels.
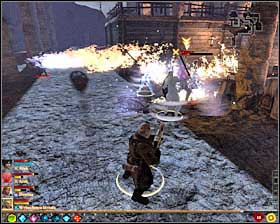 | 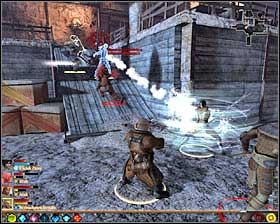 |
Of course the best option is to start this battle with eliminating Velasco #1, because he is the assassin and he could attack regularly from his hideout. After eliminating him, start attacking pirates and pirate archmen. Watch out because soon a new group of enemies will join the fights, among other people pirate assassin #2.
- Dragon Age II Game Guide
- Dragon Age 2: Game Guide
- Dragon Age 2: Companion quests
- Dragon Age 2: Act 3 Companion quests
- Dragon Age 2: A Talking To; The Storm and what Came Before It
- Dragon Age 2: Check on Anders; Champions and Captains
- Dragon Age 2: Speak to Fenris
- Dragon Age 2: Isabella's Regret; The New Place
- Dragon Age 2: Alone
- Dragon Age 2: Justice p. 1
- Dragon Age 2: Justice p. 2
- Dragon Age 2: Memento of the Dalish; A Small Problem
- Dragon Age 2: The Haunting
- Dragon Age 2: Closure; Anniversary
- Dragon Age 2: Favor and Fault
- Dragon Age 2: A New Path p. 1
- Dragon Age 2: A New Path p. 2
- Dragon Age 2: Fenris Blade of Mercy
- Dragon Age 2: No Rest for the Wicked p. 1
- Dragon Age 2: No Rest for the Wicked p. 2
- Dragon Age 2: A Rivaini Talisman
- Dragon Age 2: Faith; Questioning Beliefs (Sebastian)
- Dragon Age 2: Questioning Beliefs (Fenris); Questioning Beliefs (Isabela)
- Dragon Age 2: Act 3 Companion quests
- Dragon Age 2: Companion quests
- Dragon Age 2: Game Guide
You are not permitted to copy any image, text or info from this page. This site is not associated with and/or endorsed by the developers and the publishers. All logos and images are copyrighted by their respective owners.
Copyright © 2000 - 2025 Webedia Polska SA for gamepressure.com, unofficial game guides, walkthroughs, secrets, game tips, maps & strategies for top games.
