Dragon Age 2: Act of Mercy p. 2
Step 4, Option A: Refusing to help the apostates in escaping
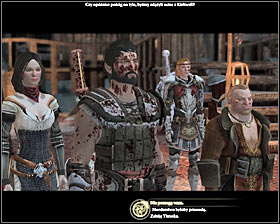 |  |
If you don't intend to help the apostates in getting away but want to escort them to the cave entrance and hand over to the Templars, you should choose the upper right option at the end of the conversation with Grace #1 (it will result in, inter alia, improving your relations with Aveline). Curiously, Grace will threat you with exposing any mages in your party, but you don't have to fear any complications. Don't leave this location at once. It's worth to explore the caves as well as check the corpse of Decimus #2, beside whom you will find a couple precious items.
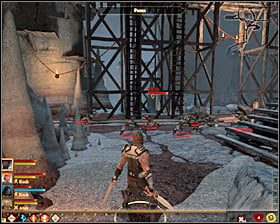 | 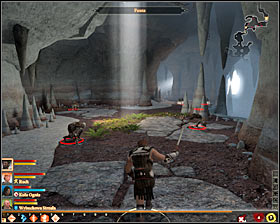 |
On your way back to the surface you will be attacked by two groups of Corpses. The first will take place where you met the escaping apostate #1 and the second beside the exit #2. Deal with the monsters and go out of the caves (M38, 1), returning to [Wounded Coast Approach] (M37, 2).
 | 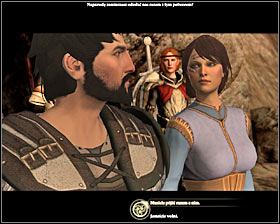 |
After getting out to the surface, a conversation between Thrask and Karras will automatically start #1. At the end you will have to make an important decision #2:
- hand the apostates over to Karras (upper right dialogue option): they will be arrested and escorted to the Circle
- attacking Karras in defence of the apostates (lower right dialogue option): it will lead to a fight with Karras and his Templar subordinates
 | 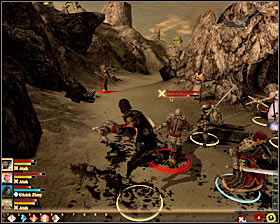 |
If you choose to attack the Templars, you should know that defeating Karras #1 and his men won't be easy. I'd suggest eliminating the leader in the first place, though if the Slaver will bother you #2 you can devote some time to get rid of him.
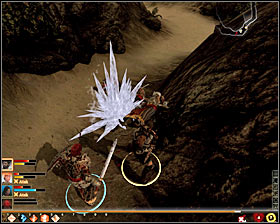 |  |
Only after eliminating Karras should you take care of the Templars and Templar Archers #1, occupying both paths leading to the caves. After the battle the game will automatically switch to a conversation with Grace and Thrask #2. Irrespectively of the chosen dialogue option you will receive thanks from Grace together with Alchemist's Protective Handguards. Don't forget to examine Karras' corpse, as he was using an excellent sword, shield and mail.
Step 4, Option B: Promising to help the apostates get out using a trick
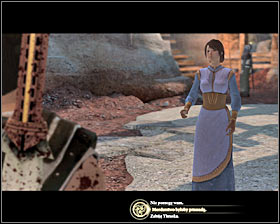 | 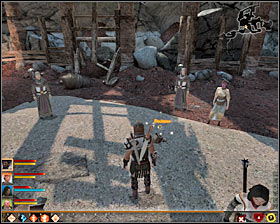 |
If you intend to use a trick to guarantee the apostates safety, you should choose the middle right dialogue option at the end of the conversation with Grace #1 (it will result in, inter alia, improving your relations with Aveline and Varric). Don't leave this location at once. It's worth to explore the caves as well as check the corpse of Decimus #2, beside whom you will find a couple precious items.
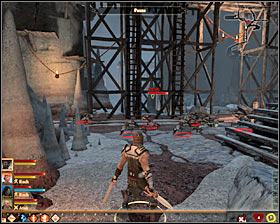 |  |
On your way back to the surface you will be attacked by two groups of Corpses. The first will take place where you met the escaping apostate #1 and the second beside the exit #2. Deal with the monsters and go out of the caves (M38, 1), returning to [Wounded Coast Approach] (M37, 2).
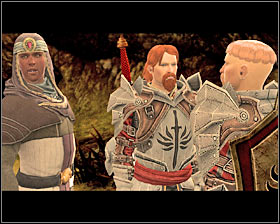 | 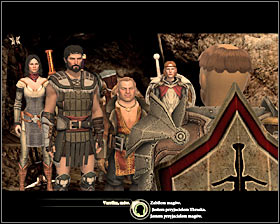 |
After getting out to the surface, a conversation between Thrask and Karras will automatically start #1. You can act in four ways here:
- ask Varric to step in (upper left dialogue option) #2: together you can lie to Karras (three different lies to choose from), leading to the Templars to leave the area and keeping all the characters alive; +5 to friendship with Varric
- try to lie yourself (upper right dialogue option): unfortunately Karras won't believe to you and as a consequence you will have to fight him and his men
- support Thrask (upper right dialogue option): it will lead to a fight with Karras and his men
- support the mages (lower right dialogue option): it will lead to a fight with Karras and his men
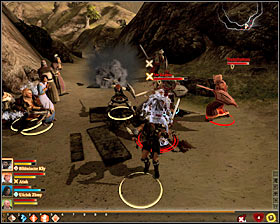 |  |
If you choose to attack the Templars, you should know that defeating Karras #1 and his men won't be easy. I'd suggest eliminating the leader in the first place, though if the Slaver will bother you #2 you can devote some time to get rid of him.
 | 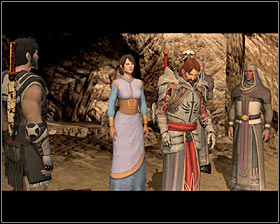 |
Only after eliminating Karras should you take care of the Templars and Templar Archers #1, occupying both paths leading to the caves. After the battle the game will automatically switch to a conversation with Grace and Thrask #2. Irrespectively of the chosen dialogue option you will receive thanks from Grace together with Alchemist's Protective Handguards. Don't forget to examine Karras' corpse, as he was using an excellent sword, shield and mail.
- Dragon Age II Game Guide
- Dragon Age 2: Game Guide
- Dragon Age 2: Main quests
- Dragon Age 2: Act 1 Main quests
- Dragon Age 2: Long Way Home p. 1
- Dragon Age 2: Long Way Home p. 2
- Dragon Age 2: A New Home?
- Dragon Age 2: A Friend in the Guard
- Dragon Age 2: A Business Discussion
- Dragon Age 2: Tranquility
- Dragon Age 2: Wayward Son p. 1
- Dragon Age 2: Wayward Son p. 2
- Dragon Age 2: Act of Mercy p. 1
- Dragon Age 2: Act of Mercy p. 2
- Dragon Age 2: Act of Mercy p. 3
- Dragon Age 2: Blackpowder Promise
- Dragon Age 2: Enemies Among Us p. 1
- Dragon Age 2: Enemies Among Us p. 2
- Dragon Age 2: Shepherding Wolves p. 1
- Dragon Age 2: Shepherding Wolves p. 2
- Dragon Age 2: Friends in Low Places
- Dragon Age 2: The Deep Roads Expedition p. 1
- Dragon Age 2: The Deep Roads Expedition p. 2
- Dragon Age 2: The Deep Roads Expedition p. 3
- Dragon Age 2: The Deep Roads Expedition p. 4
- Dragon Age 2: The Deep Roads Expedition p. 5
- Dragon Age 2: Act 1 Main quests
- Dragon Age 2: Main quests
- Dragon Age 2: Game Guide
You are not permitted to copy any image, text or info from this page. This site is not associated with and/or endorsed by the developers and the publishers. All logos and images are copyrighted by their respective owners.
Copyright © 2000 - 2026 Webedia Polska SA for gamepressure.com, unofficial game guides, walkthroughs, secrets, game tips, maps & strategies for top games.
