Dragon Age 2: Last of His Line
Received from: Lord Renvil Harrowmont [Docks]
Step 1: A conversation with Lord Renvil Harrowmont
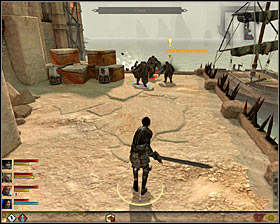 | 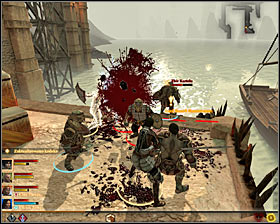 |
Notice! Quest is available only if while creating the character in the fold Events from Dragon Age: The Beginning you chose an option Martyr! During the day go to the localization [Docks] and start exploring the western area of warehouses. You will find a group of dwarfs fighting (M19, 13) #1. Help them eliminate the Carta Assassin and Carta Thugs #2.
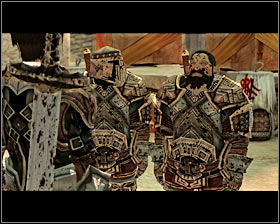 | 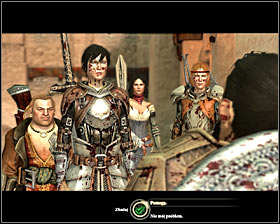 |
After winning the battle you will see a scene of conversation #1 with Lord Renvil Harrowmont, who will ask you to eliminate other mercenaries sent by Carta. At the end of the meeting you can offer him help (right upper dialogue option) #2 or decline (right bottom dialogue option) which will cause the quest to finish.
Step 2: A conversation with Carta lieutenant
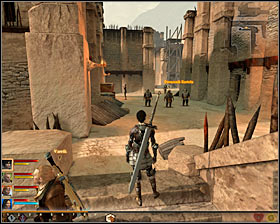 | 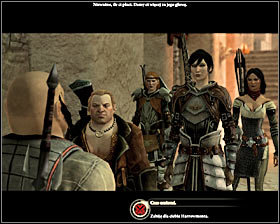 |
Head west and after a while you will come across the first group of Carta Thugs, led by Carta lieutenant (M19, 14) #1. Come up to them and as a result you will see a scene with conversation #2. Here you will have to make a decision on your supporter. You can:
If you want to help lord Harrowmont, you have to decline the offer of cooperation with Carta (right upper dialogue option). The description of this option can be found in section Step 3, Option A.
If you want to betray Harrowmont's trust, you have to cooperate with Carta (right bottom dialogue option). The description of this option can be found in Step 3, Option B.
Step 3, Option A: Eliminating members of Carta
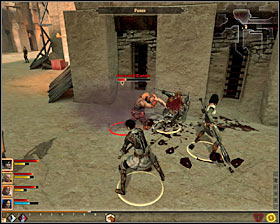 | 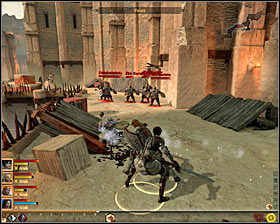 |
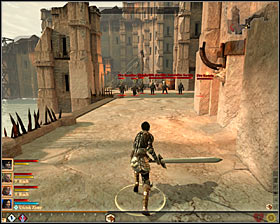
If you decline eliminating Harrowmont, you will have to defeat members of Carta in fight. start with eliminating the lieutenant #1, because he is the assassin. When he is dead, deal with "regular" bandits. The second group of members of Carta waits on the path leading to the western area of warehouses (M19, 2). The lieutenant will not take part in this fight, but you may expect new enemies to join the fight soon #2.
 | 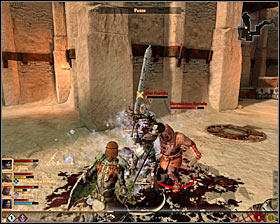 |
The last third group is waiting in the western area of warehouses (M19, 15) and there will be many more enemies #1. Be careful for the weaker teammates because they can be surrounded. Be prepared to deal with backups which will appear soon, among them there is another assassin from Carta #2. After winning the battle, come back to lord Harrowmont (M19, 13), who will reward you with 1 sovereign.
Step 3, Option B: Starting cooperation with Carta
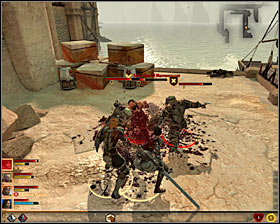 | 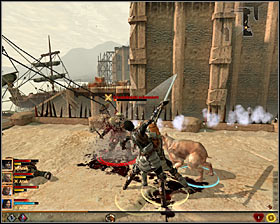 |
If you are offered to eliminate Harrowmont, you have to come back to him of course (M19, 13). After the battle starts I suggest you attacking Harrowmont #1, because he is the most dangerous. After his death, focus on dwarf bodyguards #2, attack them one by one. After winning the battle go back to the Carta lieutenant (M9, 14), who will reward you with 3 sovereigns.
- Dragon Age II Game Guide
- Dragon Age 2: Game Guide
- Dragon Age 2: Side quests
- Dragon Age 2: Act 1 Side quests
- Dragon Age 2: The Paragon's Toe; Locks of the Golden Fool
- Dragon Age 2: Bottled Scar 534 Exalted; Shawl of Dalesdottir
- Dragon Age 2: The Conspirators
- Dragon Age 2: Night Lies
- Dragon Age 2: Sharp Little Pinpricks
- Dragon Age 2: Pier Pressure
- Dragon Age 2: Remains of the Outlaw Half-Braid Silsam
- Dragon Age 2: The Remains of Sister Plinth
- Dragon Age 2: Map of Occupied Kirkwall
- Dragon Age 2: The Seal of House Talwain
- Dragon Age 2: Caste Treatise and House Accounting
- Dragon Age 2: Redblossom Special
- Dragon Age 2: Terror on the Coast
- Dragon Age 2: Dark Revelation
- Dragon Age 2: Remains of the Outlaw Bearded Beast; Eustice's Pommel
- Dragon Age 2: Secret Rendezvous; Grimoire of the Apprentice
- Dragon Age 2: Changing One's Nature
- Dragon Age 2: Last of His Line
- Dragon Age 2: Miracle Makers
- Dragon Age 2: Act 1 Side quests
- Dragon Age 2: Side quests
- Dragon Age 2: Game Guide
You are not permitted to copy any image, text or info from this page. This site is not associated with and/or endorsed by the developers and the publishers. All logos and images are copyrighted by their respective owners.
Copyright © 2000 - 2025 Webedia Polska SA for gamepressure.com, unofficial game guides, walkthroughs, secrets, game tips, maps & strategies for top games.
