Dragon Age 2: The Last Straw p. 6
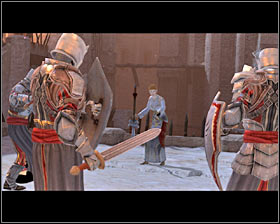 | 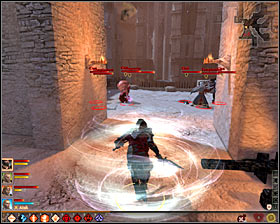 |
Right after using the stairs you will see a cutscene with Templars surrounding one of the mages #1 (M13, 12). The woman will change into an Abomination and you will have to join the fight. Note that the Abomination will start off by summoning Shades to its help #2, so you can say that both sides will have equal chances.
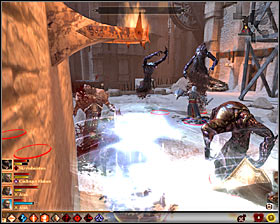 | 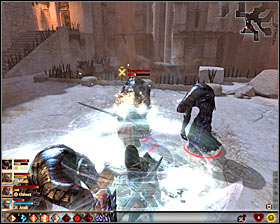 |
I'd recommend starting by attacking the Abomination #1, as he's the biggest threat. After eliminating the beast, for a change, it would be good to attack the Templars #2. Afterwards move to the Shades, which luckily won't be as hard as the Abomination.
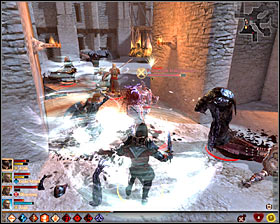 | 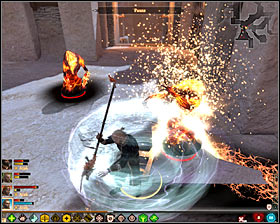 |
Once the Shades are gone, start attacking the Templar Lieutenant #1. He must die rather fast, as Rage Demons will soon appear #2. Don' forget to increase your party's fire resistance early enough and attack the monsters one at a time.
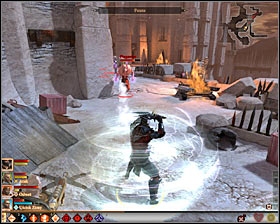 |  |
Head north-east. Here get ready for fighting some more Abominations heading your way #1, which luckily will be easier than the previous one. If it's possible, try to quickly locate and kill the Desire Demon #2 (M13, 27) and only then deal with the other monsters.
 | 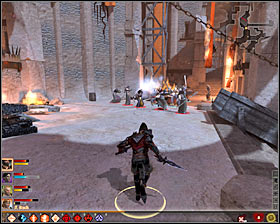 |
You will be forced to head north and use the western stairs #1, thanks to which you will get to the back of the inn. Quickly head north, as mages are starting to fight with the Templars there #2 (M13, 28). You will of course have to aid your allies.
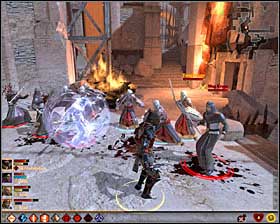 |  |
Start attacking the mages and note that at least one is surrounded by a protective barrier #1. It's worth to wait until it disappears and then quickly deal with him. Be ready to fight new groups of mages which will be coming from the north #2 and south. Shades might also join the battle #2, but there shouldn't be too many of them.
 | ![Now head to the eastern #1, go down and get to the passage (M13, 1), which will automatically take you to [Docks] (M20, 1) - The Last Straw - p. 6 - Act III - Dragon Age II Game Guide](/dragonageii/gfx/word/969552031.jpg) |
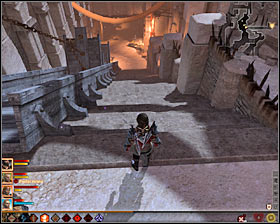
Now head to the eastern #1, go down and get to the passage (M13, 1), which will automatically take you to [Docks] (M20, 1). Here it would be good to save your game, as there's a rather hard battle waiting for you. Head north. Once the enemies appear, start off by quickly eliminating the Blood Mage who should be standing by the statue #2.
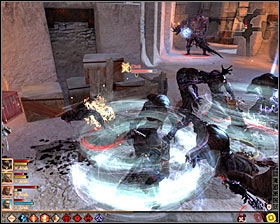 |  |
Start killing the Shades #1. You have to be quick about it, as there's a Pride Demon in the area #2 (M20, 17) and he will start attacking your party in just a while. I wouldn't recommend attacking the demon at once, as then your party would easily get surrounded by Shades and massacred.
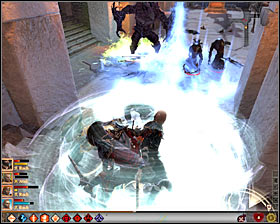 |  |
As you exterminate the Shades, look out for the Pride Demon attacks, especially for his charges and light beams #1. Remember that you should try to avoid them at all costs, moving away to a safe distance. Proceed to attacking the Pride Demon only after eliminating the Shades #2. Try not to use all of your potions during this fight, as they will be very useful in just a minute.
 | 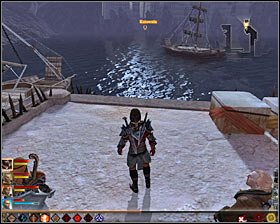 |
The road leading to the northern part of the warehouse district is inaccessible, so head north-east #1 and then east. You have to reach the harbour #2. Be sure to save your game here and only afterwards click near the water (M20, 18), confirming the will to head to [The Gallows].
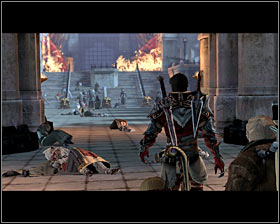 | 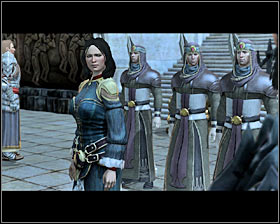 |
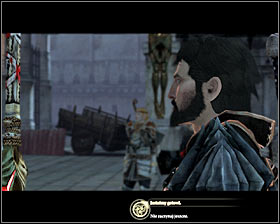
After getting there you will watch a cutscene showing a battle between mages and Templars #1. A conversation will soon begin and the main point of it will be the attempt to draw one of the ex-party members to your side (only if not everyone supported the hero in the first place) #2.
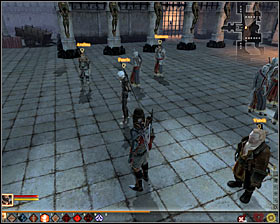 |  |
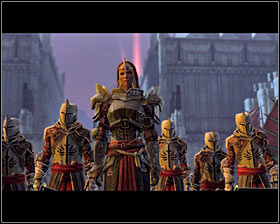
Hear out Meredith's speech and make final preparations before the battle. I'd suggest having optional conversation with the party members present #1. In the end once more click on Meredith and confirm the will to head into battle (upper right dialogue option) #2. Additionally you will be able to choose party members, including the person who you might have convinced to your side moments ago. Don't forget to save your game early on, as there's a series of hard battles waiting for you.
 | ![Wait for the action to move to [The Gallows - Templar Halls] #1 - The Last Straw - p. 6 - Act III - Dragon Age II Game Guide](/dragonageii/gfx/word/969552218.jpg) |
Wait for the action to move to [The Gallows - Templar Halls] #1. Mages will attack you at once (M87, 7). There are three enemy groups in the area and unfortunately getting to them is made harder because of the burning objects in the area. Start off by going straight and attacking the group commanded by an Enchanter #2.
- Dragon Age II Game Guide
- Dragon Age 2: Game Guide
- Dragon Age 2: Main quests
- Dragon Age 2: Act 3 Main quests
- Dragon Age 2: The Last Straw p. 1
- Dragon Age 2: The Last Straw p. 2
- Dragon Age 2: The Last Straw p. 3
- Dragon Age 2: The Last Straw p. 4
- Dragon Age 2: The Last Straw p. 5
- Dragon Age 2: The Last Straw p. 6
- Dragon Age 2: The Last Straw p. 7
- Dragon Age 2: The Last Straw p. 8
- Dragon Age 2: The Last Straw p. 9
- Dragon Age 2: On the Loose p. 1
- Dragon Age 2: On the Loose p. 2
- Dragon Age 2: Best Served Cold p. 1
- Dragon Age 2: Best Served Cold p. 2
- Dragon Age 2: Act 3 Main quests
- Dragon Age 2: Main quests
- Dragon Age 2: Game Guide
You are not permitted to copy any image, text or info from this page. This site is not associated with and/or endorsed by the developers and the publishers. All logos and images are copyrighted by their respective owners.
Copyright © 2000 - 2025 Webedia Polska SA for gamepressure.com, unofficial game guides, walkthroughs, secrets, game tips, maps & strategies for top games.
