Dragon Age 2: Justice p. 2
 |  |
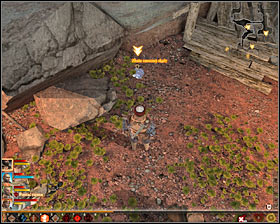
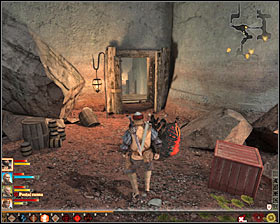
After reaching the place, prepare to disarm the first set of traps #1. Unfortunately, even if you succeed you will be attacked by a group of poisonous spiders and filthy spiders #2. It is worth attacking the monsters one by one and also mind the condition of particular teammates.
 |  |
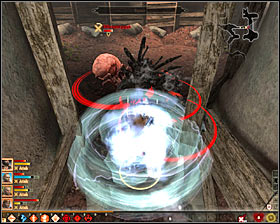
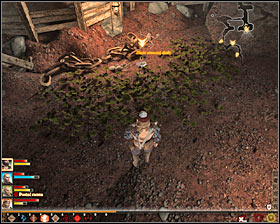
After finishing fighting start an interaction with the first deposit of dragon rock #1 (M81, 2). Unfortunately, just like during the trip in the channels, you will have to reach few different deposits. Do not go south straight away. Choose the passage leading east instead #2.
 |  |
Here you will also have to eliminate a group of spiders, but they will be the poisonous kind only. It is worth fighting the monsters in narrow passages #1, although it is not necessary. After eliminating the monsters, check the localization carefully and you will find the second deposit #2.
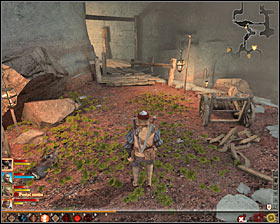 | 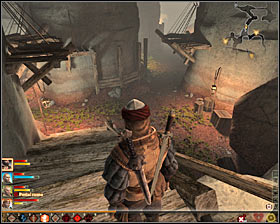 |
Now you can come back to the place where you defeated the first group of spiders and head south #1. After reaching the crossroads #2 you can either go east or west. It doesn't matter as you will have to reach all five deposits.
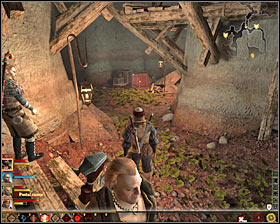 | 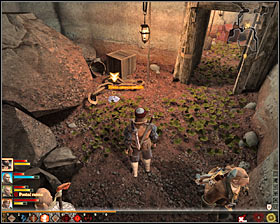 |
To keep order, start exploring according to the movement of clock's hand so head towards the eastern corridor #1. Here after few moments you will reach the third deposit #2. Take the ingredient and choose the corridor leading south.
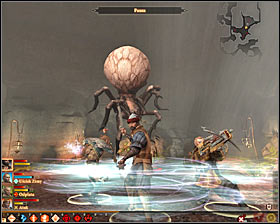 | 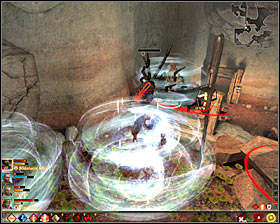 |
Save the game before entering the biggest cave. Start with disarming new traps and prepare for a new battle which you will fight with huge spider #1. As poisonous spiders will accompany it, it is worth going towards stairs and deal with them #2. The advantage of this solution is the fact that the huge spider won't be able to attack you at the same time.
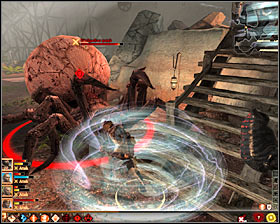 | 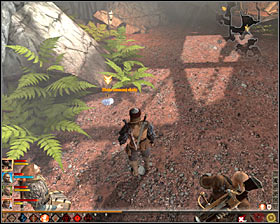 |
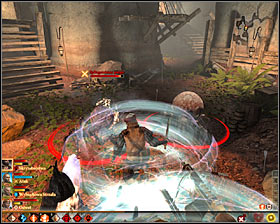
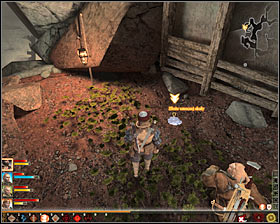
After eliminating regular spiders, start attacking the huge spider #1, watch out for his strong attacks and attempts of knock down your teammates. After winning the fight, look around and you will find the fourth deposit #2.
 |  |
You will have to head north-west to reach the fifth deposit. As you can assume, you will be attacked by spiders here (poisonous and filthy) #1, but this battle will be of course easier than the previous one. After battle is over, go upstairs and look for the fifth deposit #2. Now you can go back to the place you started (M81, 1) or head towards the southern exit from the mines (M81, 3).
Step 3: Coming back to Anders's clinic
 | ![You can leave the area near the Bone Pit and go back to the location [Anthill - Anderss Clinic ] - Justice - p. 2 - Act III - Dragon Age II Game Guide](/dragonageii/gfx/word/251941796.jpg) |
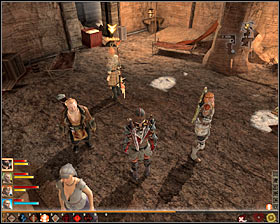
You can leave the area near the Bone Pit and go back to the location [Anthill - Anders's Clinic ]. Here click on the character of the Grey Warden #1 (M23, 2). During the talk you will learn that Anders will additionally need you to go to the Monastic Order and draw the attention of the Great Priestess Ethina but she will not be willing to share the details. At the end of the conversation, agree for this plan (right upper dialogue option) #2 or refuse helping him (right bottom dialogue option) which will lead to the quest's end.
Step 4: Visit in the Monastic Order
 | ![Now from the map of the world, choose the day travel to localization [Hightown - Monastric Order] - Justice - p. 2 - Act III - Dragon Age II Game Guide](/dragonageii/gfx/word/251941828.jpg) |
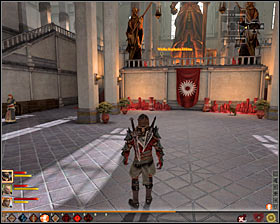
Now from the map of the world, choose the day travel to localization [Hightown - Monastric Order]. After reaching the place, listen to a short conversation with Anders and go to the platform with Great Mother Elthina #1 (M7, 5). Come up to her to automatically start the conversation. Strangely enough, it doesn't matter which dialogue option you choose. Even if you want to finish the meeting soon, Anders will have enough time to do his tasks #2, as a result, you can leave the Monastic Order together.
Step 5: A conversation with Anders
 | ![Notice that you have been automatically moved to localization [Anthill] - Justice - p. 2 - Act III - Dragon Age II Game Guide](/dragonageii/gfx/word/251941859.jpg) |
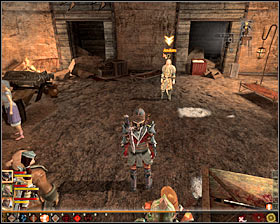
Notice that you have been automatically moved to localization [Anthill]. Enter Anders's clinic and start another talk #1 (M23, 2). It will not take long #2 and, although it may seem like Anders is saying goodbye to the team, he will not leave it. Quest will be over here and you will obtain Renegade Coat, which will become Anders's new outfit.
- Dragon Age II Game Guide
- Dragon Age 2: Game Guide
- Dragon Age 2: Companion quests
- Dragon Age 2: Act 3 Companion quests
- Dragon Age 2: A Talking To; The Storm and what Came Before It
- Dragon Age 2: Check on Anders; Champions and Captains
- Dragon Age 2: Speak to Fenris
- Dragon Age 2: Isabella's Regret; The New Place
- Dragon Age 2: Alone
- Dragon Age 2: Justice p. 1
- Dragon Age 2: Justice p. 2
- Dragon Age 2: Memento of the Dalish; A Small Problem
- Dragon Age 2: The Haunting
- Dragon Age 2: Closure; Anniversary
- Dragon Age 2: Favor and Fault
- Dragon Age 2: A New Path p. 1
- Dragon Age 2: A New Path p. 2
- Dragon Age 2: Fenris Blade of Mercy
- Dragon Age 2: No Rest for the Wicked p. 1
- Dragon Age 2: No Rest for the Wicked p. 2
- Dragon Age 2: A Rivaini Talisman
- Dragon Age 2: Faith; Questioning Beliefs (Sebastian)
- Dragon Age 2: Questioning Beliefs (Fenris); Questioning Beliefs (Isabela)
- Dragon Age 2: Act 3 Companion quests
- Dragon Age 2: Companion quests
- Dragon Age 2: Game Guide
You are not permitted to copy any image, text or info from this page. This site is not associated with and/or endorsed by the developers and the publishers. All logos and images are copyrighted by their respective owners.
Copyright © 2000 - 2025 Webedia Polska SA for gamepressure.com, unofficial game guides, walkthroughs, secrets, game tips, maps & strategies for top games.
