Dragon Age 2: The Deep Roads Expedition p. 2
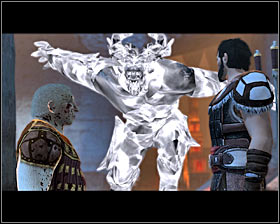 | 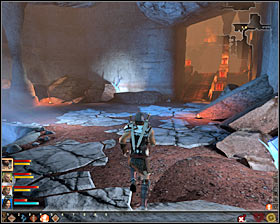 |
During the conversation you will learn that he was able to neutralize all the darkspawns, including a... large Ogre #1! The dwarf will also give you the powerful Stone Breath. Luckily you don't have to escort him to the exit, but can continue the exploration of Deep Roads. Head further to the east #2.
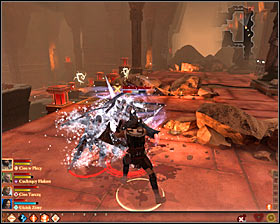 | 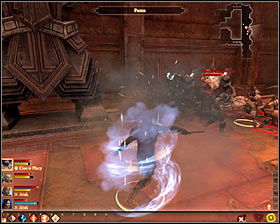 |
Soon you should turn to the north. You have to stay cautious, as you will be attacked by a group of Hurlocks and Hurlock Grunts #1. Traditionally some of them will appear behind the party, trying a surprise attack. Just like before, first eliminate the Darkspawn Emissary #2 and take care of the other creatures afterwards.
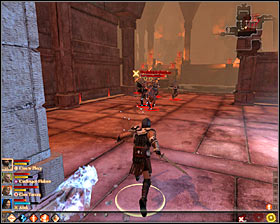 | 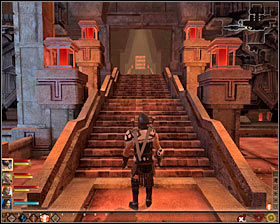 |
Head north and afterwards turn west, going down. Before you there's another fight with Hurlock Bolters and Hurlock Grunts that will appear behind you party later on #1. After the fight, explore the area and use the western stairs #2. It'd be wise to save your game, as you're in for a hard fight.
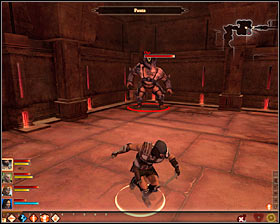 | 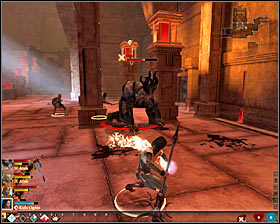 |
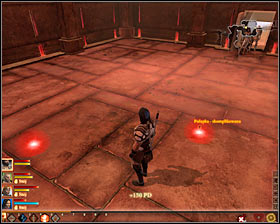
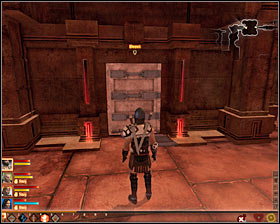
In the next room you will meet an Ogre #1 (M44, 4), but I'd STRONGLY dissuade you from fighting him here, as there are lots of traps in the area. It's much easier to retreat to the previous room and wait for the monster to come #2. Additionally note that you will be able to use the nearby pillars to avoid his charges. Also don't forget about healing your party members and freezing or paralyzing the Ogre as often as possible.
 |  |
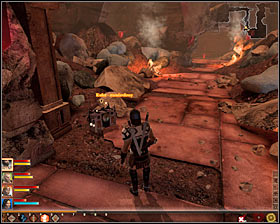
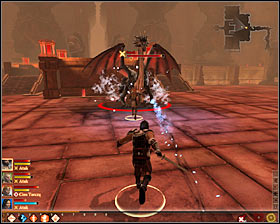
After the fight return to the room in which the Ogre originally was. There are six complicated traps here #1 which you won't even notice if none of your rogues has high enough Cunning. Luckily if one of your team members falls into a trap, he or she will only be immobilized for a bit instead of losing lots of health. In the end use the western door #2.
 |  |
Head south and then west and north #1. After a bit you will turn to the west and it would be good to save your game, as you're in for an even harder battle. Namely, once you enter the room, a giant Dragon will appear #2 (M44, 5)!
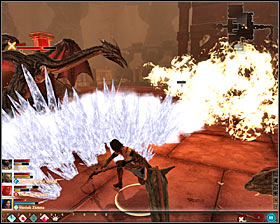 | 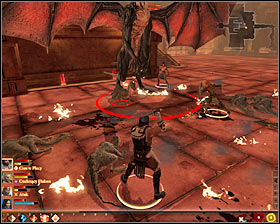 |
Start attacking the Dragon, of course aiming at temporarily slow or stop his movements #1. Unfortunately the monster has an ability which can stun your party members, but luckily it doesn't last long. Dragonlings will soon join the battle. You can't completely ignore them, so it's worth to use AoE spells #2, trying to attack the large Dragon at the same time.
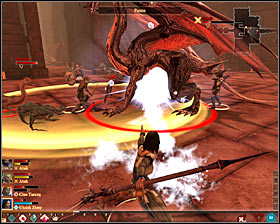 | 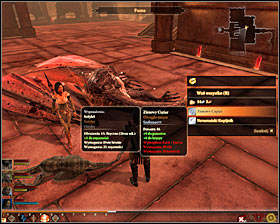 |
Try to keep your party alive till the end of the battle, as a second Dragonling group might appear in the further part of the battle #1, which will of course make defeating the larger one harder. After the fight, be sure to check the Dragon's corpse #2 to find, inter alia, the Winter-Weight shield, Last Descent Armour (a set element) and the Nevarran Lancer bow.
 | ![Head to the platform and choose the western passage #1, leading to [Primeval Thaig] (M44, 6) - The Deep Roads Expedition - p. 2 - Act I - Dragon Age II Game Guide](/dragonageii/gfx/word/966876609.jpg) |
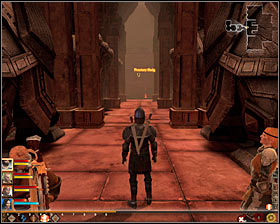
Head to the platform and choose the western passage #1, leading to [Primeval Thaig] (M44, 6). There will be a couple cutscenes, the most important showing the arrival at an old and unknown to Bartrand part of the ruins #2 (M45, 1).
Step 4: Exploring the Primeval Thaig
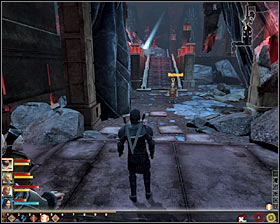 | 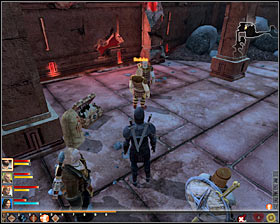 |
Head north. If you want, you can talk with Bartrand on your way #1 and ask him if he recognizes the Thaig. Turn to the east and eventually you will reach Bodahn and Sandal #2 (M45, 2). Bodahn will thank you for finding his son. It's a good moment to sell unneeded items and make some free space, as you will find lots of new items during the exploration.
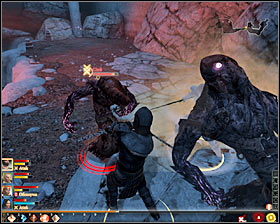 | 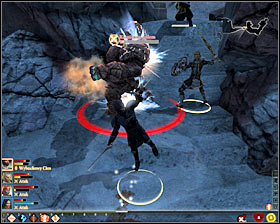 |
Keep heading east, having a short talk with Varric on your way. Get ready, as you will be attacked by monsters in a while. Start off by quickly eliminating the Shades #1. Afterwards attack the very resistant Stone Golem #2. Look out for the charged attack and use the fact that Golems move slowly.
 | ![Afterwards use the nearby door #1 (M45, 3) leading to [Ancient Crypt] (M46, 1) - The Deep Roads Expedition - p. 2 - Act I - Dragon Age II Game Guide](/dragonageii/gfx/word/966876703.jpg) |
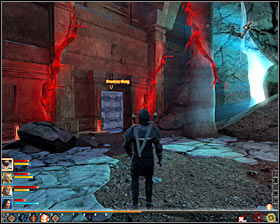
Afterwards use the nearby door #1 (M45, 3) leading to [Ancient Crypt] (M46, 1). Move forward. After reaching a new location, go up the stairs #2 towards the altar where a Lyrium Idol stands (M46, 2). There will be a cutscene, which will end with Bartrand betraying the party. Your new priority will be to find an alternative route out of the crypt.
- Dragon Age II Game Guide
- Dragon Age 2: Game Guide
- Dragon Age 2: Main quests
- Dragon Age 2: Act 1 Main quests
- Dragon Age 2: Long Way Home p. 1
- Dragon Age 2: Long Way Home p. 2
- Dragon Age 2: A New Home?
- Dragon Age 2: A Friend in the Guard
- Dragon Age 2: A Business Discussion
- Dragon Age 2: Tranquility
- Dragon Age 2: Wayward Son p. 1
- Dragon Age 2: Wayward Son p. 2
- Dragon Age 2: Act of Mercy p. 1
- Dragon Age 2: Act of Mercy p. 2
- Dragon Age 2: Act of Mercy p. 3
- Dragon Age 2: Blackpowder Promise
- Dragon Age 2: Enemies Among Us p. 1
- Dragon Age 2: Enemies Among Us p. 2
- Dragon Age 2: Shepherding Wolves p. 1
- Dragon Age 2: Shepherding Wolves p. 2
- Dragon Age 2: Friends in Low Places
- Dragon Age 2: The Deep Roads Expedition p. 1
- Dragon Age 2: The Deep Roads Expedition p. 2
- Dragon Age 2: The Deep Roads Expedition p. 3
- Dragon Age 2: The Deep Roads Expedition p. 4
- Dragon Age 2: The Deep Roads Expedition p. 5
- Dragon Age 2: Act 1 Main quests
- Dragon Age 2: Main quests
- Dragon Age 2: Game Guide
You are not permitted to copy any image, text or info from this page. This site is not associated with and/or endorsed by the developers and the publishers. All logos and images are copyrighted by their respective owners.
Copyright © 2000 - 2026 Webedia Polska SA for gamepressure.com, unofficial game guides, walkthroughs, secrets, game tips, maps & strategies for top games.
