Dragon Age 2: The Last Straw p. 3
 |  |
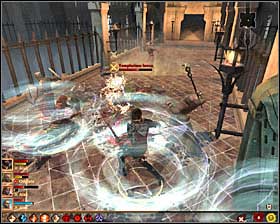
Note that all your allies will take part in this battle #1, though of course you will be able to control only those in your active party. Proceed with attacking the Templars by the prison entrance #2. The first to die should be the ones attacking your allies and not those who are just heading towards them.
 | 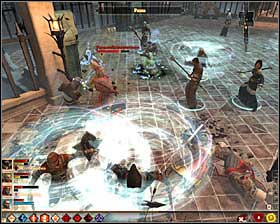 |
Apart from the normal Templars, Templar Hunters will also take part on this battle, so look around for them #1. I'd recommend leaving the Templar Lieutenant for the end #2, considering your large numerical superiority you shouldn't have problems defeating him.
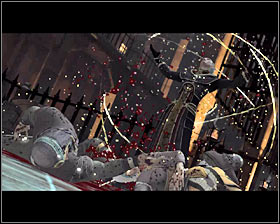 |  |
A very important cutscene. Any attempts of calming Orsino down will fail, the First Enchanter will decide to use blood magic #1 and change into an enormous beast #2. Unfortunately the beast won't only attack the Templars, but everyone around. As a result you will have to defeat him in direct combat.
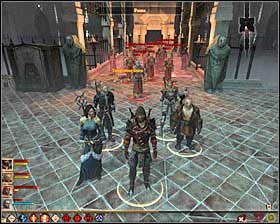 | 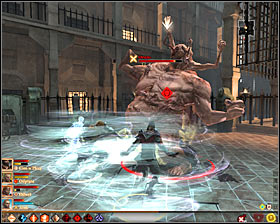 |
It's worth to notice that there are still Templars in the area #1, but the shouldn't interrupt you in attacking Orsino too much. If they do, quickly take care of them, attacking the Hunters in the first place. Overall you should however focus all your attention on damaging the boss #2.
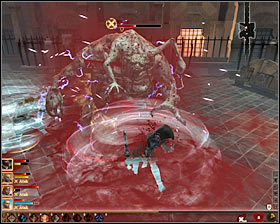 | 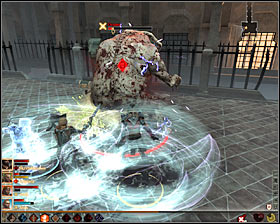 |
You have to keep cautious, as Orsino will not only perform efficient direct attacks, but also use blood magic, grabbing random characters and sucking out their life #1. Unfortunately it cannot be avoided and all you can do is make sure that everyone has enough health points and heal immediately after they get free again. Fight until Orsino loses nearly all of his health #2.
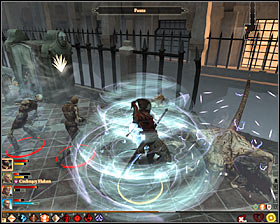 | 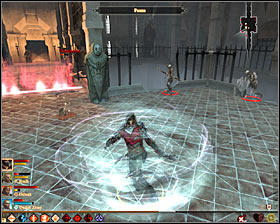 |
Boss will undergo a transformation, changing from a large and slow beast into a small and very agile one #1. Corpses will also keep appearing #2, both warriors and archers.
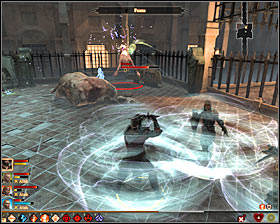 |  |
You have to reckon with Orsino jumping from one place to another #1, however he's the ones you should focus your attacks on. The corpses don't need to be attacked at all costs #2. You should focus on eliminating them only if you get surrounded by a big group or when Orsino disappear for a longer period of time.
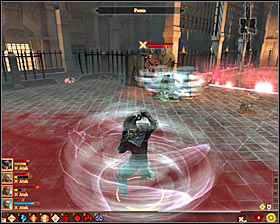 |  |
It's VERY important to look for Pride Abominations. If you notice such a monster #1, take care of him immediately. You can't let them cast their powerful spells, as they can easily kill your party members #2.
 | 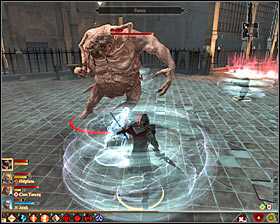 |
Keep attacking Orsino in his jumpy form until he loses almost all of his health #1. It will lead to another metamorphosis, back to the well-known large beast #2. Not much will change, so you will still have to take care of your party's health and heal fast if anyone gets caught by the boss.
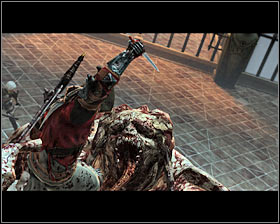 |  |
Depriving Orsino of health completely will start a cutscene showing his death #1. I'd DEFINITELY recommend checking his corpse, as you will find, inter alia, the Staff of Violation and Orsino's Signet Ring. With accordance with the received information, head towards the passage (M92, 2) leading to [The Gallows - Templar Hall] #2 (M87, 5).
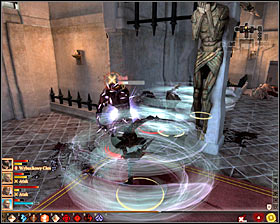 | 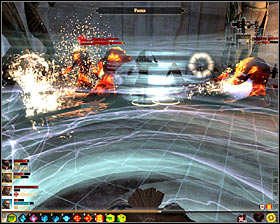 |
You will have to get through another location, this time in order to reach a passage leading to the courtyard of The Gallows. You will be attacked right before reaching the Templar Hall, firstly by weak Shades #1, but soon three Rage Demons will join them #2. Remember about attacking those monsters one at a time and take care of the health of your party members.
 | 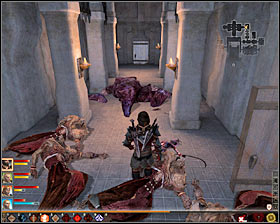 |
After the fight choose the eastern door. In the corridor you will meet Sandal #1 (M87, 6). I'd very much recommend using his services, getting rid of unnecessary items and buying new healing potions. You can also ask Sandal to enchant items and use the stash. Once you settle everything, head south #2.
 |  |
Turn to the east once again. There are two rooms in the area and exploring them isn't obligatory. In the northern room you would come across traps and a Rage Demon #1. It's best to enter with a rogue, as you will need to quickly open the lock once the Demon appears #2. Return to the main corridor and take care of the Demon with the help of the rest of your team.
- Dragon Age II Game Guide
- Dragon Age 2: Game Guide
- Dragon Age 2: Main quests
- Dragon Age 2: Act 3 Main quests
- Dragon Age 2: The Last Straw p. 1
- Dragon Age 2: The Last Straw p. 2
- Dragon Age 2: The Last Straw p. 3
- Dragon Age 2: The Last Straw p. 4
- Dragon Age 2: The Last Straw p. 5
- Dragon Age 2: The Last Straw p. 6
- Dragon Age 2: The Last Straw p. 7
- Dragon Age 2: The Last Straw p. 8
- Dragon Age 2: The Last Straw p. 9
- Dragon Age 2: On the Loose p. 1
- Dragon Age 2: On the Loose p. 2
- Dragon Age 2: Best Served Cold p. 1
- Dragon Age 2: Best Served Cold p. 2
- Dragon Age 2: Act 3 Main quests
- Dragon Age 2: Main quests
- Dragon Age 2: Game Guide
You are not permitted to copy any image, text or info from this page. This site is not associated with and/or endorsed by the developers and the publishers. All logos and images are copyrighted by their respective owners.
Copyright © 2000 - 2025 Webedia Polska SA for gamepressure.com, unofficial game guides, walkthroughs, secrets, game tips, maps & strategies for top games.
