The Sims 4: Stages of building a house
Building houses in The Sims 4 provides many options and allows you to create the house of your dreams. You can create your home completely from scratch - place walls and floors, insert doors and windows, and finish with rooftop. This page will guide you through all the steps and show how best to build a house in The Sims 4.
Panel
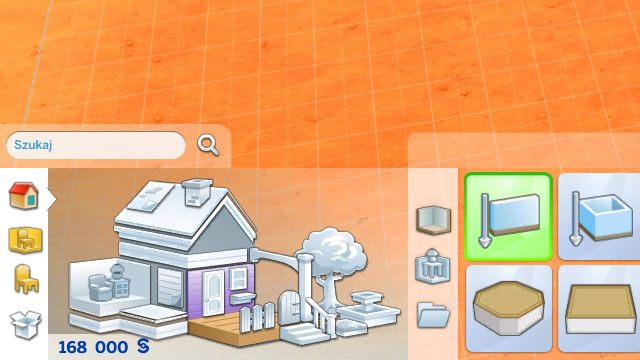
Once you move in into a house, open the build mode ("F3"). By clicking appropriate icons you get access to building and placing elements of the house: walls, the roof, doors, stairs, etc. All elements from a given category are displayed on the right side of the panel.
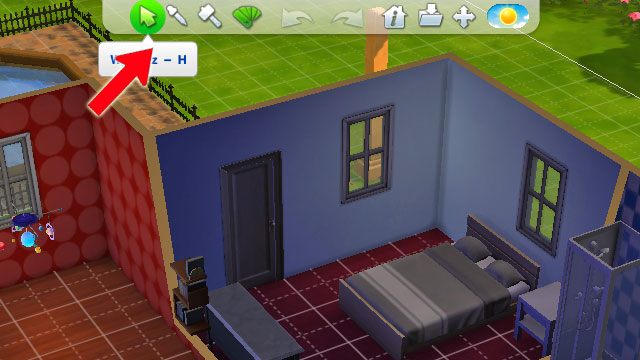
The upper panel is also very important. Using the first, cursor icon ("select") will allow you to select any object in order to move or sell it, as well as select a room, a roof, or a terrace, in order to change its size, etc. The next icon is "dropper" - it allows you to take a pattern off an existing item, e.g. a cabinet, or a wall covering, in order not to search for it in the items catalogue. With the third one, the hammer, you can delete any unwanted element: a roof, a bed, a wallpaper, etc.
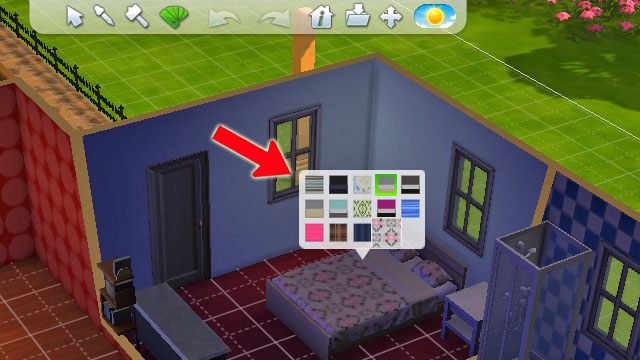
The "design tool" enables you to change the pattern of a purchased item, e.g. a bed. You just need to click on a purchased item and select a different available color pattern. This is a very convenient tool when you want to rearrange a room's colors or when you are simply bored with the items color. The other two icons are: undo the previous action, and do it again. Finally you get to the parcel information panel, where you can change its name or insert the number of bedrooms and bathrooms. The last icon is about changing the time of day in the build mode.
Walls
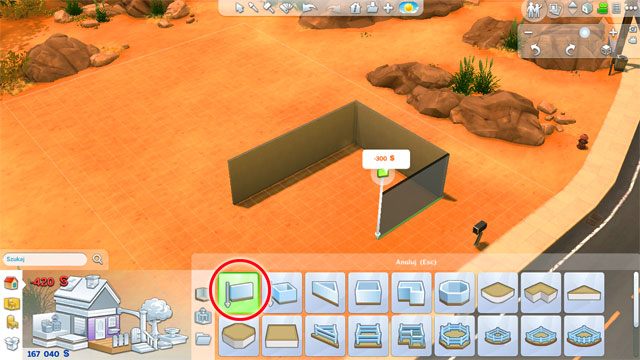
As for building walls: using the first tool allows you to build one wall after another, thus constructing your house. You just need you start building and drag the wall where you want it.
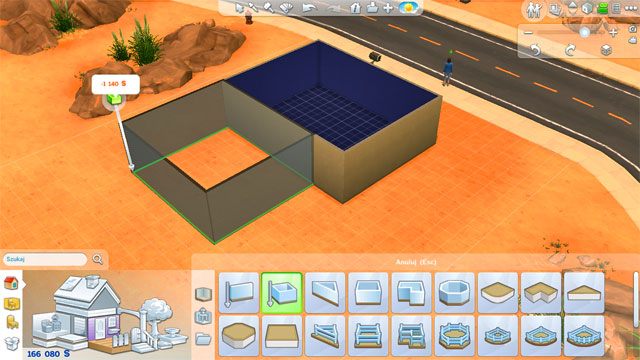
The next tool allows you to raise rectangular or square walls, which make up a base for a new room.
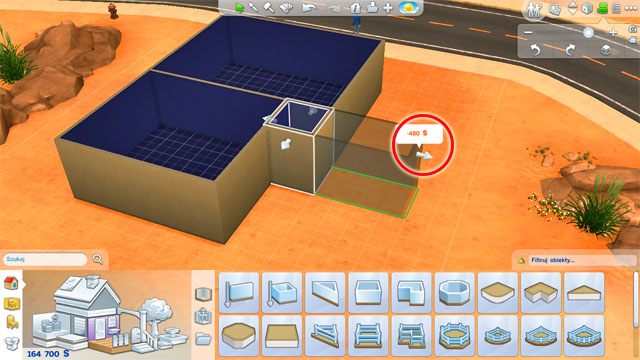
More complex tools are under a couple of next icons of the panel. A convenient solution is to create a room in a chosen shape, and then use arrows next to it to change its size (you just need to hold an arrow and drag it, in order to expand it or shrink it back in a given direction).
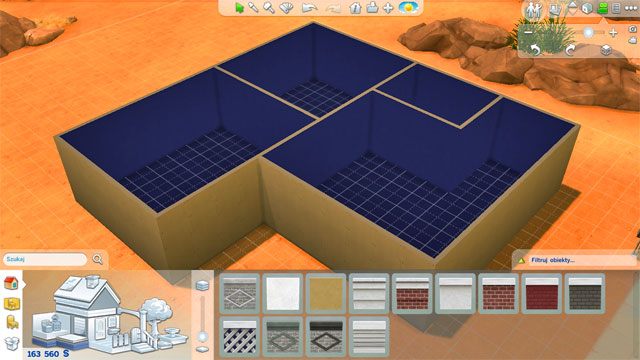
Created rooms can be further divided with more walls. Plan all your standard rooms, like: the bedroom, the kitchen and dining room, the living room, and the bathroom.
Doors and windows
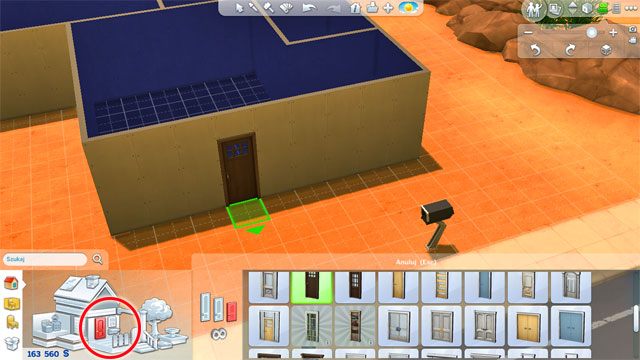
Place the front door, as well as doors to particular rooms. Instead of doors, you may also use arches.
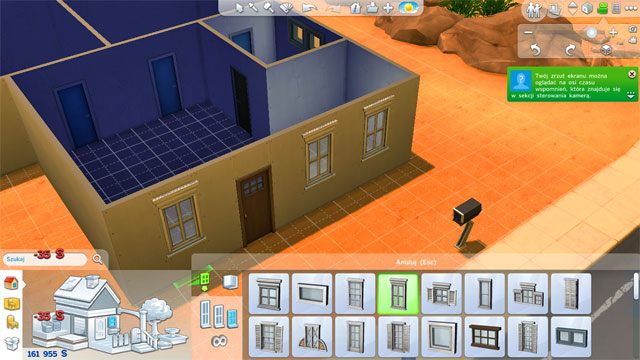
Let some light in - buy windows. In the future you may be able to change their placement - e.g. because of furniture, like a refrigerator - but you have to start somewhere.
Wall and floor coverings
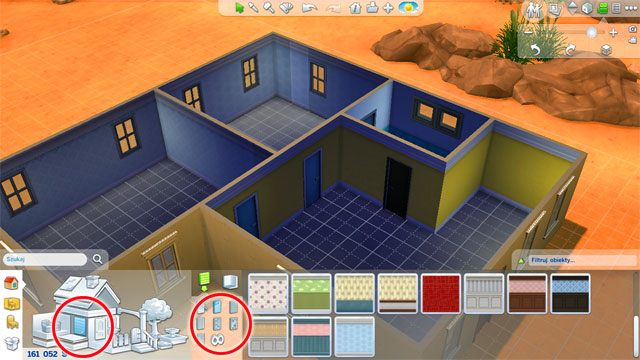
Go to a proper section in the build panel. By selecting particular materials for wall coverings - e.g. bricks, wallpapers, or tiles - finish the room accordingly to its purpose. When you select a given pattern and place the cursor over a wall, hold "Shift" to cover the entire wall with the selected pattern. Do not forget about the walls from the outside!
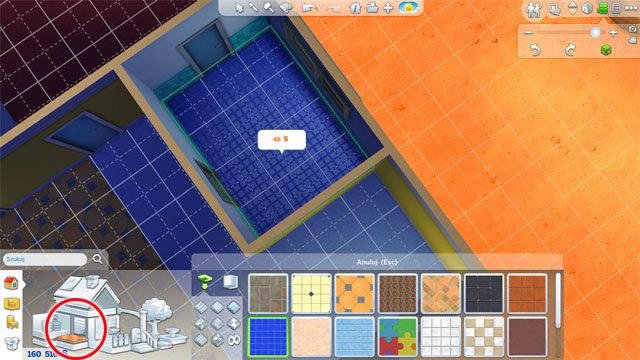
Do the same for floors. Note that you do not have to use one pattern for an entire room. You may e.g. devote a portion of a large room to a different purpose and then use a different floor as a natural border.
Roof
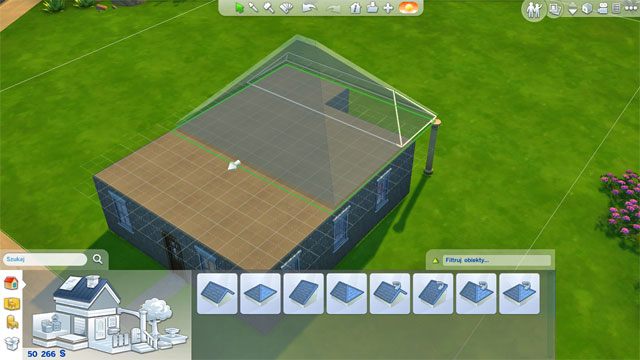
The last basic element of a house is its roof. If the house is rectangular or square, you will do that in just a couple of seconds. The process is the same as in creating rooms. You place a small piece of a roof and then drag its edges with arrows.
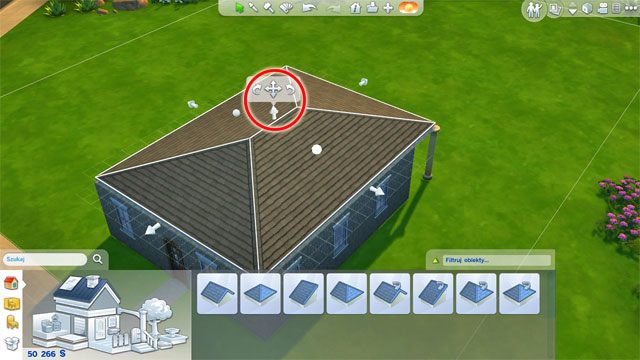
You can also change its height, using the middle arrow.
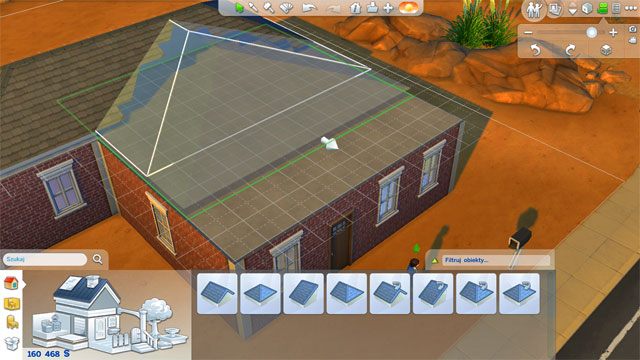
If the house has an irregular shape, creating a roof will require two or more stages (it has to be curved).
Such house is an absolute minimum. Along with income increase you will be able to afford to expand it.
You are not permitted to copy any image, text or info from this page. This site is not associated with and/or endorsed by the developers and the publishers. All logos and images are copyrighted by their respective owners.
Copyright © 2000 - 2025 Webedia Polska SA for gamepressure.com, unofficial game guides, walkthroughs, secrets, game tips, maps & strategies for top games.
