Bard's Tale 4: Hidden Hand and The Best of Us Main Quest Walkthrough
The following page contains the walkthrough of main quests titled Hidden Hand and The Best of Us in The Bard's Tale IV: Barrows Deep. The first one is the shortest main storyline mission in Shadow of the Tomb Raider. The second one introduces more challenging puzzles in comparison to the initial stages of the game. Thanks to the following solution you will be able to solve this riddles without any issues.
Hidden Hand
Talk to Rabbie
Exit The Green Lady's house. Go to the Skara Brae Below through the hatch in front of the house. Head towards the blue arrow on the minimap. If you have not killed the Fachan yet, you will encounter the creature once again. This time defeating it will not be a challenge. Enter the Old Adventurer's Guild known to you from previous quests. Talk to Rabbi. He will ask you to send an envoy to Haernhold. You can choose one of your team members, who will then leave the party. After finishing the conversation, the mission will come to an end.
The Best of Us
Go to Kylearan's Tower
Exit the Adventurer's Guild. Once you pass all of the members and the totem which allows you to save the game, there will be a locked door to your right, which you can now open.
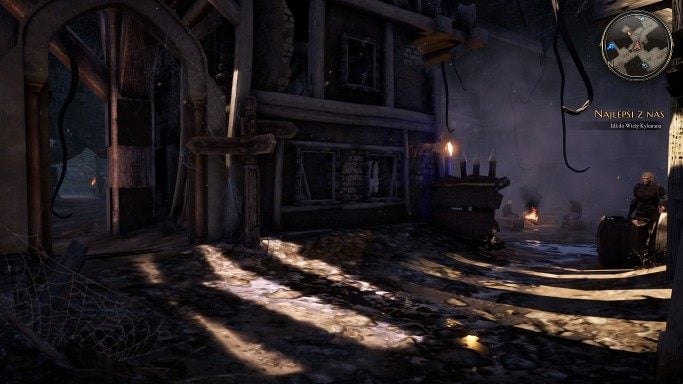
You will meet Crux here, who will join your party.
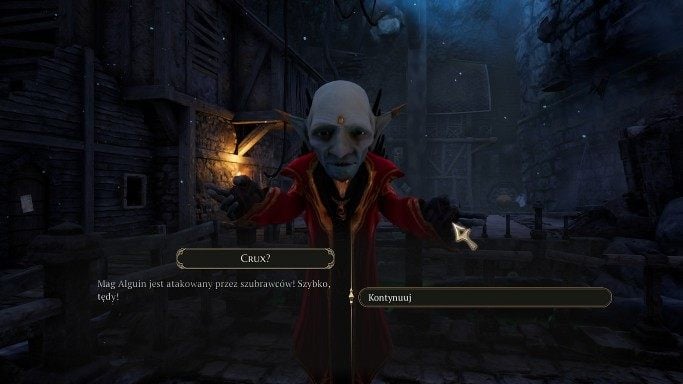
Crux will teach you a new song titled "The Stone Remembers". Use this song when you see the mark shown in the following picture.
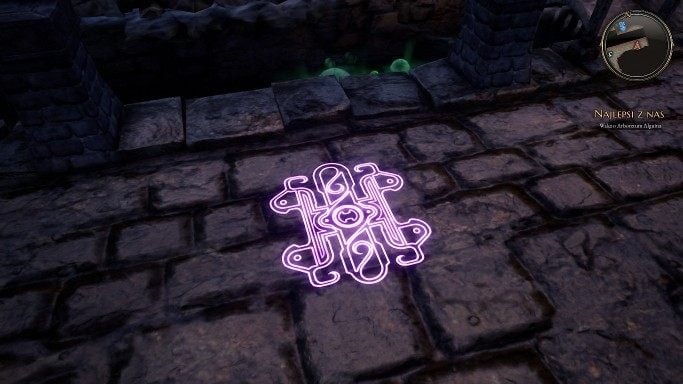
The bridge will be rebuilt.
Statues
Enter The Cellars of Kylearan's Tower. You will find an offering statue there.
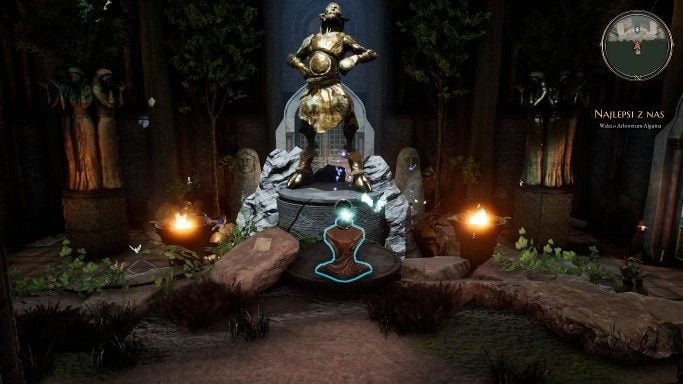
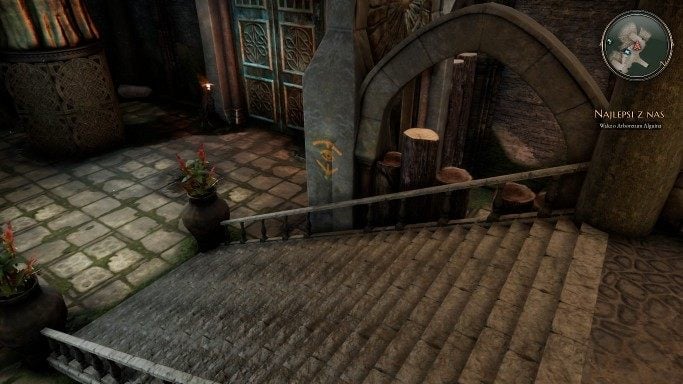
When you walk down the staircase on the right, you will find an imp's mark.
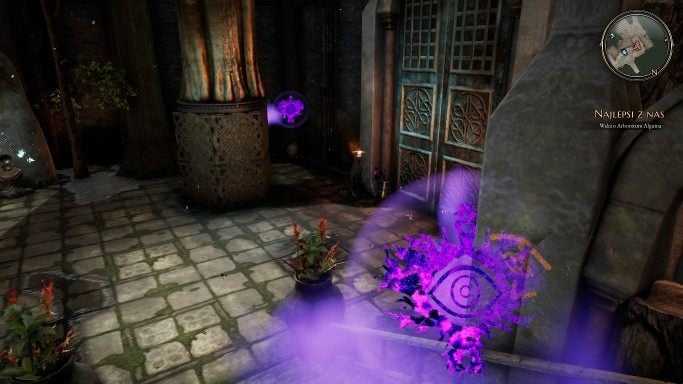
Play the Hidey Bide song in front of it. A cache behind the pillar will be revealed.
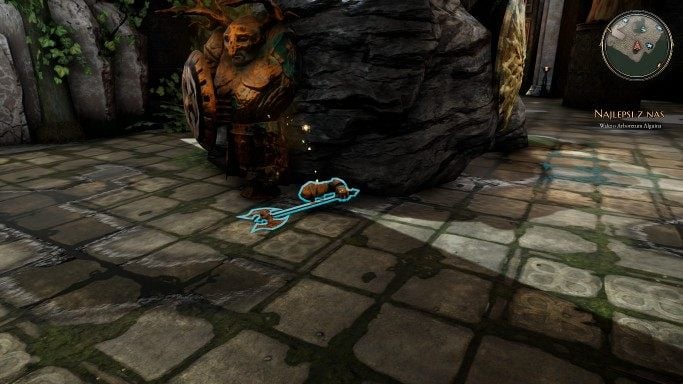
When you look to the left you will also find the Arm from a Broken Statue.
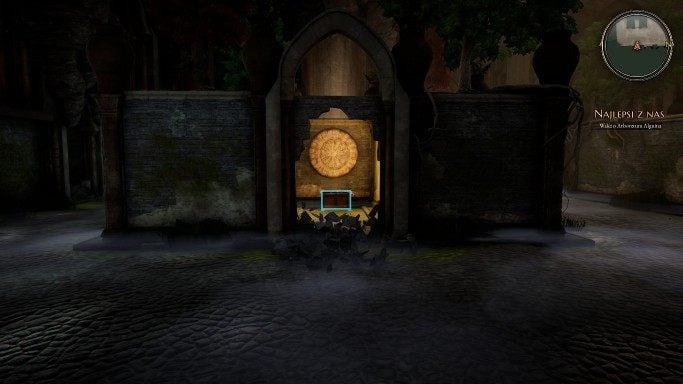
Return to the first statue, select the quest items tab in the inventory and use the arm. The doors on the right and left sides of the chamber will open. There are opponents for you to defeat there. In the left chamber, you will encounter one goblin. In the further part of the room, you will find a Fachan and three goblins, one of which is an archer. Remember to update the proficiency book that you can find in the inventory when clicking on each individual team member. In the middle of the room, there is a chest. You can also get to one of the chests by using the Gaufain's Hammer song, which allows you to destroy a thin wall. You will find valuable equipment here.
To the right of the entrance to the chamber, you will find a passage filled with traps.
Immediately after the spikes retract, go along the left side. Pull all three levers that you will stumble upon along your way. A silver triangle will appear in the middle of the room.
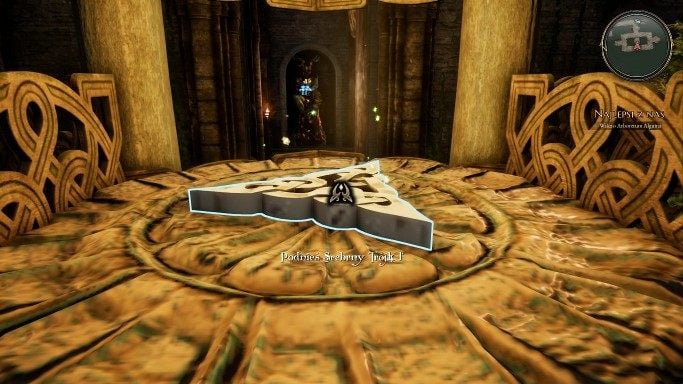
Return to the first room. The triangle you have acquired will fit the statue on the right. Save the game.
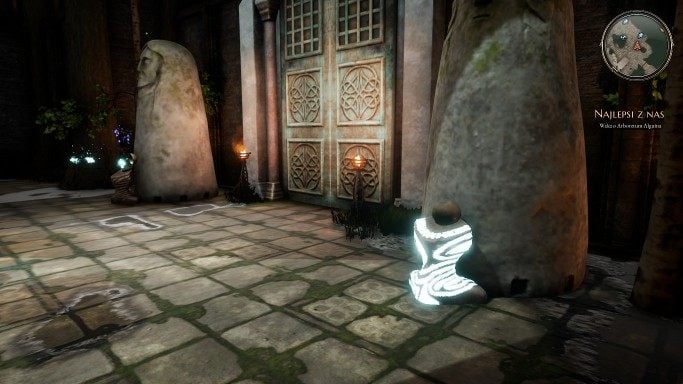
Now go through the corridor on the right. Approach the combat a bit more carefully, because the opponent will be stronger than the previous one. Remember about the healing effects of food. When you walk through the corridor, you will spot an imp's mark again.
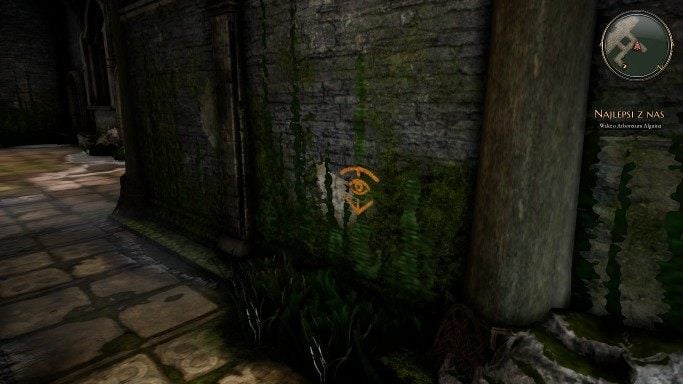
The cache is located on the right side. At the end of the chamber, there is a door with a chest behind it. On the left side of the room, there is an obstacle that you must push.
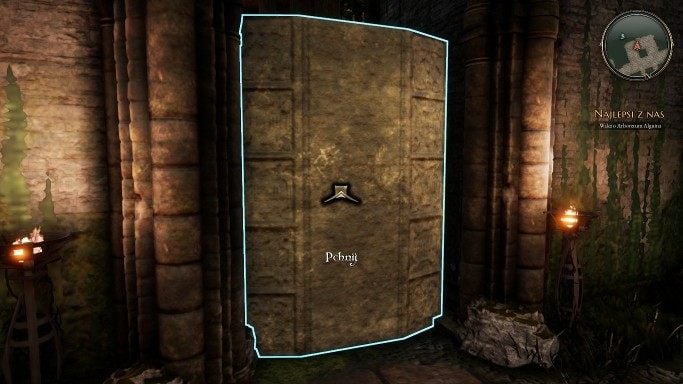
Turn left and you will find a door there that you can open with a pick.
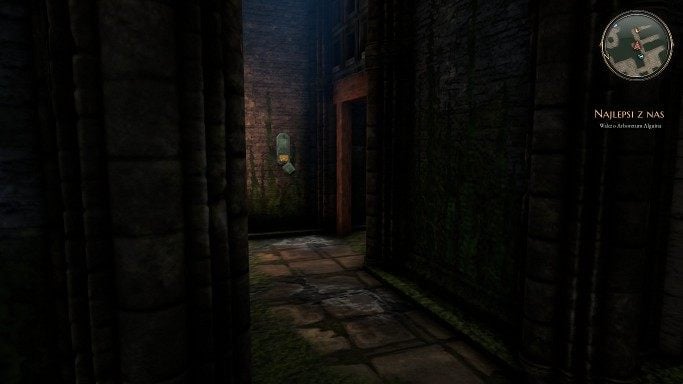
In the middle of the corridor, you will find an imp's mark and a sign on which you can use the new song called The Stone Remembers. Use the song if the stone needed to solve the puzzle is stuck somewhere. On the right, you will find a button. Press it. A secret passage in the wall will open behind you. There is a stone in this chamber that you have to push to the correct location.
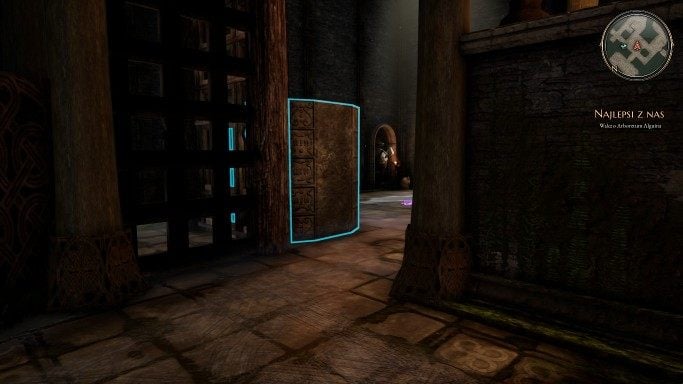
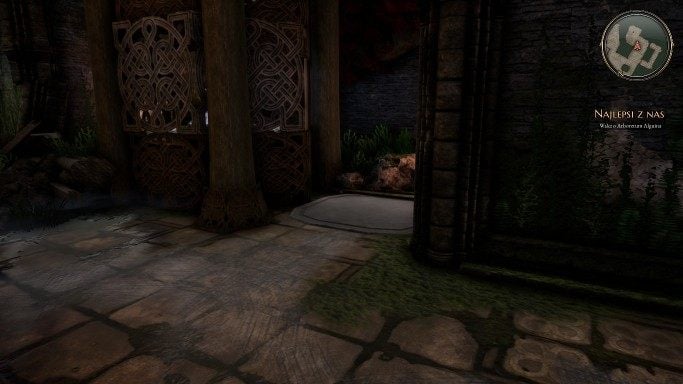
To do this, you must go behind the stone and push it through the bars.
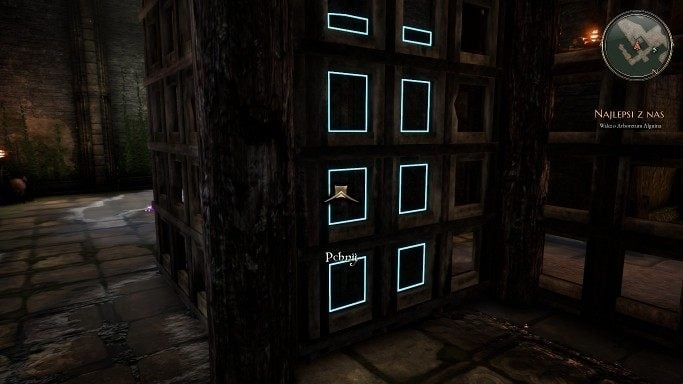
Push the stone so that it is in the following position.
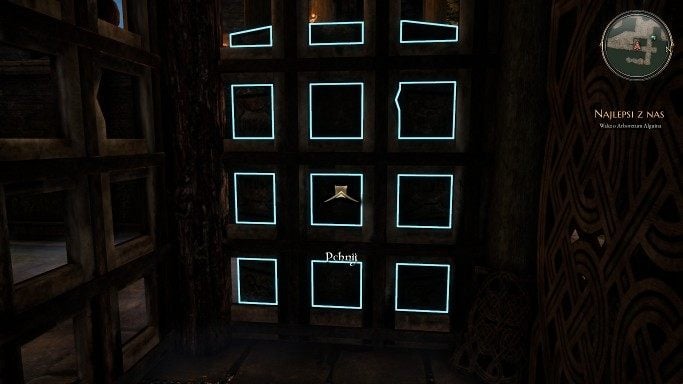
Push it to the end of the room.
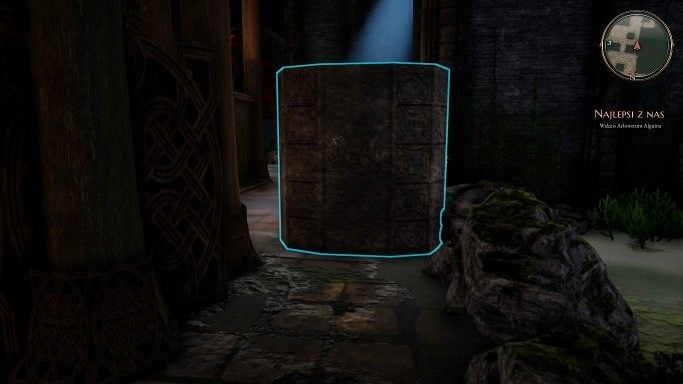
Again, push the stone so that it is at the end.
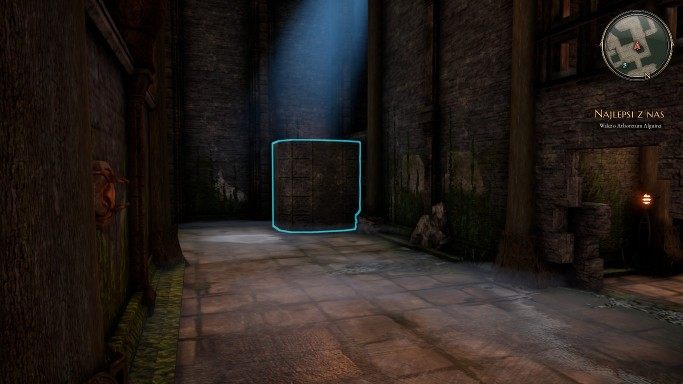
Go through the secret passage that opened earlier and push the stone through the bars.
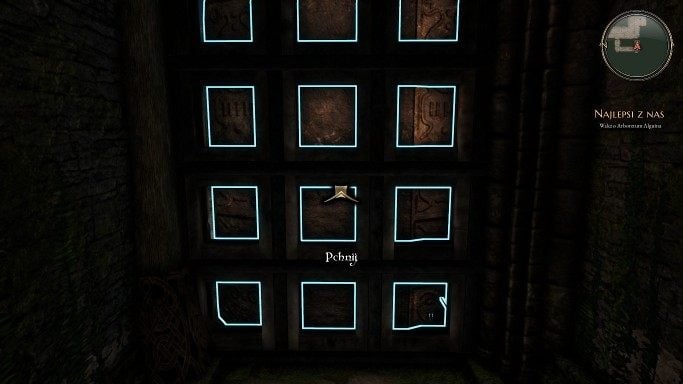
After two more pushes, the stone will be in place.
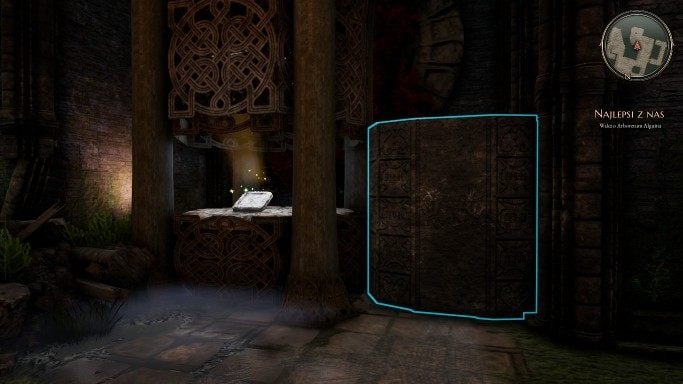
Pick up the silver square and take it to the last statue. The main door will now open.
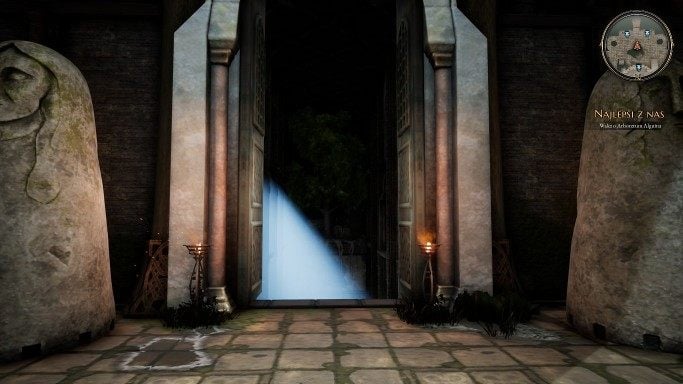
A Trap
When you go straight ahead, you will fall into a trap.
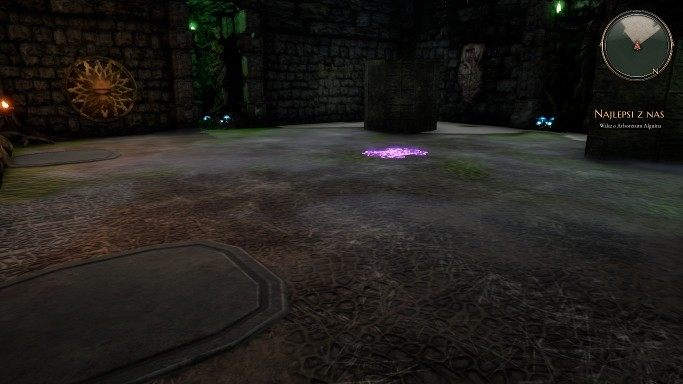
Push the stones onto the visible platforms. A door will open in front of you, watch out for the traps. Move to the right. Turn right into the nearest corridor. If you want to stop the traps, the gears must be set as follows:
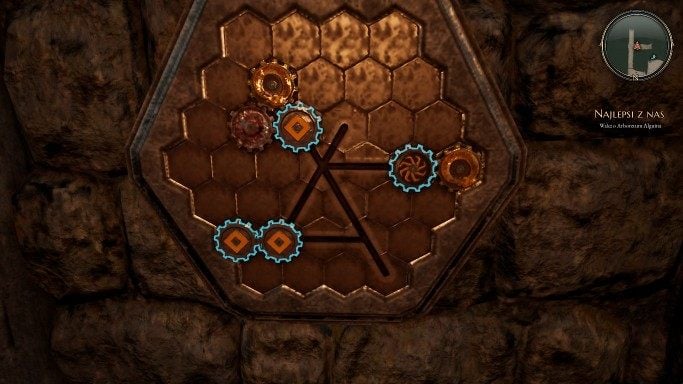
When you move further along the path where there were previously traps you will find a handle which will allow you to use the grappling hook. Watch out as there are more traps ahead. At the end of the corridor to the left, there is another gear puzzle, and the gears must be set as follows to stop the traps:
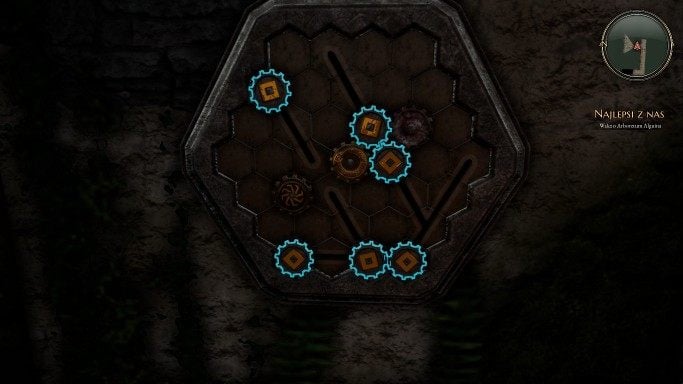
Follow the path below. There you will find a totem which will allow you to save the game. There are also opponents ahead. You will encounter a powerful Practitioner with 61 health points. There is a key in the middle of the chamber, under the traps.
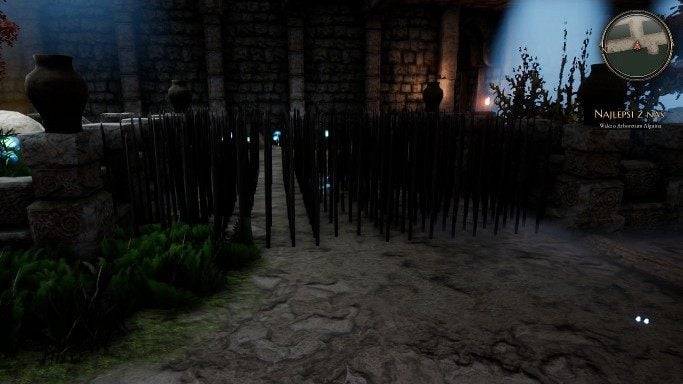
After setting all of the gears correctly, the doors on the left end of the corridor at the bottom will unlock.
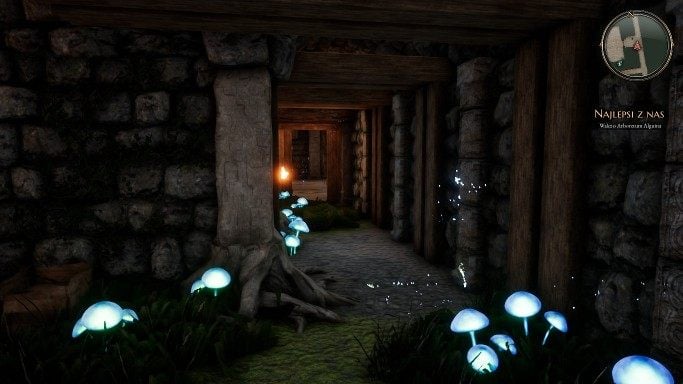
You must push four stones onto the pedestals.
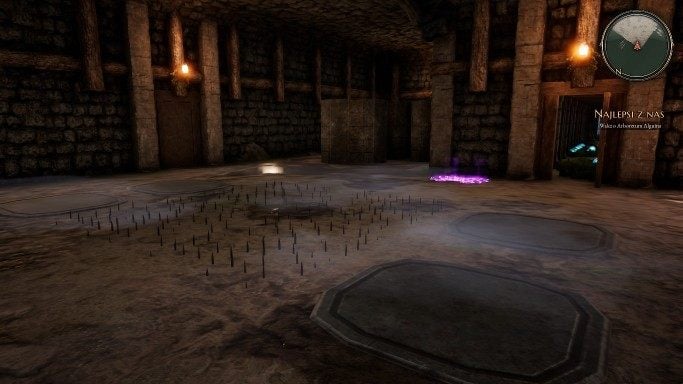
Approach the stones from behind, push the leftmost stone and set it in the correct position.
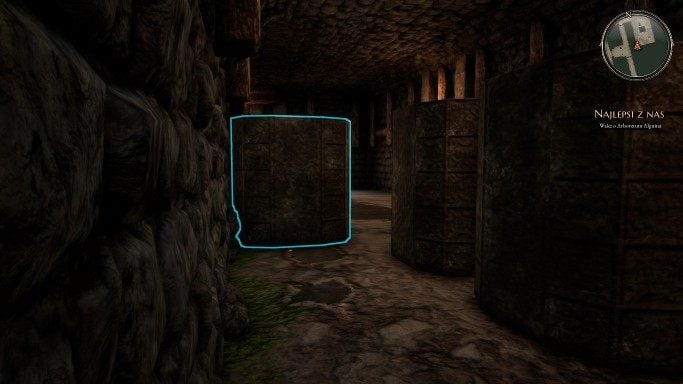
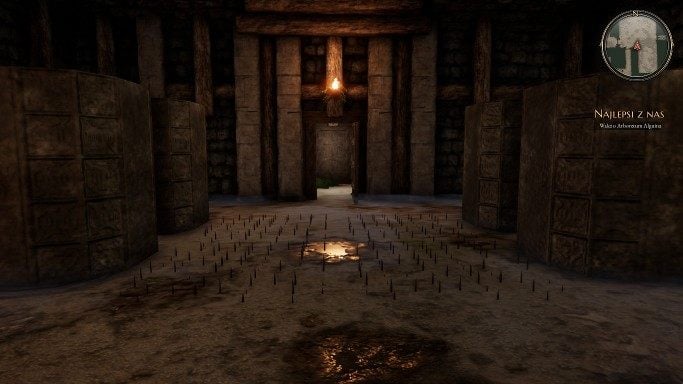
Push the rest of the stones to the left side and place them on the relevant pressure plates. Be careful, a trap will be set in the middle of the room, but the door will also open.
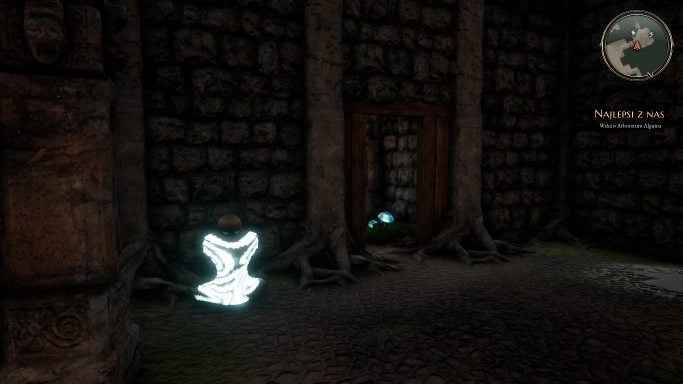
Explore the cave. On your way, you will encounter two fachans and two goblins. On the right side of them, you will find a door and inside a statue. You must put three leaves of red cabbage next to it. The next door will open.
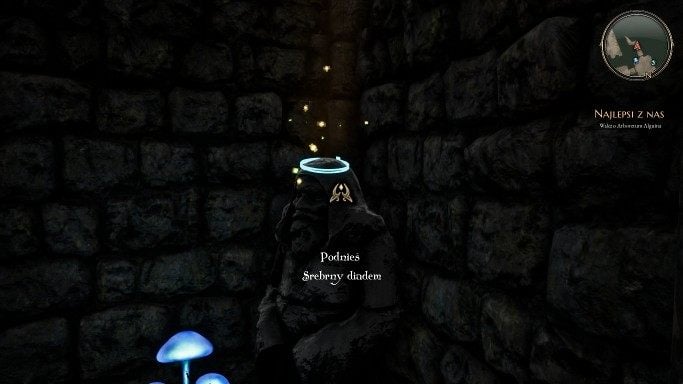
You will notice a sculpture with a silver diadem on it. Pick up the item.
When you find yourself in a room with stones that you have to push to the correct positions in order to proceed, start with the leftmost stone.
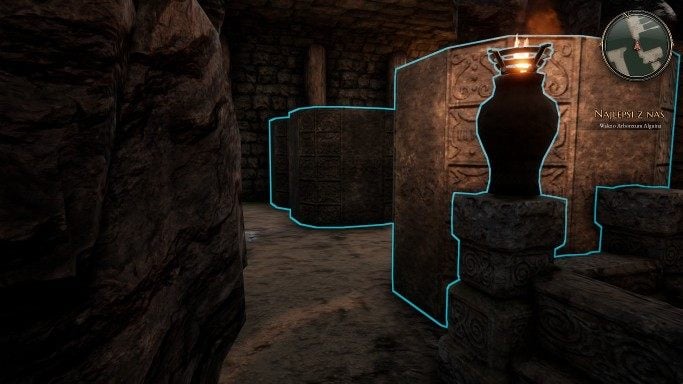
Then push the stone next to it to its place. Push the boulder that will be located in front of you to the end.
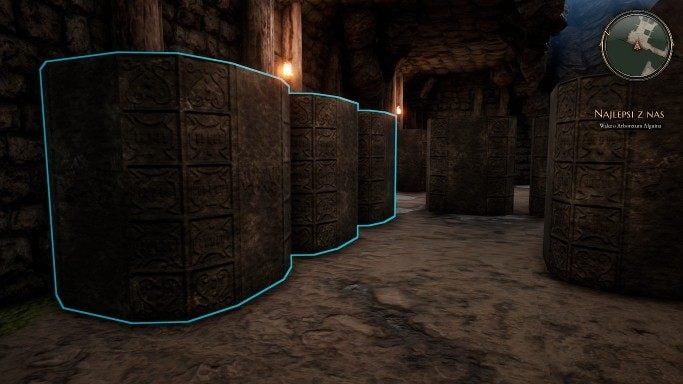
Now push the stone located to your right side.
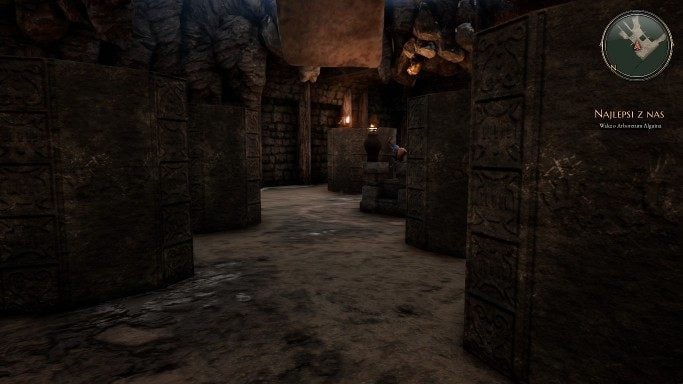
There is a chest between the stones.
Feel free to kick the goblin. Have fun.
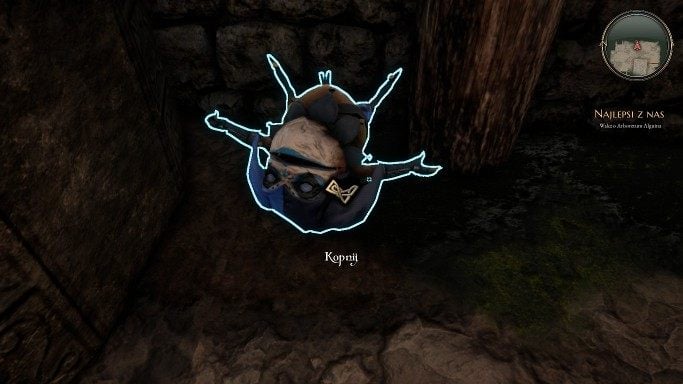
You will find a gear puzzle in the area. To open the door, first set the wheels as follows:
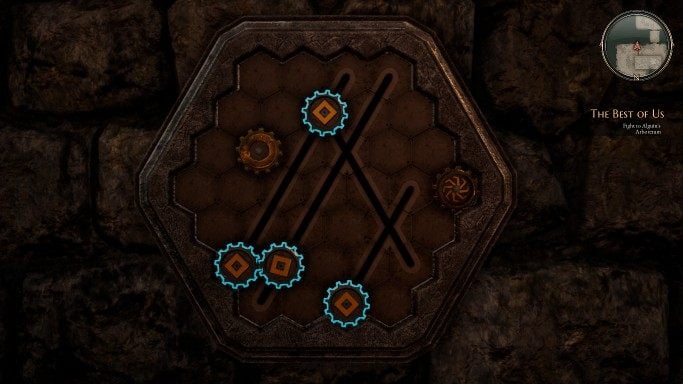
Push each wheel, starting from the right. The gears should be arranged in the following order:
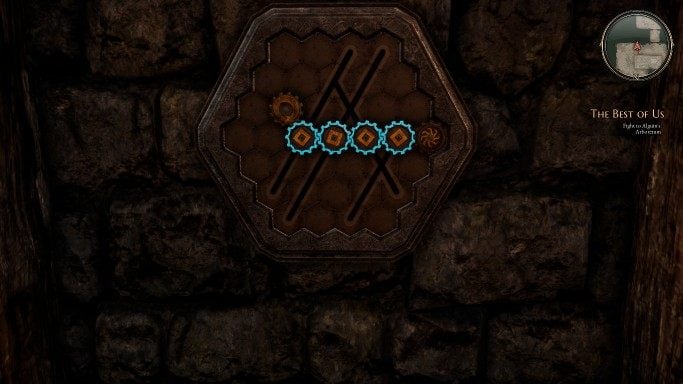
The nearby door will open.
Totems by the doors
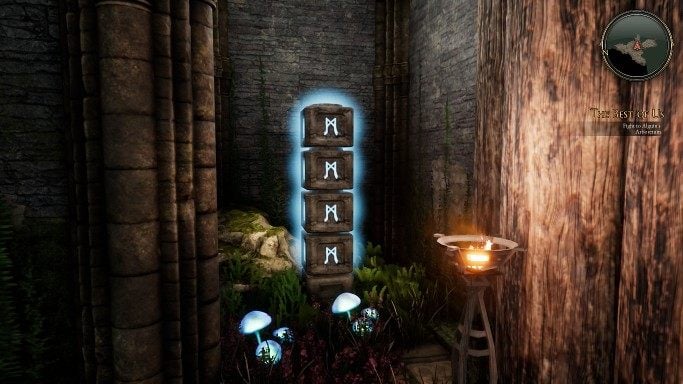
Look at the platform above you. You will find a handle there, which will allow you to use the grappling hook. Near the door you will notice a totem that needs to be arranged in the following way:
Keep going, you will find another door with two more totems. Arrange them as follows:<br>
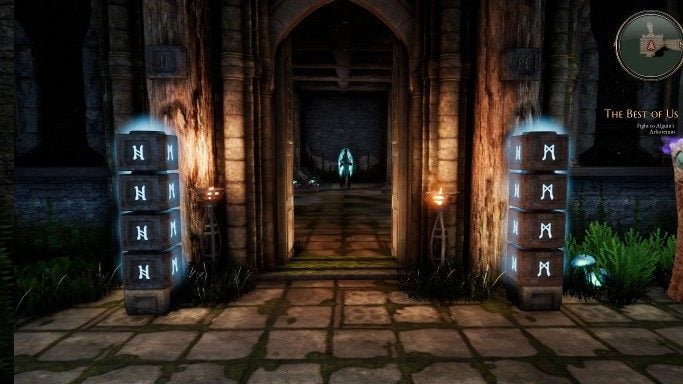
The door in front of you will open, and an opponent awaits you there - a Practitioner with 61 health points. He is facing your way. Try to make the first move quickly. He summons goblins. Focus your attention on the Practitioner, and deal with his summons only after defeating him. Go further, and you will reach a room with two more puzzles. To the right of the doorway, there is a button that opens a secret passage, there will be a chest there. Solve the riddle located next to the door straight ahead by setting its pieces as shown in the picture below:
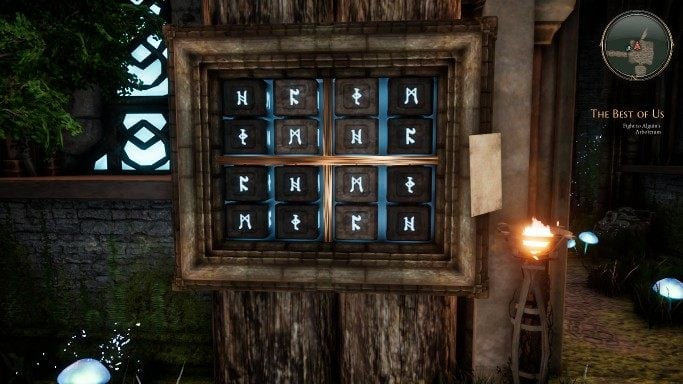
Go inside. To the right, you will find a thin wall that you can destroy with the Gaufain's Hammer song. There will be a chest here.
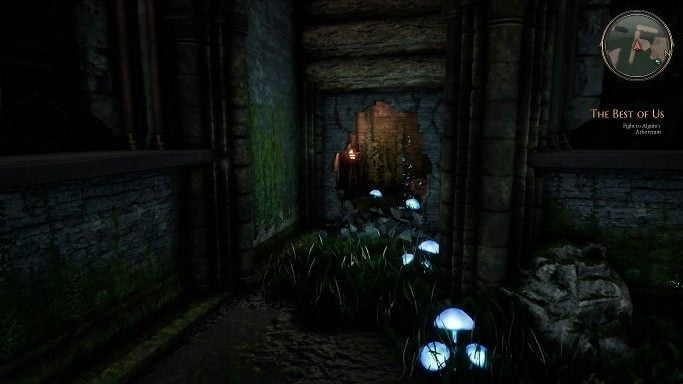
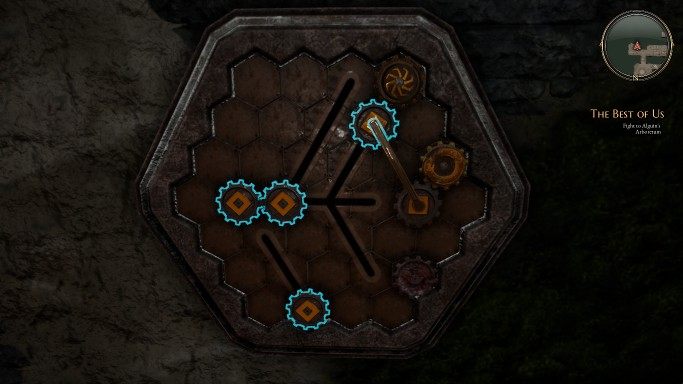
Continue in the other direction, and you will come across an ice room. Push the boulder in one of the walls. Be careful, you will be thrown into a room filled with traps. Quickly run behind the stone - there will be a mechanism with gears there. In order to open the gate next to it, arrange the cogwheels as follows:
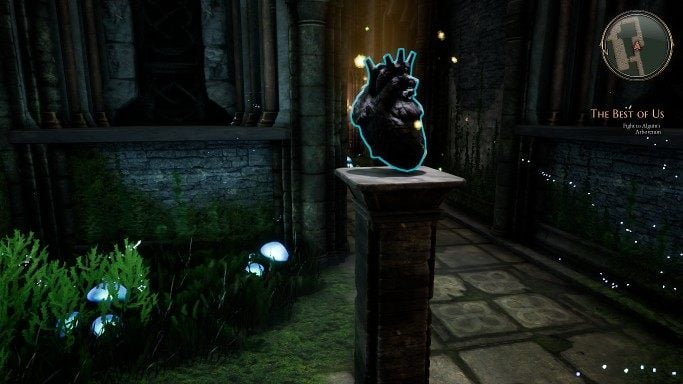
You will find the Stone Heart on a pedestal. Collect it.
Return to the door with an unsolved puzzle. Arrange it in the following way:
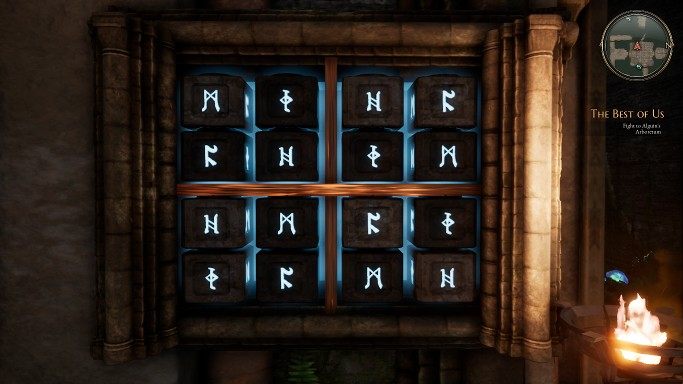
When you go through the door, do not rush ahead. On the right there is a lever - use it to turn off the trap, which would make the floor beneath you collapse. In front of you, there are shrines. Insert the stone heart into the one on the left.
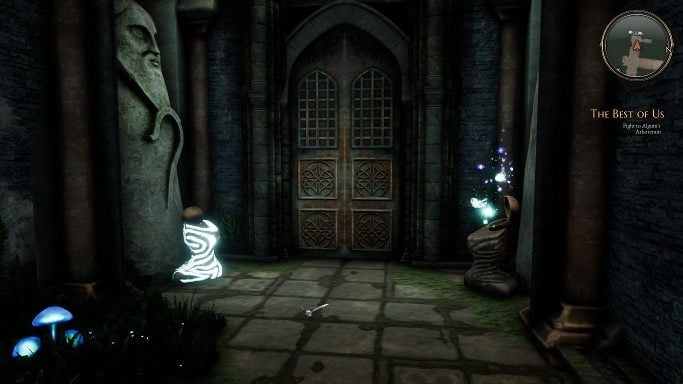
Now use the door behind the totem. Stand on the right side of the lever, and use it until the stones are at the right end of the room. Once you use the stones to pass, use a lockpick on the lock next to the door on the right. You will find another chamber with stones and two levers. Set the stones as follows. With one lever, you can move them forwards and backwards, and the other lever moves them to the left and right.
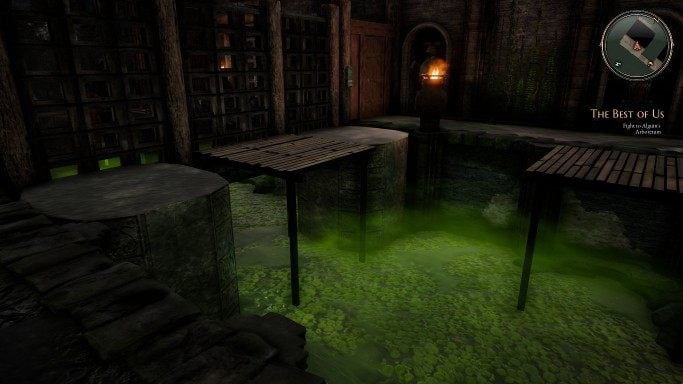
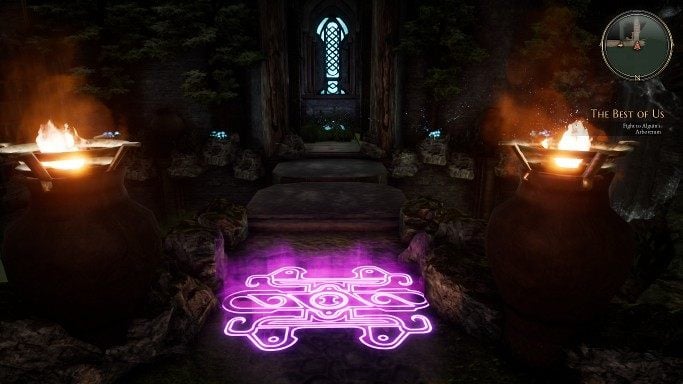
In the third room, you must use Crux's song while standing on the mark.
The fourth chamber is a room with stones that breathe fire. On the right side, there is a mechanism which is controlling traps.
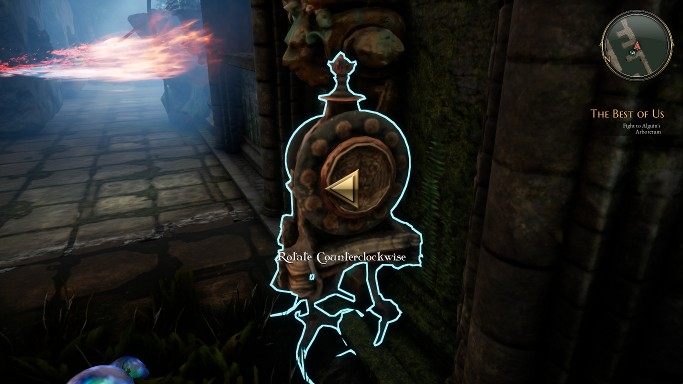
Set the first boulder like this:
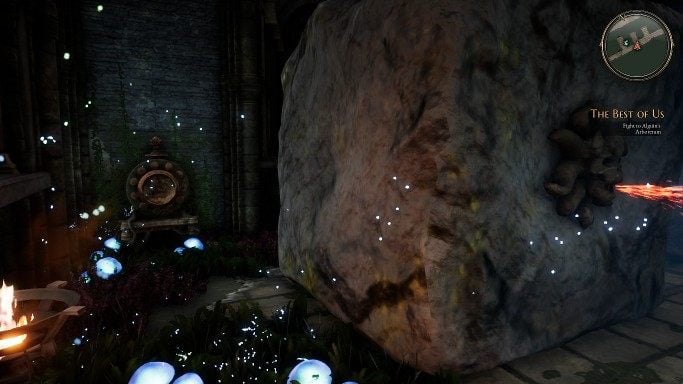
You will see a second mechanism which is controlling the second boulder. Set it up so that it will not breathe fire in your direction, and then set the first stone in the same way.
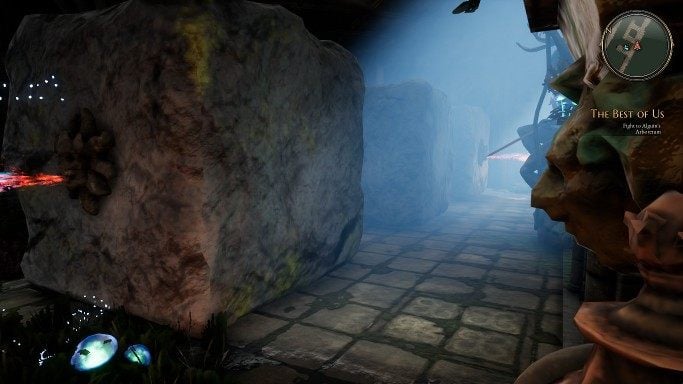
The third mechanism is behind the third stone. Turn it once clockwise. Otherwise, you will burn because of the trap. There will also be a gear puzzle here. The elements should be arranged in this way:
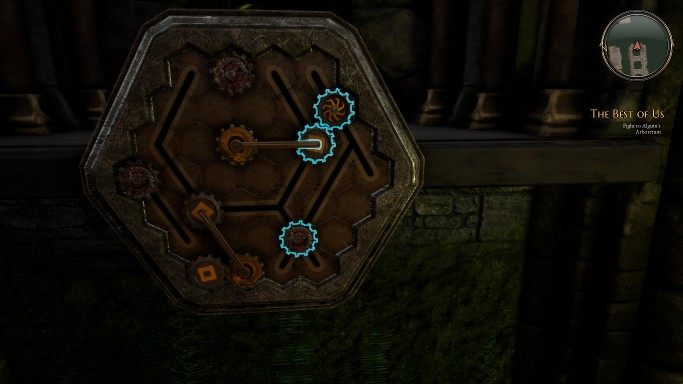
Remember, the rusted wheels cannot be set in motion. The grate behind the stones will open, and you will gain access to the stone head.
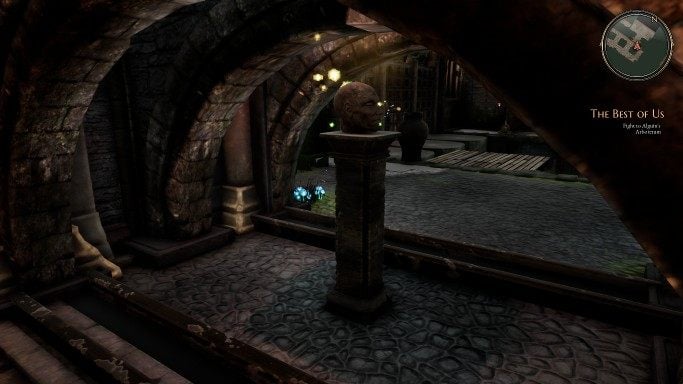
Return to the shrines. Insert the stone head into the right shrine. A path will open.
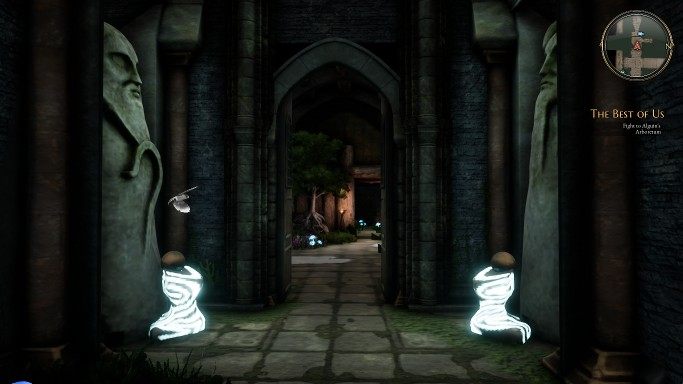
Pay attention to the wall on the left, there will be a button next to it that will open a secret passage with a chest in the middle.
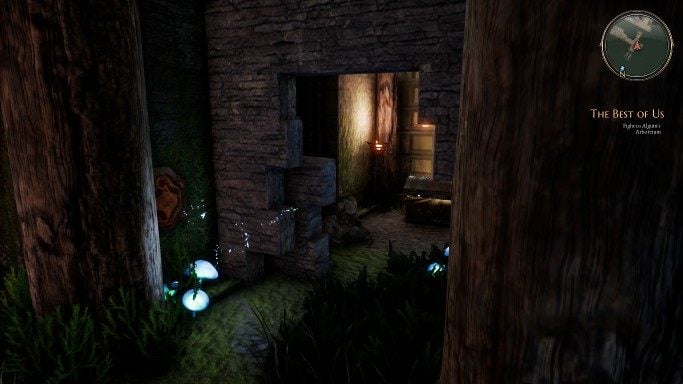
Riddles with ink
Go through the wooden door. You will come across another puzzle. Fill the bottles with each type of ink.
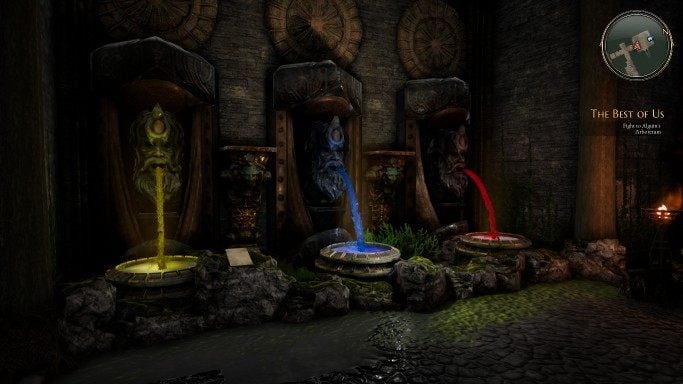
Then remove them from the inventory and insert them into the shrines. You will find several items on the shelf. When you go further, remember to collect recipes from the bookshelves. Learn them from the equipment panel by right-clicking on them and selecting "Use". Collect the ink from the fountains above you.
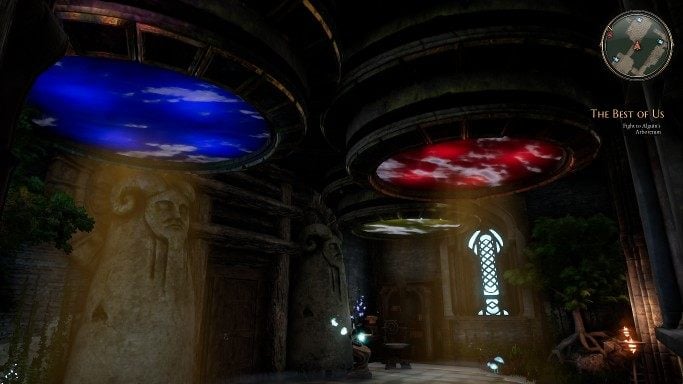
Go into your inventory and select the crafting menu. Create some black and purple ink. Insert the bottles into the shrine in the correct order: black, red, purple. The door will then open. In the next room watch out for the fachan and goblins. Sneak in and take the initiative. Your opponents will be: one fachan with 57 health points, two goblin archers and one goblin with a shield. Remember to heal the members of your team and make changes in your equipment before each fight. When you defeat your opponents, solve the next puzzle with shrines.
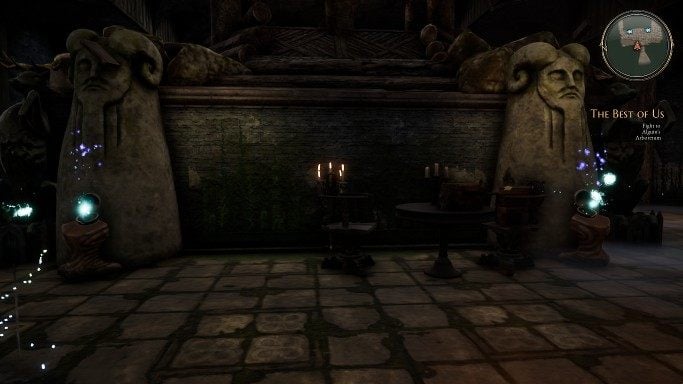
In the area, you will find three books and a totem which will allow you to save the game. Insert the red book into the left shrine and the gold into the one on the right. A secret passage will open behind you with a chest and an imp's mark inside. On the other side of the shrines, you will find a room with a button. Use it, and a lift will start working. When you go down, you will have another fight on your hands, this time against a fachan and a Practitioner. Focus your attention on the Practitioner who summons goblins. However, watch out for the fachan when he tries to concentrate and try to interrupt his skill in order to avoid high amounts of damage.
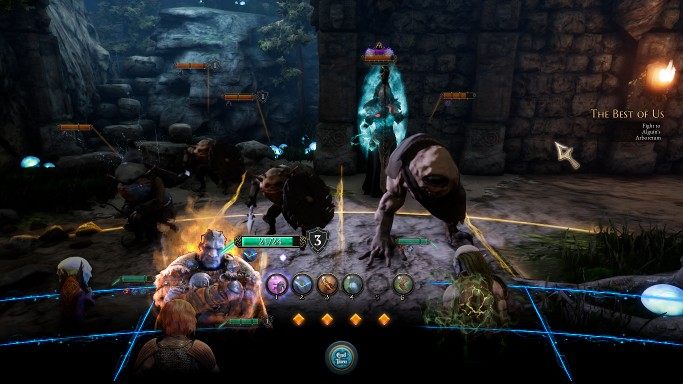
This fight should not cause you any issues.
Mangar
After defeating them, move on, and the boss fight against Mangar will start.
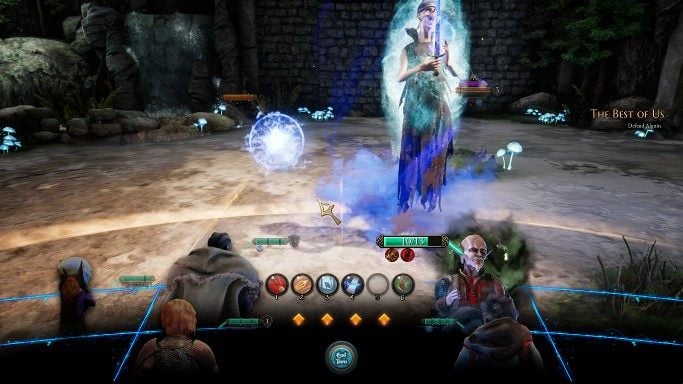
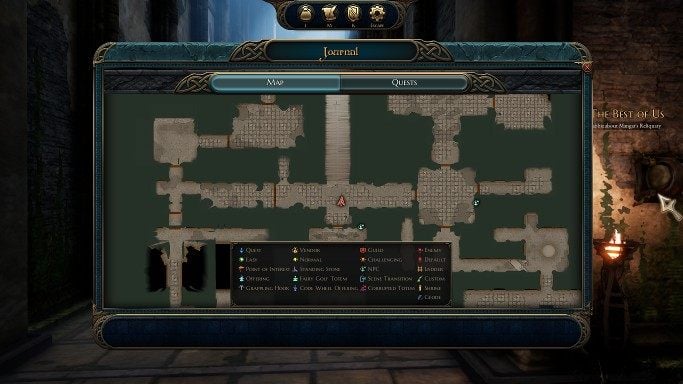
A new character will join your team. The first of Alguin's skills makes him concentrate for several turns. Protect him. This skill will deal a deadly amount of damage to all enemies. Use the elevator to return to the place where the trapdoor was previously located, you can find the exact location on the map by looking at the picture below:<br>
Go back up and go to Skara Brae. Return to Rabbi. After a brief conversation, the task will be completed.
- The Bard's Tale 4 Game Guide
- Bard's Tale 4: Walkthrough
- Bard's Tale 4: Main Quests
- Bard's Tale 4: Hard Times in Skara Brae Main Quest Walkthrough
- Bard's Tale 4: A Home in the dark Main Quest Walkthrough
- Bard's Tale 4: Bad Reputation Main Quest Walkthrough
- Bard's Tale 4: The Doppelganger Main Quest Walkthrough
- Bard's Tale 4: Elven Wiles Main Quest Walkthrough
- Bard's Tale 4: Low Friends in Low Places Main Quest Walkthrough
- Bard's Tale 4: Hidden Hand and The Best of Us Main Quest Walkthrough
- Bard's Tale 4: Keeper of the old ways Main Quest Walkthrough
- Bard's Tale 4: Into the Wood... Main Quest Walkthrough
- Bard's Tale 4: The Sacred Grove Main Quest Walkthrough
- Bard's Tale 4: Mangar's Bones Main Quest Walkthrough
- Bard's Tale 4: The Secret of Cialhmar Main Quest Walkthrough
- Bard's Tale 4: Bones in the Fog Main Quest Walkthrough
- Bard's Tale 4: The Ominous Isle Main Quest Walkthrough
- Bard's Tale 4: The Lost Rookery Main Quest Walkthrough
- Bard's Tale 4: Blood of Kings Main Quest Walkthrough
- Bard's Tale 4: Death to the Mad God and The Blessed Lady Walkthrough
- Bard's Tale 4: The Song of the Maiden Walkthrough
- Bard's Tale 4: Main Quests
- Bard's Tale 4: Walkthrough
You are not permitted to copy any image, text or info from this page. This site is not associated with and/or endorsed by the developers and the publishers. All logos and images are copyrighted by their respective owners.
Copyright © 2000 - 2026 Webedia Polska SA for gamepressure.com, unofficial game guides, walkthroughs, secrets, game tips, maps & strategies for top games.
