Chapter 9 - Destroy Starkiller Base | Walkthrough
The primary objective of this stage is to reach the large chamber with thermal oscillator in it and to plant explosives in several spots. Before you do that, you will have to take part in some more air combat and help Rey escape the base.
- Unlock chapter 9 - D'Qar resistance base
- Dogfight above the Starkiller base
- Rey's escape
- Plant bombs on the oscillator
Unlock chapter 9 - D'Qar resistance base
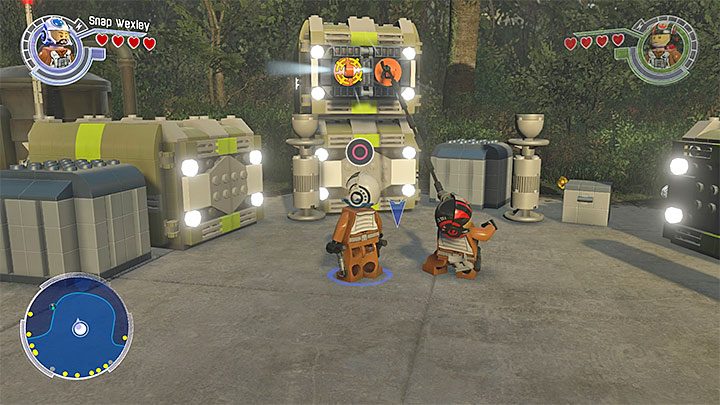
After you return to the resistance HQ, you can either perform some side activities or focus on unlocking the ninth chapter of the game. In the case of the latter, follow the transparent studs to the landing pad. Talk to one of the pilots there.
Head towards the crates at the opposite side of the runway. Select Poe Dameron, stand in the spot where you can use the Quadnoculars (blue markings) and use it to scan the crate. As a result, two grappling points appear. Both Poe and Snap Wexley have to reach them. After multi-build bricks appear, build one of the available droids. As the droid, return to the X-Wing landing pad and interact with the terminal.
Dogfight above the Starkiller base
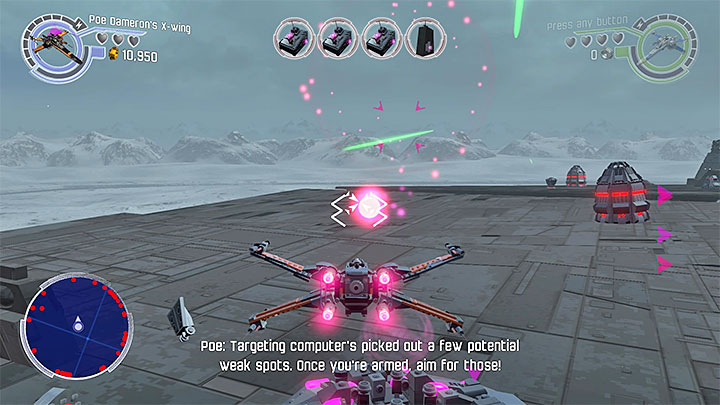
You start this chapter in the cockpit of Poe Dameron's X-Wing. Your route is predefined, but you can shoot down enemy units and destroy land units as you go. Also, you can fly through the rings that provide you with additional studs.
Soon, you will get close to the oscillator. At the bottom of the screen, four icons that represent your targets are displayed. Before you find the targets, you will have to obtain photon torpedoes, each time you go to find one of the targets. For that, reach spots where you can get them.
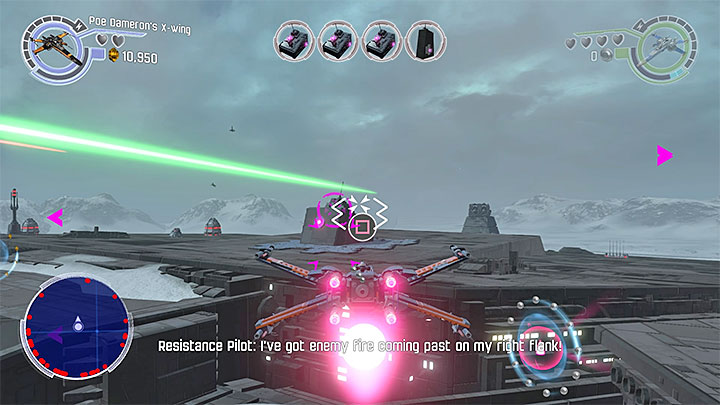
After you collect, at least, one torpedo, find any of the main targets and fly there. You have to wait for the targeting system to lock on the target, after you press the firing key/button. Destroy all four targets. This will start a cutscene and you will progress to the next mission.
Rey's escape
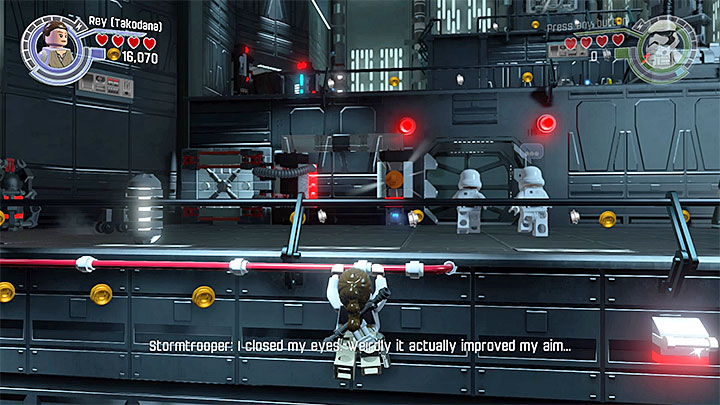
The available characters in this chapter are Rey and FN-1824 that she controls. As Rey go right and, after you reach the edge, press the interaction button to jab the bar into the hook and use it to get to the ledge on the right. Move right, jump towards the red pipe and climb over it. After you reach the top, start jumping towards the ledges on the left. Move left and climb onto the ledge where there is no balustrade.
Destroy the objects on the left and build rotating mechanism, using the interactive bricks and use it. Thanks to this, FN-1824 will reach the spot where Rey is.

Switch to FN-1824 and interact with the nearby hook. Thanks to this, a ledge on the left will slide out. Jump onto it as Rey. After you get to the top, destroy the nearby objects and build a generator on the right. Wait for FN-1824 to get here, destroy the generator and build a ladder now. As FN-1824, take the ladder and after you climb to the top, grab another hook.
Use another hook that has appeared above the chasm. After you get to a new area, use the terminal and play the minigame, where you have to recreate a stormtrooper. Thanks to this, a bridge for Rey to walk on unfolds.
Switch to Rey, reach the interactive wall and climb onto it. At the upper level, destroy the bricks and complete the flooring, using the bricks. After that, push the big object over to the socket on the right.
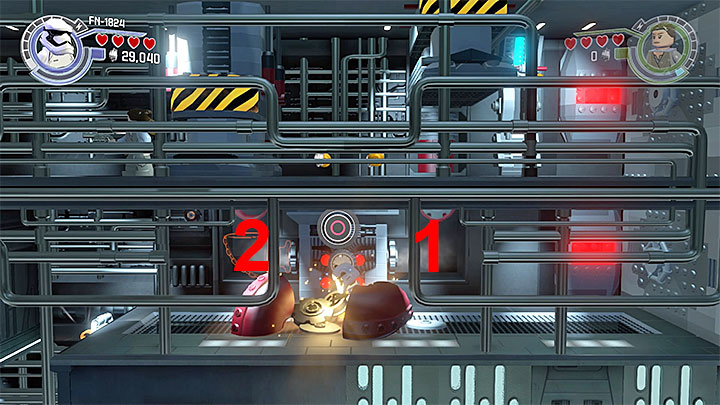
Switch to FN-1824 and take the newly-opened passage below. Grapple on to the grappling point/ In the corridor, destroy the objects around to have multi-build bricks appear. First, build the missing fragment of the pipe in spot 1, in the above screenshot. As Rey go to the right a little and switch to FN-1824. Destroy the pipe and build another one, this time in spot 2, in the above screenshot. You can now switch to Rey and reach the lever. Pulling the lever unlocks passage on both levels.
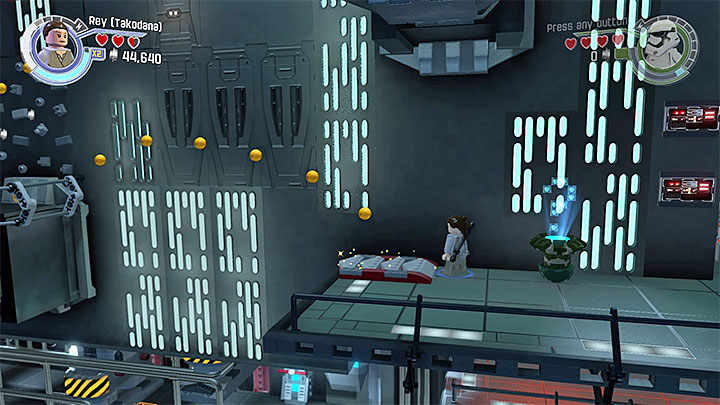
Enter the vertical corridor and wait for the gust of wind to take you to take the characters up. Here, deal with stormtroopers, destroy the elements of the surroundings and use the interactive bricks to complete the lift. Now, take it to the next level.
After you get to the top, select FN-1824 for a moment and use the nearby grappling point to make it over to the ledge above. Deal with the stormtroopers and use the nearby bricks to build a ladder. Switch back to Rey stand on the platform on the left and wait to be launched to the left. This is not going to end in a perfect landing, so start tapping the key that displays to prevent Rey from falling into the chasm.
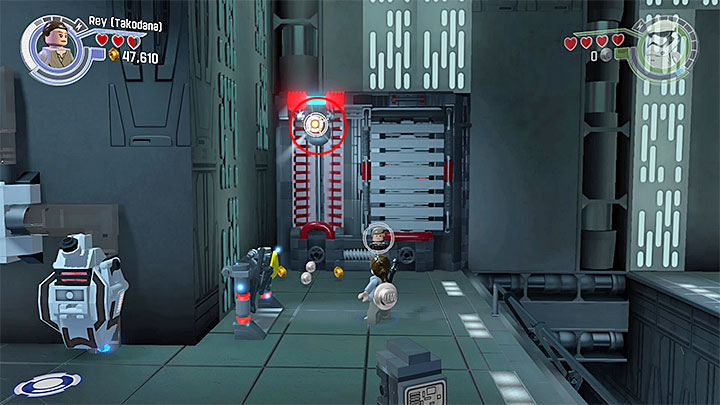
Take more jumps, thanks to which you will reach another ledge. Here, find the target above and use the ranged weapon to fire at it. This will reveal a lever that you have to jump to. Lowering the lever unlocks a grappling point on the right. Switch to FN-1824 ad use the grappling point to join Rey.
Return to the terminal below that you have been passing by earlier. As FN-1824, interact with it. Complete the minigame of recreating the stormtrooper. Then, switch to Rey and put the bar in the newly-unlocked slot. Jump towards the bar and then to the horizontal pipe. All you have to do now is use the climbing wall.
Plant bombs on the oscillator
First bomb

After a moment's walk, you will enter the hall with the oscillator in it. To destroy it, you have to build four bombs in four different spots of the hall - you build two of them on the upper level and two on the bottom level. You can get to spots where you do that in any order you want.
For the purposes of this guide, the first bomb is on the upper level of the hall, in its left part. After you get there, eliminate all of the stormtroopers. Switch to Han Solo and use his grappling hook on the nearby grappling point. After you rip it out, interact with the hopping bricks and build the first bomb.
Second bomb
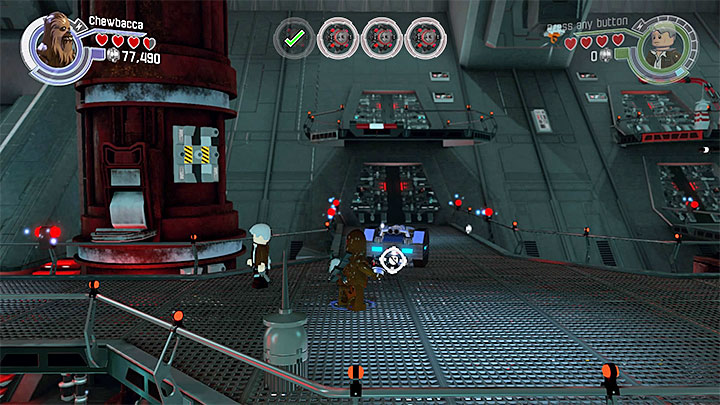
You build the second bomb on the upper-right level of the hall. After you get there, you will be attacked by stormtroopers. Deal with them and approach the force field. To disable it, you will have to shoot two targets by it, using the blaster.
Attack stormtroopers and as Han Solo, use the grappling hook on the grappling point above. After you reach the balcony above, approach the blue signs, equip Quadnoculars and scan the grappling point above, thanks to which you activate it. Grapple on to it and make it to the neighboring balcony. Destroy the bricks there, complete the flooring and push over the large object. It has to drop onto the below level. Switch to Chewbacca and throw a thermal detonator at the object that dropped down. Finally, use the bricks to build the bomb.
Third bomb
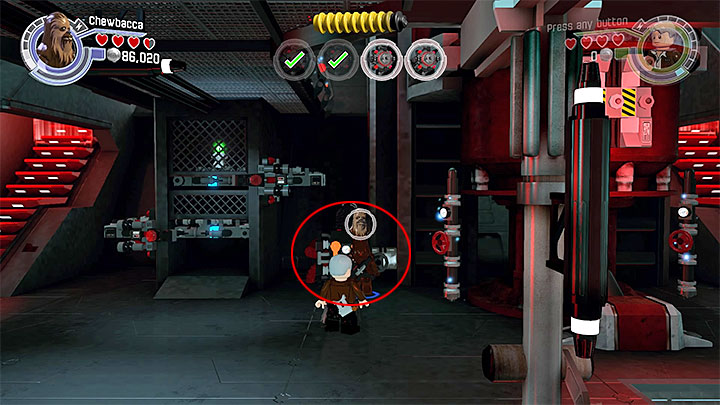
To build the third bomb, go to the bottom level of the left side of the hall. Take the stairs to get there. As quickly as possible, deal with the nearby stormtroopers. After you do that, locate the hook shown in the above screenshot, which has to be pulled by Chewbacca.
Now you have to free the small droid in the cage. For this, you have to use multi-build bricks. First, build the objects on the right. Then, after the droid drops to the lower level, destroy the object on the right and build another one, on the left this time.
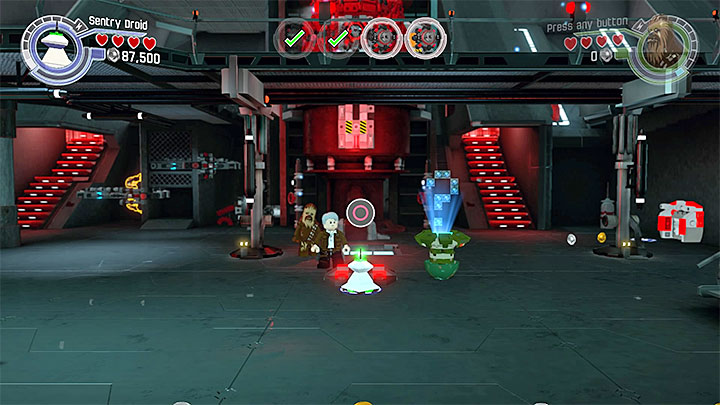
You can now switch to the small Sentry Droid. Reach the interactive mechanism in the central part of the area (the above screenshot). After you use the mechanism, more bricks will appear and you have to use them to build the bomb.
Fourth bomb
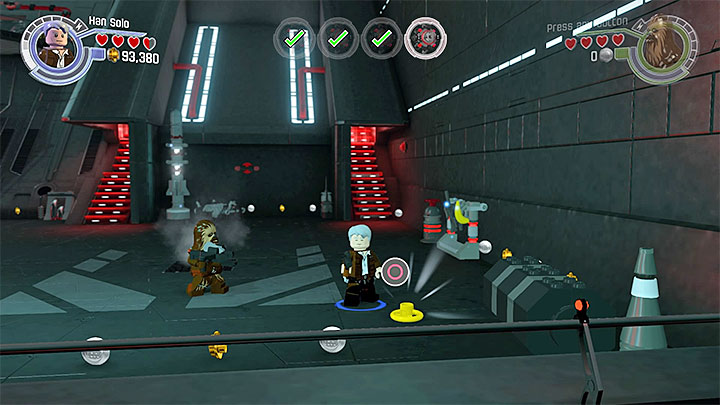
You build the final bomb in the bottom-right part of the hall. After you get there, fight the opponents. From the cutscene, you learn that you have met a small Sentry Droid that can summon reinforcements. Destroy the droid as quickly as possible, which will stop more stormtroopers from coming in.
With this part of the hall secured, destroy the objects on the right side of this area. Thanks to this, you will find a valve that you can collect.
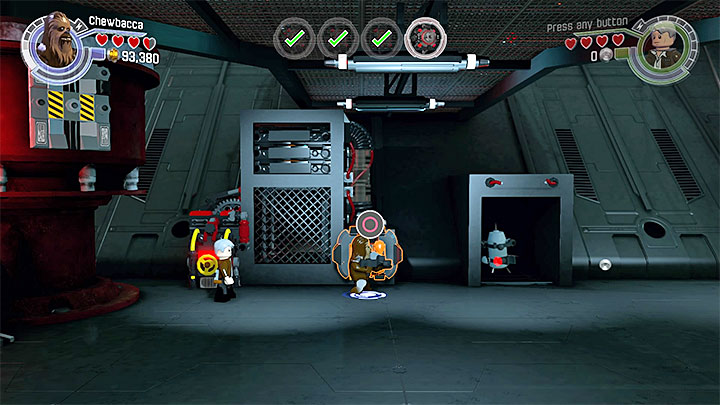
Go left a little and look up to find grappling points. After you obtain new multi-build bricks, use them to build a grappling point on the left.
Place the valve that you have just collected in the device on the left and interact with it as Han Solo. Chewbacca has to use the right grappling point that you have just built. Thanks to this cooperation, another grappling point will be revealed above. use the grappling hook against it, as Han Solo. After you rip it out, approach the hopping bricks and build the last bomb.
You are not permitted to copy any image, text or info from this page. This site is not associated with and/or endorsed by the Warner Bros Interactive Entertainment or Traveller's Tales. All logos and images are copyrighted by their respective owners.
Copyright © 2000 - 2025 Webedia Polska SA for gamepressure.com, unofficial game guides, walkthroughs, secrets, game tips, maps & strategies for top games.
