LEGO The Force Awakens: The Eravana
This page contains the walkthrough of the Eravana chapter of the LEGO The Force Awakens, taking place on the Han Solo and Chewbacca’s freighter. The heroes must, above all else, defeat the rathtar beast (boss fight).
This chapter takes place entirely on board of the title freighter. During this chapter you will be constantly switched between two groups of characters (Han Solo, BB-8 and Chewbacca and Finn and Rey). During most of the chapter you will be avoiding contact with the rather beast which managed to escape. The final part of this chapter is the duel with the rathtar beast.
- Unlocking chapter 4 - Millennium Falcon's interior
- Exploring Eravan's freighter
- Escaping from rathtar
- Duel with rathtar
Unlocking chapter 4 - Millennium Falcon's interior
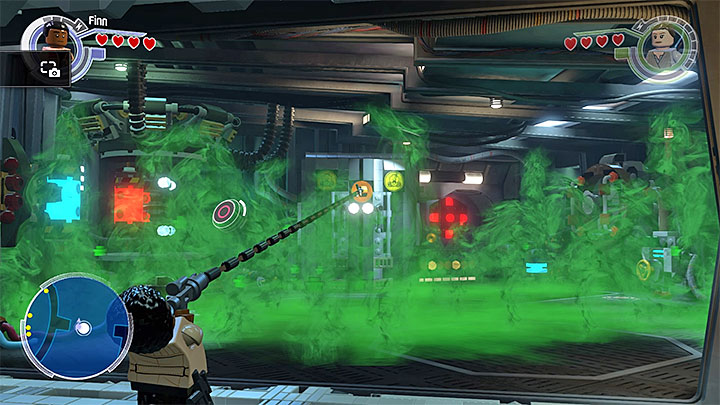
Traditionally, you must complete some tasks to guarantee access to the fourth chapter of the main storyline. You start on board of the Millennium Falcon and you must follow the transparent studs.
After arriving at the closed barrier, switch to BB-8, attach the robot to the socket and lift the barrier. The next area is filled with toxic gas. Switch to Finn and use his grappling hook to attach him to the upper handle.
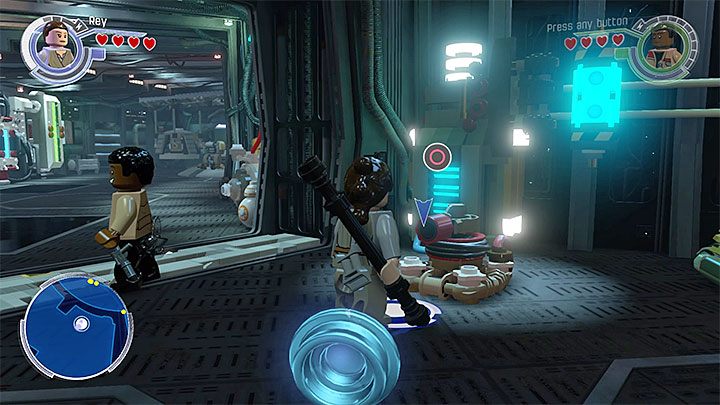
Finn will automatically acquire a protective mask. It means that you will be able to enter the area with toxic gas and head towards the valve that can be used to clear the area.
You can now switch back to Rey and locate the rotating mechanism in the same room - she is the only character that can interact with it. Perform a full turn and head towards the part of the Millennium Falcon where you can start the fourth chapter of the campaign.
Exploring Eravan's freighter

Select Han Solo, eliminate the first group of enemies and head to the right. Stop by the blue signs, select the Quadnoculars from the inventory and use it to scan one of the walls of a large box. Switch to Chewbacca and throw the thermal detonator towards the silver wall that you've just discovered.
Wait for the explosion and prepare to take part in a blaster battle. During this battle focus your attention on regular bandits, ignoring the character located behind the force field. The game will soon transport you to the other side of the freighter, where the rest of the heroes are located.
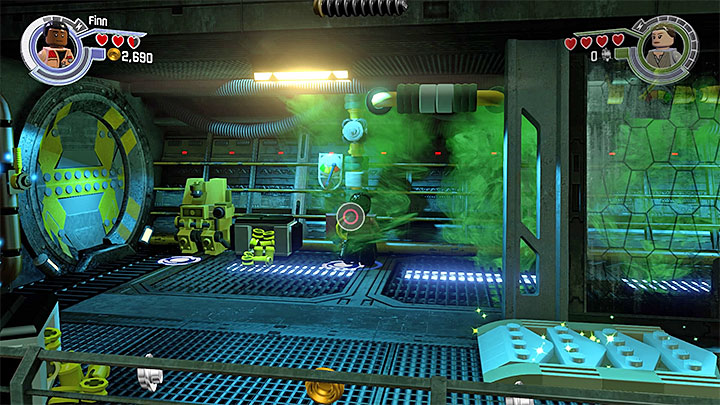
Select Finn and go through the corridor on the left side, filled with toxic gas. Reach the valve and turn the gas off. You can now switch to Rey, go through the now-safe corridor and approach the platform that will catapult her to the right side.
After landing order Rey to go to the right and jump on the bars extending from the wall. After reaching a new area construct a rotating mechanism and interact with it. This will allow Finn to join Rey. Head towards the nearby closed door. Select Finn and use the grappling hook on the handle located below the ceiling. Afterwards, shoot at it.
After the cut-scene ends you will be back with the first group of heroes. Switch to Chewbacca and make sure that he is hidden behind a wall. You must lead out of cover and throw the thermal detonator towards the silver spot on the ground. Perform the action again after a short while. This will temporarily scare off the rather beast.
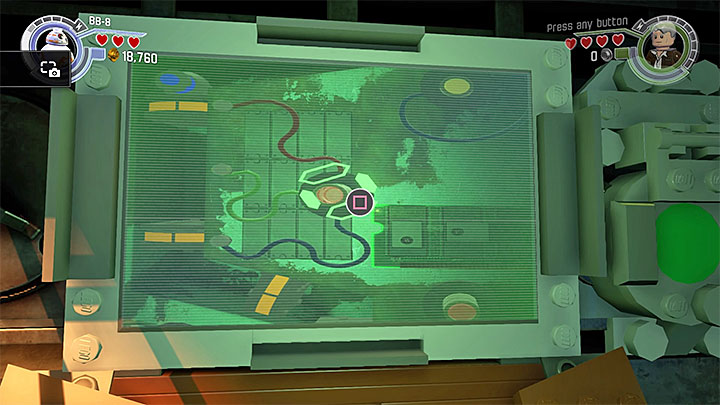
Switch back to BB-8 and drive the robot through a small hole. In the new area place BB-8 next to the socked and start a new mini-game. The aim of the mini-game is to bring the blue fuse to the bottom of the labyrinth. At the beginning you need to press the buttons shown on the screen. The only exception is a situation shown on the above screenshot, where you must press the same button a few times.
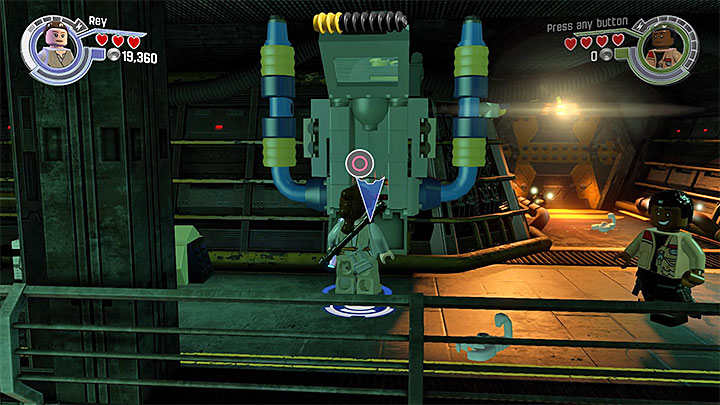
You will soon be transported back to the second group of characters. Head to the place where the blue cargo with the fuse landed. Destroy it and collect the desired item from the ground. Head towards the device you've passed by recently and place the fuse in it.
Escaping from rathtar
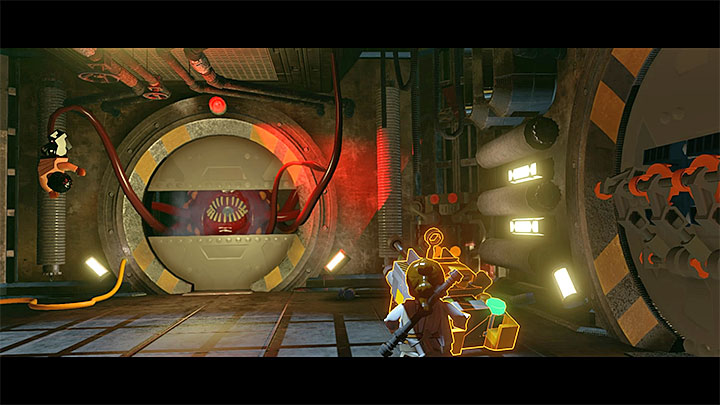
The first part of the escape from rathtar isn't very complicated. Try not to bump into various obstacles on your route, so that the enemy won't be able to catch any of the heroes. At the end of the chase Finn will be caught by the enemy and you will need to rescue him.
Switch to Rey, destroy nearby blocks and construct a device on the right side. This will fire a projectile, impaling one of the legs of the monster to the wall. Select Chewbacca now and head towards the handle located in the upper right corner of the room. You must pull the handle. After a part of the wall is pulled with the handle, you must construct a new trap.
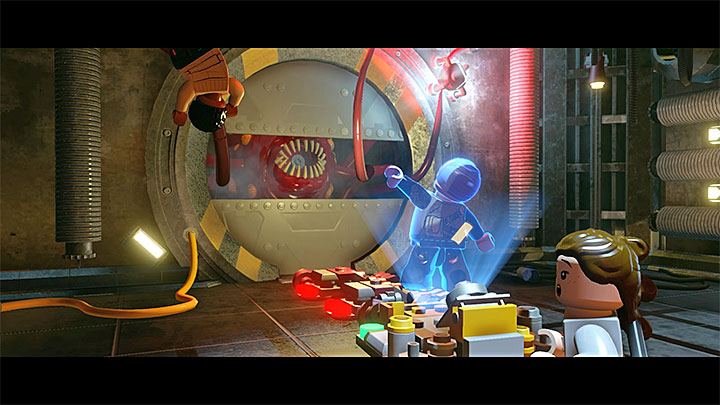
Destroy the launcher on the right side and use the interactive blocks to construct a hologram in the center of the room. This will allow you to restrain another leg of the monster.
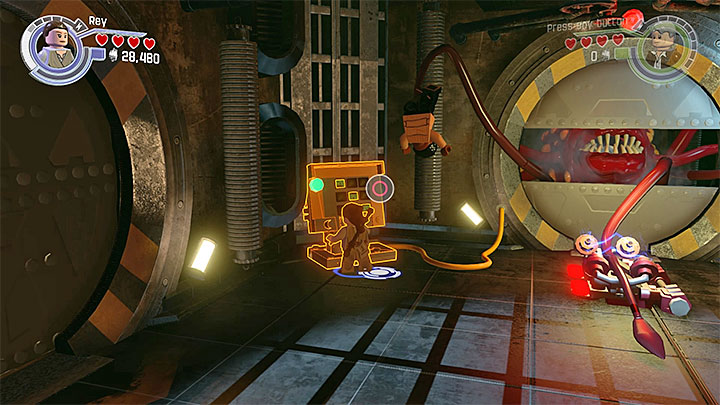
Destroy the object you've just constructed and build a control panel on the left side. Use the panel, and if you've done everything properly Finn should be freed.
Select Finn and launch a grappling hook towards the first handle located on the right wall. Switch to Han Solo and attach him to the second handle. You will soon move to the hangar, where the encounter with rathtar will take place.
Duel with rathtar
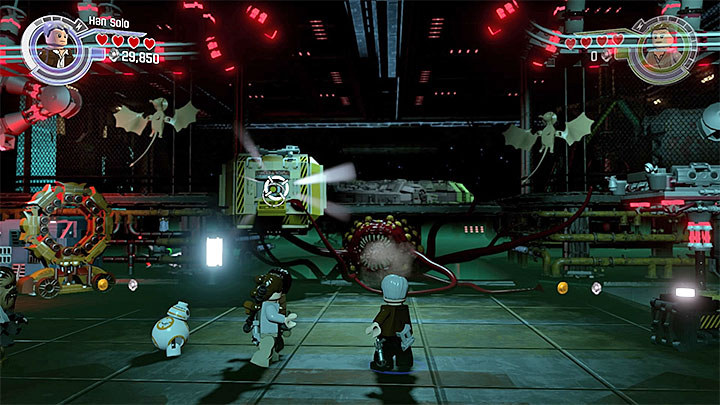
Begin the duel by eliminating bandits located in the hangar. Afterwards, rathtar should grab a large explosive box. Select any of the heroes equipped with a blaster and use manual aiming mode to shoot at the box and cause an explosion.
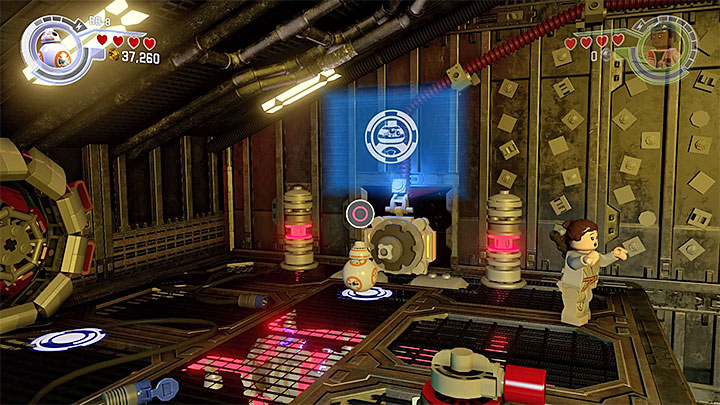
Head to the left side of the hangar and interact with the bouncing blocks located there to construct a launcher. Switch to BB-8, place the robot into the launcher and catapult it to reach the upper ledge.
Get back to the heroes located on the lower ground. Destroy the launcher and construct a generator. Select Rey, jump on top of the climbing wall and use it to reach the upper floor where BB-8 is located. Afterwards, use Rey's unique ability and interact with the rotating mechanism. You must now select BB-8 again and interact with the newly unlocked terminal.
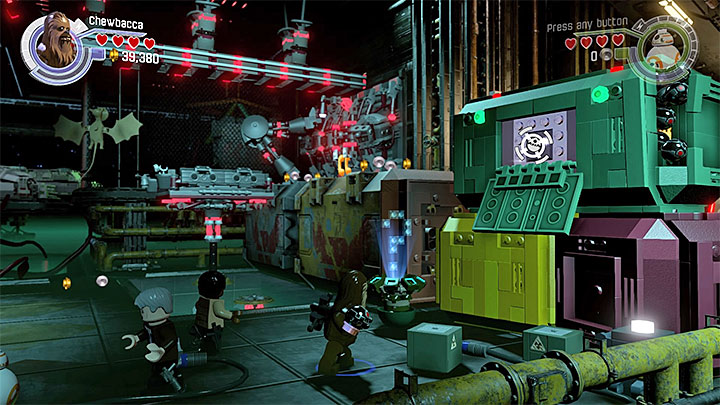
After the short cut-scene ends, eliminate the next group of bandits, get back near rathtar and wait for the beast to grab another explosive box. You must again aim and shoot at to cause an explosion. After you've done it, approach the bouncing blocks in the central part of the hangar and construct the first part of the cannon.
You can now explore the right part of the hangar. Select Han Solo, activate the Quadnoculars and scan the nearby container. Now switch to Chewbacca and throw a thermal detonator at the silver wall you've discovered with the help of Quadnoculars.
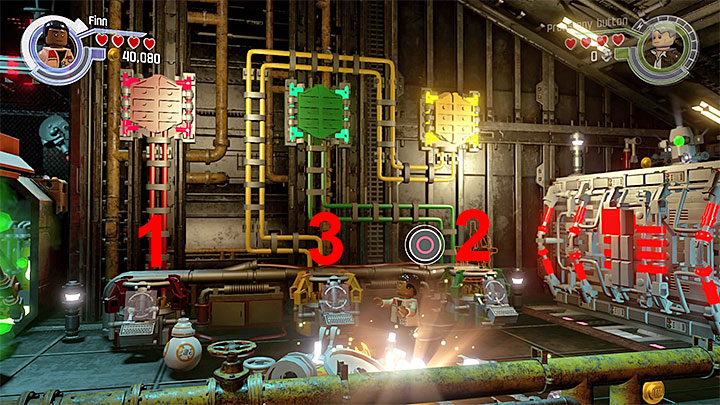
After the explosion select Finn and go through the area filled with toxic gas. Use the grappling hook on the handle located in the upper right corner, giving you access to bouncing blocks.
There's an easy puzzle to complete here, requiring you to construct objects from blocks in a specific order. The correct construction order can be seen on the above screenshot - start with the left one (red), then construct the right one (green) and finally the middle one (yellow).
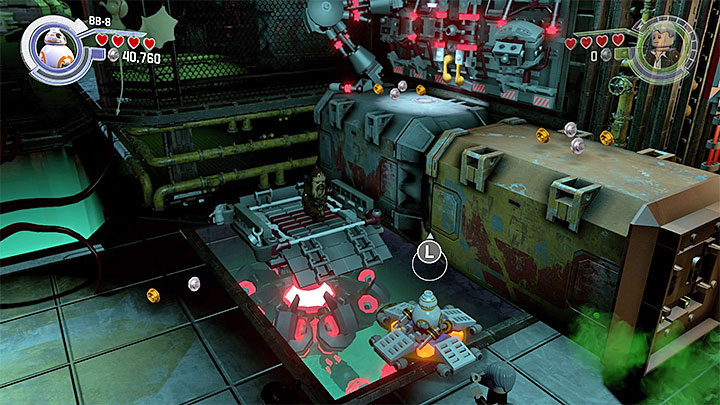
After you've resolve the puzzle, head to the right side of the room and destroy nearby objects to unlock a Crab Droid. Move the droid towards the boss and press the button spray rathtar.
There are new bouncing blocks located on the right side - use them to construct a socket. Switch to BB-8, place it on top of the socket, wait for Chewbacca to stand on the nearby elevator (he will do it on his own, without your help) and then set the elevator in motion.
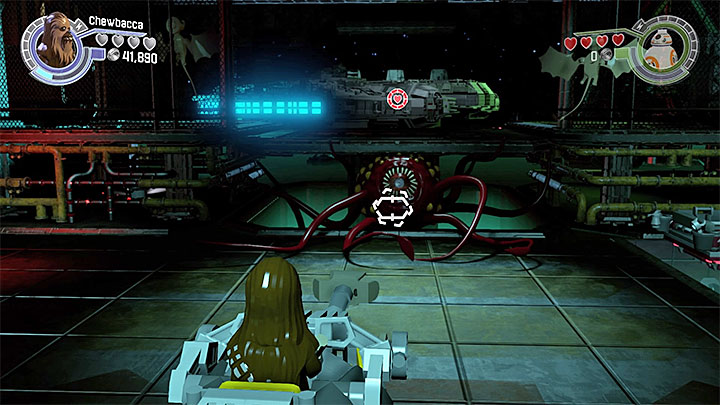
Switch to Chewbacca and head towards the handle on the right side that you must break off the wall. Head back to the lower ground and wait for rathtar to grab the last explosive box. Shoot at it to cause it to explode.
Note that there are new interactive blocks on the bottom of the screen. Use them to finish construction of the large cannon. Afterwards, mount it and start shooting at the beast. After a short time the monster will be defeated and you will need to run towards the Millennium Falcon located in the distance.
- LEGO Star Wars: The Force Awakens Game Guide
- LEGO The Force Awakens: Game Guide
- LEGO The Force Awakens: Story Mode
- LEGO The Force Awakens: Prologue - The Battle of Endor
- LEGO The Force Awakens: Assault on Jakku
- LEGO The Force Awakens: Escape from the Finalizer
- LEGO The Force Awakens: Niima Outpost
- LEGO The Force Awakens: The Eravana
- LEGO The Force Awakens: Maz's Castle
- LEGO The Force Awakens: Battle of Takodana
- LEGO The Force Awakens: The Resistance
- LEGO The Force Awakens: Starkiller Sabotage
- LEGO The Force Awakens: Destroy Starkiller Base
- LEGO The Force Awakens: The Finale
- LEGO The Force Awakens: Epilogue - Luke's Island
- LEGO The Force Awakens: Story Mode
- LEGO The Force Awakens: Game Guide
You are not permitted to copy any image, text or info from this page. This site is not associated with and/or endorsed by the developers and the publishers. All logos and images are copyrighted by their respective owners.
Copyright © 2000 - 2026 Webedia Polska SA for gamepressure.com, unofficial game guides, walkthroughs, secrets, game tips, maps & strategies for top games.
