Deus Ex Human Revolution: Smash the State step 4
Notice! I wouldn't recommend heading out to find White if you haven't visited the two previous locations (Step 2 and Step 3), as otherwise the objectives connected with them will be cancelled and therefore you won't receive any previous EXP.
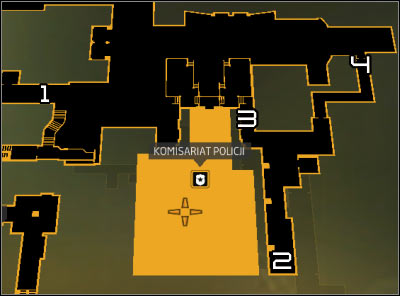
Map legend: 1 - Western sewers entrance; 2 - South-east sewers entrance; 3 - Fence; 4 - Corridor with discharges.
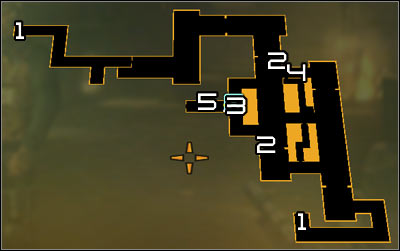
Map legend: 1 - Sewers entrances; 2 - Turrets; 3 - Jacob White and the third turret; 4 - Turret control terminal; 5 - Bomb.
 |  |
The sewers were connected with numerous quests during your first visit in Detroit, so you should remember how to reach them. As a reminder, you can use one of two entrances. The western entrance is the easier accessible one. It can be found in an alley nearby the police station #1. After going down, head forward and stop after reaching the new ladder #2, as there are a few fragmentation mines in the area.
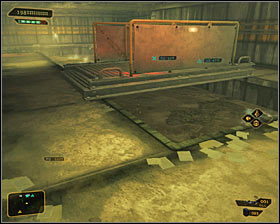 | 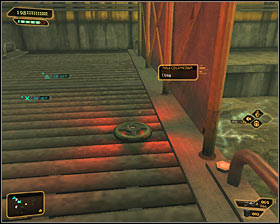 |
You could of course detonate the mines from a distance, though you would still need some time to find them and additionally you couldn't attack White from a surprise. As a result it's better to just disarm them. Reaching the first mine might be quite troublesome, as you can't use the ladder. Instead, try to jump down to the corridor left of the ladder #1. Crouch and with CTRL pressed down, approach the fragmentation mine placed on the metal bridge #2.
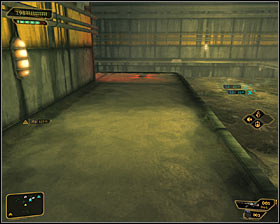 | 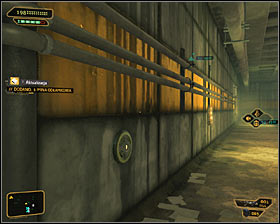 |
Two more mines have been left at the spot where the tunnel turns left. The first of them is lying on the ground #1 and the second is sticking from the left wall #2. Continue going towards the middle part of the location.
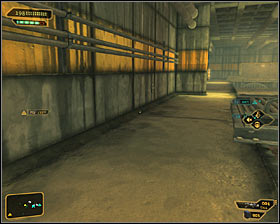 | 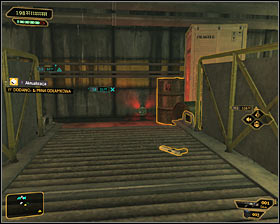 |
I'd suggest sticking to the left side of the sewers and reach the new metal bridge from there. The next mine has been placed on the left wall #1. Carefully go across the bridge and disarm the mine hidden behind the big crates #2.
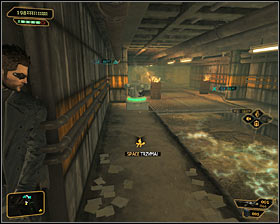 | 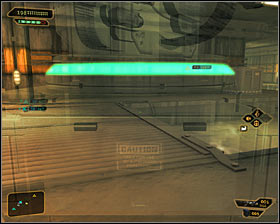 |
Now you will need to stay particularly careful, as you're closing in on an area with two active turrets. You should approach the closer turret while sticking to the left wall #1. I wouldn't recommend using an EMP grenade to destroy it, as it would alarm White. It's much better to walk past it (best using camouflage) or carefully approach it and move it someplace else (requires the Move/Throw Heavy Objects augmentation) #2.
Reward: 100 EXP.
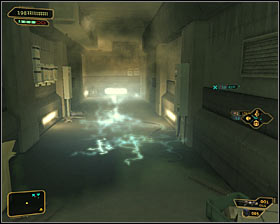 | 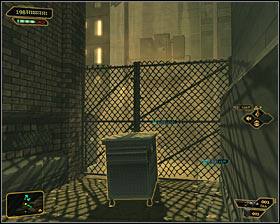 |
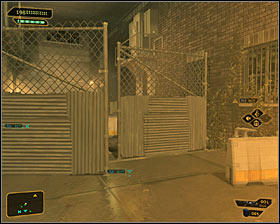
The south-east sewer entrance is, for a change, quite hard to reach. It can be found in an alley at the back of the police station, so at a spot connected with Step 3. There are two main paths leading to the entrance. If you have the EMP Shielding augmentation, choose the corridor with discharges, north of the mission objective #1. If on the other hand you're in possession of the Jump Enhancement, approach the fence located nearby the police station entrance #2. In such case you would additionally need to place something below your feet. If you don't have any of those augmentations, you won't be able to reach this entrance at all, as the police station is currently inaccessible.
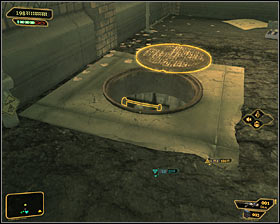 | 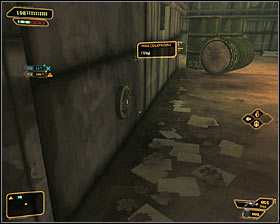 |
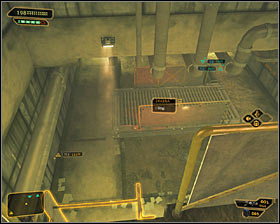
If you have managed to reach the manhole #1, it would be definitely worth using it as it is much easier to reach the mission objective than in the second case. After finding yourself inside the sewers, you should crouch and keep CTRL pressed down before moving, as the area is swarming with fragmentation mines. You could of course detonate the mines from a distance, though you would still need some time to find them and additionally you couldn't attack White from a surprise. As a result it's better to just disarm them. You can find the first mine right around the corner #2.
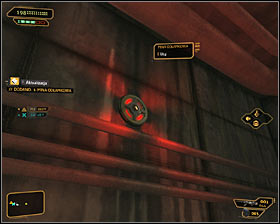 | 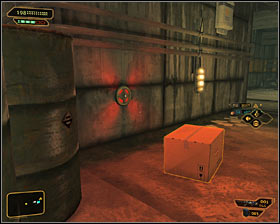 |
Another mine is placed on the right wall #1, but don't stand up to reach it as it could lead to a detonation. Remember to move slowly and find the third mine behind the barrels on the left #2.
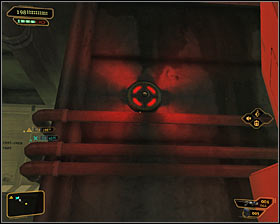 | 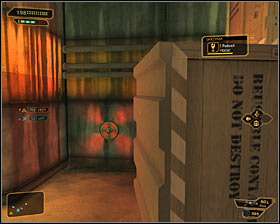 |
I still wouldn't recommend haste, as the fourth mine has been quite cleverly hidden behind the nearby cardboard boxes #1. Disarm it and head a bit further, finding another mine behind the big box on the right #2.
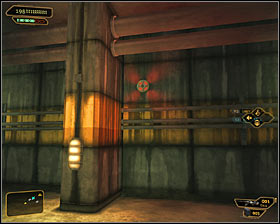 | 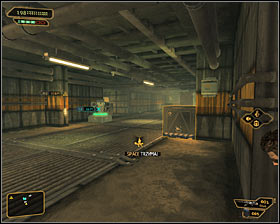 |
The last mine is sticking from the opposite wall #1. Only after disarming it should you stand up and approach the middle part of the location #2. You have to stay very careful, as there are two turrets in the area.
Reward: 100 EXP.
You are not permitted to copy any image, text or info from this page. This site is not associated with and/or endorsed by the developers and the publishers. All logos and images are copyrighted by their respective owners.
Copyright © 2000 - 2025 Webedia Polska SA for gamepressure.com, unofficial game guides, walkthroughs, secrets, game tips, maps & strategies for top games.
