Deus Ex Human Revolution: Travelling through the locker room area
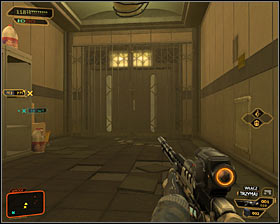 | 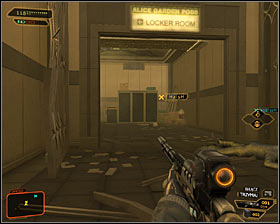 |
You should end up in the same corridor you've used before, but this time you'll notice that the main passageway to the reception is barricaded #1. As a result you will have to proceed to the Locker Room area (this corridor on the other road wasn't accessible before) #2.
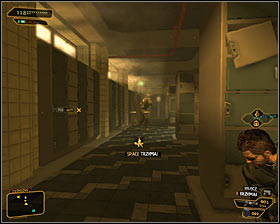 | 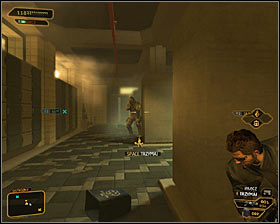 |
Search the nearby lockers and then enter the locker room. This area is being patrolled by only one soldier, but the problem is that he doesn't leave the field of view of a local security camera #1. If you intend to get rid of him you'll have to be ready to raise an alarm or make some noises to encourage him to move away #2 and then surprise him.
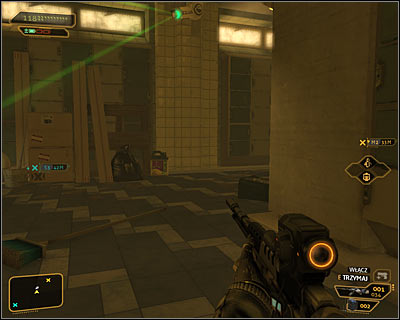
If you don't want to attack the guard in this room, then you can wait for him to go the other way and carefully move under the camera (screen above). Choose the same path if you've already stunned him in a safe place. If he's dead or if his body is lying in the camera's field of view, then you won't have to make additional preparations, because you've most likely already raised the alarm.
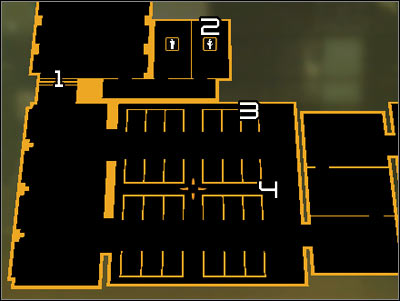
Map legend: 1 - Main passageway; 2 - Entrance to the vents; 3 - Exit from the vents; 4 - Computer terminal which controls the security turret.
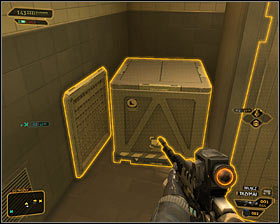 | 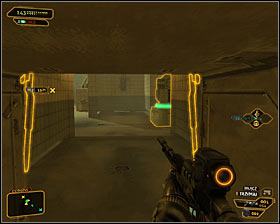 |
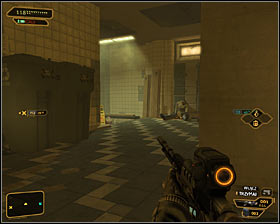
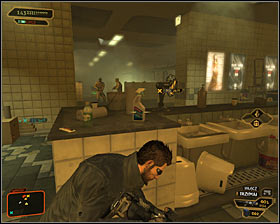
There are two main paths leading to the next area of the hotel. If you want to remain hidden, then you should consider opening the left door and entering the toilets. Look around to find an Ebook and then locate an entrance to a ventilation shaft #1. Move the small crate away in order to be able to interact with a vent cover. Enter the shaft and notice that it led you to the area behind an active security turret #2.
 |  |
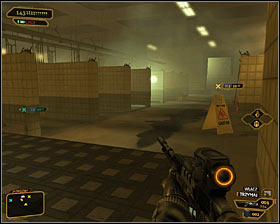
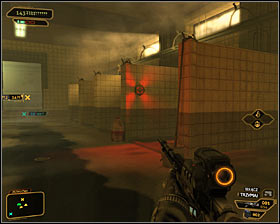
If you don't want to go through the ventilation shaft, then you should choose the main passageway #1. You must be very careful in the next room, because aside from two guards you will all also encounter a security turret. It's to good to hide behind good cover here #2 and move right without being seen.
 |  |
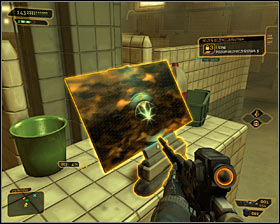
Don't think that going past the guards and the turret solved all of your problems, because it's not safe in the southern area of the room #1. Start crouching and find a frag mine #2. Try disabling the mine without setting it off and then leave it or take it with you.
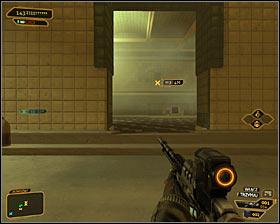 |  |
Both paths described above will allow you to get close to the exit from the room. You can choose it right now #1 or you can consider getting rid of the guards you were avoiding so far. You could attack them with your weapons or hack into a level three computer terminal #2. This would allow you to reprogram the turret (Turret Domination augmentation required) so that it would start shooting at the Belltower mercenaries.
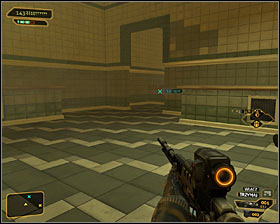 | 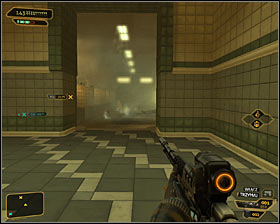 |
Sooner or later you'll have to go through several smaller rooms #1. You can move faster here, because there aren't any additional Belltower units in the vicinity. Make a stop once you've reached a much larger area #2.
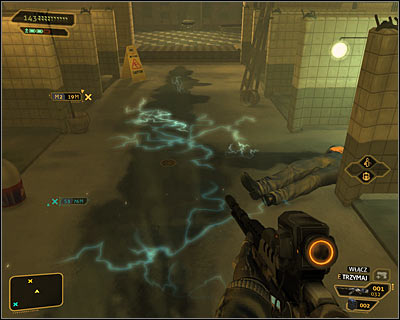
There are two methods of reaching the opposite end of this room. The first method is to rely on the EMP Shielding augmentation by moving in a straight line (screen above) without the risk of electrocution.
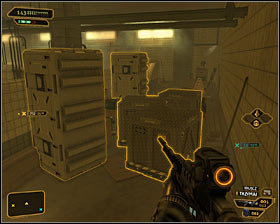 | 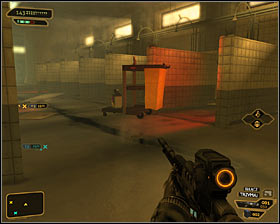 |
The second method should be implemented if you're character is not immune to electricity. In this case you'll be forced to travel through a minefield. Start off by turning south #1. Make a few jumps to reach the southern section of the room. Crouch here and slowly start moving east. There are three frag mines in the area #2 and you can focus on disabling them or ignore them.
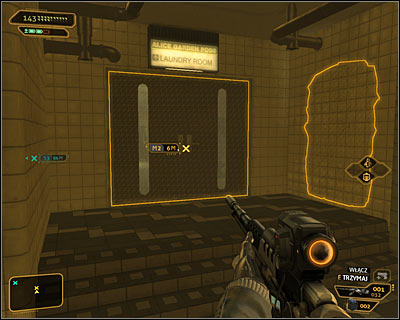
Both passageways mentioned above will allow you to get past the room with electricity and continue your journey through the hotel. Make a stop once you've reached the entrance to the Laundry Room (screen above), because you should take some time to plan your next moves.
- Deus Ex: Human Revolution Game Guide
- Deus Ex Human Revolution: Game Guide
- Deus Ex Human Revolution: Hengsha
- Deus Ex Human Revolution: Hunting the Hacker
- Deus Ex Human Revolution: Introduction Hunting the Hacker
- Deus Ex Human Revolution: Reaching Youzhao district
- Deus Ex Human Revolution: Finding the Hengsha Court Gardens building
- Deus Ex Human Revolution: Peaceful solution Entering the Hengsha Court Gardens building
- Deus Ex Human Revolution: Aggressive solution Entering the Hengsha Court Gardens building
- Deus Ex Human Revolution: Entering the hacker's apartment
- Deus Ex Human Revolution: Exploring the hacker's apartment
- Deus Ex Human Revolution: Getting inside the Hive nightclub
- Deus Ex Human Revolution: Discovering van Bruggen's whereabouts
- Deus Ex Human Revolution: Finding van Bruggen
- Deus Ex Human Revolution: Acquiring a Tai Yong employee card
- Deus Ex Human Revolution: Peaceful solution Leaving the main are of the hotel
- Deus Ex Human Revolution: Aggressive solution Leaving the main are of the hotel
- Deus Ex Human Revolution: Travelling through the locker room area
- Deus Ex Human Revolution: Travelling through the laundry room area
- Deus Ex Human Revolution: Leaving the Alice Garden Pods hotel
- Deus Ex Human Revolution: Using the shuttle
- Deus Ex Human Revolution: Hunting the Hacker
- Deus Ex Human Revolution: Hengsha
- Deus Ex Human Revolution: Game Guide
You are not permitted to copy any image, text or info from this page. This site is not associated with and/or endorsed by the developers and the publishers. All logos and images are copyrighted by their respective owners.
Copyright © 2000 - 2025 Webedia Polska SA for gamepressure.com, unofficial game guides, walkthroughs, secrets, game tips, maps & strategies for top games.
