Deus Ex Human Revolution: Peaceful solution Reaching the funicular
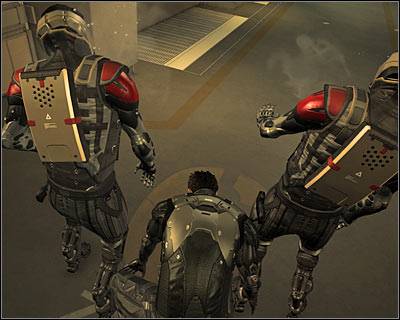
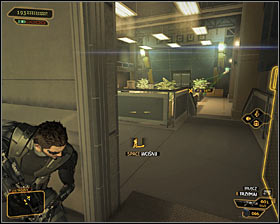
Carefully go down to the lowest level, trying to stay silent. After getting there, you should notice two guards facing the other direction. The easier way of passing by them would be using the Cloaking System augmentation. If you don't have it, you will have a bit harder time. You could try to lure the guards by making some noises, or wait and hope that they will eventually split. Personally I'd suggest using the Multiple Take-Down. You activate just like a common melee attack (Q), but if the enemies are standing beside each other, Jensen will automatically (and without setting off an alarm) take them both down (screen above). If you decided to neutralise them, be sure to search their bodies to find a palmtop with a storeroom code (0068).
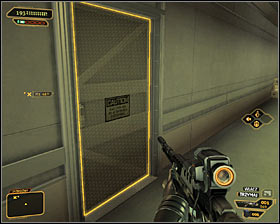 | 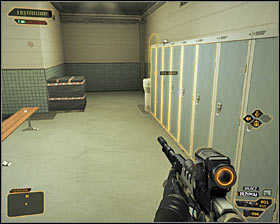 |
Regardless of how you took care of the guards, I'd suggest checking out the two big storerooms on your way to the funicular. Start with the one further to the west #1. Inside you will find multiple interactive lockers #2.
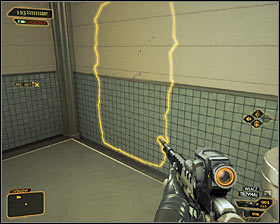 | 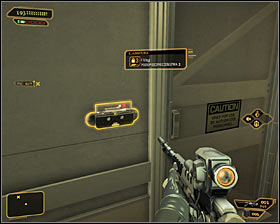 |
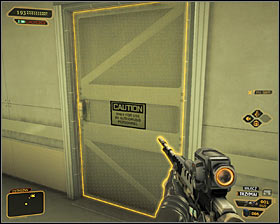
You can also examine the south part of the same room storeroom. The first option implies destroying a fragile wall fragment inside the locker room #1, through you'd of course need to have the Punch Through Walls augmentation to do that. The second options is finding the closed door #2 with a level 3 electronic lock, though you could use the recently gained code (0068).
 | 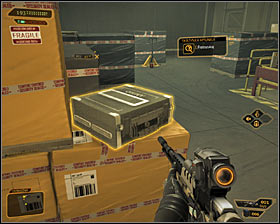 |
Move on. The eastern storeroom is widely accessible #1 and inside you will find, inter alia, an ammo crate #2.
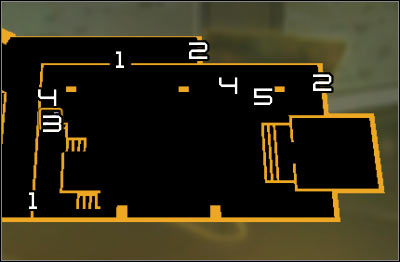
Map legend: 1 - Passage to the funicular room; 2 - First shaft entrance and exit; 3 - Upper balconies stairs; 4 - Second shaft entrance and exit; 5 - Turret control terminal.
 | 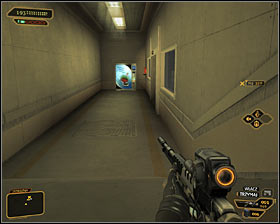 |
As you have already examined the whole area, you can now focus on thinking of a plan of reaching the funicular summoning button. Two paths lead to the last room, one from the west #1 and one from the north #2. As you have probably noticed, the funicular area is patrolled by two guards, but the real problem is an active security camera and turret.
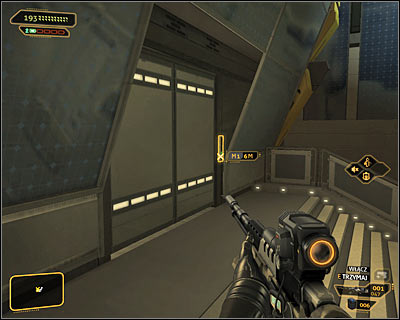
The fastest way of reaching the funicular button (screen above) is by using a camouflage (Cloaking System augmentation). I however wouldn't recommend such a solution, as you would have to go back to a safe spot after calling the funicular in and deal with even more enemies afterwards.
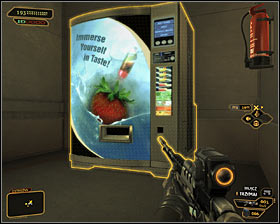 | 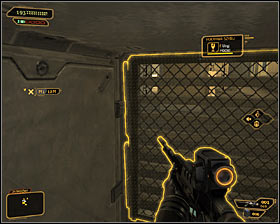 |
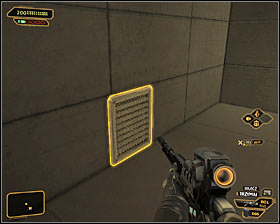
If you have advanced hacking skills, you could always try to reach the terminal by switching off the security systems. The destination can be reached by following three main paths. The best solution is finding the ventilation shaft entrance , hidden behind a vending machine north of the room with enemies #1. In order to get rid of it you would of course need the Move/Throw Heavy Objects augmentation. The ventilation shaft will lead you to nearby the computer terminal #2.
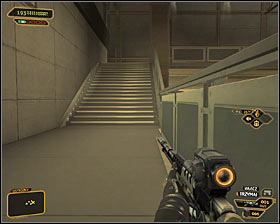 | 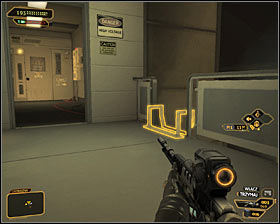 |
The second option is carefully entering the enemy room and using the ramp leading onto the upper balcony #1. In the meantime you would of course have to avoid enemy and turret sight. After examining the balcony you'd reach a ladder #2.
 | 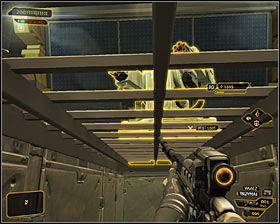 |
The third and last path implies finding the second ventilation shaft entrance, inside the guards room #1. It's in the west part of the room. Approach the turret #2, exiting the shaft beside the computer terminal.
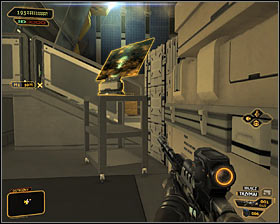 | 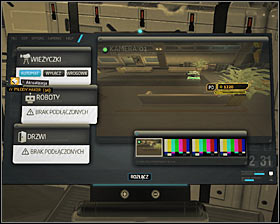 |
The computer terminal #1 has level 2 security, but unfortunately you can't hack into it without being unnoticed. You could move the local crates onto the north ramp and cover yourself, or turn on camouflage (Cloaking System) and quickly solve the hacking mini-game with it active. Successfully hacking into the system will be rewarded with a possibility to turn off the security camera and turret (if only you have the Turret Domination) #2.
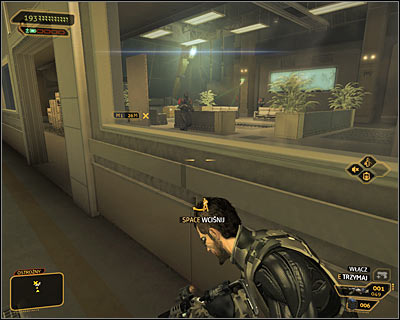
If you don't to or can't safely hack into the terminal, you will have to draw the enemies away from the security room. In such a situation it would be good to stand by one of the entrances (screen above), make some noise and wait for the guards to come. I wouldn't however recommend trying to attack them from a distance with stun guns, as the camera in the funicular monitors pretty much the whole area that both mercenaries patrol. After eliminating both of them it would be however worth to try and hack into the computer terminal, this time without having to worry about getting noticed.
Notice! The description of further actions can be found in Step 5 (Summoning the funicular).
- Deus Ex: Human Revolution Game Guide
- Deus Ex Human Revolution: Game Guide
- Deus Ex Human Revolution: Canada
- Deus Ex Human Revolution: Confronting Eliza Cassan
- Deus Ex Human Revolution: Introduction Confronting Eliza Cassan
- Deus Ex Human Revolution: Reaching room 404
- Deus Ex Human Revolution: Peaceful solution Getting out of the ambush
- Deus Ex Human Revolution: Aggressive solution Getting out of the ambush
- Deus Ex Human Revolution: Peaceful solution Reaching the staircase at the back of the studio
- Deus Ex Human Revolution: Aggressive solution Reaching the staircase at the back of the studio
- Deus Ex Human Revolution: Peaceful solution Reaching the funicular
- Deus Ex Human Revolution: Aggressive solution Reaching the funicular
- Deus Ex Human Revolution: Peaceful solution Summoning the funicular
- Deus Ex Human Revolution: Aggressive solution Summoning the funicular
- Deus Ex Human Revolution: Peaceful solution Reaching the main area of the basement
- Deus Ex Human Revolution: Aggressive solution Reaching the main area of the basement
- Deus Ex Human Revolution: Peaceful solution Reaching the staircase
- Deus Ex Human Revolution: Aggressive solution Reaching the staircase
- Deus Ex Human Revolution: Reaching the sub-basement
- Deus Ex Human Revolution: Peaceful solution Reaching room 802-11
- Deus Ex Human Revolution: Aggressive solution Reaching room 802-11
- Deus Ex Human Revolution: Defeating Yelena Fedorova
- Deus Ex Human Revolution: Reaching the helipad
- Deus Ex Human Revolution: Confronting Eliza Cassan
- Deus Ex Human Revolution: Canada
- Deus Ex Human Revolution: Game Guide
You are not permitted to copy any image, text or info from this page. This site is not associated with and/or endorsed by the developers and the publishers. All logos and images are copyrighted by their respective owners.
Copyright © 2000 - 2026 Webedia Polska SA for gamepressure.com, unofficial game guides, walkthroughs, secrets, game tips, maps & strategies for top games.
