Deus Ex Human Revolution: Entering the hacker's apartment
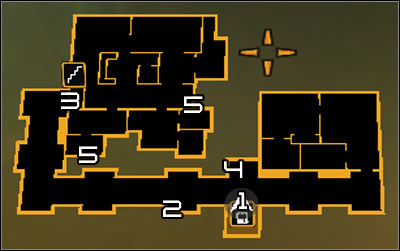
Map legend: 1 - Exit from the elevator; 2 - Exit from the main shaft; 3 - Main entrance to hacker's apartment; 4 - Entrance to the new shaft; 5 - Exits from the new shaft.
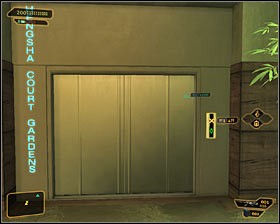 |  |
Almost all paths described in Step 3 will force you to begin exploring the Hengsha Court Gardens building on the ground floor (level 1). In this case your main objective will be to find an elevator #1 and use it to get to the penthouse level. The only exception is if you've travelled through the unused elevator shaft followed by a small vent. This will result in already starting on the penthouse level #2.
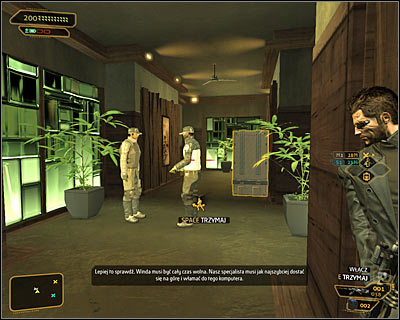
The nearby corridor is being patrolled by two guards (screen above) and the next three soldiers are stationed inside hacker's apartment. If you don't mind choosing an aggressive solution, then you should attack the first group before the guards finish their conversation. Once they're gone remain in the exact same spot, waiting for the members of the second group to show up. You would be fighting in rather small areas, so using grenades and mines would certainly help your cause.
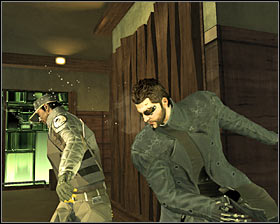 | 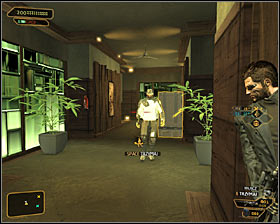 |
If you're interested only in stunning Belltower employees and avoiding the alarm, then you should wait for the guards from the first group to finish their conversation. Take cover behind a wall and wait for one of the guards to show up #1. Neutralize him and then deal with his colleague #2. Make sure that your actions aren't too loud, so you won't be heard by any of the soldiers from the apartment. You can also consider hiding bodies of both guards (preferably in the southern apartment or inside the vents) in order to prevent any kind of unwanted surprises.
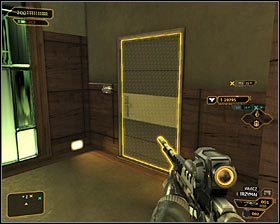 | 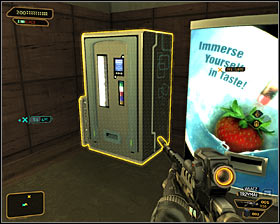 |
There are two ways to get inside the hacker's apartment. A more obvious choice is to use the front door #1. An alternative method is to travel through the ventilation shafts. Sadly this is available only if you've already purchased Move Heavy Objects augmentation. The reason for that is simple - the entrance to the shaft is blocked by one of the vending machines in the main corridor #2 and you would have to move it in order to find the vent cover.
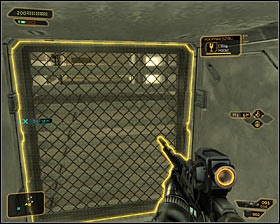 | 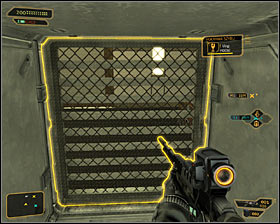 |
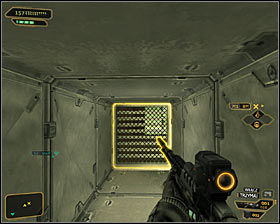
If you've managed to enter the vents, then you will be allowed to choose between two exits. I would recommend turning right at the first junction in order to find the exit #1 located closer to your current destination. Going straight ahead after reaching the junction means reaching the exit #2 located further away from your current objective.
- Deus Ex: Human Revolution Game Guide
- Deus Ex Human Revolution: Game Guide
- Deus Ex Human Revolution: Hengsha
- Deus Ex Human Revolution: Hunting the Hacker
- Deus Ex Human Revolution: Introduction Hunting the Hacker
- Deus Ex Human Revolution: Reaching Youzhao district
- Deus Ex Human Revolution: Finding the Hengsha Court Gardens building
- Deus Ex Human Revolution: Peaceful solution Entering the Hengsha Court Gardens building
- Deus Ex Human Revolution: Aggressive solution Entering the Hengsha Court Gardens building
- Deus Ex Human Revolution: Entering the hacker's apartment
- Deus Ex Human Revolution: Exploring the hacker's apartment
- Deus Ex Human Revolution: Getting inside the Hive nightclub
- Deus Ex Human Revolution: Discovering van Bruggen's whereabouts
- Deus Ex Human Revolution: Finding van Bruggen
- Deus Ex Human Revolution: Acquiring a Tai Yong employee card
- Deus Ex Human Revolution: Peaceful solution Leaving the main are of the hotel
- Deus Ex Human Revolution: Aggressive solution Leaving the main are of the hotel
- Deus Ex Human Revolution: Travelling through the locker room area
- Deus Ex Human Revolution: Travelling through the laundry room area
- Deus Ex Human Revolution: Leaving the Alice Garden Pods hotel
- Deus Ex Human Revolution: Using the shuttle
- Deus Ex Human Revolution: Hunting the Hacker
- Deus Ex Human Revolution: Hengsha
- Deus Ex Human Revolution: Game Guide
You are not permitted to copy any image, text or info from this page. This site is not associated with and/or endorsed by the developers and the publishers. All logos and images are copyrighted by their respective owners.
Copyright © 2000 - 2026 Webedia Polska SA for gamepressure.com, unofficial game guides, walkthroughs, secrets, game tips, maps & strategies for top games.
