Deus Ex Human Revolution: Heading through the laser room
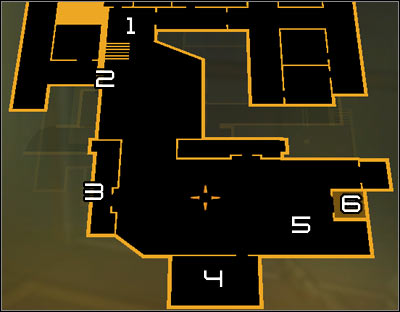
Map legend: 1 - Start; 2 - Alternative start (exit from the shaft); 3 - Entrance to a new shaft; 4 - Guard post; 5 - Terminal which controls laser beams; 6 - Elevator.
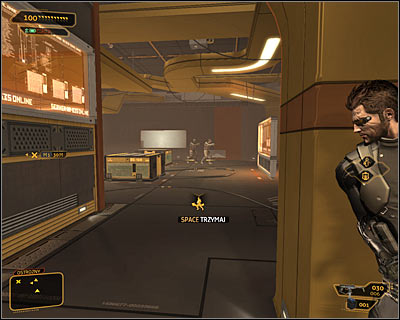
If you prefer an aggressive solution, then you should intentionally cross one of the laser beams. Take cover behind a large object as soon as you'll hear an alarm, because you'll have to kill three enemy guards. I would recommend defending somewhere near the entrance to the laser room, so that enemies won't be able to surround you.
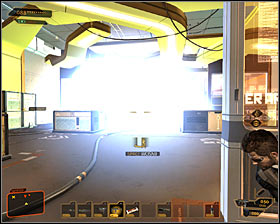 | 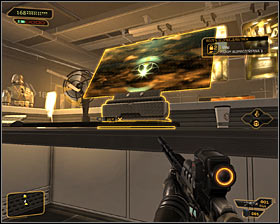 |
The guards aren't going to be your only problem, because a new robot will leave its cage #1. You should know by now how to deal with the robots without risking too much, however you can also quickly make your way to the guard post and interact with a computer terminal #2 to shut down the machine.
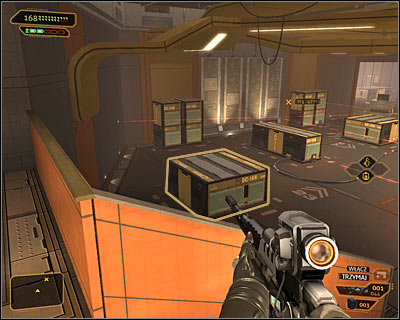
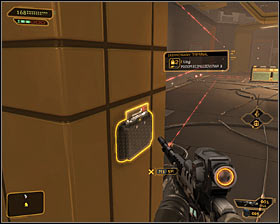
If you prefer a peaceful solution, then you will have to focus on avoiding the laser beams at all costs. Start off by collecting a datapad and then take cover behind the closest object (marked on the screen above). It's worth mentioning here that if you've started exploring the room near the exit from the ventilation shaft, then you'll be allowed to skip a few steps. Either way you should take your time to plan each move and to observe how the laser beams are moving. This will help you in figuring correct moments to leave cover. An interesting thing to know about is that if you have camouflage (Cloaking System augmentation) you can try sprinting through the entire laser room, assuming of course you have enough batteries to do that. Thankfully this implant is not required to succeed here and without it you'll only have to be much more careful.
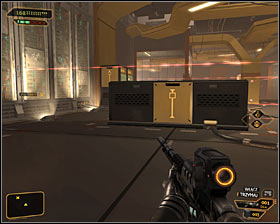 | 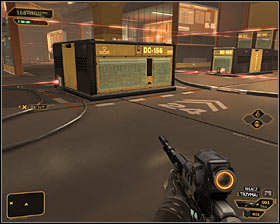 |
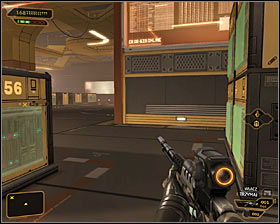
Wait for a good moment and swiftly move towards a similar southern cover #1. Repeat this move after a short while #2 by still moving south.
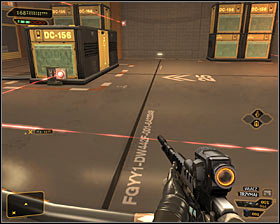 |  |
Now you should consider turning west, because there's a new cover out there #1. It's very important to time this move perfectly, because the game won't leave you a lot of room for error. A quick side note - this would be your starting point after dropping from the vent exit. Continue your journey by moving towards a much larger object located near the western wall of the room #2.
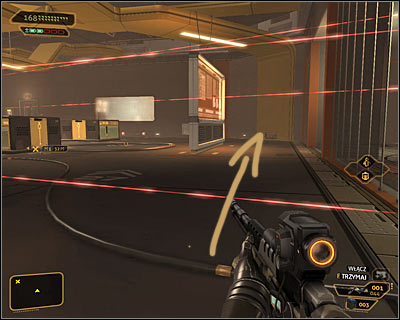
Don't be too happy that you've successfully avoided the first group of laser beams, because you'll soon encounter even more of these traps. Wait for a good moment to quickly move towards a large southern cover (screen above).
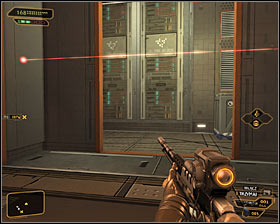 | 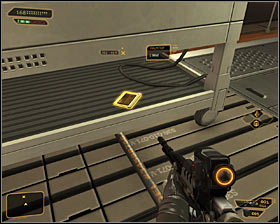 |
You've just reached the first intersection. You can leave the main area by turning west and going through a laser tap as soon as a damaged beam turns itself off #1. Head north after making your way to the other side and locate a datapad #2 with an outback password (it's for the rkumar login). You can also open nearby lockers if you want to.
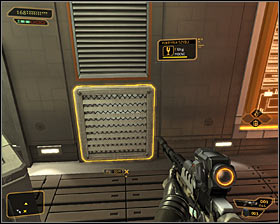 | 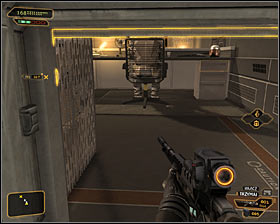 |
Return to the damaged laser beam and notice that you will be allowed to move a crate found next to the western wall. Doing this will uncover an entrance to a ventilation shaft #1. Travel through the shaft and you'll end up inside a security room #2.
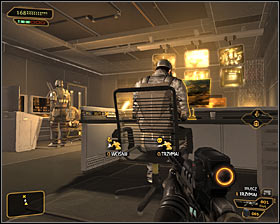 | 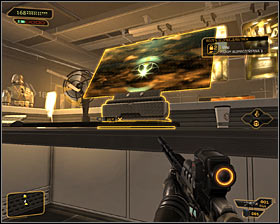 |
There are three guards inside this security room and if you don't want to alarm them with your presence then you should eliminate only the closest person sitting on the chair #1. Doing this will grant you access to a level two computer terminal #2. Solving the mini-game is rewarded in this case with a chance to disable local security cameras, as well as to reprogram or disable local robots (Robot Domination augmentation required).
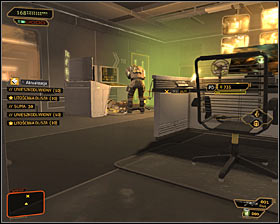 | 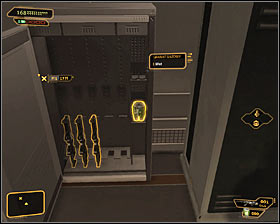 |
Just as I've said, trying to eliminate two remaining guards isn't a good idea #1 unless you've changed your mind and want to be aggressive. You could try looking around, but you would have to move slowly and use camouflage if needed. There's a weapon cabinet inside this room #2, as well as several lockers and a second computer terminal.
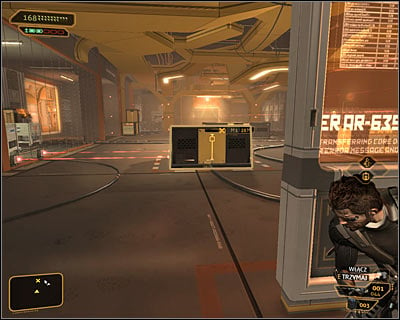
It doesn't matter whether you've explored the entire security room or not, because once you're done there you should use the ventilation shafts again to return to the main room and then continue avoiding laser traps. I would recommend moving east. To be more specific, you should be aiming for the cover which is the farthest one to the north (screen above).
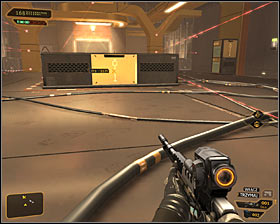 | 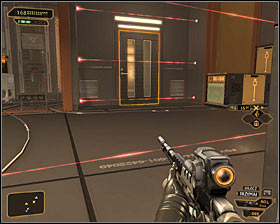 |
Keep heading east, choosing the middle cover along the way #1. You may now start moving towards the northern door with a bunch of laser traps blocking the entrance #2. These beams aren't damaged and they will stay active for an indefinite amount of time, but you don't have to worry about that.
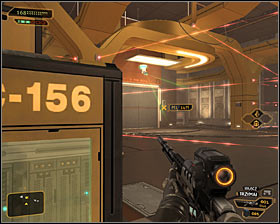 | 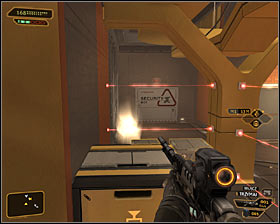 |
Take your time to locate a security camera #1, because you'll have to think about avoiding it from now on. Thankfully the field of view of this camera is very limited. Start climbing on the crates located to the east from here #2.
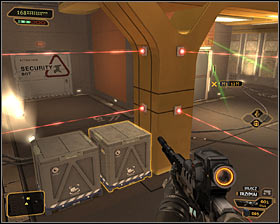 | 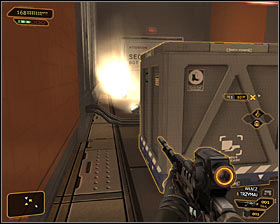 |
Make a stop once you're close enough to two crates located directly beneath active laser beams #1. DON'T think about picking up these crates, because that would most likely result in crossing one of the beams and triggering an alarm. Instead try squeezing yourself through a small opening located to the left of the crates #2 (this means you'll be moving close to the northern wall).
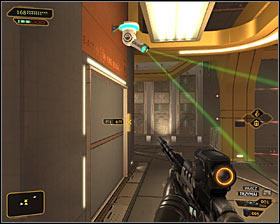 |  |
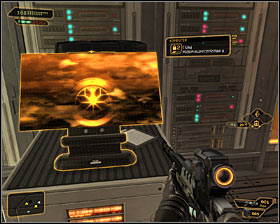
You may now turn south. If you wish to leave this area right now you can interact with the elevator's control panel #1. If you plan on staying here a little while longer you'll have to think of a way of disabling all laser traps. There's a panel on one of the southern pillars which controls the lasers #2. The panel has a level two protection, but you may as well input a 9762 security code.
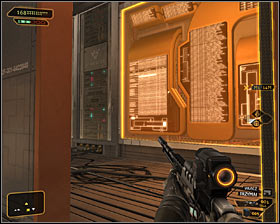 |  |
Once you've disabled all the lasers you will be allowed to visit a previously unaccessible northern room #1. You can find lockers here, as well as a datapad and a computer terminal #2. The terminal has a level two protection, however you can use a recently obtained outback password to log in without having to solve a mini-game.
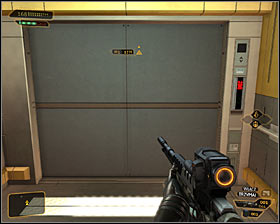 | 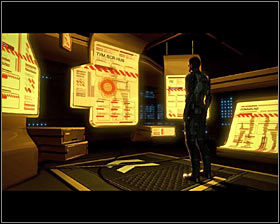 |
Once you're done with this area you must go back to the elevator #1 and use it. Wait for the elevator to transport you to a new level and try stepping outside to trigger a new cut-scene. Jensen will have a chance to watch van Bruggen's recording #2. The content will be quite shocking, because you'll discover that Megan Reed and other scientists are still alive and that they've been abducted. Your next objective will be to reach Zhao Run Yu's penthouse, but this will be covered in the next main quest - Entering the Dragon's Lair.
Reward: 2500 experience points + 750 experience points for staying undetected.
- Deus Ex: Human Revolution Game Guide
- Deus Ex Human Revolution: Game Guide
- Deus Ex Human Revolution: Hengsha
- Deus Ex Human Revolution: Searching for Proof
- Deus Ex Human Revolution: Introduction Searching for Proof
- Deus Ex Human Revolution: Exploring the area near the shuttle station
- Deus Ex Human Revolution: Rescuing a TYM employee
- Deus Ex Human Revolution: Reaching the cryo-sterilization room
- Deus Ex Human Revolution: Peaceful solution Travelling through the cryo-sterilization room
- Deus Ex Human Revolution: Aggressive solution Travelling through the cryo-sterilization room
- Deus Ex Human Revolution: Reaching the first elevator
- Deus Ex Human Revolution: Reaching the second elevator
- Deus Ex Human Revolution: Peaceful solution Travelling through the laboratories
- Deus Ex Human Revolution: Aggressive solution Travelling through the laboratories
- Deus Ex Human Revolution: Peaceful solution Reaching the Data Core
- Deus Ex Human Revolution: Aggressive solution Reaching the Data Core
- Deus Ex Human Revolution: Heading through the laser room
- Deus Ex Human Revolution: Searching for Proof
- Deus Ex Human Revolution: Hengsha
- Deus Ex Human Revolution: Game Guide
You are not permitted to copy any image, text or info from this page. This site is not associated with and/or endorsed by the developers and the publishers. All logos and images are copyrighted by their respective owners.
Copyright © 2000 - 2025 Webedia Polska SA for gamepressure.com, unofficial game guides, walkthroughs, secrets, game tips, maps & strategies for top games.
