Deus Ex Human Revolution: Getting inside the station
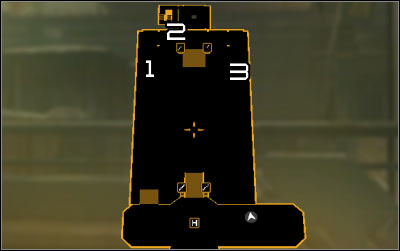
Map legend: 1 - Containers; 2 - Upper entrance to the station; 3 - Lower entrance to the station.
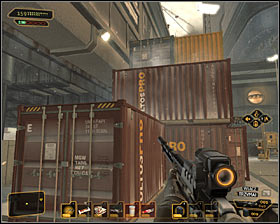 | 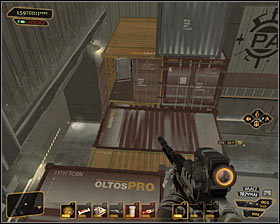 |
Begin with exploring the entire area where you start this mission. There is a large amount of ammo there, and also a weapon locker with rifles and a gas grenade. Your first goal is to get inside the station and that can be done in two basic ways. Definitely the better option is to get to the upper air vent. Unfortunately in order to do this, your hero needs the Jump Enhancement augmentation. Begin jumping onto large containers located in the west part of this area #1. Now move north, jumping towards another containers #2.
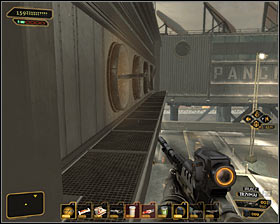 | 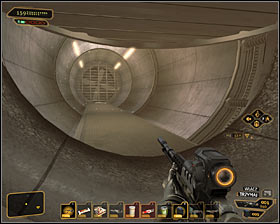 |
Eventually you have to reach a wall of the northern building. Jump onto a small upper balcony #1 and head east. After few moments you should reach the only open entrance to a tunnel with a large conditioner #2.
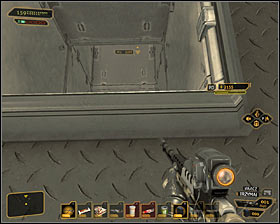 | 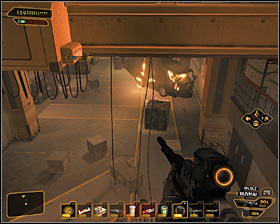 |
Use the fact that the conditioner is off and move north, finding an entrance to the air vent #1. After passing by the vent you'll find yourself over the first large room of this station #2.
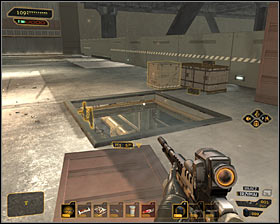 | 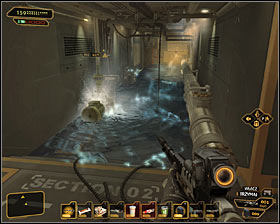 |
If you can't use the upper passage or you do not want to use it, you'll have to get through lower corridors. In this case stay near the starting point and look around the north-eastern part of the area looking for a large manhole #1. Use a ladder and go ahead, reaching after few moments a corridor with electrical discharges #2.
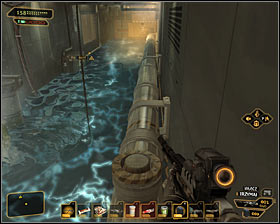 | 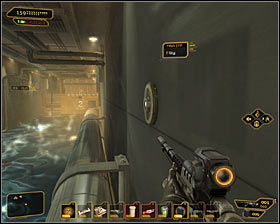 |
You can act here in two ways. If Jensen has the EMP Shielding augmentation, then discharges can't hurt him so you can freely go north. But if you do not have such augmentation, then you have to watch out and plan your next moves carefully. Jump onto a large pipe to the right #1, so during your march north you won't touch water. You must carefully approach two EMP mines attached to the right wall #2 (if you're immune to discharges you can ignore mines, cause explosions won't harm you in any way).
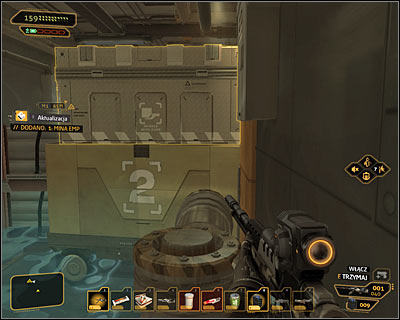
Soon you'll get to the junction (screen above) and if you do not have the EMP Shielding augmentation, you have to carefully plan your next moves. You can pick up and move a large crate (the Move/Throw Heavy Objects augmentation needed), pushing it towards a shelf in order to get there or jump to the water and then quickly jump towards northern shelf (in this situation you might wait until your health regenerates).
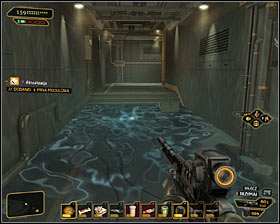 | 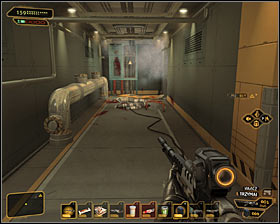 |
Exploration of the eastern corridor #1 is optional and you could decide to do this only if you have the EMP Shielding augmentation. Otherwise, ignore this corridor for now and return here once you turn off the power in the area. At the end of this corridor #2, as well as on your way, you would find several guards' corpses, which would be good to examine.
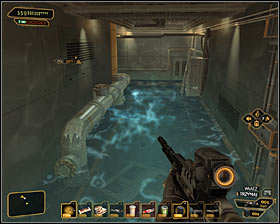 | 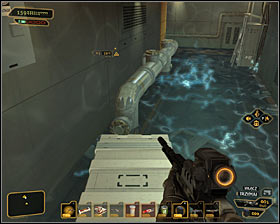 |
In order to continue current mission, you need to choose the northern corridor #1. As said previously, if you have the EMP Shielding augmentation, you do not have to be stresses. Otherwise you would need do jump to the left large pipe or make some sort of bridge made of one of crates here (those which are not destroyed by a contact with discharges) #2.
 | 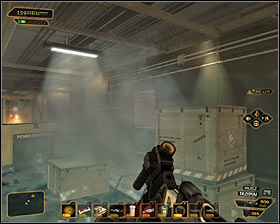 |
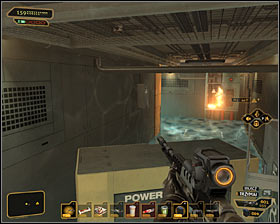
Move further north and then turn left. Be careful, because there is a fragmentation mine hidden there. It is located inside the right air vent #1 and it would be good to detonate it from the distance #2.
 | 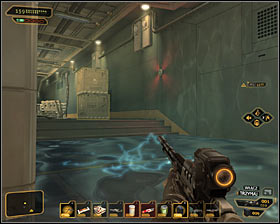 |
If you have the EMP Shielding augmentation and you do not want to explore this area, then ignore the vent where a mine was located and continue your march east #1. A path will turn then south #2. Destroy or disarm a new fragmentation mine there and head towards a new junction.
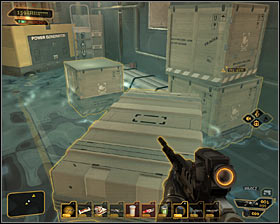 | 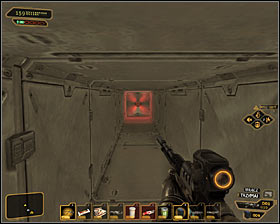 |
If you do not have the EMP Shielding augmentation or you want to explore the entire area, you would have to get to the northern air vent, where a fragmentation mine was located. If your hero is vulnerable to discharges, try to jump onto the northern pipe or look for a large crate in order to get there #1. Enter the vent and destroy or disarm another fragmentation mine there #2.
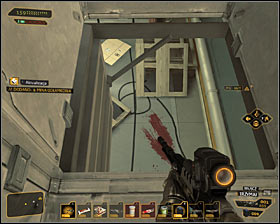 | 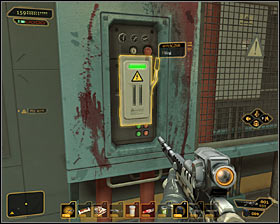 |
After few moments you should reach a place where you can jump out of the vent #1. Look for a PDA, a PEPS weapon and a switch #2. If you were avoiding discharges till now, you can return to previously ignored corridors. Otherwise leave the room and go to the next junction.
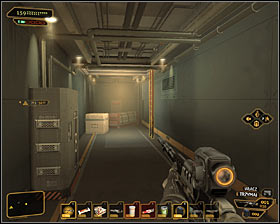 | 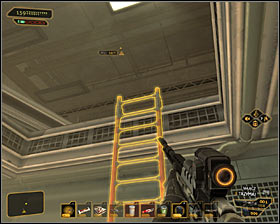 |
Both paths described above will lead to you to the same place - a corridor leading to the east #1. Go there and use a ladder #2.
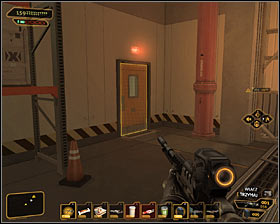 | 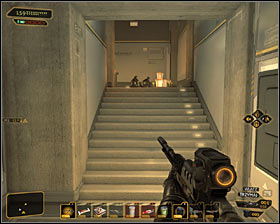 |
After using a ladder, head towards the only usable door #1. It leads to the staircase #2. After short walk you'll get to the same area which you would discover if you'd have chosen previously described way of getting here - a walk through the air vent.
- Deus Ex: Human Revolution Game Guide
- Deus Ex Human Revolution: Game Guide
- Deus Ex Human Revolution: Panchaea
- Deus Ex Human Revolution: Shutting Down Darrow's Signal
- Deus Ex Human Revolution: Introduction Shutting Down Darrow's Signal
- Deus Ex Human Revolution: Getting inside the station
- Deus Ex Human Revolution: Reaching the tower top
- Deus Ex Human Revolution: Talking to Hugh Darrow
- Deus Ex Human Revolution: Crossing through the tower
- Deus Ex Human Revolution: Crossing through the station
- Deus Ex Human Revolution: Peaceful solution Reaching the William Taggart's hideout
- Deus Ex Human Revolution: Aggressive solution Reaching the William Taggart's hideout
- Deus Ex Human Revolution: Peaceful solution Reaching the David Sarif's hideout
- Deus Ex Human Revolution: Aggressive solution Reaching the David Sarif's hideout
- Deus Ex Human Revolution: Reaching the broadcast center
- Deus Ex Human Revolution: Defeating the Hyron Project
- Deus Ex Human Revolution: Shutting Down Darrow's Signal
- Deus Ex Human Revolution: Panchaea
- Deus Ex Human Revolution: Game Guide
You are not permitted to copy any image, text or info from this page. This site is not associated with and/or endorsed by the developers and the publishers. All logos and images are copyrighted by their respective owners.
Copyright © 2000 - 2025 Webedia Polska SA for gamepressure.com, unofficial game guides, walkthroughs, secrets, game tips, maps & strategies for top games.
