Deus Ex Human Revolution: Peaceful solution Getting inside the port warehouse
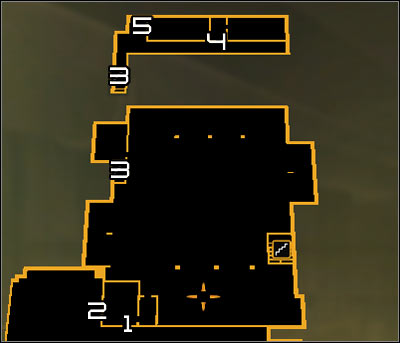
Map legend: 1 - Main entrance to the warehouse; 2 - Ladder; 3 - Stairs leading to the backside balconies; 4 - Main entrance to warehouse offices; 5 - Ladder.
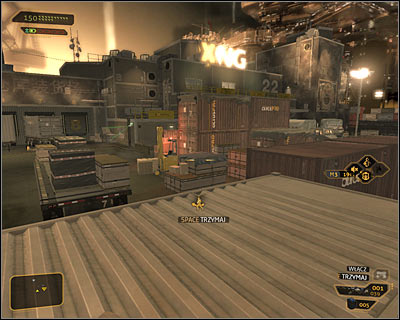
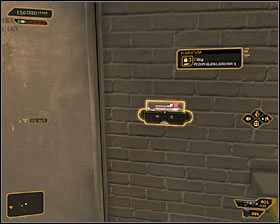
If you're going to continue using the camouflage (the Glass-Shield Cloaking System augmentation), exit the tool shed and head north. I suggest moving quickly, because there are not too many covers on your way. If you try to stop and catch a breath, it might end badly because the other sniper may see you. Eventually you should reach the wall of the large, northern warehouse (screen above).
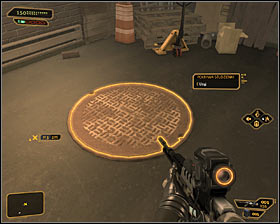 | 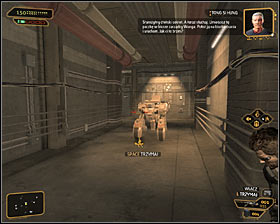 |
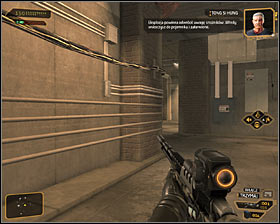
If you do not want to use a camouflage or you can't use it, then choose an alternative path to your target. First, locate a descent to sewers #1, which you've probably used before. After going down the ladder and entering the sewers, hide behind the cover, because you must still avoid the hostile robot patrolling an adjacent corridor #2.
 | 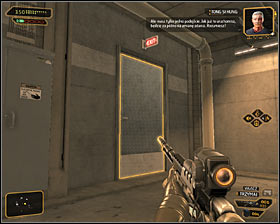 |
Wait until robot goes away and head in the opposite direction and then turn east #1. Eventually you should reach the unguarded door marked Exit #2. Go through and you'll find yourself in the small room. Carefully open another door.
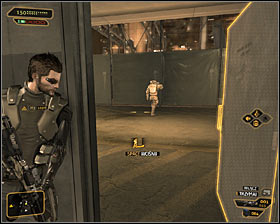 | 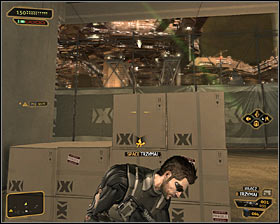 |
As you've probably noticed, you're now near the eastern, lower path, which is patrolled by a single enemy #1. Wait until he goes south and head north, stopping under the active security camera #2.
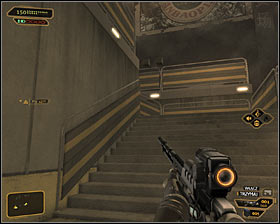 | 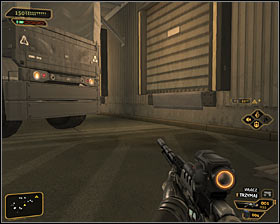 |
Make sure that you can continue and keep going north, reaching a stairs #1 after few moments. Use them and go up - you'll find yourself in a weakly guarded area close to the wall of the northern warehouse #2.
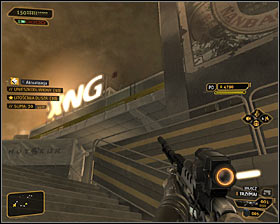 | 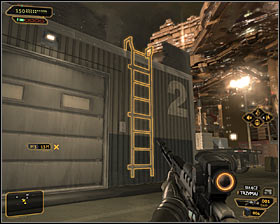 |
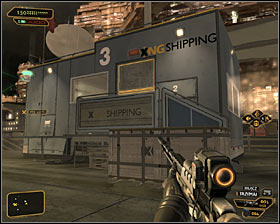
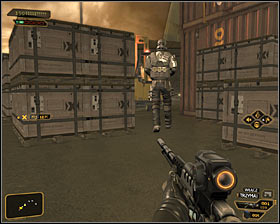
Now you have to decide about your further actions. You can accurately explore the port or focus only on entering the large port warehouse. If you choose the first option, it would be good to start with elimination of two previously mentioned snipers. An enemy who patrols a balcony of the northern warehouse can be eliminated with a paralyzing weapon #1 - just move back south a little. A second sniper, located on the tool shed roof can be surprised from the south - just use a ladder #2 there and stun him in a melee fight. Examine his body and you'll find a PDA with a valuable code.
 |  |
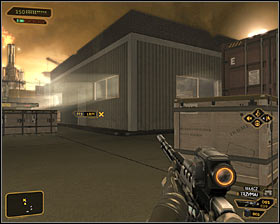
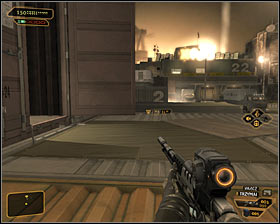
A next step is to disable local security systems. In this case I suggest to visit two buildings #1 described in Step 4, in order to disable some of the cameras, robots and turrets. Finally, deal with enemies who occupy main port area #2. You could stun guards with a paralyzing weapon, but much better option is to liquidate them in a melee fight, since their paths cross seldom and are easy to predict. Examine opponents' bodies, because that way you'll get two PDA's with codes.
 |  |
After securing the area you will be able to focus on the exploration of the port. It is good to start on the main, second level. You should first of all visit a tool shed, which was the previous mission goal #1. There are many lockers worth examining in the main building room. I recommend also exploring a southern part of the port, jumping on one of the containers and finding another, open container #2. Inside you'll find a weapon upgrade.
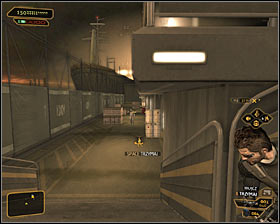 | 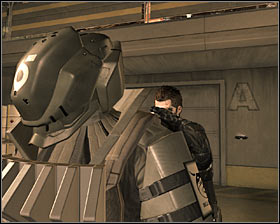 |
After exploring the main area, go to its western part, deciding to explore a lower path on level 1 #1. If you've earlier hacked terminals, then both, local security camera and a defensive turret north from here should be inactive. So the only thing to do is to eliminate a guard patrolling this area #2.
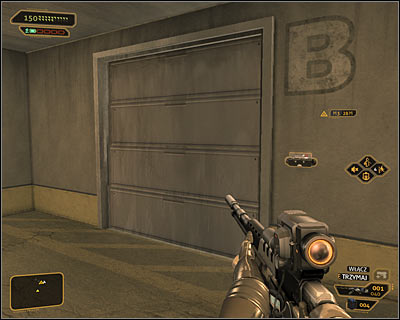
Make sure that the area is secured and start exploring three storage rooms here (A-C). Each of them is secured by a high security level lock but you can use codes also. In a storage room A (code 7785) you'll find first of all a weapon upgrade. In a storage room B (code 5895) a PEPS weapon is located, as well as another weapon upgrade. In last storage room C (code 3343) you can find a rocket launcher.
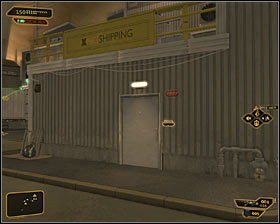 | 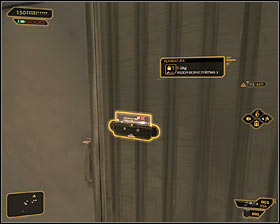 |
Now you can focus on getting inside the large port warehouse. The most obvious solution is to enter via the reception room on level 2 #1. The electronic lock you'll find there has first security level, but you also can use a combination 4589 (obtained from one of the guards).
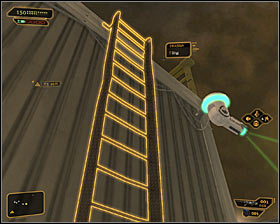 | 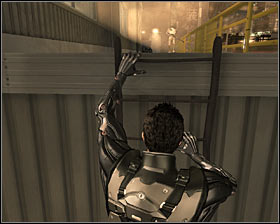 |
If you do not want to choose this way, then take a closer look at the west wall of the large warehouse, finding a ladder there #1. Watch out for the security camera, and once you get to the small roof fragment, approach another ladder. If you didn't eliminate snipers earlier, you'll find yourself on the balcony with one of them #2. You can bypass him (using a camouflage or a lot of patience and good timing) or just stun him.
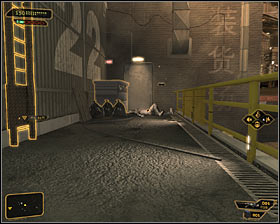 |  |
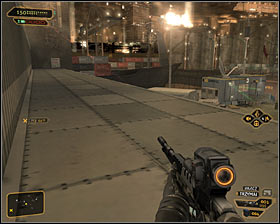
More obvious solution in situation, when you're on the balcony, is to head towards the door visible in the distance #1. It has a third level security lock #2, but you can use a combination 6555.
 | 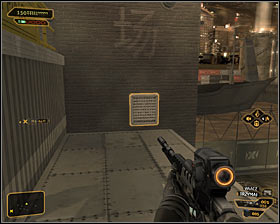 |
If you do not want to use the door, just jump over the southern railing in order to land on the lower part of the roof #1. Head east and you'll reach an air vent entrance after few moments #2. This vent will lead you inside the warehouse.
Note! A description of further actions can be found in the description of Step 6 (Getting to the administrator Wang's office).
- Deus Ex: Human Revolution Game Guide
- Deus Ex Human Revolution: Game Guide
- Deus Ex Human Revolution: Hengsha 2
- Deus Ex Human Revolution: Stowing Away
- Deus Ex Human Revolution: Introduction Stowing Away
- Deus Ex Human Revolution: Leaving the Harvesters' hideout
- Deus Ex Human Revolution: Reaching the Belltower's port
- Deus Ex Human Revolution: Getting into the port area
- Deus Ex Human Revolution: Peaceful solution Retrieving the package from the shed
- Deus Ex Human Revolution: Aggressive solution Retrieving the package from the shed
- Deus Ex Human Revolution: Peaceful solution Getting inside the port warehouse
- Deus Ex Human Revolution: Aggressive solution Getting inside the port warehouse
- Deus Ex Human Revolution: Peaceful solution Getting to the administrator Wang's office
- Deus Ex Human Revolution: Aggressive solution Getting to the administrator Wang's office
- Deus Ex Human Revolution: Stowing Away
- Deus Ex Human Revolution: Hengsha 2
- Deus Ex Human Revolution: Game Guide
You are not permitted to copy any image, text or info from this page. This site is not associated with and/or endorsed by the developers and the publishers. All logos and images are copyrighted by their respective owners.
Copyright © 2000 - 2025 Webedia Polska SA for gamepressure.com, unofficial game guides, walkthroughs, secrets, game tips, maps & strategies for top games.
