Deus Ex Human Revolution: Peaceful solution Finding Declan Faherty
Note! Three scientists located by Pritchard can be reached in any order and this has no influence on further course of the quest. Here's my suggested order:
1) Declan Faherty - Declan stays in the basement of the western Bio-Mech building.
2) Nia Colvin - Nia is located in the second floor of the northeastern Micro-Gen building.
3) Eric Koss - Eric can be found on the last, third floor of the northeastern Micro-Gen building.
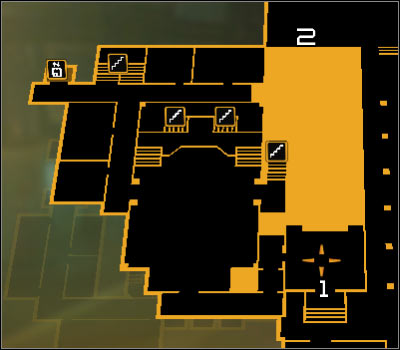
Map legend: 1 - Main entrance to the Bio-Mech Lab building; 2 - Entrance to the air vent.
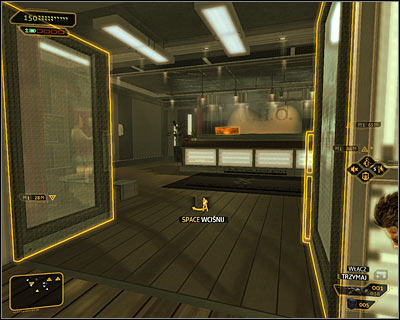
Declan Faherty stays in the basement of the western Bio-Mech Lab building and you can get there in two main ways (I'm skipping variant when you use a bridge connecting buildings, because I assume that you'll visit Bio-Mech Lab building as first). More obvious option is to use the main entrance to the Bio-Mech Lab building (screen above). It is located west from the main square and if you want to get there you have to watch out both for enemies described in Step 1, as well as for a security camera which can be still active. In this case you might walk under it or use a camouflage (the Glass-Shield Cloaking System augmentation).
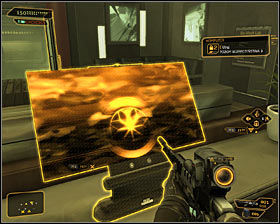 | 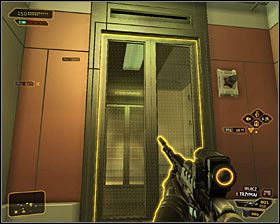 |
Once you're in the reception room, move towards a computer terminal #1. It has second level security lock, but you can take a look into the desk's drawer, take a PDA and read a password - morpheus. Choose the only corridor available to you and stop after reaching the place, where lab employees are decontaminated #2. Activate this process and do not worry - you won't alarm any enemies.
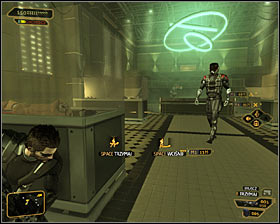 | 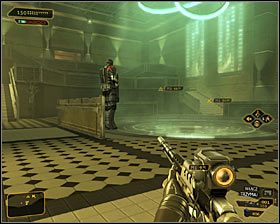 |
Go to the audience room, which is patrolled by two guards. You can bypass them using a camouflage (the Glass-Shield Cloaking System augmentation) or attack them. In the latter case wait until heavily armed enemy turns his back to you and eliminate his buddy then #1. Pull away his corpse, wait for a good moment and deal with the first soldier #2. Take this opportunity to examine guards' corpses - you'll find an EMP grenade and Typhoon ammo among other things.
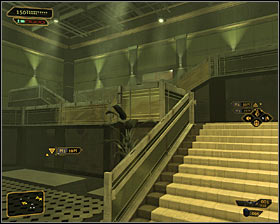 | 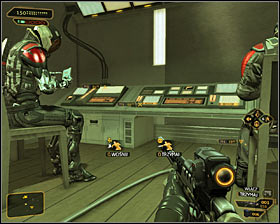 |
If you want to explore the entire Bio-Mech building carefully, it would be good to choose the stairs leading to level 2 #1. A room B-21 is open for general use, but there are two guards inside. The easiest solution would be to eliminate them using the Multiple Take-Down augmentation #2. After successful action examine guards' corpses, finding a PDA with a password. A second PDA lies on the table.
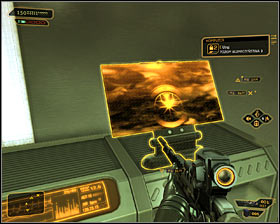 | 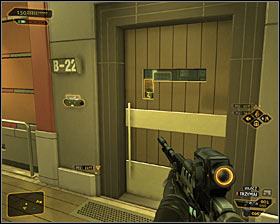 |
In the room B-21 there are also two computer terminals (you can use a password keppler on one of them) #1 and you can obtain a new password there. Before leaving the room, look inside the weapon locker. An adjacent laboratory is the room B-22 #2 and you can also get inside in three ways: by opening a fourth security level electronic lock or by entering a code 2021 (obtained much later) or using an air vent (its entrance is located in the B-21 room). Once you're inside, you'll find an e-book and unlocked computer terminal there.
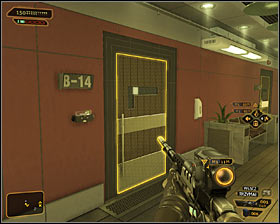 | 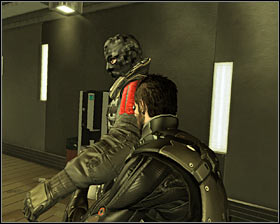 |
Return now to level 1 of Bio-Mech Lab building and start exploring it. There are four labs on this level. A room B-14 #1 is open for general use and has a computer terminal inside. There is also an air vent leading to the adjacent room B-13 and you might use it, because you'll be able to easily surprise a guard there #2. In the room B-13 you should look for a stun gun.
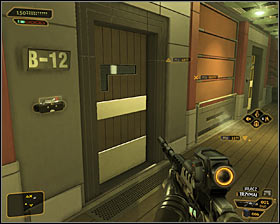 | 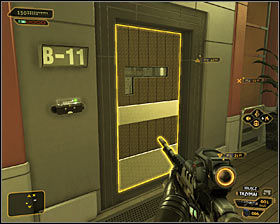 |
A next one to explore is the room B-12 #1 and its door has third security level lock. Inside the room you'll find two computer terminals and a PDA with a password on it. The last room is B-11 #2. There are two secured computer terminals. A password to the left one is monastic and a password to the right terminal is techsmex (these can be obtained from a PDA found in the drawer).
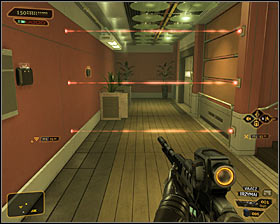 | 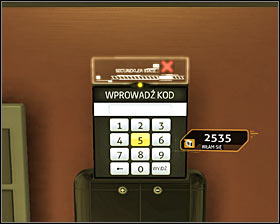 |
You can now return to the main corridor and head west, where you'll be stopped by laser barriers #1. Depending on your preferences you can hack a terminal with fourth security level lock or use a camouflage (the Glass-Shield Cloaking System augmentation) and go through a barrier or use a code 2535 #2. Regardless of your previous actions, call the elevator and use it in order to get to the basement.
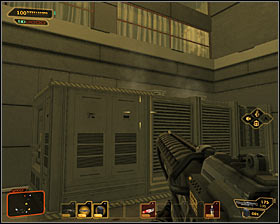 | 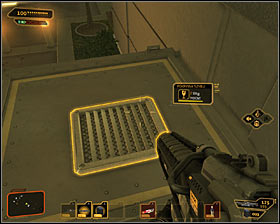 |
A less obvious way to get to the Bio-Mech Lab building basement is to walk through narrow tunnels leading to the morgue. In this case you would have to start outside the Bio-Mech Lab building, and more specifically - north from it (behind guards and the defensive turret). Look for a large air conditioner, which you can jump onto (you need the Jump Enhancement augmentation or some bigger object to be moved towards the conditioner) #1. Once you're on top, locate the air vent cover #2.
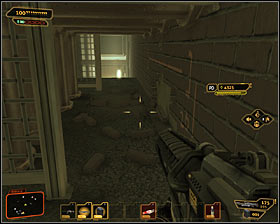 | 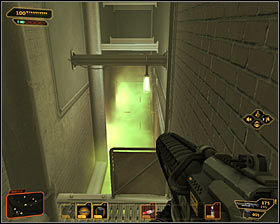 |
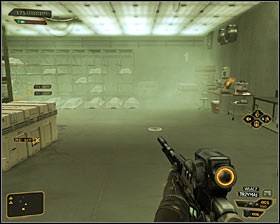
Enter the air vent and start walking through narrow corridors #1. After few moments you'll reach a place with poisonous gas #2 and you can pass it by only if you have the Implanted Rebreather augmentation.
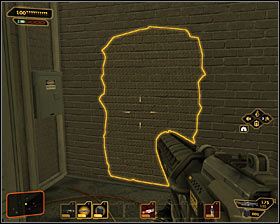 |  |
Continue your walk, eventually reaching a wall which can be destroyed #1. Break this fragment down, which is of course possible only if you have the Punch Through Wall augmentation. This action will make getting to the morgue possible. It is located in the building basement #2.
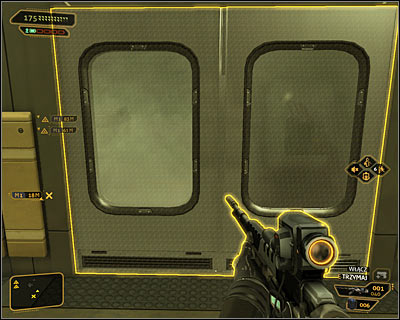
Whether you chose a lift "ride" or you got through to the morgue, you have to start exploring a Bio-Mech Lab building basement. Unfortunately, there are not too many interesting objects in the morgue, except a computer terminal (third security level lock). Eventually you need to get to the central part of the basement and locate a door leading to the lab, where Declan Faherty works (screen above).
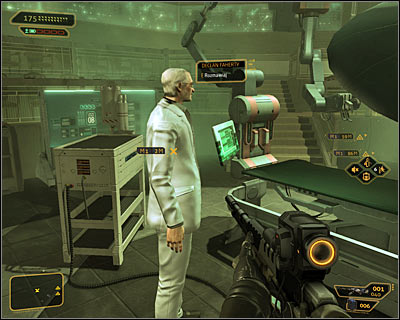
Enter the lab, walk to Declan and start the conversation. Its course may slightly differ, depending on the fact if he is first scientist you're talking to or you have previously talked to Nia or Eric. If he is the first scientist you meet, he'll tell you that Megan Reed is kept in highly guarded lab and in order to get an access to that place, you need to arrange some kind of diversion with help of all three scientists.
Reward: 250 experience points.
Note! A description of further actions can be found in the description of Step 4 (Finding Nia Colvin).
- Deus Ex: Human Revolution Game Guide
- Deus Ex Human Revolution: Game Guide
- Deus Ex Human Revolution: Singapore
- Deus Ex Human Revolution: Rescuing Megan and Her Team
- Deus Ex Human Revolution: Introduction Rescuing Megan and Her Team
- Deus Ex Human Revolution: Peaceful solution Reaching the main square
- Deus Ex Human Revolution: Aggressive solution Reaching the main square
- Deus Ex Human Revolution: Disabling the signal jammer
- Deus Ex Human Revolution: Peaceful solution Finding Declan Faherty
- Deus Ex Human Revolution: Aggressive solution Finding Declan Faherty
- Deus Ex Human Revolution: Peaceful solution Finding Nia Colvin
- Deus Ex Human Revolution: Aggressive solution Finding Nia Colvin
- Deus Ex Human Revolution: Peaceful solution Finding Eric Koss
- Deus Ex Human Revolution: Aggressive solution Finding Eric Koss
- Deus Ex Human Revolution: Peaceful solution Uploading a virus to the security computer
- Deus Ex Human Revolution: Aggressive solution Uploading a virus to the security computer
- Deus Ex Human Revolution: Reaching the underground bunker
- Deus Ex Human Revolution: Defeating Jaron Namir
- Deus Ex Human Revolution: Finding Megan Reed
- Deus Ex Human Revolution: Opening the hangar door
- Deus Ex Human Revolution: Reaching the Leo shuttle
- Deus Ex Human Revolution: Rescuing Megan and Her Team
- Deus Ex Human Revolution: Singapore
- Deus Ex Human Revolution: Game Guide
You are not permitted to copy any image, text or info from this page. This site is not associated with and/or endorsed by the developers and the publishers. All logos and images are copyrighted by their respective owners.
Copyright © 2000 - 2025 Webedia Polska SA for gamepressure.com, unofficial game guides, walkthroughs, secrets, game tips, maps & strategies for top games.
