Deus Ex Human Revolution: Peaceful solution Reaching the William Taggart's hideout
Note! Reaching William Taggart is optional, but you shouldn't ignore it, because otherwise you'll not be able to unlock one of the possible game endings. If you still do not want to waste your time on this conversation, scroll down to a description of Step 8 (Reaching the broadcast center).
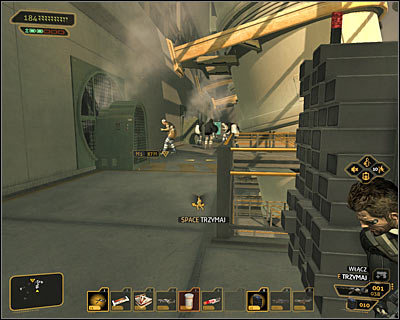
Taggart hides on second level of this facility - north from currently explored balconies, in a small room near to the Server Room. A corridor leading there is located east from here but you'll have to face a group of insane civilians on your way (screen above). The easiest way to avoid them is to use a camouflage (the Glass-Shield Cloaking System augmentation), but you have to watch out not to fall on anyone.
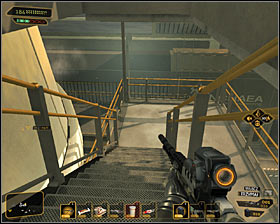 |  |
If you do not want to use a camouflage or you can't use it, then you have to bypass insane civilians. Wait until one of them turns back and goes in the opposite direction. Quickly move now to the western staircase #1 and go down to level -1. Head east #2 reaching to the western staircase. Use the stairs again in order to return to level 2.
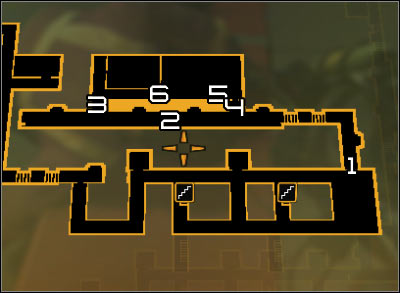
Map legend: 1 - Corridor leading to Taggart's place; 2 - Corridor with cameras and a robot; 3 - Entrance locked by crates; 4 - Entrance to the server room; 5 - Terminal in the server room; 6 - Server room exit.
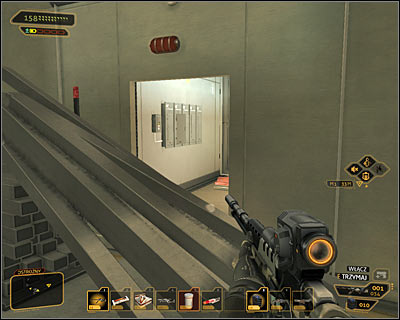
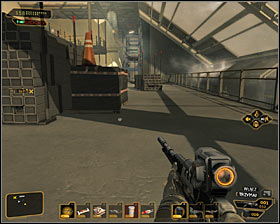
Regardless of your actions, you have to get to the eastern part of balconies on level 2. Look for a partially blocked passage to the northern corridor here (screen above) and use it.
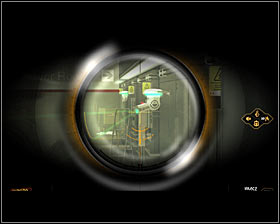 | 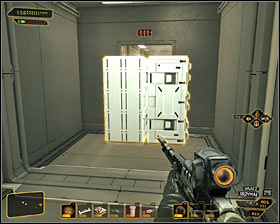 |
After reaching a corridor leading west you should notice, that there are two active security cameras near #1. If you have a camouflage (the Glass-Shield Cloaking System augmentation), the easiest way is to use it and bypass cameras. It might be harder without a camouflage because you would have to hide more often and constantly monitor cameras. If you reached a corridor's end then look for a scientist's corpse lying on a PDA with a valuable password. Now turn north and use the Move/Throw Heavy Objects augmentation in order to move two large crates #2.
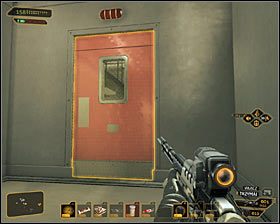 | 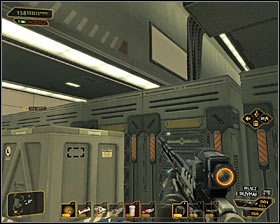 |
If you do not want to "play" with cameras or you do not have the mentioned augmentation, then do not get close to camera. Instead look around for an entrance to the northern room #1 - the Server Room. Watch out here, because there is a huge group of insane people nearby. Once you get inside the room, turn left and jump onto large servers #2. You might use the Jump/Land Silently augmentation, so your actions will be unnoticed by anyone.
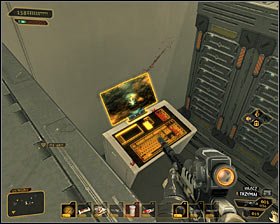 | 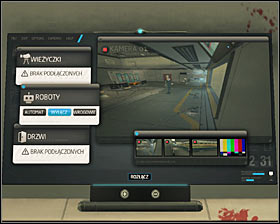 |
Note, that there is an active computer terminal #1 by the southern wall of the room. Carefully jump down and interact with a terminal. You do not have to solve fifth security level mini hacker game because you can use a password mssinghme (can be obtained from a PDA found at a corpse lying in the server room). After logging into the system you might disable all three security cameras nearby #2 and also a robot (the Robot Domination augmentation needed).
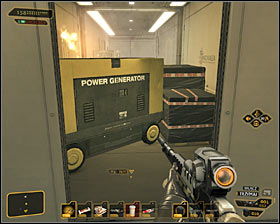 | 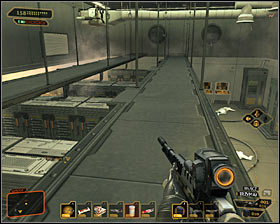 |
Now you have to get to the western exit from the server room #1. The easiest way is to use a camouflage (the Glass-Shield Cloaking System augmentation), bypassing near persons. Otherwise jump again onto one of the servers #2 and then start jumping from one row of computers onto another.
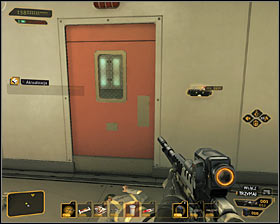 | 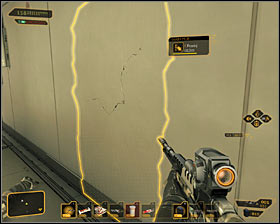 |
Both ways described above will lead you to the room where Taggart hides. You can enter the room in two ways. First option is to hack the western door electronic lock #1 (fifth security level). If you can't do this, then examine the southern wall and use the Punch Through Wall augmentation #2.
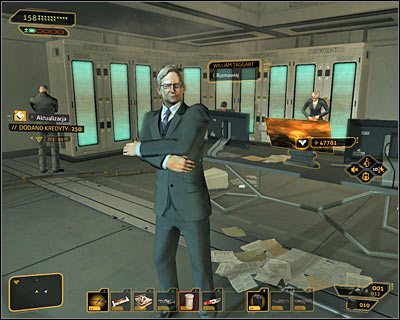
Enter the room. If a local security camera is still active, then you need a camouflage. Otherwise look around the room and find an unsecured computer terminal. The most important issue now is to talk to William Taggart (screen above). You do not have any influence on its course, so just listen to him. You do not need to think now whether you intend to help Taggart to send a message prepared by him, because you'll make a final decision at the very game's end.
Reward: 500 experience points.
Note! A way of getting to Sarif is described in a description of Step 7 and further actions to reach the broadcast center are described in a description of Step 8.
- Deus Ex: Human Revolution Game Guide
- Deus Ex Human Revolution: Game Guide
- Deus Ex Human Revolution: Panchaea
- Deus Ex Human Revolution: Shutting Down Darrow's Signal
- Deus Ex Human Revolution: Introduction Shutting Down Darrow's Signal
- Deus Ex Human Revolution: Getting inside the station
- Deus Ex Human Revolution: Reaching the tower top
- Deus Ex Human Revolution: Talking to Hugh Darrow
- Deus Ex Human Revolution: Crossing through the tower
- Deus Ex Human Revolution: Crossing through the station
- Deus Ex Human Revolution: Peaceful solution Reaching the William Taggart's hideout
- Deus Ex Human Revolution: Aggressive solution Reaching the William Taggart's hideout
- Deus Ex Human Revolution: Peaceful solution Reaching the David Sarif's hideout
- Deus Ex Human Revolution: Aggressive solution Reaching the David Sarif's hideout
- Deus Ex Human Revolution: Reaching the broadcast center
- Deus Ex Human Revolution: Defeating the Hyron Project
- Deus Ex Human Revolution: Shutting Down Darrow's Signal
- Deus Ex Human Revolution: Panchaea
- Deus Ex Human Revolution: Game Guide
You are not permitted to copy any image, text or info from this page. This site is not associated with and/or endorsed by the developers and the publishers. All logos and images are copyrighted by their respective owners.
Copyright © 2000 - 2025 Webedia Polska SA for gamepressure.com, unofficial game guides, walkthroughs, secrets, game tips, maps & strategies for top games.
