Deus Ex Human Revolution: Aggressive solution Travelling through the laboratories
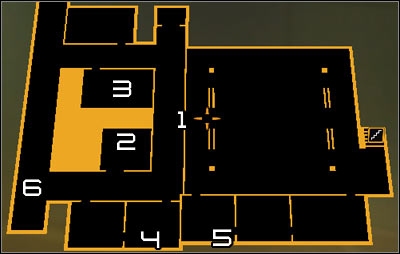
Map legend: 1 - Main entrance to the laboratory; 2 - Vent in the southern storage area; 3 - Access card; 4 - Entrance to the shaft; 5 - Exit from the shaft; 6 - Upper balcony.
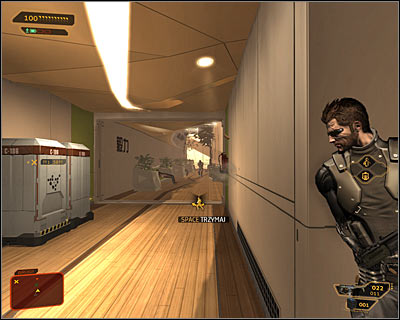
If you're planning to wipe out all the guards without making any additional preparations, then you should leave the first room and kill a few civilians you encounter. Take cover behind the wall and wait for enemy units to show up (screen above). Start shooting at the guards and don't forget to hide behind cover each time Jensen has been severely wounded.
 |  |
An armored opponent will take part in this battle and you'll have to be careful when fighting him, because he'll be using a heavy rifle #1. Aside from him you'll also have to be ready to destroy a new robot #2. Just as before, you could use one of your more powerful weapons, place a mine or throw an EMP grenade at the machine.
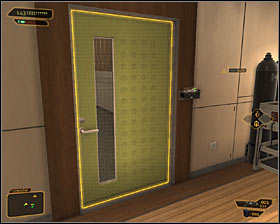 | 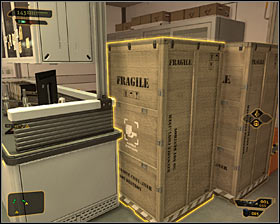 |
Make sure it's safe before leaving cover and start exploring the area. There's a room in the northern part of the current location you should visit #1. Open the drawer and interact with a computer terminal. You can also use the Move Heavy Objects augmentation to pick up large crates #2. This will allow you to reach additional supplies, including Typhoon ammunition. Exit the room and take some to think how you want to get inside the main laboratory (Lee Gong Memorial).
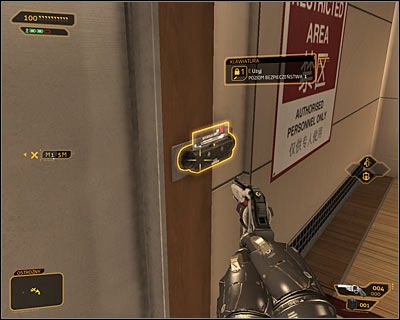
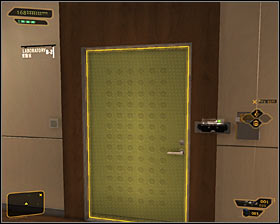
Since you've already killed all nearby guards you won't have to deal with the person guarding the passageway to the main laboratory. As a result you can try interacting with an electronic lock on the eastern door (screen above) and either solve a level one mini-game or input a 4713 security code (this code can be obtained by collecting a datapad from one of the killed soldiers).
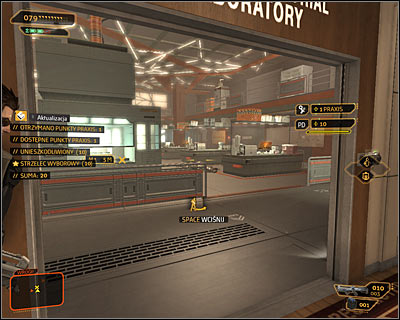
Open the door leading to the main laboratory. Don't enter this room right away, because there's a possibility that you're going to be attacked by new enemy units. Watch out for the guards occupying the upper balconies. The area above you is also patrolled by a robot, but you won't have to worry about it just yet.
 | 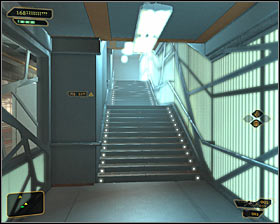 |
Secure the laboratory before heading in. Consider visiting a Security Room located in one of the corners of the room #1. There's a computer terminal with a level three protection inside the guards post and you can use it to reprogram the robots (Robot Domination augmentation required). Once you've looked around head east and find the stairs leading to the upper balconies #2. Be careful when you get there, because the area may be patrolled by the robot I've mentioned earlier.
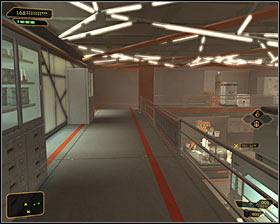 |  |
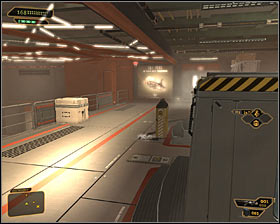
Destroying or disabling the robot isn't a necessary thing to do, but it's highly recommended, because you'll be allowed to head south #1. Find a laboratory B2 there #2, enter it and open one of the drawers to find a free Praxis kit.
 | 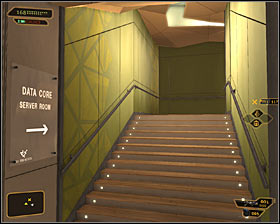 |
If you don't want to find the robot or if you've already been to the southern laboratories and collected a Praxis kit, then you should start moving towards a western door (the one below a security camera) #1. There are several linear corridors ahead and you must remain cautious, because you'll probably encounter a single guard along the way. Eventually you should reach the stairs leading to the Data Core Server Room #2.
Important! The walkthrough is continued in Step 8 (Reaching the Data Core).
- Deus Ex: Human Revolution Game Guide
- Deus Ex Human Revolution: Game Guide
- Deus Ex Human Revolution: Hengsha
- Deus Ex Human Revolution: Searching for Proof
- Deus Ex Human Revolution: Introduction Searching for Proof
- Deus Ex Human Revolution: Exploring the area near the shuttle station
- Deus Ex Human Revolution: Rescuing a TYM employee
- Deus Ex Human Revolution: Reaching the cryo-sterilization room
- Deus Ex Human Revolution: Peaceful solution Travelling through the cryo-sterilization room
- Deus Ex Human Revolution: Aggressive solution Travelling through the cryo-sterilization room
- Deus Ex Human Revolution: Reaching the first elevator
- Deus Ex Human Revolution: Reaching the second elevator
- Deus Ex Human Revolution: Peaceful solution Travelling through the laboratories
- Deus Ex Human Revolution: Aggressive solution Travelling through the laboratories
- Deus Ex Human Revolution: Peaceful solution Reaching the Data Core
- Deus Ex Human Revolution: Aggressive solution Reaching the Data Core
- Deus Ex Human Revolution: Heading through the laser room
- Deus Ex Human Revolution: Searching for Proof
- Deus Ex Human Revolution: Hengsha
- Deus Ex Human Revolution: Game Guide
You are not permitted to copy any image, text or info from this page. This site is not associated with and/or endorsed by the developers and the publishers. All logos and images are copyrighted by their respective owners.
Copyright © 2000 - 2025 Webedia Polska SA for gamepressure.com, unofficial game guides, walkthroughs, secrets, game tips, maps & strategies for top games.
