Deus Ex Human Revolution: Peaceful solution Reaching room 802-11
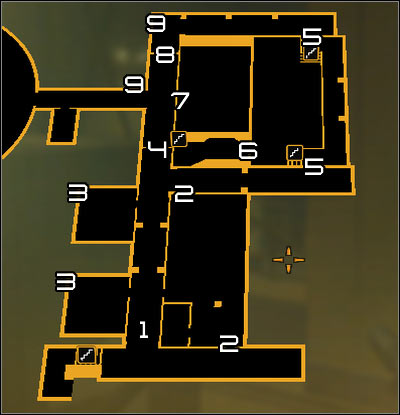
Map legend: 1 - Main corridor; 2 - Office room passage; 3 - Shafts exits; 4 - Southern door to the last corridor; 5 - Data processing room passage; 6 - Side room entrance; 7 - Fragile wall fragment; 8 - Northern door to the last corridor; 9 - Shaft passage leading to the last corridor.
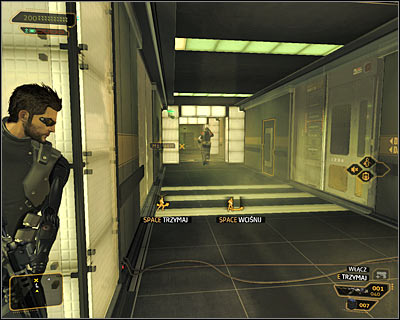
Your current objective is directly north of your current position and you can reach it in a few ways. I wouldn't recommend the main corridor, as apart from an armoured enemy you would also come across a security camera (screen above). The only exception is when you could use the Cloaking System augmentation, though that way you will miss a few attraction connected with exploring the area.
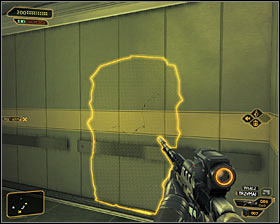 | 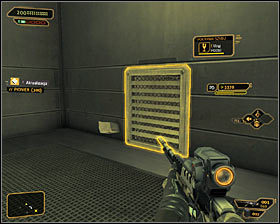 |
If you have the Punch Through Walls augmentation, you can look for a fragile wall fragment #1. Destroying it would let you use the ventilation shafts #2. The shafts lead to two different western office rooms. It's worth to notice that you should take the wall down only after the armoured guard walks away, to avoid drawing his attention.
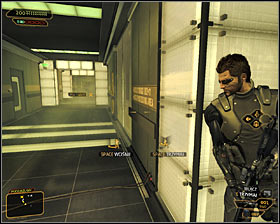 | 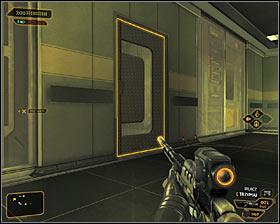 |
By far the best solution is - in my opinion - going through the eastern offices. You would have to perform a jump across the wall on the right #1. Head east and find a door leading into a big room #2.
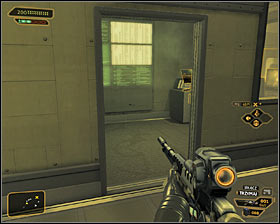 | 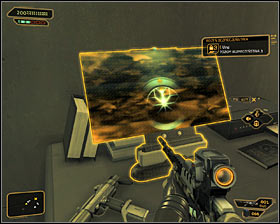 |
After getting inside you should above all head to the separated area in the south-west part of the offices #1. There you will find a palmtop with password combination (login: bnorthco; password: sterling). However far more important than taking the palmtop is hacking into the computer terminal #2. You can bypass a level 3 security or use the ready password diode (you obtain it "legally" much later). As a result you would be able to turn off the two local security cameras, including the one hanging inside the recently passed corridor.
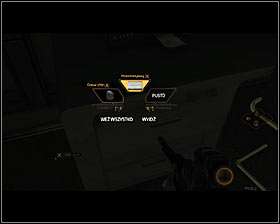 | 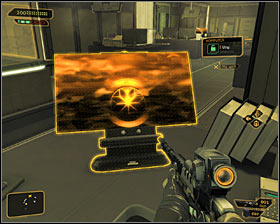 |
As for the rest of the big office room, it's of course worth to check the drawer (you will find, inter alia, an EMP grenade) #1 and interact with all five computer terminals #2. One of them contains a code (0101).
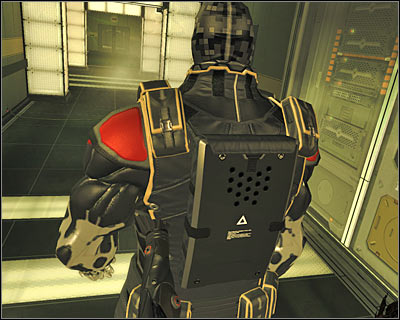
Now you can act in one of two ways, either continue going north or take a look around the area. If you prefer the second option, return to the main corridor and use the fact that the security camera has been destroyed to easily take care of the armoured enemy.
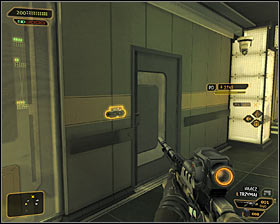 | 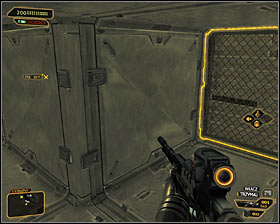 |
After stunning the enemy, start exploring the two western offices. The door to the lower office #1 has a level 3 electronic lock. You can either hack it, input the ready code 0101 or return to the ventilation shafts behind the destroyed wall and reach the office through an alternative entrance #2.
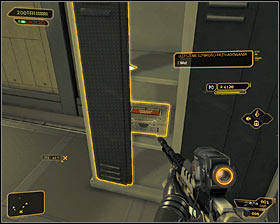 | 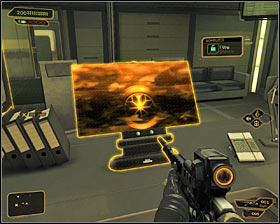 |
After reaching the lower office, you should above all check out the lockers to find, inter alia, a weapon upgrade #1. Apart from that it would be good to interact with the unsecured computer terminal #2.
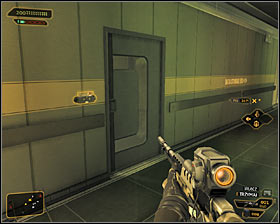 | 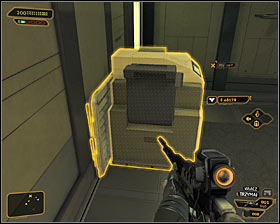 |
Exit the lower office and head to the upper one #1. You can reach it in two ways, i.e. by opening the level 3 electronic lock or using the ventilation shafts. Curiously, in the second case you don't need to destroy the wall, as you can enter the shaft through the southern office. It's hidden behind the photocopier #2.
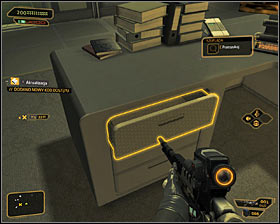 | 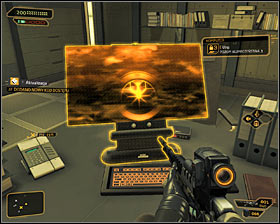 |
After reaching the upper office I would of course suggest checking out the lockers and searching the drawer to find a hidden palmtop #1 (login: bshupper; password: widget). You can use the combination at once, as it unlocks the local level 3 security computer terminal #2. Logging into it will grant you with yet another pair (login: pcorbo; password: spitfire).
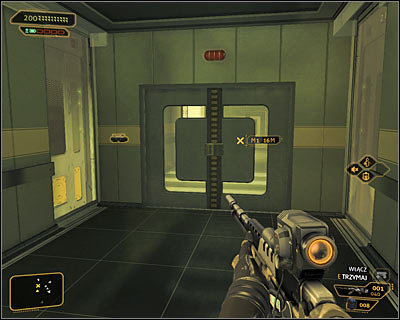
Regardless of the decisions made thus far, you have to reach the northern part of the level (screen above). There you will have to make a choice on the further road again.
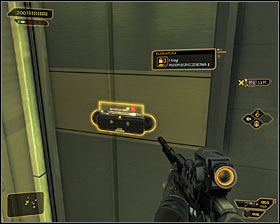 | 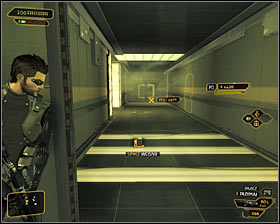 |
The most obvious solution is using the northern door, though it's unfortunately protected by a level 3 electronic lock #1. Opening it would however let you reach the last corridor #2 and avoid all other threats.
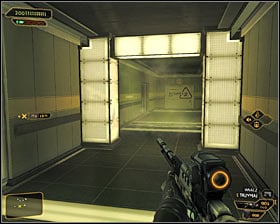 | 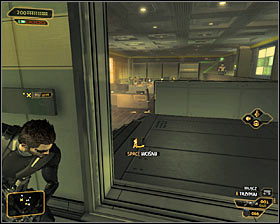 |
All other options imply using the eastern corridor #1. It leads to the Data Processing Area protected by two guards #2. That's also not the only problem, as on the other end of the room there's another security camera.
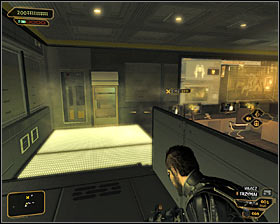 | 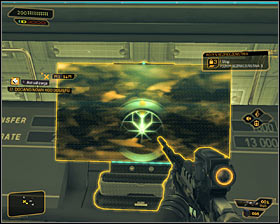 |
If you have the advanced camouflage (Cloaking System), you can of course safely pass through the whole room. Otherwise, I'd suggest heading to the left door #1. Inside the small room you will find a palmtop (login: jchapman; password: diode) and a computer terminal #2. It has level 3 security, though you can always enter the ready password spitfire. After logging in you could turn off the two local security cameras.
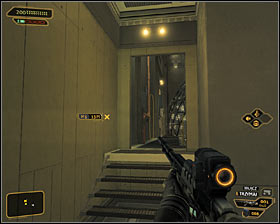 | 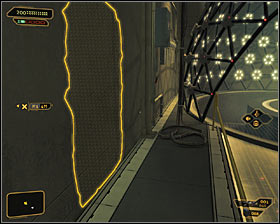 |
Another decision stands before you. If you have the Punch Through Walls augmentation, you should choose the unvisited west passage #1. By doing so you will reach the destructible wall fragment #2 and after a successful action find yourself in the last corridor. If you can't destroy walls or want to explore the area thoroughly, return to the main room with two guards.
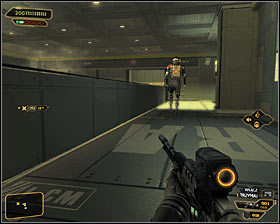 | 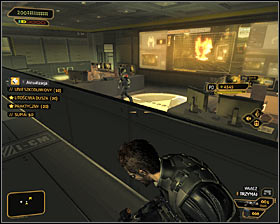 |
Note that by turning off the local camera you can easily knock out both guards. It's best to start with the one patrolling the upper balcony #1 and afterwards deal with his buddy downstairs #2. Once the area is secured, take a look around the room. Apart from new drawers you will also find two unsecured computer terminals.
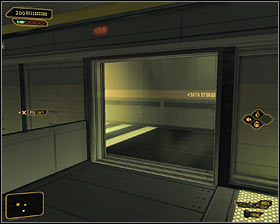 | 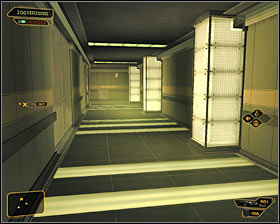 |
Use the north Data Processing Area exit #1. The corridor turns right at this spot #2. If you have turned off the cameras, you don't have anything to worry about. Otherwise you would have to carefully approach the new security camera and pass under it.
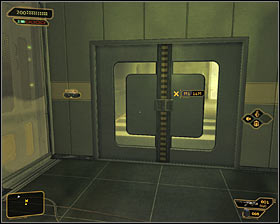 | 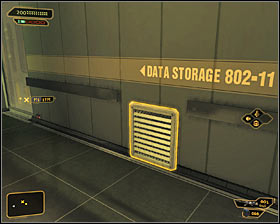 |
Go west and afterwards turn south. Also in this case you have to reach the closed door #1. It has a single level 3 electronic lock. You can humbly solve the hacking mini-game or take a look around the area for a ventilation shaft entrance #2. The mentioned shaft will take you to the last corridor.
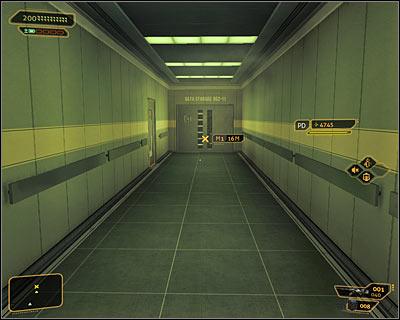
All the paths described above lead to the same place, i.e. the corridor going west (screen above), towards the Data Storage 802-11.
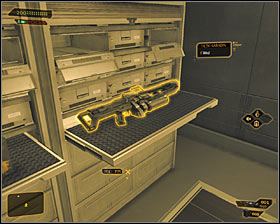 | 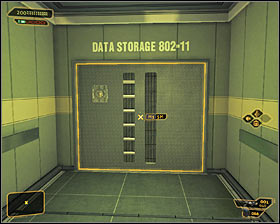 |
Head west, but be sure to check out the south storeroom #1. Take the heavy rifle, even if your gameplay style doesn't involve direct combat. The reason is quite simple, as in just a while you will have to fight with a new boss. Regenerate health and batteries, save your game, choose a good weapon and eventually try to open the marked door #2.
Reward: 1750 EXP + 750 EXP for staying undetected.
Notice! The description of further actions can be found in Step 10 (Defeating Yelena Fedorova).
- Deus Ex: Human Revolution Game Guide
- Deus Ex Human Revolution: Game Guide
- Deus Ex Human Revolution: Canada
- Deus Ex Human Revolution: Confronting Eliza Cassan
- Deus Ex Human Revolution: Introduction Confronting Eliza Cassan
- Deus Ex Human Revolution: Reaching room 404
- Deus Ex Human Revolution: Peaceful solution Getting out of the ambush
- Deus Ex Human Revolution: Aggressive solution Getting out of the ambush
- Deus Ex Human Revolution: Peaceful solution Reaching the staircase at the back of the studio
- Deus Ex Human Revolution: Aggressive solution Reaching the staircase at the back of the studio
- Deus Ex Human Revolution: Peaceful solution Reaching the funicular
- Deus Ex Human Revolution: Aggressive solution Reaching the funicular
- Deus Ex Human Revolution: Peaceful solution Summoning the funicular
- Deus Ex Human Revolution: Aggressive solution Summoning the funicular
- Deus Ex Human Revolution: Peaceful solution Reaching the main area of the basement
- Deus Ex Human Revolution: Aggressive solution Reaching the main area of the basement
- Deus Ex Human Revolution: Peaceful solution Reaching the staircase
- Deus Ex Human Revolution: Aggressive solution Reaching the staircase
- Deus Ex Human Revolution: Reaching the sub-basement
- Deus Ex Human Revolution: Peaceful solution Reaching room 802-11
- Deus Ex Human Revolution: Aggressive solution Reaching room 802-11
- Deus Ex Human Revolution: Defeating Yelena Fedorova
- Deus Ex Human Revolution: Reaching the helipad
- Deus Ex Human Revolution: Confronting Eliza Cassan
- Deus Ex Human Revolution: Canada
- Deus Ex Human Revolution: Game Guide
You are not permitted to copy any image, text or info from this page. This site is not associated with and/or endorsed by the developers and the publishers. All logos and images are copyrighted by their respective owners.
Copyright © 2000 - 2026 Webedia Polska SA for gamepressure.com, unofficial game guides, walkthroughs, secrets, game tips, maps & strategies for top games.
