Deus Ex Human Revolution: Peaceful solution Reaching the main square
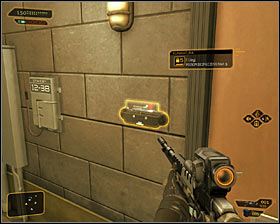 | 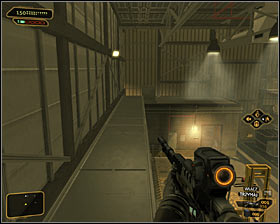 |
Your exploration of the facility starts in the southern part of the map, specifically in the capsules warehouse. Before leaving this place, it would be good to explore a small storage room in the north-western part of this warehouse. You can get inside in two ways and more difficult one is to hack an electronic, fifth security level lock #1. Instead of this, you might explore the south-western part of the warehouse and jump onto upper shelves #2. It will let you reach a small air vent in the roof of the storage room.
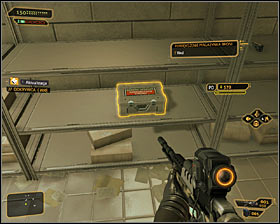 | 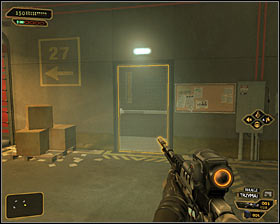 |
Inside the storage room you'll find first of all a valuable weapon upgrade #1 - take it of course. Now you can return to a start place. An exit from the warehouse is located in its south-eastern part #2.
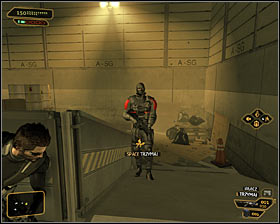 | 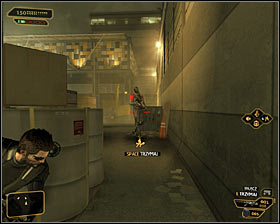 |
Once you're outside, take a look at guards here. If you use a camouflage (the Glass-Shield Cloaking System augmentation) you can bypass them. Otherwise it would be good to wait until they finish their conversation and split up. Stun the enemy who appears on the southern ramp #1 and then take care of his buddy, who patrols an area north from here #2. Examine both bodies, finding a PDA with a code.
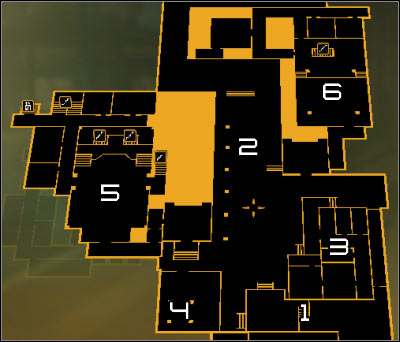
Map legend: 1 - Stairs leading to the main square; 2 - Defensive turret; 3 - Security building; 4 - Jam device; 5 - Bio-Mech Lab; 6 - Micro-Gen Lab.
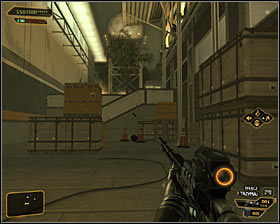 |  |
Head now north and the turn west using the stairs #1. Eventually you should reach the large square #2 and now you have to plan your further actions:
- If you want to explore the area, read further;
- If you do not want to secure the area, and just want to find a jammer in order to switch it off, scroll down to the description of Step 2;
- If you do not want to secure the area, and just want to get to first of kidnapped scientists (without completing a secondary mission objective), scroll down to the description of Step 3.
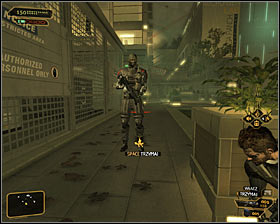 | 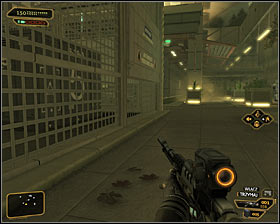 |
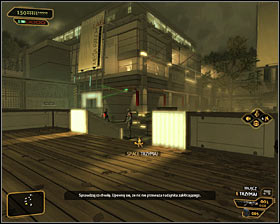
If you keep reading, I assume that you would like to secure the entire square, before you continue you action. Wait until guards split up and neutralize the one, who stops at the western fence #1. After that, pull away his body to some secluded place. Carefully head north, avoiding the line of sight of the defensive turret #2. Watch also out for the security camera.
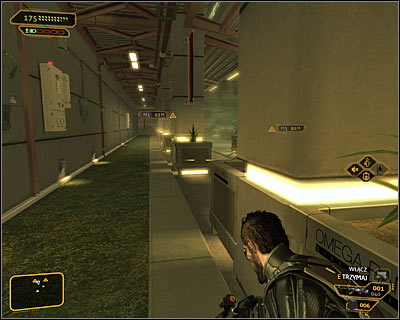
Now you have to head north, because this is the only way to get to previously mentioned security turret's rear. Do not walk through the main square, but instead use pillars of the western building as covers (screen above).
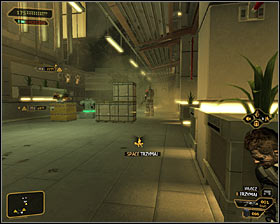 | 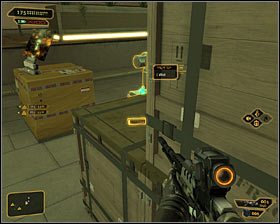 |
Move between covers until you'll get behind the defensive turret and a guard standing there #1. Place yourself behind crates, take a PDA with a code #2 and wait until second, heavily armored guard moves south. Additionally, you have to watch out for another guard, patrolling an area near to the entrances to two eastern buildings. Be sure that he won't see you.
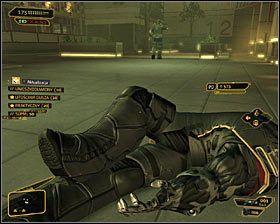 | 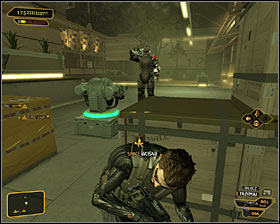 |
Wait until mentioned guards go away and stun a guard standing here #1 - quickly pull his body behind crater or somewhere to the north. Stand again against crates #2 and wait until guards will head south.
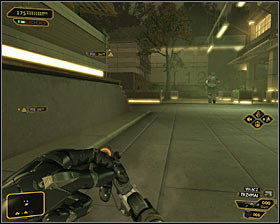 | 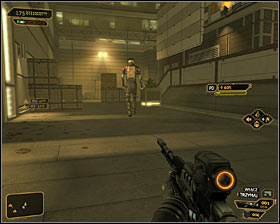 |
Move quickly to the south east, staying close to the eastern building wall #1, so you should be noticed by a defensive turret. Stun enemy there, who should stop at the entrance to the eastern building #2. After stunning him, pull away his body to some secluded place fast.
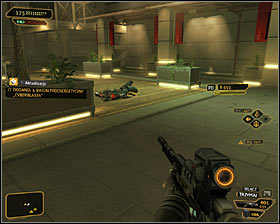 | 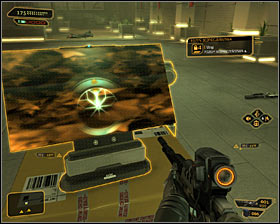 |
There is only on remaining enemy to be stunned - he patrols the main square and it would be good to use a paralyzing weapon now (remember that the turret will not react "seeing" guard's body) #1. If you want to disable the turret, you have to go back carefully there and locate a computer terminal #2 with fourth security level lock. Fortunately after hacking into system you'll be able not only to disable the turret (you need the Turret Domination augmentation), but also a local robot (you need the Robot Domination augmentation). If a mini hacker game is too difficult for you, you can solve this problem in another way, for example by moving the turret (you need the Move/Throw Heavy Objects augmentation) to the other place and placing it frontally to the building wall.
Note! A description of further actions can be found in the description of Step 2 (Disabling the signal jammer).
- Deus Ex: Human Revolution Game Guide
- Deus Ex Human Revolution: Game Guide
- Deus Ex Human Revolution: Singapore
- Deus Ex Human Revolution: Rescuing Megan and Her Team
- Deus Ex Human Revolution: Introduction Rescuing Megan and Her Team
- Deus Ex Human Revolution: Peaceful solution Reaching the main square
- Deus Ex Human Revolution: Aggressive solution Reaching the main square
- Deus Ex Human Revolution: Disabling the signal jammer
- Deus Ex Human Revolution: Peaceful solution Finding Declan Faherty
- Deus Ex Human Revolution: Aggressive solution Finding Declan Faherty
- Deus Ex Human Revolution: Peaceful solution Finding Nia Colvin
- Deus Ex Human Revolution: Aggressive solution Finding Nia Colvin
- Deus Ex Human Revolution: Peaceful solution Finding Eric Koss
- Deus Ex Human Revolution: Aggressive solution Finding Eric Koss
- Deus Ex Human Revolution: Peaceful solution Uploading a virus to the security computer
- Deus Ex Human Revolution: Aggressive solution Uploading a virus to the security computer
- Deus Ex Human Revolution: Reaching the underground bunker
- Deus Ex Human Revolution: Defeating Jaron Namir
- Deus Ex Human Revolution: Finding Megan Reed
- Deus Ex Human Revolution: Opening the hangar door
- Deus Ex Human Revolution: Reaching the Leo shuttle
- Deus Ex Human Revolution: Rescuing Megan and Her Team
- Deus Ex Human Revolution: Singapore
- Deus Ex Human Revolution: Game Guide
You are not permitted to copy any image, text or info from this page. This site is not associated with and/or endorsed by the developers and the publishers. All logos and images are copyrighted by their respective owners.
Copyright © 2000 - 2026 Webedia Polska SA for gamepressure.com, unofficial game guides, walkthroughs, secrets, game tips, maps & strategies for top games.
