Deus Ex Human Revolution: Getting inside the police station
In order to get to the morgue you have to get inside the police station first. Theoretically you can think that the main entrance is the best choice, but a game will allow you only to explore a small part of the lobby. Getting inside can be done in three ways:
- Convincing a policeman in the lobby to pass Jensen inside - This is far the best solution, because in this way you'll get and access to the whole police station (with some exceptions), including the morgue. You will not have to sneak or fight anyone.
- Use the passage on the sewers side - You should choose this solution when you've failed with convincing the policeman in the lobby to pass Jensen inside the police station. Your exploration of the police station will luckily start near the morgue, so you only have to bypass few electronic security systems.
- Use passages on the outside staircases - I do not recommend choosing this option even when you've failed with convincing the policeman in the lobby. The reason is simple - you would start exploring the police station on the second or third floor and you would have to reach the basement.
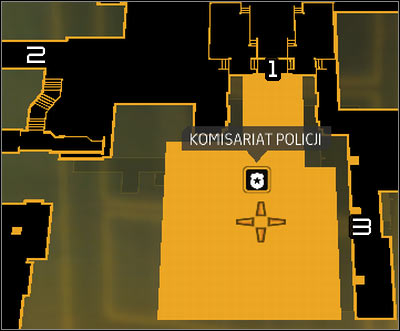
Map legend: 1 - Main entrance to the police station; 2 - Descend to the sewers; 3 - Outside staircases.
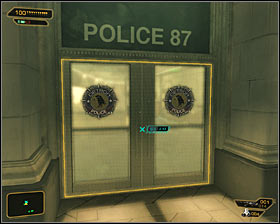 | 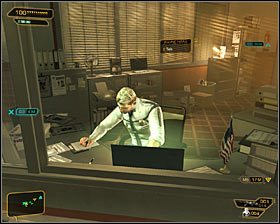 |
As already mentioned, a first option is to talk to the policeman in the lobby. So use the main entrance to the police station #1, and once you're inside approach a place occupied by Wayne Haas #2. It is worth to save a game before starting conversation because wrong actions may cut you off from entering the police station with this method.
Reward: 100 experience points.
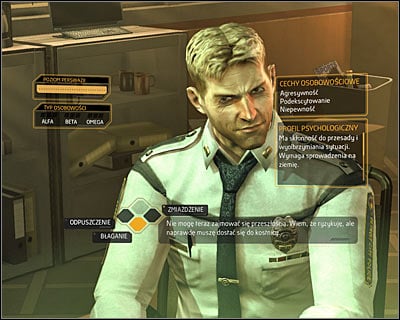
Haas and Jensen share common facts from the past - a failed action of SWAT team, after which Wayne was demoted. So you have to carry on a conversation to convince him to grant permission to main character to go to the morgue. A Social Enhancer augmentation would be very helpful here, because you could know the psychological profile of Haas and monitor the persuasion level. A proper way of conversation will make a bar changing into green, while wrong decisions make it more orange. Do not worry if you do not have augmentation mentioned above, because negotiations might be successful even without it. We can't unfortunately provide you with a proven method because despite choosing same behavior options on subsequent attempts to play negotiations, Haas may behave in very different way. So it is important to read every dialog line connected with behavior option. You must also remember about what you want to get and all negotiations have to be focused on the final effect.
You can persuade Haas by saying that he must take a risk and let you into the morgue and giving him some kind of absolution for the past events, confirming his conviction that he was not responsible for the death of teenager who was using augmentations. A final goal of conversation can be achieved by selecting Plead or Absolve behavior options. If you succeed, Haas will let you in the police station and allow you to go to the morgue. An alternative way of talking to Haas is the use of Social Enhancer to activate pheromones (Z key). You should then choose omega personality type behavior option (Crush). This would allow you to blackmail Haas and also get an access to the entire police station.
Reward: 1000 experience points (success) or 100 experience points (failure).
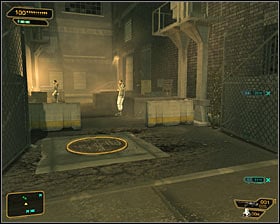 | 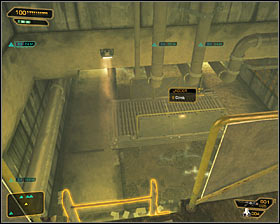 |
The second option is to get through the sewers. You can find sewers' entrance in the western part of the square in front of the police station. Find an interactive tile #1, move it and go down the ladder. Once in the sewers, save the game and that's because you'll come up with enemies soon. Go ahead reaching another ladder #2 after a while.
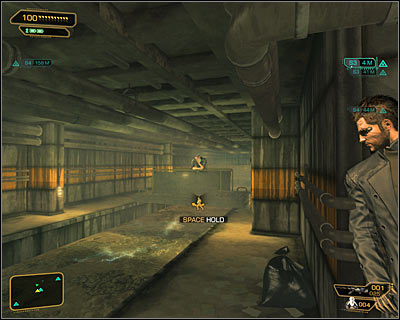
Make sure not to fall down from any of the catwalks, because contact with water will end badly for the protagonist. A first enemy awaits you right around the corner. If you prefer to act from hiding, just lean out for a moment to shoot him with stun weapon or use the camouflage to bypass him and attack him by surprise. If you prefer open fight just shoot him up but be prepared to fight his buddies who will show up soon.
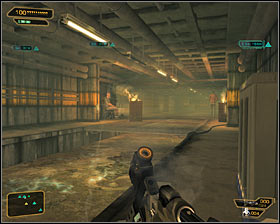 | 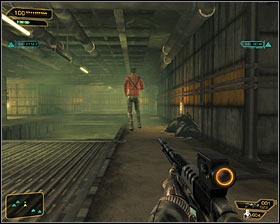 |
There are two more opponents around the corner. If you prefer to act from hiding, use a camouflage or shoot a bandit #1 on the left with stun weapon and quickly attack his colleague from behind #2. If you have nothing against "traditional" fights, your opponents are probably dead till now. If now, wait until they stand close to each other and shoot them.
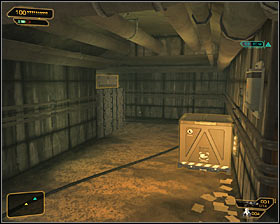 | 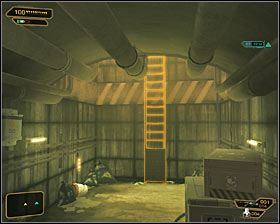 |
Go south and turn west when it is possible #1. You should reach a ladder #2 after few moments - use it.
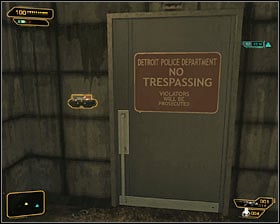 |  |
Approach an electronic lock #1. It has third security level but do not stress too much because you can use ready-made combination - 2599. This code can be obtained from a woman named Letitia for example, who can be met right after leaving Sarif Industries building #2. After passing the door you'll find yourself on the level -2 - the same, where the morgue is located.
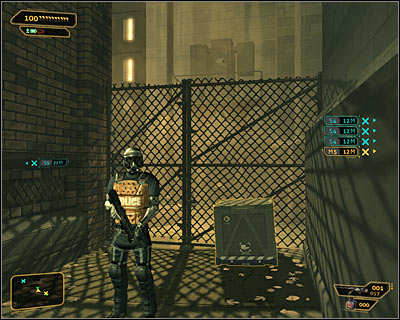
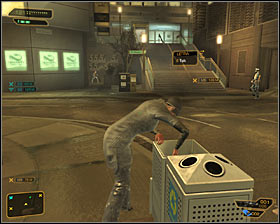
A third option is to use an external staircase on the back of the police station. So first you have to get there. If you have an augmentation to improve your hero's jumping (Jump Enhancement), just look around for an interactive crate. Pick it up and move it near the closed gate located east of the police station entrance (screen above). Jump onto the crate and then jump over the fence easily.
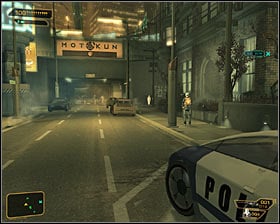 | 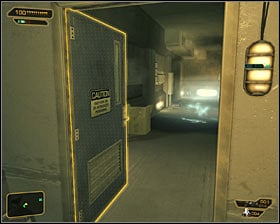 |
If you have an augmentation making Jensen immune to electricity (EMP Shielding), you can also choose a faster way to your destination. Just go east of the main police station entrance #1. Look for southern door and you'll find yourself in the corridor with electric field #2. Warning! Do not try to walk this way without an augmentation mentioned previously, because it will end with death of main character!
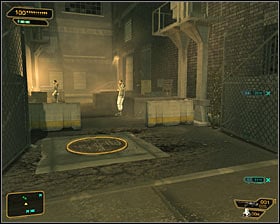 | 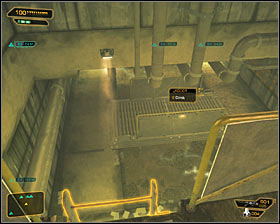 |
If you can't use any of augmentations mentioned above, you have to go through the sewers. In order to do this, examine an alley in the western part of the square and find an interactive tile #1. Move it and go down the ladder. Once in the sewers, save the game and that's because you'll come up with enemies soon. Go ahead reaching another ladder #2 after a while.
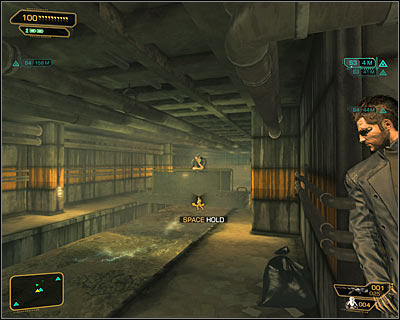
Make sure not to fall down from any of the catwalks, because contact with water will end badly for the protagonist. A first enemy awaits you right around the corner. If you prefer to act from hiding, just lean out for a moment to shoot him with stun weapon or use the camouflage to bypass him and attack him by surprise. If you prefer open fight just shoot him up but be prepared to fight his buddies who will show up soon.
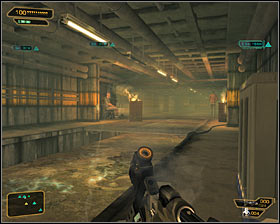 | 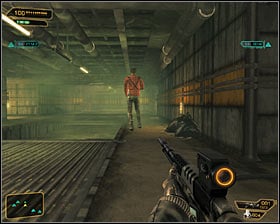 |
There are two more opponents around the corner. If you prefer to act from hiding, use a camouflage or shoot a bandit #1 on the left with stun weapon and quickly attack his colleague from behind #2. If you have nothing against "traditional" fights, your opponents are probably dead till now. If now, wait until they stand close to each other and shoot them.
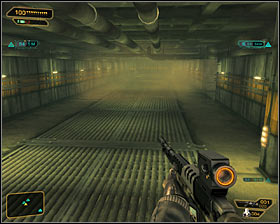 | 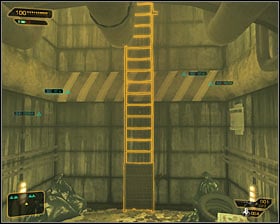 |
Go south #1. There will be no more opponents on your way, so you do not have to be careful. Locate a ladder in the southernmost part of the sewers #2 and use it, so when you reach the surface you'll find yourself directly behind the police station.
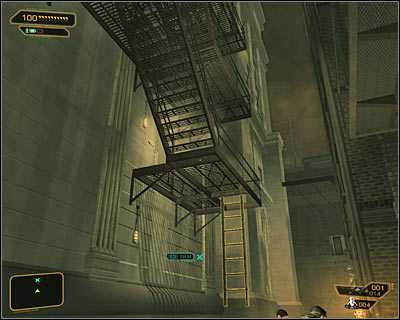
Head north. There will be a staircase to your left (screen above), and to use it you have to move any of the crates under the ladder. Now you can start climbing.
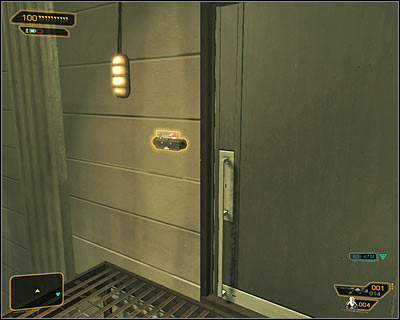
A game allows you to choose one of the two entrances. If you stop at the first door (screen above), you'll have to hack an electronic lock with second security level. Solving a mini hacker game would allow you to enter the second floor of the police station.
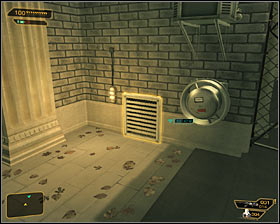 | 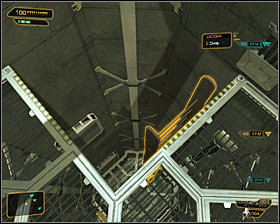 |
If you do not want to open the first door (or you can't open it), then continue climbing. After reaching the building's roof, look for an air vent entrance on your right #1. After a short walk inside a vent, you should use a ladder and get to the lower lever #2. Using the second air vent would allow you to get to the storage room located on the second floor of the police station.
- Deus Ex: Human Revolution Game Guide
- Deus Ex Human Revolution: Game Guide
- Deus Ex Human Revolution: Detroit
- Deus Ex Human Revolution: Investigating the Suicide Terrorist
- Deus Ex Human Revolution: Introduction Investigating the Suicide Terrorist
- Deus Ex Human Revolution: Getting to the police station
- Deus Ex Human Revolution: Getting inside the police station
- Deus Ex Human Revolution: Getting to the morgue
- Deus Ex Human Revolution: Examining the hacker's corpse
- Deus Ex Human Revolution: Using the home computer in Jensen's apartment
- Deus Ex Human Revolution: Investigating the Suicide Terrorist
- Deus Ex Human Revolution: Detroit
- Deus Ex Human Revolution: Game Guide
You are not permitted to copy any image, text or info from this page. This site is not associated with and/or endorsed by the developers and the publishers. All logos and images are copyrighted by their respective owners.
Copyright © 2000 - 2026 Webedia Polska SA for gamepressure.com, unofficial game guides, walkthroughs, secrets, game tips, maps & strategies for top games.
