Deus Ex Human Revolution: Peaceful solution Reaching the staircase at the back of the studio
Regardless of the chosen method of escaping the ambush, you will be contacted by Pritchard and informed that Eliza is probably hiding inside the building basement. In order to reach the basement, you will have to use the funicular. Finding it will be your next goal. To be precise, your current objective is reaching the staircase leading onto the lower level of the building.
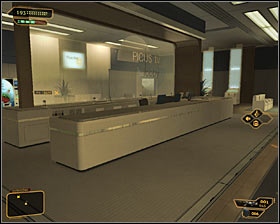 |  |
Let's start with a short summary of your actions this far. If you've used the elevator, you will begin this segment in the lobby on level 3 #1, to the east of the current mission objective.
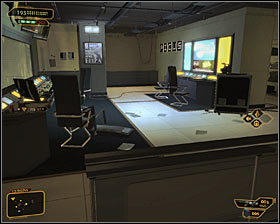
If you've jumped down the elevator shaft and went through the ventilation shafts, you will begin this segment inside the directing room on level 4 #2, so east from the objective as well.
If, despite my warnings, you've decided to break through the two walls, you will begin inside a corridor on level 3, so south of the objective (theoretically closer).
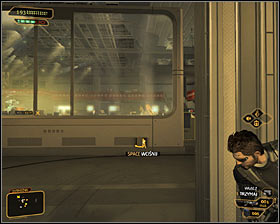 | 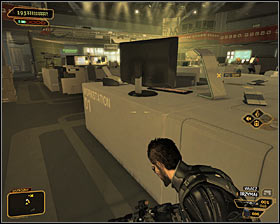 |
If you want to quickly and quietly pass through the location, you'd have to go to the central room on level 3, that is the TV studio #1. You can get there by going west from the lobby, using the stairs in the director's room to go down onto the lower level or going north of the destroyed wall. Stay cautious after reaching the location, as in the main room, apart from enemies, there's also a turret #2.
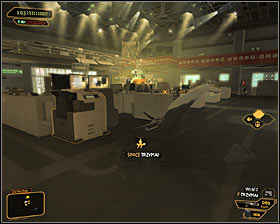 | 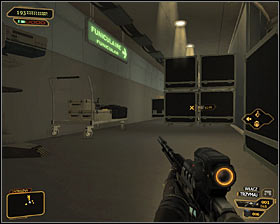 |
Keep going west #1, while sticking to the south wall of the studio and avoiding being noticed by the enemies and turrets (move between neighbouring covers, use thee Cloaking System). Your goal is to reach the lower left corner of the room #2, therefore reaching the back of the studio.
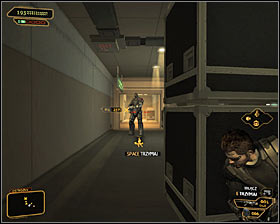 | 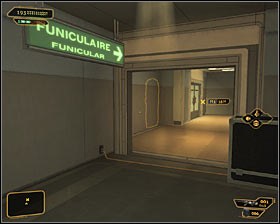 |
Turn north here and try to stay unnoticed. The exit area is patrolled by a well equipped guard #1. The best solution is to wait for him to go right and quickly head to the destination point #2. Camouflage might prove very useful for this as well.
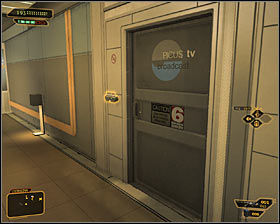 | 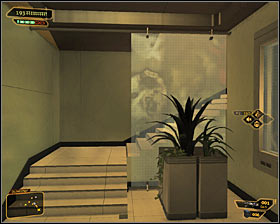 |
If you want to thoroughly search the TV studio area, you should focus on reaching the balconies on level 4. If you began in the level 3 lobby, head west and stop after reaching the first door #1 to disarm a level 2 electronic lock. After getting inside, head onto the upper floor #2 to reach the directing room on level 4, where you would begin after getting out of the ventilation shaft.
 | 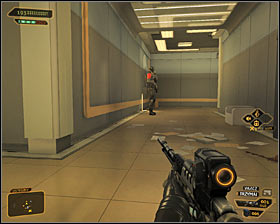 |
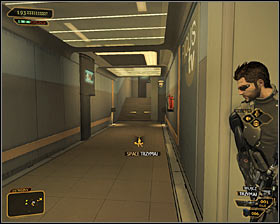
If you begin the game by the destroyed wall or don't want to get onto the balcony from the directing room's side, you can head to the south stairs leading onto level 4. You'd have to go round the biggest room in the area - TV studio - from the south #1. Look out for the single guard, who might be leaning against the wall #2.
 |  |
The southern stairs on level 4 are being monitored by a security camera #1, though you can switch it off. In order to do that, you'd have to enter the western room #2, look for a computer terminal and hack level 2 security.
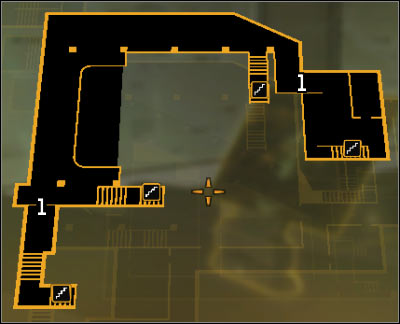
Map legend: 1 - balconies passage.
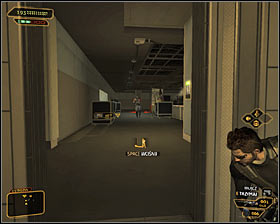 | 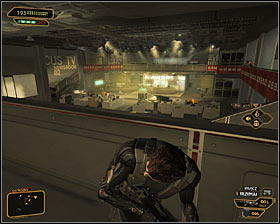 |
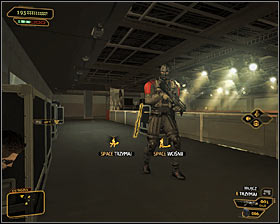
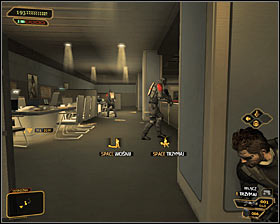
As I have mentioned before, it's worth to focus on reaching the balconies on level 4. You can jump onto them from the south #1 or east #2 side.
 |  |
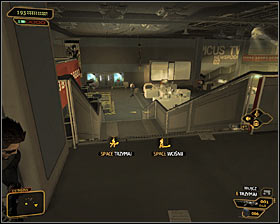
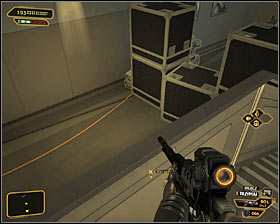
The balconies are patrolled by as many as three guards. It would be best to knock them all out, which is much easier to do by beginning from the south side. You can start off by getting rid of the single mercenary #1 and afterwards taking care of the two more #2 standing a bit further. Regardless of the chosen side you have to be careful and drag the bodies away so no one notices them.
 |  |
Stay on the balconies on level 4 and fins the east stairs leading onto the upper level of the TV studio #1. You must be careful, at the area is not only patrolled by enemies, but also monitored by a turret. Go down to around the middle of the stairs and jump over the left balustrade #2, helping yourself with Cloaking System if needed.
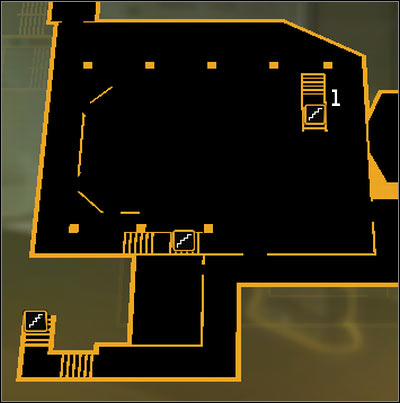
Map legend: 1 - Turret control panel.
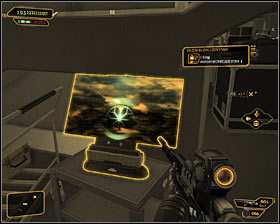 | 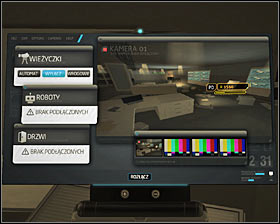 |
Find the level 2 security computer terminal hidden by the stairs #1. If you have Turret Domination, hacking into it will let you turn off the turret #2, which will make securing the main studio room significantly easier.
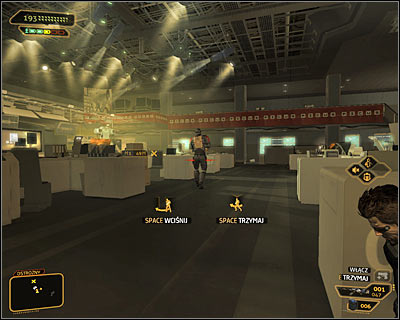
Now you can move to clearing the TV studio room (screen above). If you managed to turned off the turret it will be relatively easy, otherwise you will have to focus more on staying undetected. In such a situation, you should also consider moving the turret to the wall (Move/Throw Heavy Objects augmentation required) or eliminating the enemies only from afar. You wouldn't have to worry about moving their bodies, as the turret only search for live targets.
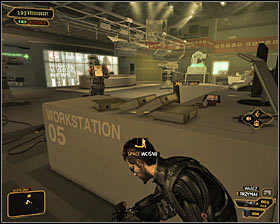 | 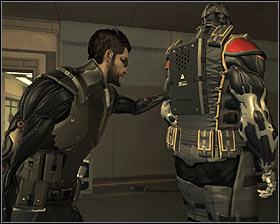 |
The middle room of the TV studio should be patrolled by four enemies. I'd suggest firstly stunning the mercenary closest to the presenters desk #1. Afterwards head to the north-east corner and - while taking the necessary precautions - eliminate the heavily armoured soldier guarding the passage to the next location #2.
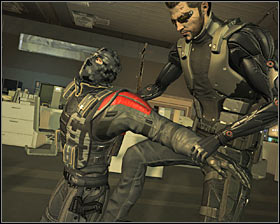 | 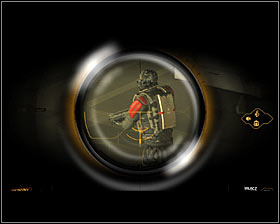 |
You should only have two enemies in the east part of the studio left to take care of #1. Unfortunately their fields of vision often cross, so it's worth to attack at least one of them from a distance #2. Afterwards make sure there's no enemy left in the area.
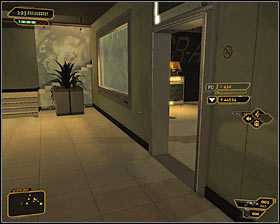 | 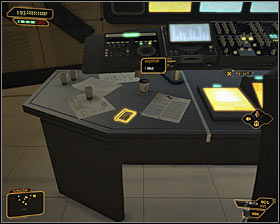 |
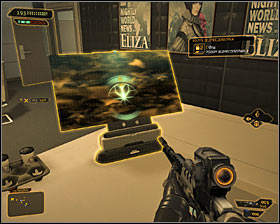
If you managed to successfully take care of the guards, you can move to exploring the whole location. I'd suggest starting with level 3. Inside the lobby beside the elevators you can find an Ebook. The directing room on level 3 (east part of the location) #1 holds an unsecured computer terminal and a palmtop #2 (login: Atresman, password: Skylark).
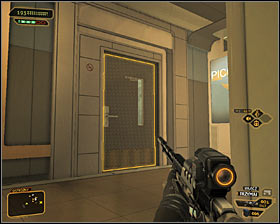 | 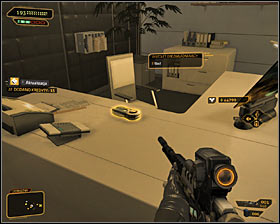 |
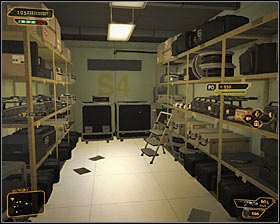
In the eastern part of level 3 you can find a small storage room #1 with a few interactive lockers inside. Another interesting place is the small office south of the main TV studio room #2. Inside you can find a Stun Gun, unsecured computer terminal and level 2 security terminal. Hacking into the second computer will let you switch off the security camera beside the nearby stairs.
 |  |
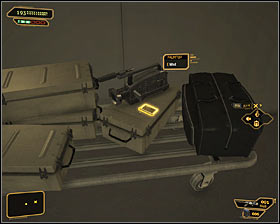
On level 4, the only place really worth of attention is the directing room #1. Find the Ebook and get inside the small storage room neighbouring the directing room #2. Here you will find, inter alia, an ammo crate and a revolver.
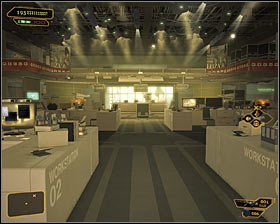 |  |
Eventually you can take a look around the level 3 main TV studio room #1, where you previously avoided enemies and a turret. At the back of the studio you will find a palmtop #2 (login: mwells, password: lavadome).
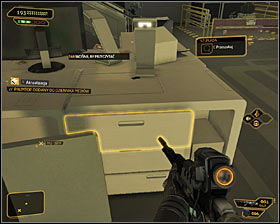 | 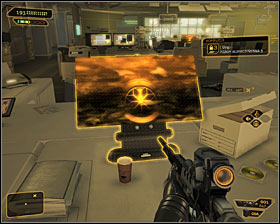 |
As for the studio itself, take some time to look into all the drawers #1. That way you will find a weapon upgrade (the drawer covered by cardboard boxes) and a palmtop (login: klighter, password: tiptree). Apart from that, you should also interact with the five computer terminals #2. Some of the computers require a password, so you can either solve the hacking mini-game or use some of the passwords you have found on the palmtops previously.
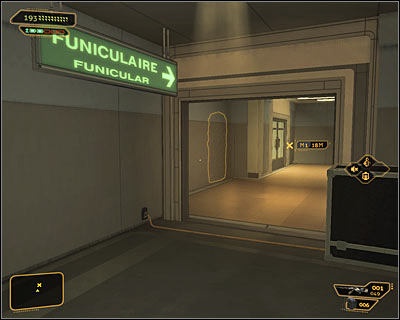
Irrespectively of the decisions made thus far, you should reach the staircase at the back of the studio (screen above).
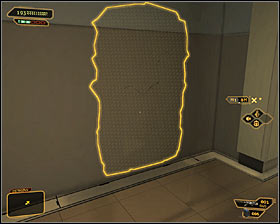 | 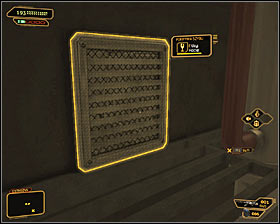 |
Here you can act in two different way. If you have the Punch Through Walls augmentation, it would be worth to destroy the left wall fragment #1. You should choose this option only if you've previously knocked out all the enemies, as otherwise you could alarm them. Use the ladder and afterwards go into the ventilation shaft #2 which will lead you to the staircase.
Reward: 2600 EXP + 750 EXP for staying undetected.
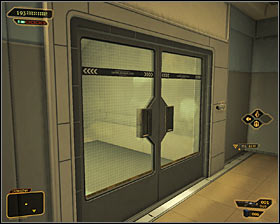 | 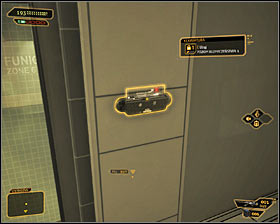 |
If you don't want or can't destroy the wall, all you have left is going to the door on the right #1. The electronic lock #2 has a mere level 1 protection, so gaining access to the staircase shouldn't be complicated.
Reward: 2525 EXP + 750 EXP for staying undetected.
Notice! The description of further actions can be found in Step 4 (Reaching the funicular).
- Deus Ex: Human Revolution Game Guide
- Deus Ex Human Revolution: Game Guide
- Deus Ex Human Revolution: Canada
- Deus Ex Human Revolution: Confronting Eliza Cassan
- Deus Ex Human Revolution: Introduction Confronting Eliza Cassan
- Deus Ex Human Revolution: Reaching room 404
- Deus Ex Human Revolution: Peaceful solution Getting out of the ambush
- Deus Ex Human Revolution: Aggressive solution Getting out of the ambush
- Deus Ex Human Revolution: Peaceful solution Reaching the staircase at the back of the studio
- Deus Ex Human Revolution: Aggressive solution Reaching the staircase at the back of the studio
- Deus Ex Human Revolution: Peaceful solution Reaching the funicular
- Deus Ex Human Revolution: Aggressive solution Reaching the funicular
- Deus Ex Human Revolution: Peaceful solution Summoning the funicular
- Deus Ex Human Revolution: Aggressive solution Summoning the funicular
- Deus Ex Human Revolution: Peaceful solution Reaching the main area of the basement
- Deus Ex Human Revolution: Aggressive solution Reaching the main area of the basement
- Deus Ex Human Revolution: Peaceful solution Reaching the staircase
- Deus Ex Human Revolution: Aggressive solution Reaching the staircase
- Deus Ex Human Revolution: Reaching the sub-basement
- Deus Ex Human Revolution: Peaceful solution Reaching room 802-11
- Deus Ex Human Revolution: Aggressive solution Reaching room 802-11
- Deus Ex Human Revolution: Defeating Yelena Fedorova
- Deus Ex Human Revolution: Reaching the helipad
- Deus Ex Human Revolution: Confronting Eliza Cassan
- Deus Ex Human Revolution: Canada
- Deus Ex Human Revolution: Game Guide
You are not permitted to copy any image, text or info from this page. This site is not associated with and/or endorsed by the developers and the publishers. All logos and images are copyrighted by their respective owners.
Copyright © 2000 - 2025 Webedia Polska SA for gamepressure.com, unofficial game guides, walkthroughs, secrets, game tips, maps & strategies for top games.
