Deus Ex Human Revolution: Peaceful solution Going through the Harvesters' hideout
Note! After reaching the missions goal and settling all issues with Sevchenko's GPL device, you'll be allowed to explore the entire hideout, without the need to avoid enemies or fight them. So do not worry if you miss some of the areas initially, because you can return to them later (it is described in Step 1 of the next main quest, Stowing Away).
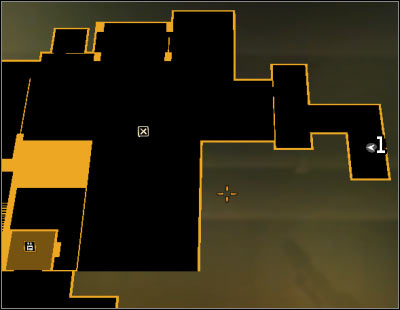
Map legend: 1 - Start place of exploration of the Harvesters' hideout on level -2.
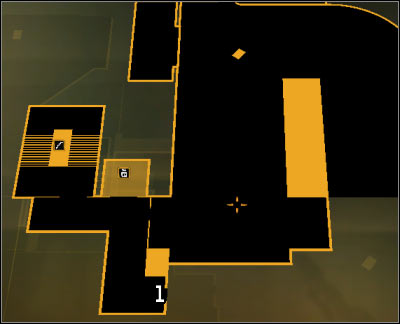
Map legend: 1 - Start place of exploration of the Harvesters' hideout on level 1.
 |  |
If you start exploration of the hideout on level -2 (the sewers' entrance), then reaching your target will take you less time and you won't have to get through upper levels. Carefully approach the west area, where two enemies are located. It would be good to wait until one of them goes away, so eliminating both Harvesters will be very easy #1 #2. Optionally you can also bypass both opponents, using your camouflage (the Glass-Shield Cloaking System augmentation).
 | 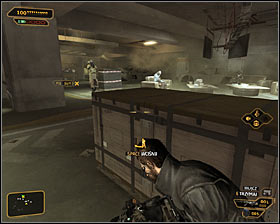 |
Head towards another large area, west from here #1. Use one of the covers and hide there #2, observing your opponents. Two of them sit on the coach and one is patrolling the area. Additionally there is one more enemy to be avoided, located in the room south from here (close to the mission's goal).
 | 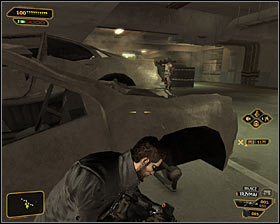 |
I suggest heading west, using covers #1. A camouflage might be helpful here, but it is not needed. After a while, start heading south and, hiding behind vehicles' wrecks #2.
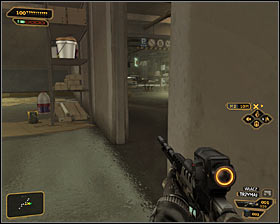 | 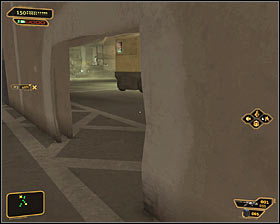 |
Eventually you have to get close to the southern area - the one with mission's goal marked on it. Watch out for previously mentioned guard and depending on your preferences, use the main entrance #1 or a small hole hidden behind boxes #2.
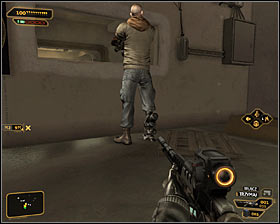 |  |
If you want, you can get rid of Harvester mentioned above #1, as well as other enemies in the area. However, as mentioned, it is not required, because the game will guarantee you the opportunity to explore the entire hideout after completing this quest. Head to the marked door #2, and watch the cut-scene.
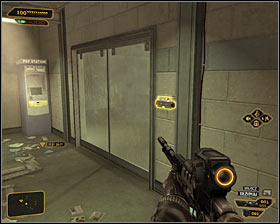 |  |
If you start exploration of the hideout on level 1 (the main entrance), then reaching your target will take much longer, because you'll have to get to level -2. A next choice awaits you after getting inside the Harvesters' hideout. A first option is to use the left staircase #1, but in order to do this you have to hack a fourth security level lock. If you manage to do this, this staircase will lead you to the door on lowest level -1, forcing you to open a third security level lock #2.
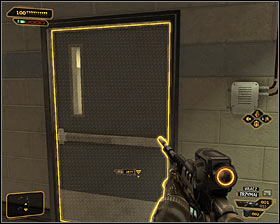 |  |
A second possibility is to use the right door on level 1 #1 leading to the main are of the underground parking. Carefully go down there and stop, because there is an active defensive turret #2 to the east.
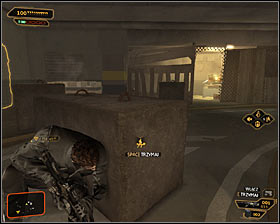 |  |
You can bypass the turret using your camouflage (the Glass-Shield Cloaking System augmentation) or use another tactics. If you are not hurry with reaching lower level, I suggest exploring the northern room #1. To get there you must of course avoid the turret, moving smoothly between covers. Once you're in small room, you can stun a sleeping guard #2 or leave him alone, while in a latter case you must be quiet of course.
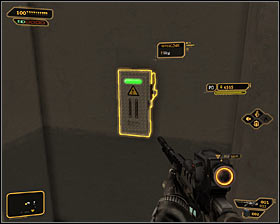 | 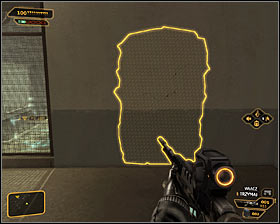 |
You have to think about how to get to level -1. First option is to use air vents. In order to do this, you would need to use a nearby switch #1 and then go back to the area with the turret. Wait until the turret turns off and destroy western part of the wall #2, using the Punch Through Wall augmentation.
 |  |
After breaking the wall quickly enter the air vent #1. After few moments you should reach a hole #2 and if you decide to jump down, you'll land in the room on level -1.
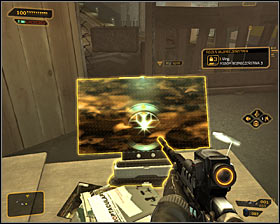 | 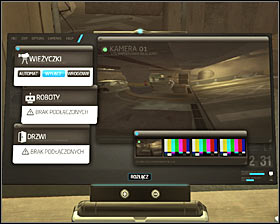 |
Another possibility is to use the main ramp leading to lower level -1 and to make this easier it would be good to disable the turret mentioned previously. To do it just stay in the room with sleeping enemy and hack into a computer terminal #1 with third security lock. Note, that the game will allow you to disable one of the security cameras #2 additionally.
 | 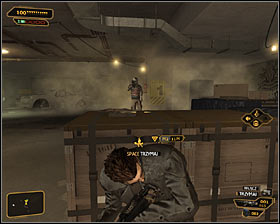 |
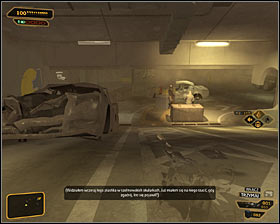
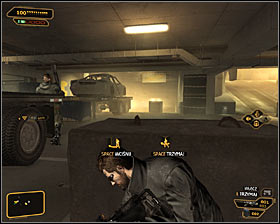
If you start exploration of level -1 after you've jumped out of the vent, then you'll find yourself in the room with many computers. I would suggest exploring the area later. Now prepare for meeting two enemies #1 #2. It is easy to stun them but more difficult to bypass them. Do not be surprised though, if they don't approach immediately - it may take some time for them to show up.
 |  |
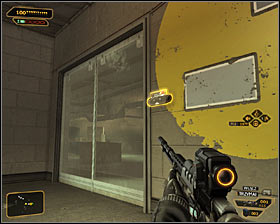
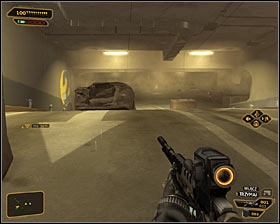
If you start exploration of level -1 after bypassing the defensive turret, you'll approach two Harvesters #1. Use wisely available covers to avoid them. This is particularly important, if you didn't disable security camera. Note, that level -1 is patrolled by another two opponents. You can bypass them #2 or try to eliminate them. In the latter case you should be very careful and take care about hiding their bodies.
 |  |
If you start exploration of level -1 near the staircase #1, then after entering the main area of the underground parking it is enough to turn left twice, avoiding all enemies. Whichever path you chose, you need to get to the ramp leading to level -2 #2. You can now scroll up to the description of this location, where you'll find a detailed guide to go through level -2.
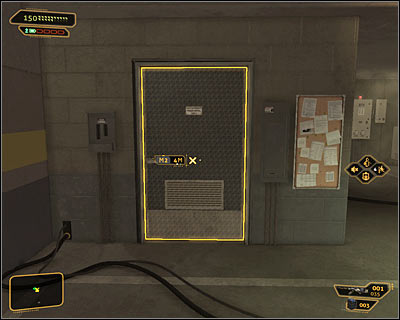
Whichever path you have chosen, you need to get to the door marked by the game, in the southwestern part of level -2 (screen above). After opening this door the game will start a cut-scene, showing your meeting with Tong Si Hung, a man you met in the Hive before. During the conversation it turns out, that Tong uses an arm of Vasili Sevchenko, killed few weeks ago and that's why the transmitter was pointing to this place. Tong will tell you that in port of Hengsha there are currently two ships of Belltower - the organization which provided Vasili Sevchenko's body. As you may easily guess, it will be the next target of your adventure, but this will be done in the next main quest, Stowing Away.
Reward: 1000 experience points.
- Deus Ex: Human Revolution Game Guide
- Deus Ex Human Revolution: Game Guide
- Deus Ex Human Revolution: Hengsha 2
- Deus Ex Human Revolution: Find Vasili Sevchenko's GPL Device
- Deus Ex Human Revolution: Introduction Find Vasili Sevchenko's GPL Device
- Deus Ex Human Revolution: Peaceful solution Getting out of the construction site
- Deus Ex Human Revolution: Aggressive solution Getting out of the construction site
- Deus Ex Human Revolution: Passing through the Kuaigan district
- Deus Ex Human Revolution: Getting a new biochip in the L.I.M.B. clinic
- Deus Ex Human Revolution: Peaceful solution Getting into the Harvesters' hideout
- Deus Ex Human Revolution: Aggressive solution Getting into the Harvesters' hideout
- Deus Ex Human Revolution: Peaceful solution Going through the Harvesters' hideout
- Deus Ex Human Revolution: Aggressive solution Going through the Harvesters' hideout
- Deus Ex Human Revolution: Find Vasili Sevchenko's GPL Device
- Deus Ex Human Revolution: Hengsha 2
- Deus Ex Human Revolution: Game Guide
You are not permitted to copy any image, text or info from this page. This site is not associated with and/or endorsed by the developers and the publishers. All logos and images are copyrighted by their respective owners.
Copyright © 2000 - 2025 Webedia Polska SA for gamepressure.com, unofficial game guides, walkthroughs, secrets, game tips, maps & strategies for top games.
