Deus Ex Human Revolution: Peaceful solution Reaching the Data Core
Important! You're getting closer to highly restricted areas and you won't be allowed to find an all-access card like you did before. This means you'll soon have to start planning your moves more carefully, especially if you want to avoid the alarms at all costs.
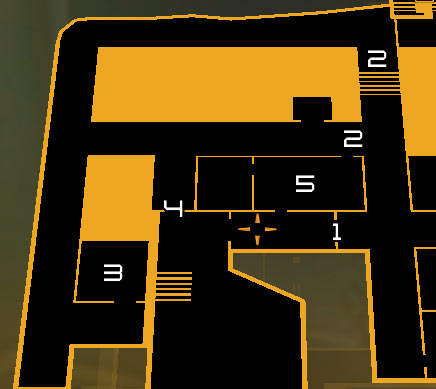
Map legend: 1 - Main entrance guarded by a soldier; 2 - Laser beams; 3 - Southern storage area (vent and a destroyable wall); 4 - Door leading to the laser room; 5 - Guard post.
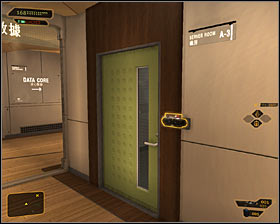 | 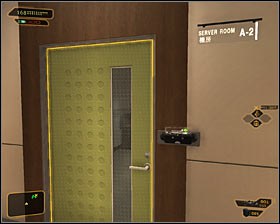 |
You'll start on the third floor and there are a couple of rooms nearby you should explore before you focus on the main objective. The door leading to Server Room A3 #1 has a level two electronic lock and if you manage to get inside you'll find a drawer and a computer terminal. Next up we have Server Room A2 #2. The good news is that you won't have to solve any mini-games when trying to get inside.
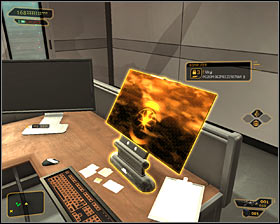 | 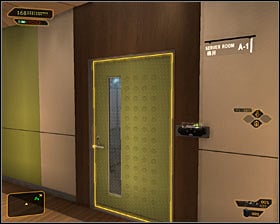 |
There's a computer terminal inside Server Room A2, but you would have to wait for one of the Tai Yong employees to leave it for a while before you would be allowed to examine it #1. The terminal has a level three protection and if you want to ensure your safety during the mini-game you should consider stunning both civilians present in the room. The last place worth of your attention is Server Room A1 #2. You can open the door without having to solve a mini-game. Look around to find a computer terminal. You should also open drawers, because one of them hides a datapad with a radium password (it's for the squan login). Exit this room and take some time to figure out how you want to complete your current mission objective.
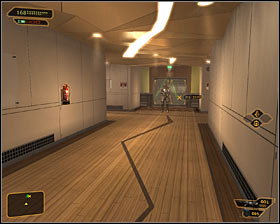 | 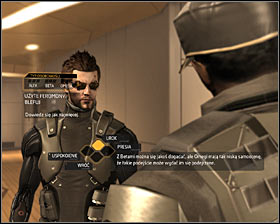 |
An attempt to approach the main entrance to the Data Core Server Room #1 will result in triggering a conversation with one of the guards. He will inform that only authorized personel can enter and you won't be allowed to bribe him. You can however use the Social Enhancer augmentation to acquire additional information. Wait until the game allows you to activate this implant, press the Z key and choose a beta type of personality #2. If you've succeeded the guard will tell you about the second security room which is designed to monitor the data core and the effectiveness of the laser beams.
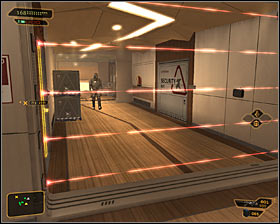 | 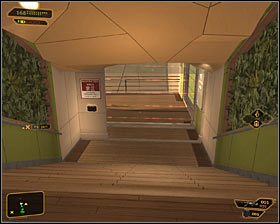 |
You may now proceed north. If you have camouflage (Cloaking System augmentation), then you will be allowed to take a shorter route by crossing the western laser beams #1 and neutralizing a single guard patrolling the corridor. If you don't have camouflage or if you don't want to take unnecessary risks, then you will have to take a longer route. In this case proceed to the north and use the stairs #2.
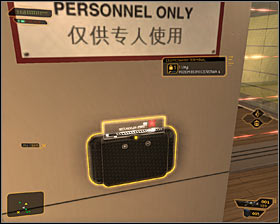 | 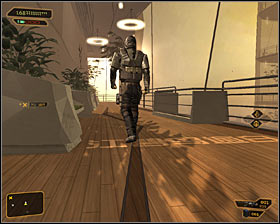 |
There are laser beams here as well, but you will be allowed to disable them thanks to a nearby security terminal with a level one protection #1. Carefully approach a nearby corridor and wait for the right moment to perform a surprise attack on the guard #2. Once he's gone head west.
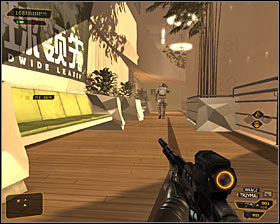 | 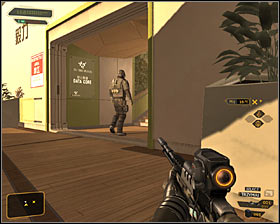 |
You'll encounter two other guards soon after the corridor turned south. Watch out for the soldier patrolling the central area. Wait for him to start moving east and then approach his colleague who should be patrolling the south-western section of the restricted zone #1. Eliminate this guard and then return for the previous one #2. Neutralizing him without any other soldiers looking his way should be much easier. Make sure to check his body, because you'll acquire a 0703 security code as a result of collecting a datapad.
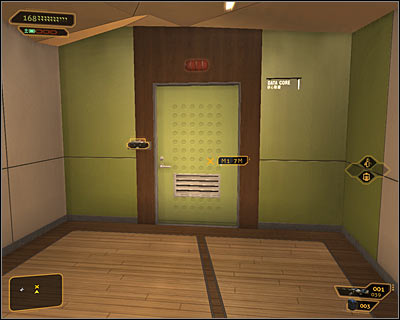
It doesn't matter how you've gotten past the first wave of security measures, because your next objective will be to reach the room filled with laser traps. The easiest solution is to find a locked door near the central corridor (screen above). You'll notice a level four electronic lock on this door, but you may as well input a recently obtained 0703 security code.
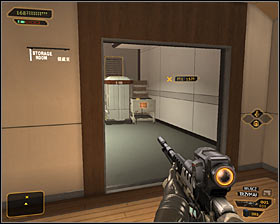 | 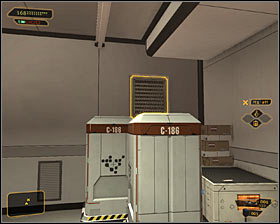 |
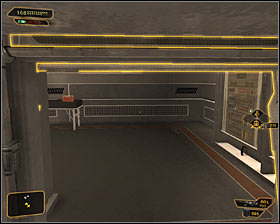
Two other methods will require you to go to the southern storage room which was being guarded by one of the soldiers #1. A more obvious choice here is to enter a shaft using a vent cover found on the wall #2.
 | 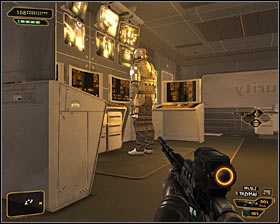 |
The ventilation shaft will allow you to get to the guard post (Security Area) #1. Approach the main room carefully and wait for the guards to finish their conversation. Notice that both soldiers are now facing the computers #2 which should make surprising and neutralizing them quietly a rather easy task. Check their bodies once they're defeated and you'll collect a new datapad (there's nothing important on it).
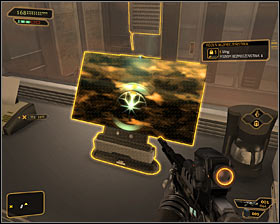 | 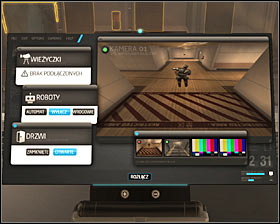 |
Use this opportunity and open the lockers found near the exit from the vents. You should also look around for an Ebook. Hack into the first computer terminal #1 with a level one protection. The terminal contains a password to the second computer - it's muonrule. Use this password (or solve a mini-game) to log in to the other terminal. Notice that you will be allowed to open a nearby door, as well as to disable cameras and a robot (only with a proper implant) #2.
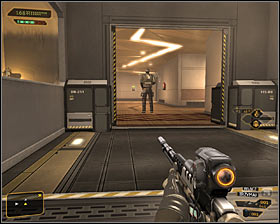 | 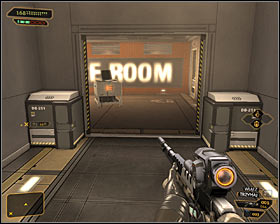 |
Exit the security room and notice that you'll now have a chance to stun the guard you were talking to before #1. It is of course optional, however it would allow you to obtain a datapad with a 9762 security code. Once you're ready choose the newly unlocked passageway #2 which leads to the laser room.
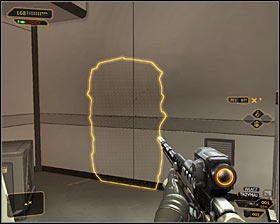 | 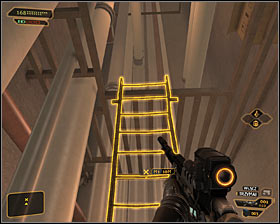 |
A less obvious choice after getting to the southern storage room is to destroy a breakable wall #1, however this of course requires a Punch Through Wall augmentation. Enter a small area once the wall has been taken down and use a ladder #2.
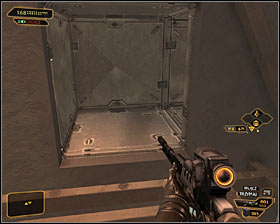 | 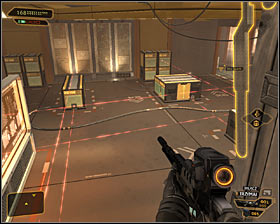 |
Enter a new ventilation shaft after using the ladder #1. The shaft will take you directly to the room with the laser traps #2.
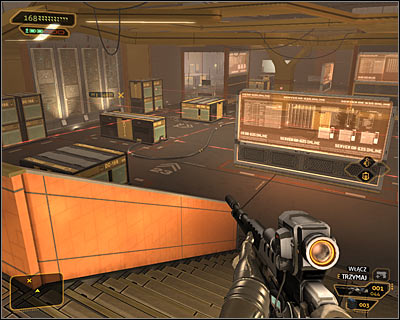
All passageways described in this step will allow you to get to the room with laser traps. Your next objective will be to make your way to the opposite end of the room in order to use a new elevator. I should warn you that it's not going to be easy to avoid the lasers, because most of them will be moving. As a result the game will force you to display a lot of patience and precision, because crossing any of the beams will mean raising an alarm.
Important! The walkthrough is continued in Step 9 (Heading through the laser room).
- Deus Ex: Human Revolution Game Guide
- Deus Ex Human Revolution: Game Guide
- Deus Ex Human Revolution: Hengsha
- Deus Ex Human Revolution: Searching for Proof
- Deus Ex Human Revolution: Introduction Searching for Proof
- Deus Ex Human Revolution: Exploring the area near the shuttle station
- Deus Ex Human Revolution: Rescuing a TYM employee
- Deus Ex Human Revolution: Reaching the cryo-sterilization room
- Deus Ex Human Revolution: Peaceful solution Travelling through the cryo-sterilization room
- Deus Ex Human Revolution: Aggressive solution Travelling through the cryo-sterilization room
- Deus Ex Human Revolution: Reaching the first elevator
- Deus Ex Human Revolution: Reaching the second elevator
- Deus Ex Human Revolution: Peaceful solution Travelling through the laboratories
- Deus Ex Human Revolution: Aggressive solution Travelling through the laboratories
- Deus Ex Human Revolution: Peaceful solution Reaching the Data Core
- Deus Ex Human Revolution: Aggressive solution Reaching the Data Core
- Deus Ex Human Revolution: Heading through the laser room
- Deus Ex Human Revolution: Searching for Proof
- Deus Ex Human Revolution: Hengsha
- Deus Ex Human Revolution: Game Guide
You are not permitted to copy any image, text or info from this page. This site is not associated with and/or endorsed by the developers and the publishers. All logos and images are copyrighted by their respective owners.
Copyright © 2000 - 2025 Webedia Polska SA for gamepressure.com, unofficial game guides, walkthroughs, secrets, game tips, maps & strategies for top games.
