Ratchet & Clank Rift Apart: Repair the Rubion Forge - walkthrough, Cordelion
This page of the Ratchet & Clank Rift Apart game guide covers the third part of the planet Cordelion walkthrough. The following walkthrough describes, among other things, how to complete the Rubion Forge in both dimensions, how to avoid the monster Juice during confrontations, how to pass the Glitch puzzle, how to disable two locks, and where to find the power source.
- Meet the Junk Bot and explore underground locations
- Escape to the other dimension
- Explore frozen station
- Glitch puzzle
- First encounter with Juice
- Disable Lock 1
- Disable Lock 2
- Return to the other dimension
- Find power source
Meet the Junk Bot and explore underground locations
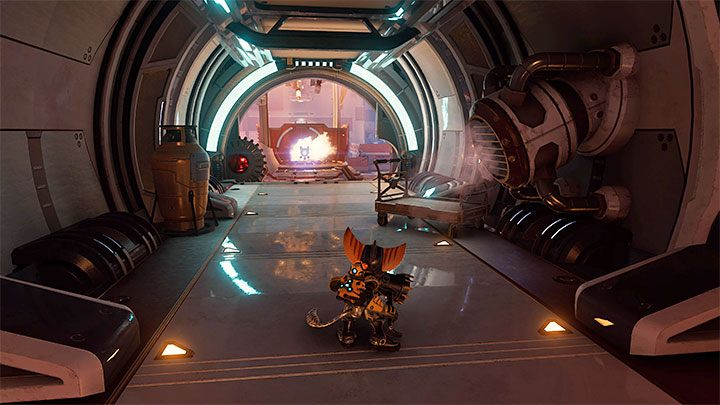
You will reach the Rubion Forge after hitting the Blizon after visiting the underground complex for the first time, which will take you from the frozen to the hot dimension (in each dimension, the layout of the underground complex rooms and their accessibility are slightly different).
After entering the first larger room, you will again encounter the Junk Bot. Heroes will outsmart the bot to get the opportunity to explore the forge.
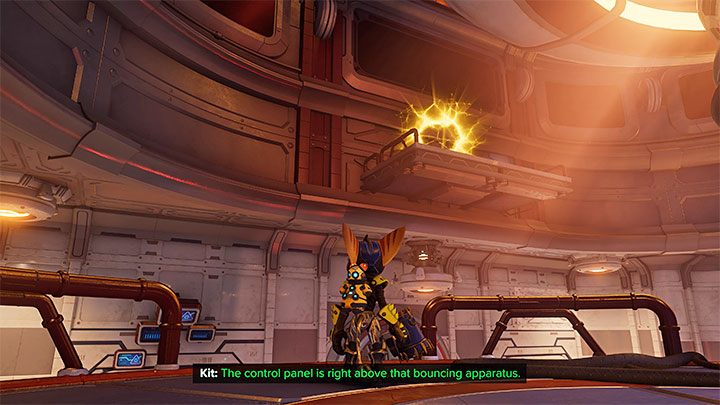
Stay for a while in the first room where you talked to the Junk Bot. Get to a higher ledge and then look up. In the place from the picture, you can pull yourself to the upper balcony, where you'll find a Spybot.
After obtaining the collectible, you can return to the lower level and interact with the large console - this will start a new cut-scene with a failed attempt to use the forge.
Escape to the other dimension
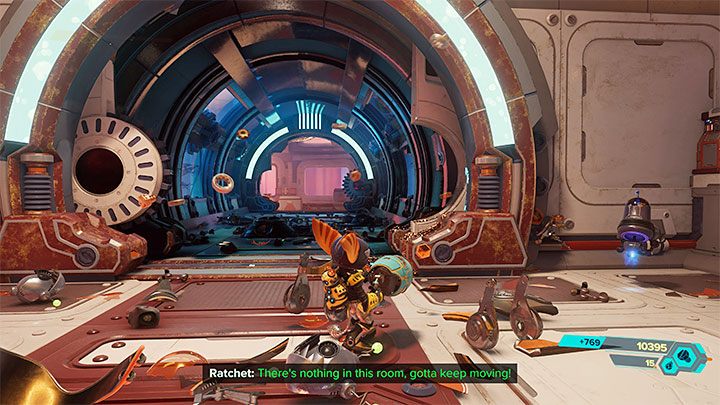
After a large explosion, Nefarious's machines will appear in the room, and you have to fight them. Take advantage of the fact that the hall is quite large - you can move around freely during fights.
Ultimately, you have to use the northern passage shown in the picture, which will allow you to explore other areas of the underground complex.
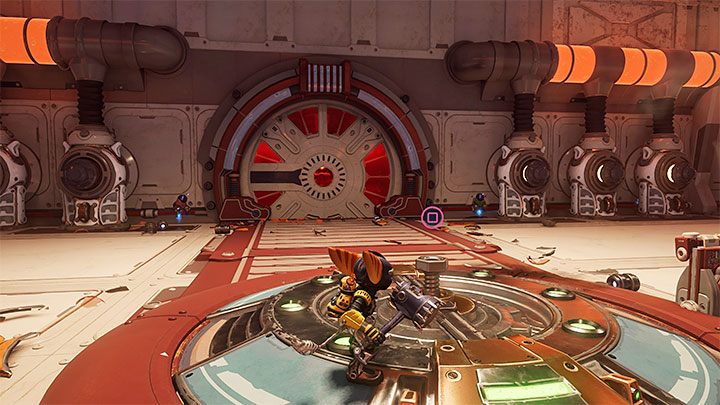
Follow the next corridors until you reach a new larger room with Nefarious's subordinates.
It is worth summoning allies and using area attacks in the upcoming battles because of the number of opponents. Ultimately locate the crank.
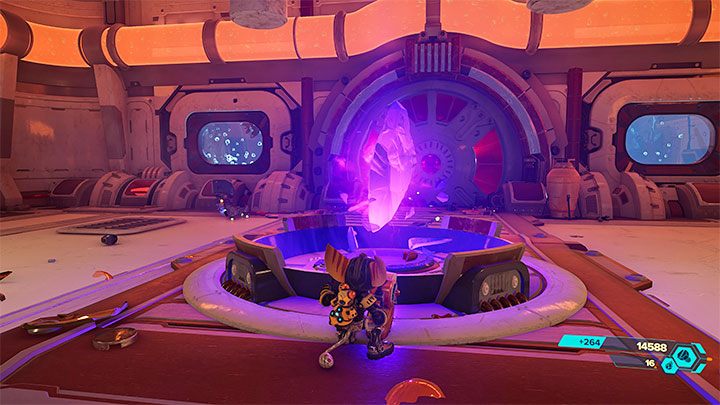
Interacting with the crank will cause the dome that shielded the nearby Blizon to rise.
New enemies will appear. You can take on the challenge to gain lots of XP and bolts, or you can run away. Ultimately, you need to hit the exposed Blizon. You will be transported to a frozen dimension, and the fighting will temporarily stop.
Explore frozen station
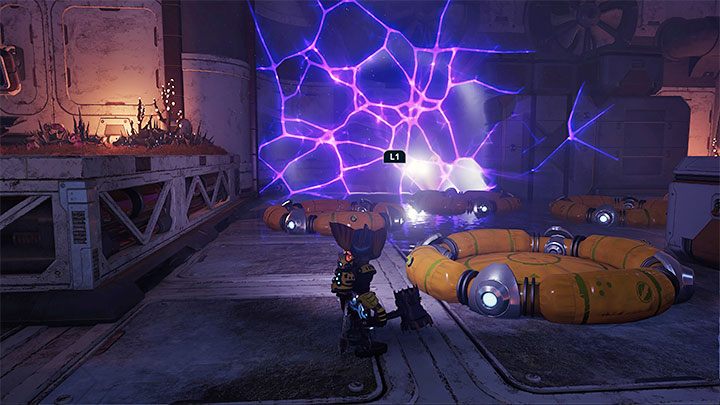
You will find yourself in a frozen, uninhabited version of Kedaro Station. Right after you start exploring it, you will come across the Pocket Dimension from the picture above. Of course, it is worth opening and exploring it - by completing the obstacle course with pontoons, you will get a piece of armour.
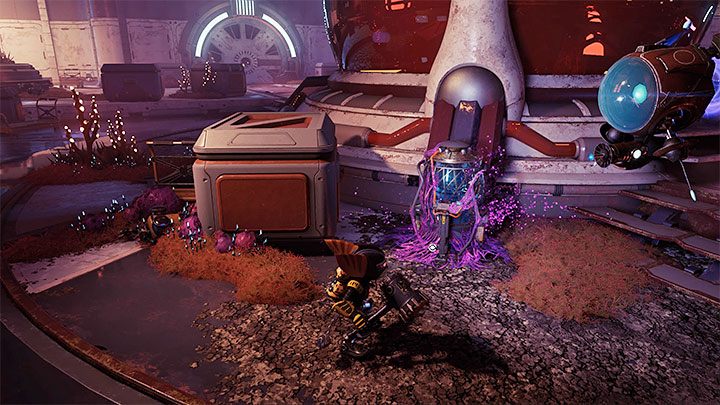
After leaving the Pocket Dimension, you will go a linear path. In the main room, you will find the infected console from the picture above - that means there is a new Glitch puzzle to complete.
Glitch puzzle
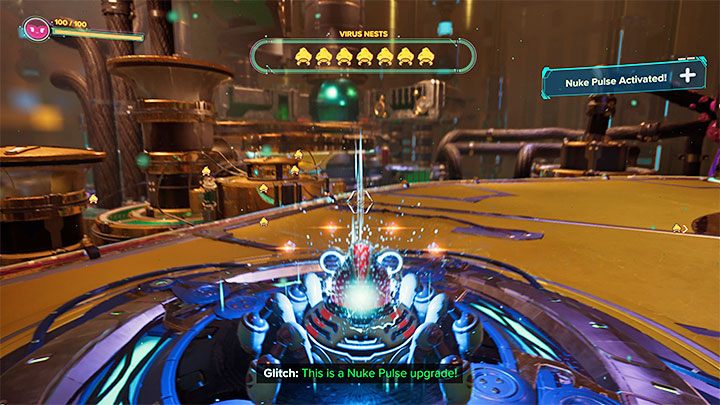
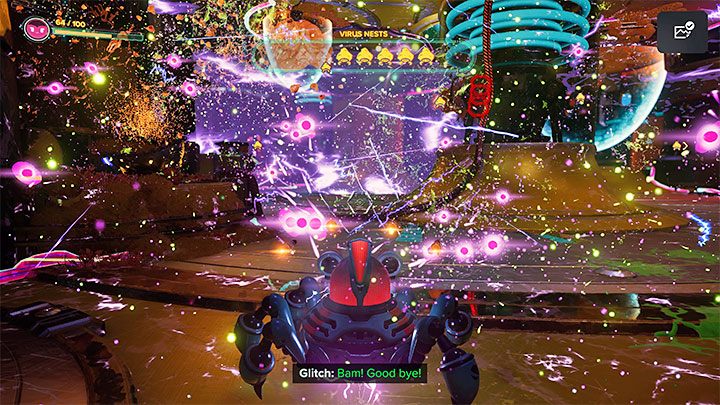
The new puzzle involving controlling Glitch (a miniature robot) is similar to the previous one from earlier missions. You have to destroy 7 Virus Nests.
Near the start, you will find the Nuke Pulse upgrade that allows you to use shockwave. It is activated with the X button (after it is charged) and can be a great way to destroy all viruses in the area. For best use of this ability, always wait until you are close to a large number of enemies and/or close to at least one virus nest before activating it.
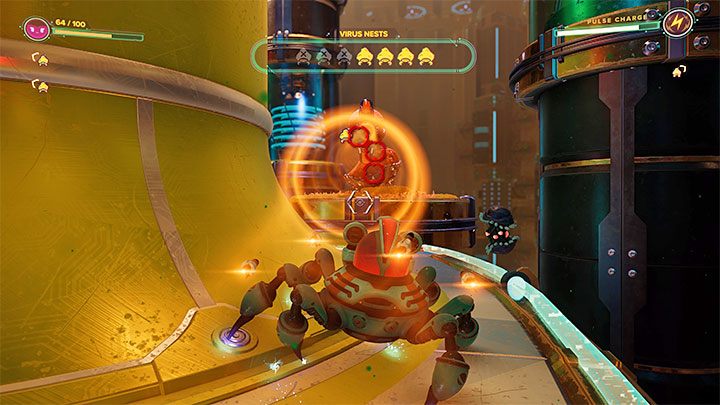
When completing this puzzle, remember three things:
- The Glitch can walk on walls and ceilings and this will sometimes be required to destroy nests,
- Virus nests may be surrounded by barriers - you have to find buttons that turn them off and stand on them,
- In addition to "regular" viruses, you will also encounter cannons - keep moving and try to destroy them after they lose their protective barriers.
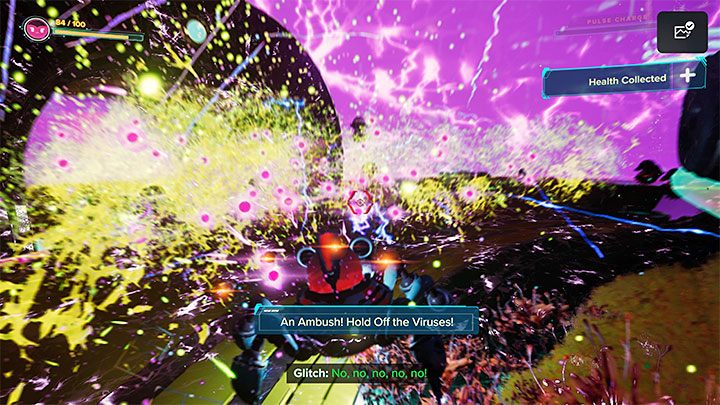
After destroying all the nests (their icons are always shown on the screen), you will learn that you have fallen into a trap. To get rid of a group of viruses, use the recently unlocked Nuke Pulse - wait until enemies get close to the Glitch and activate it.
While waiting for the pulse to recharge, keep fighting using the main cannon (R2) and the infectors (L2). While doing so, try to keep common enemies at a distance.
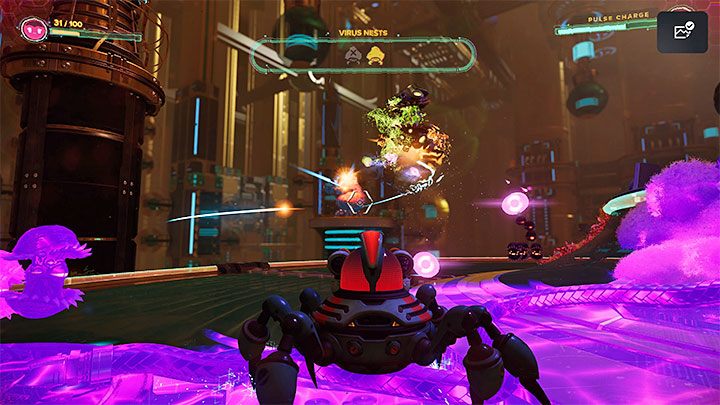
There will be two additional nests to destroy in the area - destroy them as soon as possible, as new viruses will be appearing. You can use the Pulse again, which can also destroy nests (if you are close enough to them).
Soon you will be back to controlling Ratchet.
First encounter with Juice
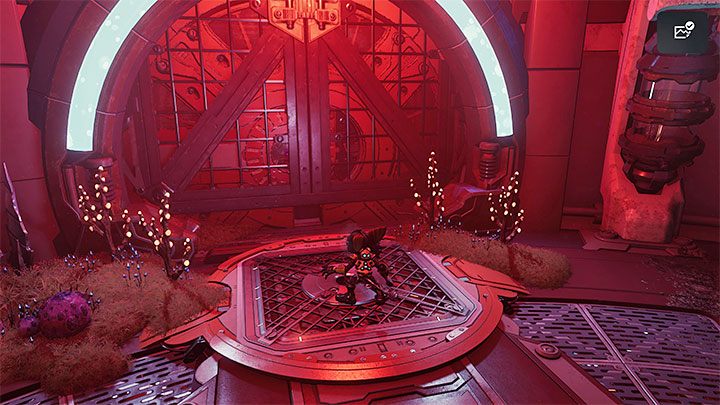
You can use the stairs leading to the Biology Division. Stand on the pressure plate and enter the new corridor when the gate rises. Head northeast next.
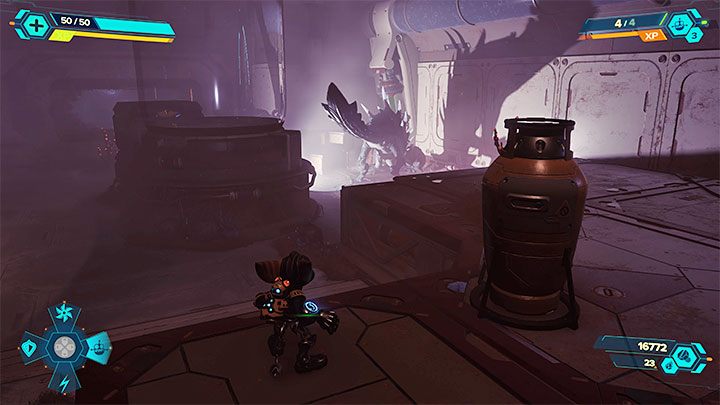
You will have your first encounter with Juice, a large creature that inhabits the underground complex. The most important information is that the Juice is immortal. Your attacks won't deal damage to the monster, so you only have two choices: to flee or distract the beast.
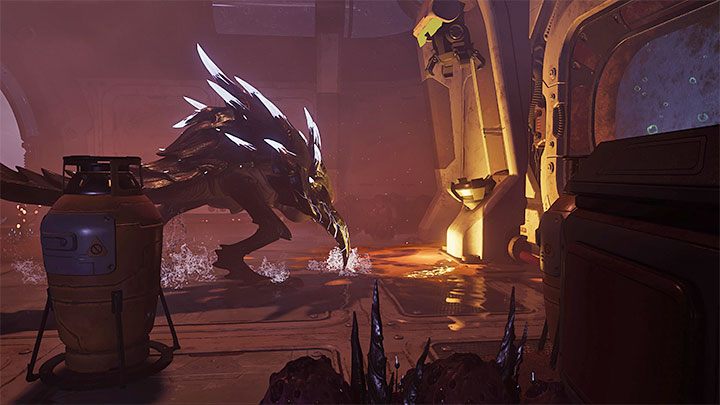
To distract the Juice, they use Jelly Canisters. After smashing the container, Juice will stop by it for a moment to eat. You won't permanently trow the beast off this way. This technique only temporarily halts the chase so that Ratchet can focus on other activities.
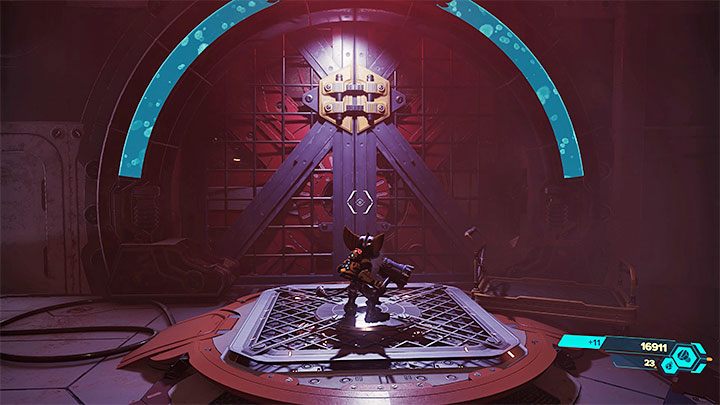
After you distract Juice with the broken Jelly Canister, stand on the next pressure plate. As soon as the passage opens, use the Phantom Dash to (temporarily) escape the monster.
Disable Lock 1
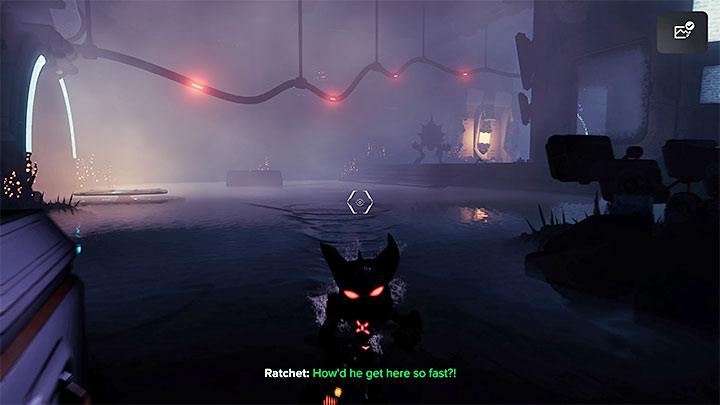
You can disable locks 1 and 2 in any order. To disable Lock 1, you have to head southwest.
Use the pressure plate. Expect Juice to appear and distract it shooting the Jelly Canister.
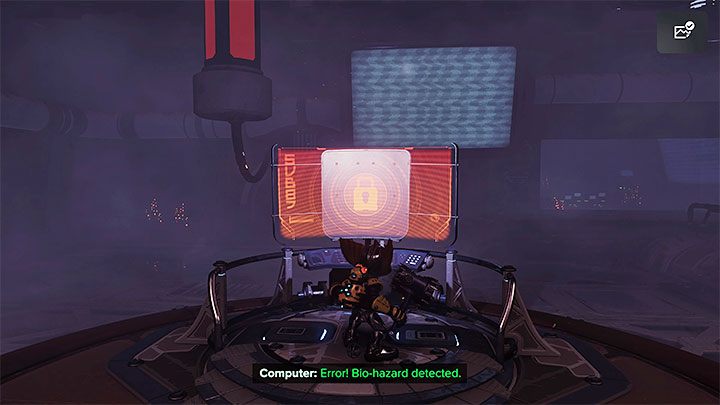
Ultimately, you have to reach the control console. A group of weak green monsters will appear when you try to use it. Deal with them, then return to the console.
Juice will also rush into the room. Keep it at a safe distance, jump over the hole created by the monster, and return to the main room.
Disable Lock 2
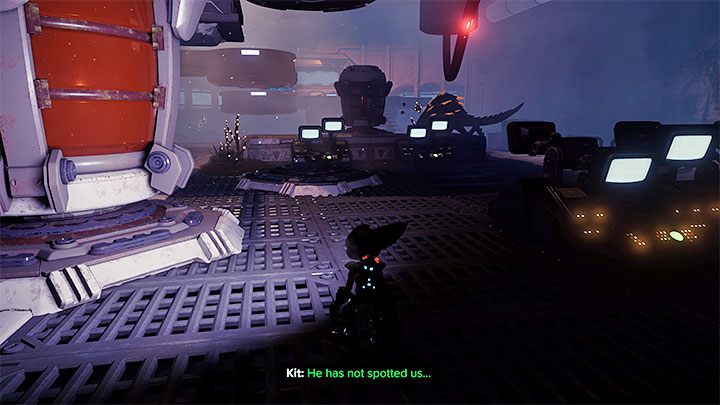
To disable Lock 2, head northeast. Unlock the room by standing on the pressure plate.
You have to avoid Juice, and you can try to sneak and stay out of the monster's field of view. If you are spotted, run, and you can additionally use Hoverboots.
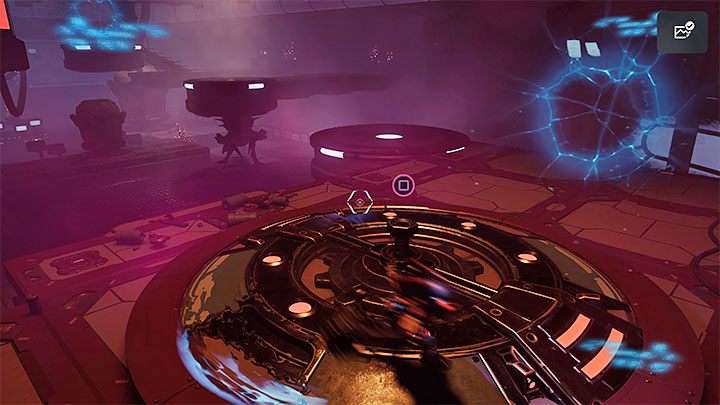
Ultimately, you have to interact with the crank from the picture above. If the Juice comes dangerously close, pull yourself to one of the nearby gaps, wait for the monster to move, and quickly return to the crank.
After removing the lock, return to the pressure plate and the middle room.
Return to the other dimension
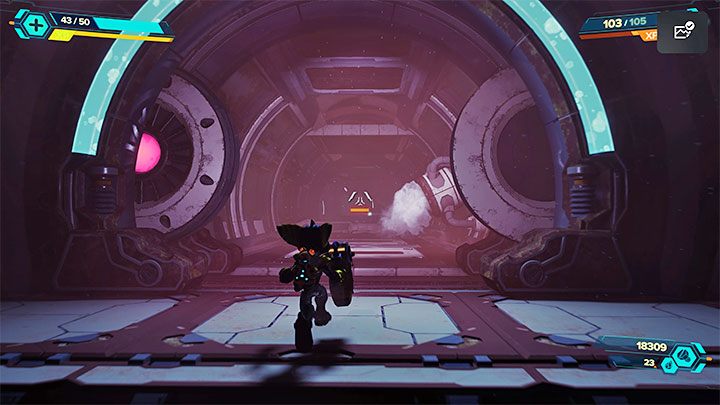
By removing the two locks in the middle room, a north passage should unlock. Use it.
Not long after you start exploring the new part of the complex, you will reach a room filled with water. No worries - you can't die here. You will explore the deep sea.
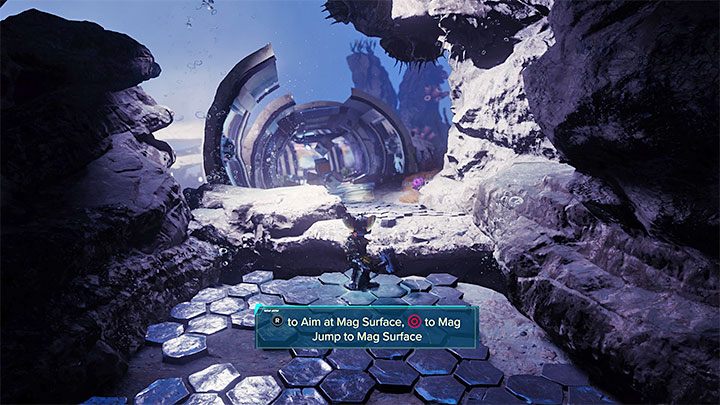
Traveling the bottom is very similar to using magnetic tracks - Ratchet will be "attached" to the ground, and you'll be able to jump to other tracks by choosing a landing spot highlighting the ground using a yellow hexagon icon. This is how you pass the first chasm.
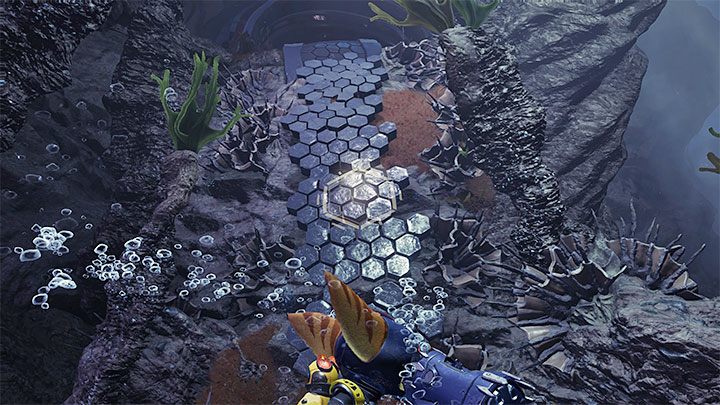
Continue going southwest and defeat the monsters you encounter. Along the way, approach a wall shown in the picture, on which you can jump and reach a higher shelf. You will find there a golden bolt hidden behind the rocks.
Ultimately, you have to reach the exit of the underwater area. After the water has been pumped out, you will return to your usual exploration.
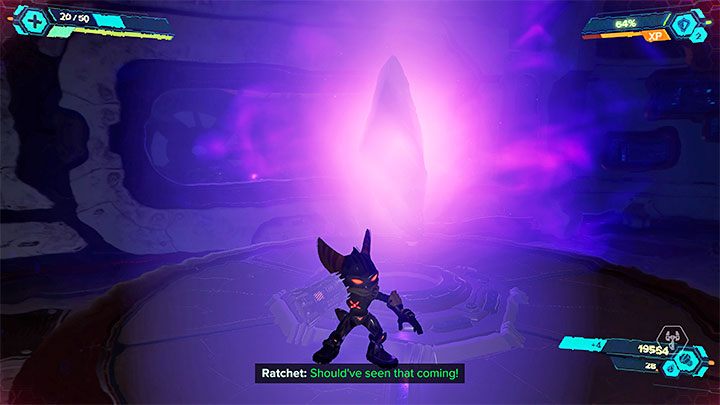
Juice will reappear and you have to respond quickly. Don't try to fight the monster, just use your Hoverboots and run to Blizon. Hitting it will end the chase and you will get back to the hot planet dimension.
Find power source
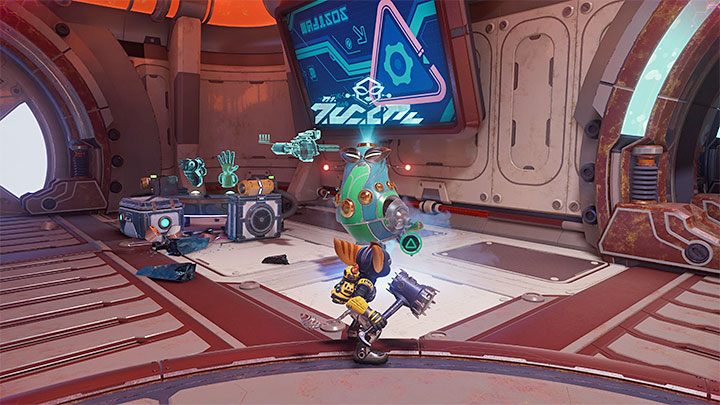
You will get to the Bioharvesting Division and at the starting point (the room with the blizon) you will meet Mrs. Zurkon. Unfortunately, the merchant will not have any new weapons in her offer, but you will get a "preview" of the weapons that will be added later.
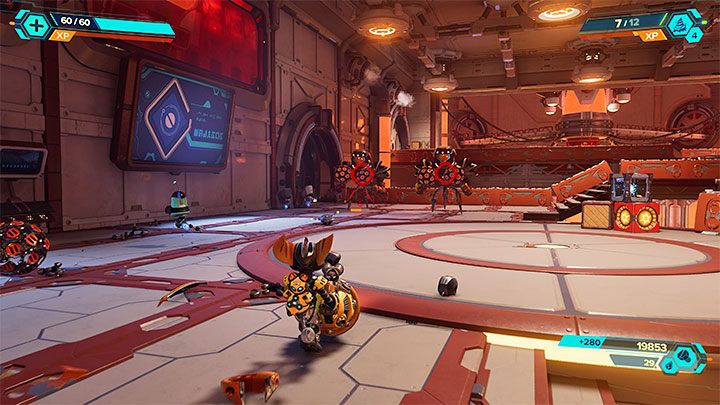
Go to the adjacent large hall where a large group of Nefarious's subordinates reside. Fight the machines and summon allies, use powerful weapons, and keep moving around.
Ultimately, you have to reach the location where Juice is imprisoned. This will advance you to the final part of the stage, which is described on the next page of the guide.
- Ratchet & Clank Rift Apart Guide
- Ratchet & Clank Rift Apart: Walkthrough
- Ratchet & Clank Rift Apart: Cordelion
- Ratchet & Clank Rift Apart: Entering Kedaro Station - walkthrough, Cordelion
- Ratchet & Clank Rift Apart: Find the Rubion Forge - walkthrough, Cordelion
- Ratchet & Clank Rift Apart: Repair the Rubion Forge - walkthrough, Cordelion
- Ratchet & Clank Rift Apart: Freeing Juice & creating Dimensionator - walkthrough
- Ratchet & Clank Rift Apart: Cordelion
- Ratchet & Clank Rift Apart: Walkthrough
You are not permitted to copy any image, text or info from this page. This site is not associated with and/or endorsed by the developers and the publishers. All logos and images are copyrighted by their respective owners.
Copyright © 2000 - 2026 Webedia Polska SA for gamepressure.com, unofficial game guides, walkthroughs, secrets, game tips, maps & strategies for top games.
