Halo Infinite: The Sequence - walkthrough
This page of the guide to Halo Infinite contains a walkthrough of the quest The Sequence - this is the main mission of the 10 campaign from investigating 4 markers and unlocking the spire.
This page of the Halo Infinite guide provides a walkthrough of the 10th main mission - The Sequence. The following walkthrough explains how to reconstruct the Forerunner sequence, what to do at the 4 Beacons as well as how to unlock access to the Command Spire.
- Enter the Pelican to embark
- Reconstruct the Forerunner sequence
- South Beacon
- Eastern Beacon
- North Beacon
- Southwest Beacon
- Enter the Command Spire
Enter the Pelican to embark
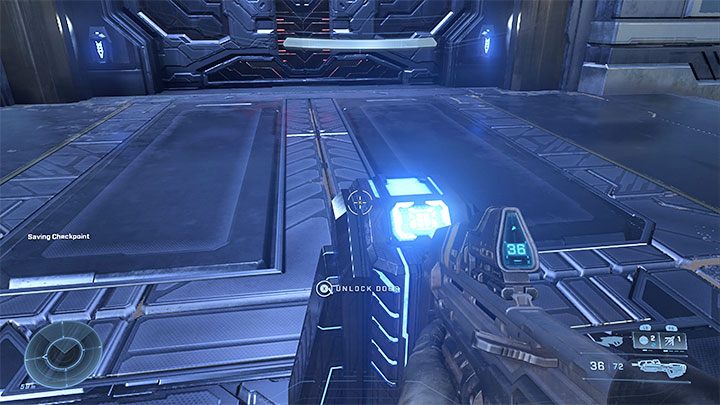
This mission begins in the Graveyards region, in which the previous mission, Pelican Down, took place. You must reach the Pelican piloted by Echo 216 and enter its hold. The Pelican will drop you off at another part of the Zeta Halo ring.
Upon reaching the site you must attempt to enter the Command Spire, but first you will have to deal with the enemies in the area. After using the terminal, you will learn about the operation failure.
Reconstruct the Forerunner sequence
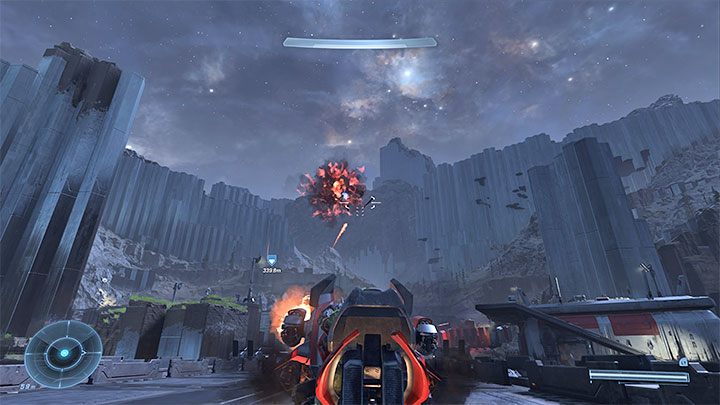
From the Weapon you will learn that you will have to examine 4 Beacons. This mission objective gives you lots of freedom. The Beacons are far away from each other and it is possible to visit them in any order. We have described them in the following paragraphs.
Before you take care of the Beacons, head west (there is an unused vehicle in the area that can facilitate your journey). Be wary of enemy flying vehicles, which you can attack, evade or try to take over (use grappleshot after they are clearly lowered). Defeat more enemies and reach the FOB Lima base, which, once you take it over, will be a good first starting point for this part of the world map.
South Beacon

The fastest way to reach the south Beacon is from the FOB Kilo base, but you can also make a longer trip from any other location.
The Beacon is guarded by an enemy tank, which is the most serious obstacle. It is advised to attack the tank either with your own vehicle (stolen or taken from the WBO base) or with any type of launcher. It is also possible to place grenades on the tank after pulling yourself closer with the use of grappleshot, but this is a risky method.
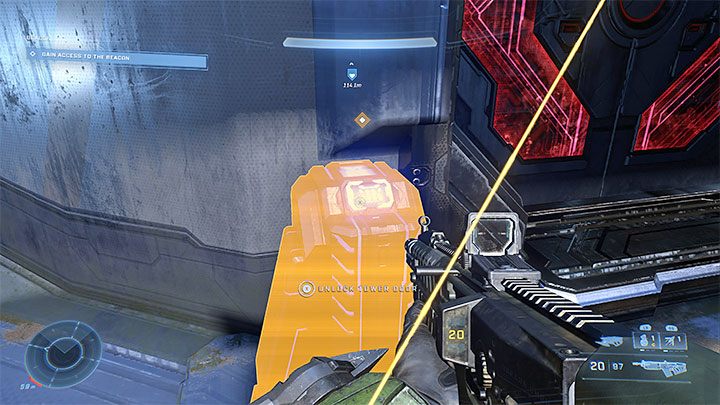
Unfortunately, you have to deal with all enemies in the area because only then will the terminal opening the entrance to the Beacon be unlocked.
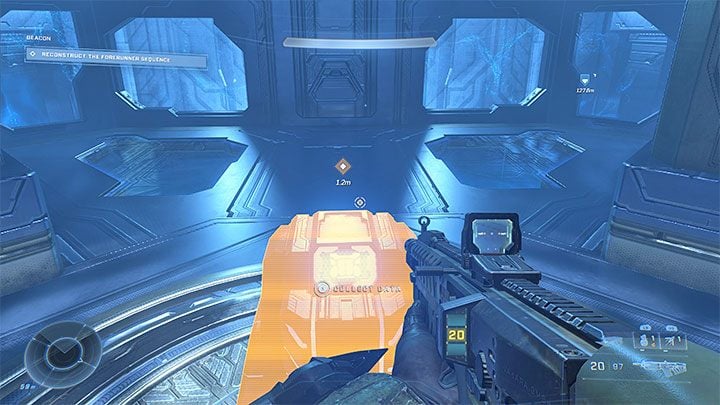
In this and each of the other Beacons you will find optional audio logs. Mission-wise, the only important thing here is to get to the data collection terminal.
Eastern Beacon
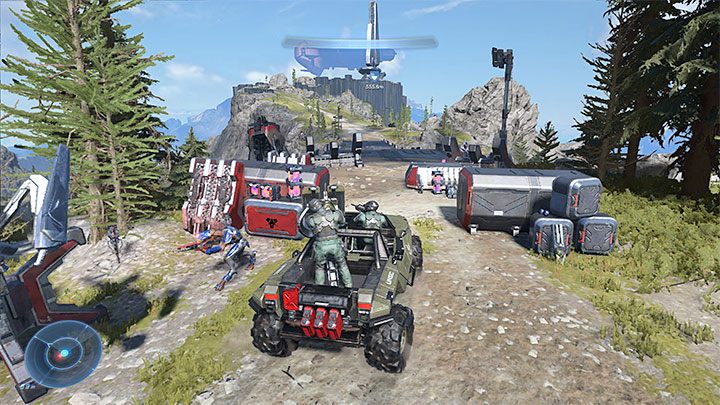
One way to reach the eastern Beacon is to start your journey at the FOB November base. If you are using a vehicle, you can follow the main roads and cross the bridge (see the picture above).
In the direct vicinity of the tower, there is a group of enemies and there are some stronger Banished among them, but there's no need to worry - those fights are not that demanding. After defeating all the Banished, open the tower and find the terminal inside the Beacon.
North Beacon
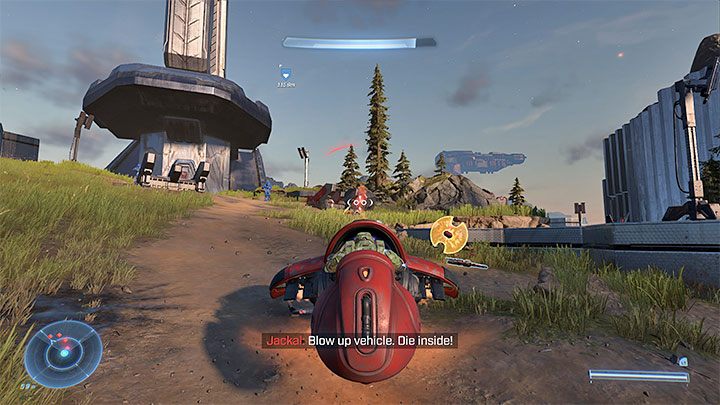
The base closest to the north Beacon is FOB Juliet. If you're having trouble reaching your target, then look for higher platform to climb it using your grappleshot.
The Beacon is guarded by enemies seated in Banshee vehicles. You can steal one of these vehicles by throwing the driver out of the cab so that you can more easily and safely attack nearby enemies. Traditionally, at the end, open the tower and get to the tower.
Southwest Beacon

As far as this tower is concerned, there is no base in the immediate vicinity. If you set off from the FOB hotel, you will have a slightly longer journey.
The fights around this tower can be difficult as there are, among other enemies, two hunters to be defeated. It may be a good idea to use a combat machine (Warthog or other) and using it to get to the Beacon along with guards so that the Marines can distract the hunters and expose their unprotected backs. For the last time, make your way to the terminal inside the tower.
Enter the Command Spire
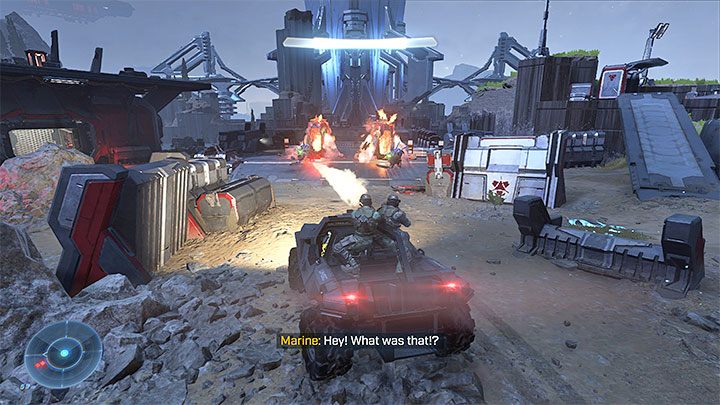
You must return to the vicinity of the Command Spire, the infiltration of which was unsuccessful at the beginning of this mission.
Expect intense battles on the way to the terminal - you will face hunters as well. A good tactic would be to take a manned combat vehicle from a nearby base and get out of it for a second to reach the switch in the tower that lowers the gate.
Get to the large terminal to activate the bridge. Continue fighting and try again to use the terminal at the tower. This time, heading inside will be successful and you will advance to the next mission - Nexus.
- Halo Infinite Guide
- Halo Infinite: Game guide
- Halo Infinite: Walkthrough
- Halo Infinite: Main missions
- Halo Infinite: Warship Gbraakon - walkthrough
- Halo Infinite: Foundation - walkthrough
- Halo Infinite: Outpost Tremonius - walkthrough
- Halo Infinite: Recovery - walkthrough
- Halo Infinite: The Tower - walkthrough, solution
- Halo Infinite: Excavation Site - walkthrough
- Halo Infinite: Conservatory - walkthrough
- Halo Infinite: Spire - walkthrough
- Halo Infinite: Pelican Down - walkthrough
- Halo Infinite: The Sequence - walkthrough
- Halo Infinite: Nexus - walkthrough
- Halo Infinite: The Command Spire - walkthrough
- Halo Infinite: Repository - walkthrough
- Halo Infinite: The Road - walkthrough
- Halo Infinite: House of Reckoning - walkthrough
- Halo Infinite: Silent Auditorium - walkthrough
- Halo Infinite: Main missions
- Halo Infinite: Walkthrough
- Halo Infinite: Game guide
You are not permitted to copy any image, text or info from this page. This site is not associated with and/or endorsed by the developers and the publishers. All logos and images are copyrighted by their respective owners.
Copyright © 2000 - 2025 Webedia Polska SA for gamepressure.com, unofficial game guides, walkthroughs, secrets, game tips, maps & strategies for top games.
