Halo Infinite: House of Reckoning - walkthrough
This page of the guide to Halo Infinite contains a walkthrough of the House of Reckoning quest - this is mission 15 of the campaign from rescuing the pilot and defeating the boss Escharum.
This page of the Halo Infinite game guide contains the walkthrough of the 15th main mission - House of Reckoning. The following guide explains, among other things, how to survive the two battles in the training rooms, how to defeat the bosses Jega 'Rdomnai and Escharum, and how to free the captured pilot.
- Survive basic training
- Complete advanced training
- Boss fight - Jega 'Rdomnai
- Locate and rescue the pilot
- Boss fight - Escharum
Survive basic training

Soon after you begin exploring the House of Reckoning, you will reach the first training hall. Once you have listened to Escharum's message on the speakerphone, you'll have to win a long battle, which is a test of sorts to see whether the main character is worthy of facing the leader of the Banished in person.
It's a good idea to prepare for this battle. First of all, make sure that you have strong weapons - optimally one for ranged attacks and one for close combat fighting. Take a look at the layout of the rooms, the available loot and the balconies in the hangar.
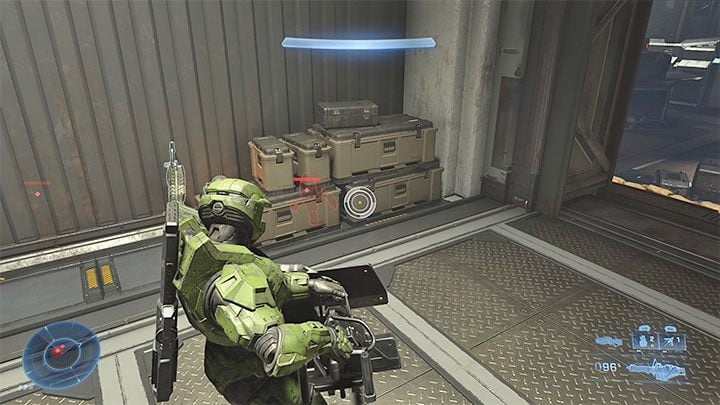
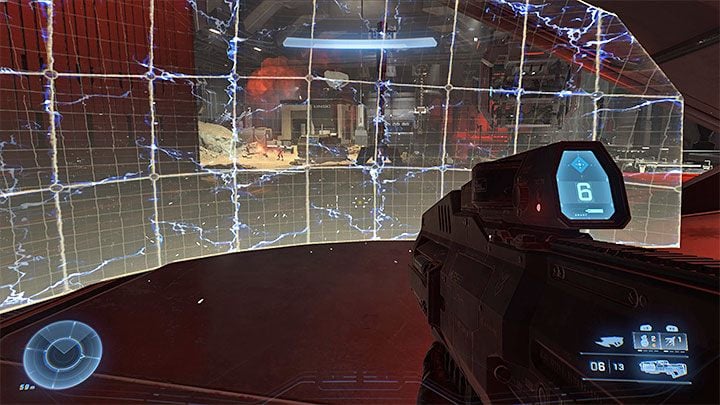
Once you start fighting, you can either defend yourself in one spot in the hangar or be on the move. It may be helpful to use the Threat Sensor to easily discover enemies heading towards the Master Chief, and the Drop Wall to protect yourself against heavy fire.
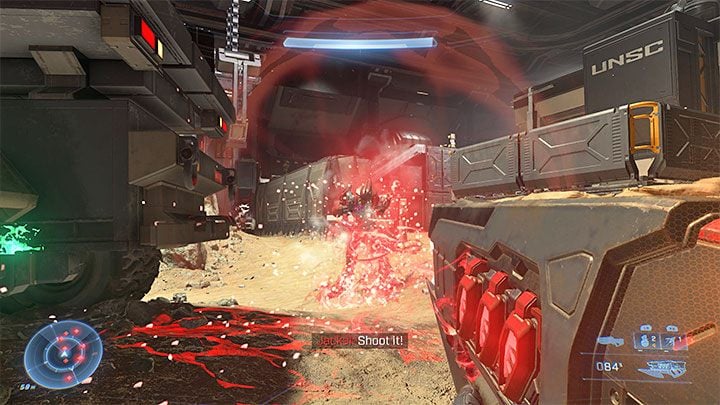
In the hangar, in addition to "regular" weapons and grenades, you will also find heavy weapons and even the Warthog vehicle with a machine gun. Using heavy gear is a good idea when fighting against low mobility opponents who also don't require you to run around or quickly hide.
During the battle, you will have to overcome several waves of opponents. Initially, these will only consist of weak enemies, but during later stages of the battles, you can expect larger and more elite members of the Banished to appear. You should also watch out for the snipers and try to dispose of them as soon as possible. Otherwise, they can unexpectedly hit you with a well-aimed shot.
After winning the battle, replenish your supplies and use the marked exit from the training room.
Complete advanced training
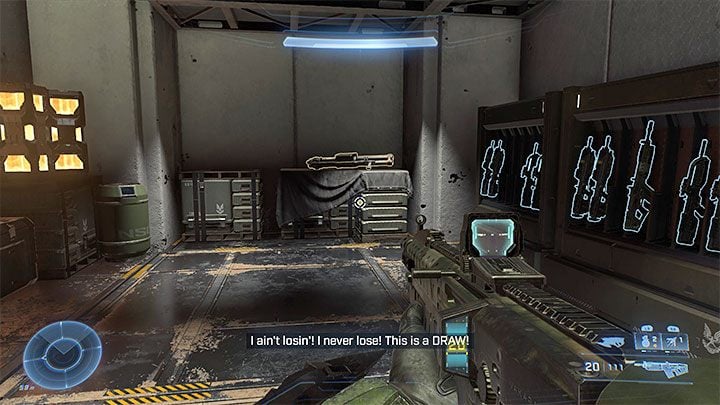
Linear corridors will lead you to the second training hangar, where another big battle awaits you. Just like before, make full use of the time before the battle begins to look around the area and find valuable weapons and other supplies. In particular, we recommend checking out the armory, where you can find various kinds of weapons.
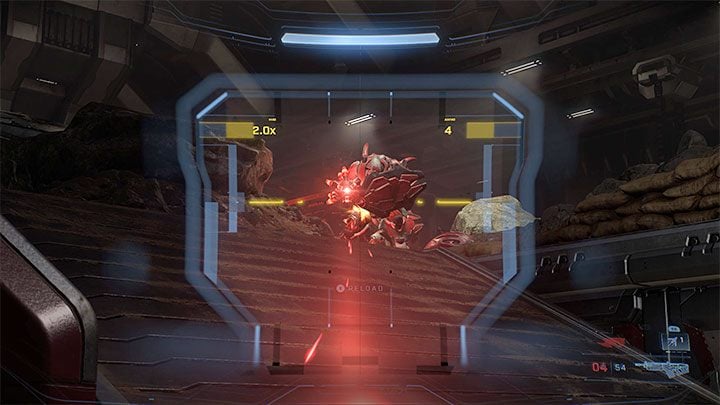
Once more during combat, you will need to keep an eye out for snipers and elite Banished. Unfortunately, 2 hunters will also join the fray. We recommend leaving them for last and deal with the other opponents first. Try to attack the hunters one by one. Use the best weapons you have (with the exception of heavy ones that limit Master Chief's mobility) and frequently put up Drop Walls.
After the battle, gather supplies again, then go to the marked exit from the hangar.
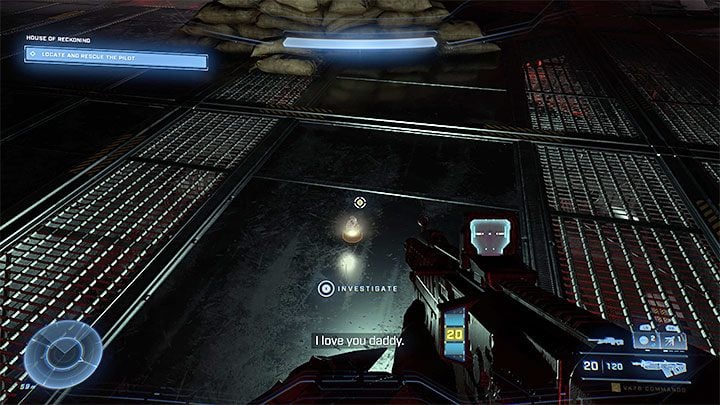
Proceed to the next location. After reaching the hangar containing the flying vehicle, be sure to collect strong weapons and ammunition, both those located in and out of the machine.
Only once you're fully prepared, examine the portable hologram lying on the floor inside the ship. Picking it up it will initiate the boss fight.
Boss fight - Jega 'Rdomnai
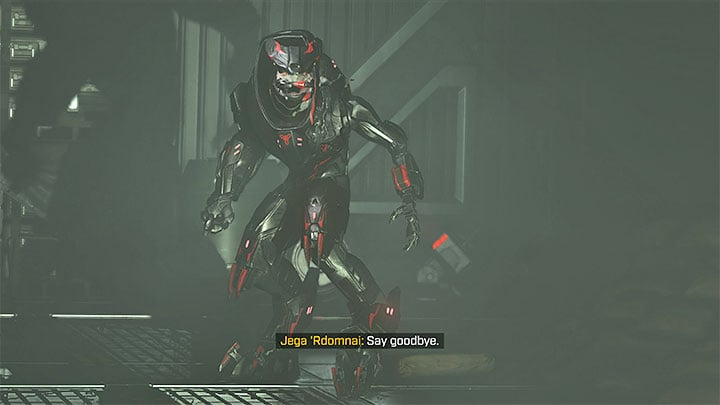
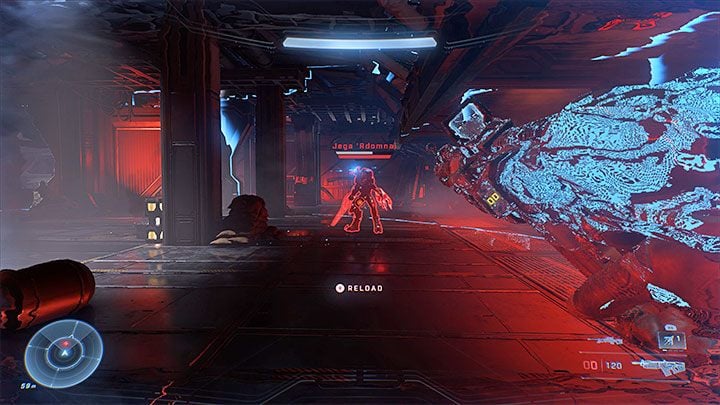
Jega ' Rdomnai is one of the Banished that uses optical camouflage to avoid being detected by the Master Chief. As a result he fights similarly to Chak 'Loka, the boss encountered in one of the first missions of the game.
Just like against other camouflaged Banished you should rely on your Threat Sensor - scatter one or two of them on the ground. This will uncover the camouflaged boss, giving him a red outline.
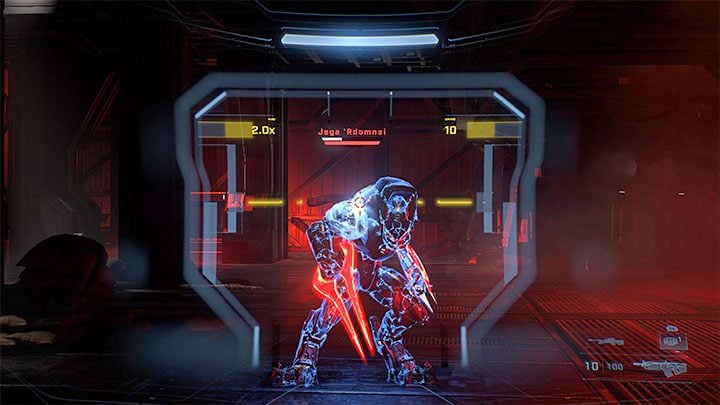
Jega 'Rdomnai uses Elite Bloodblades and thus fights in melee. Try to keep your distance and attack at range.
Jega has a white shield bar which, just like against previous bosses, you must empty first. Only after destroying the shield can you deal damage to the boss' red health bar. Keep attacking, if you cease fire the boss' shield may regenerate.
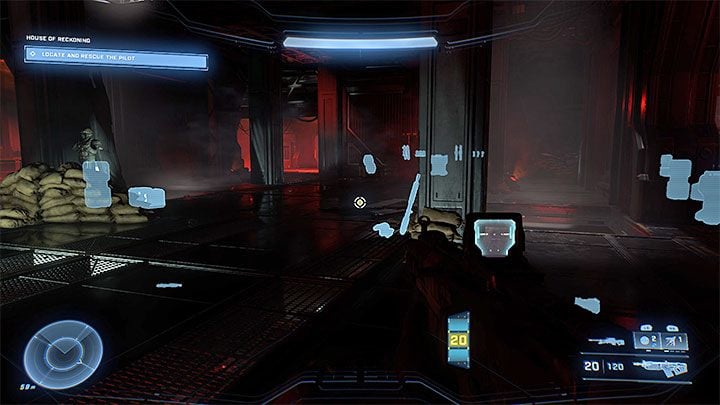
If Jega 'Rdomnai gets dangerously close to you, use the grappleshot to quickly move away.
During the fight use the most powerful weapons you have, as there are many other weapons and ammo crates available on the arena. Use them when you run out of ammo.
Locate and rescue the pilot
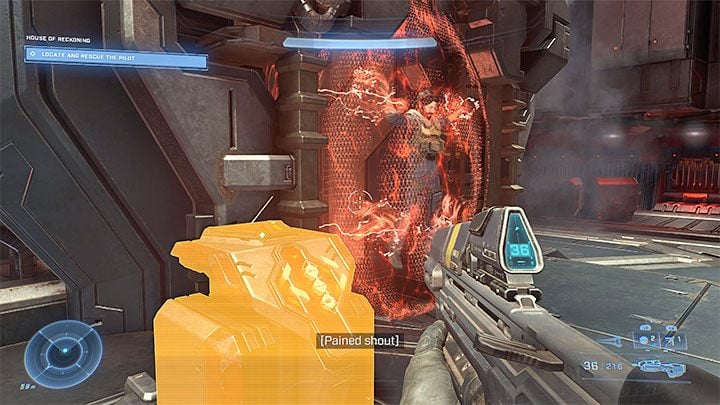
After winning the boss fight, get to the switch to activate the new elevator. It will take you to the location where Echo 216 is being held captive. You should take the opportunity to gather supplies from the area. Soon you will have to face another boss, so make sure you're equipped with strong gear.
Once you try to use the console to release the allied pilot, Escharum will appear and you will have to engage in a fight against the leader of the Banished.
Boss fight - Escharum

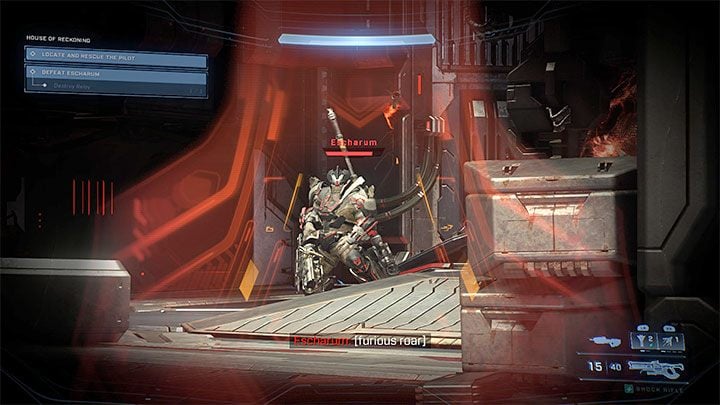
By default Escharum doesn't have a shield (this will change later - we've described it in more details later on), but despite that he's a very durable opponent and draining his red health bar is a lengthy process.
Attack the boss from a distance, don't risk fighting in melee or in melee range. Move away from Escharum if he starts approaching you.
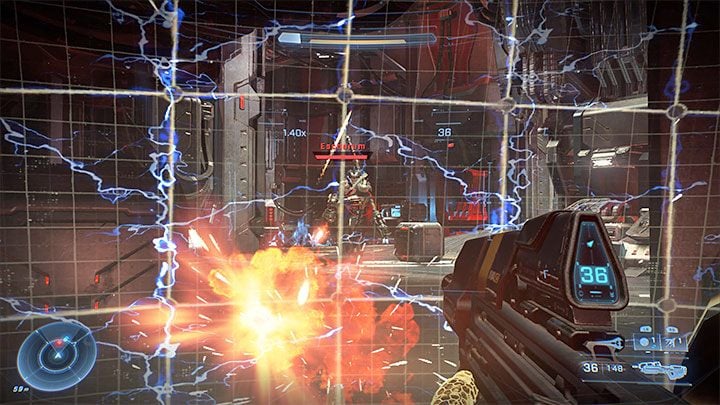
We don't recommend using heavy weapons that are held in both hands at once. Master Chief is very slow when carrying them, giving the boss an opportunity to get close and attack.
To avoid Escharum's fire you can hide behind cover or use Drop Walls.
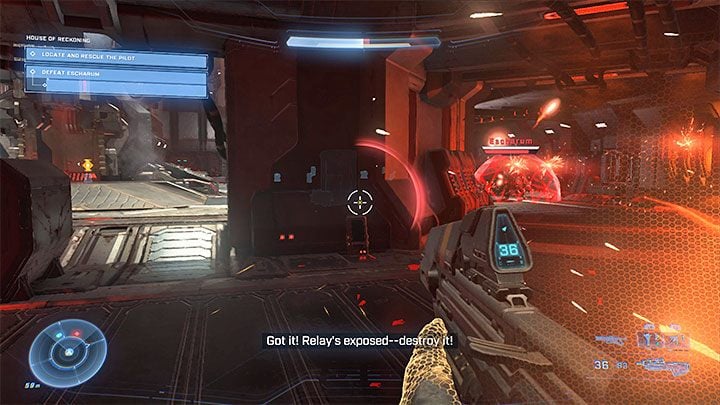
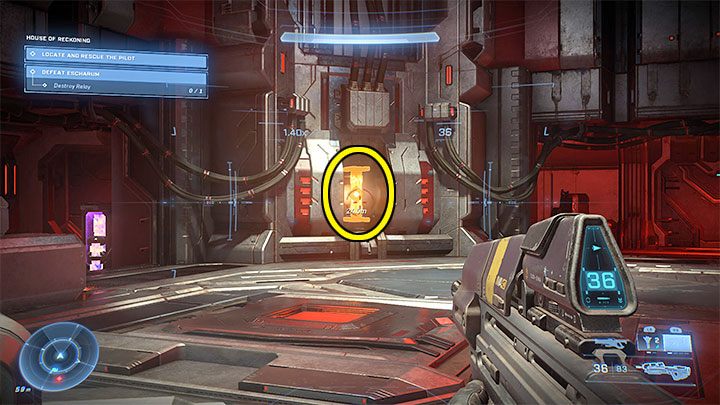
After dealing enough damage Escharum will suddenly envelop himself in a white shield. Don't try to destroy the shield by attacking it. You must sabotage it.
To do so you must reach the machine the game marked for you and destroy the relay (example pictured). Use a good weapon to do it quickly without exposing yourself to the boss' attacks.
As the duel continues, the boss will shield himself three more times. Each time you must reach the energy source and destroy it to sabotage the shield.
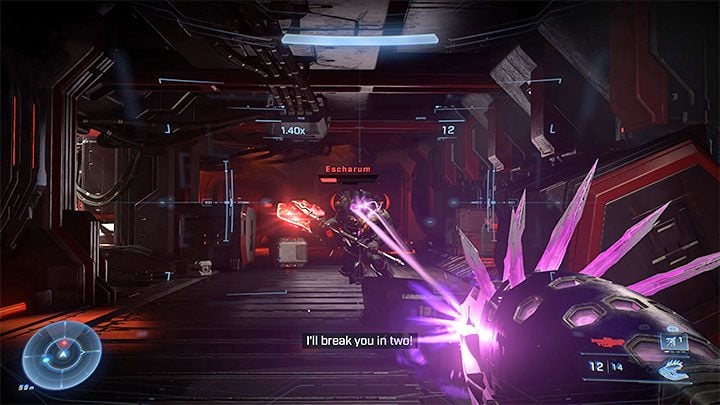
The fight gets more challenging near the end, as Escharum will start charging at you while swinging his Diminisher of Hope axe. You'll have to change your tactics. Sprint a lot yourself, use the grappleshot to move away from the boss. Each time you gain some substantial distance quickly turn towards Escharum and start shooting at him to deal some damage.
Don't risk fighting him in axe range, keep running away and shoot him with short bursts until he falls.
After winning the match, once again attempt to rescue the pilot - this time you will succeed. A cut-scene will play, then you will proceed to the Silent Auditorium mission.
- Halo Infinite Guide
- Halo Infinite: Game guide
- Halo Infinite: Walkthrough
- Halo Infinite: Main missions
- Halo Infinite: Warship Gbraakon - walkthrough
- Halo Infinite: Foundation - walkthrough
- Halo Infinite: Outpost Tremonius - walkthrough
- Halo Infinite: Recovery - walkthrough
- Halo Infinite: The Tower - walkthrough, solution
- Halo Infinite: Excavation Site - walkthrough
- Halo Infinite: Conservatory - walkthrough
- Halo Infinite: Spire - walkthrough
- Halo Infinite: Pelican Down - walkthrough
- Halo Infinite: The Sequence - walkthrough
- Halo Infinite: Nexus - walkthrough
- Halo Infinite: The Command Spire - walkthrough
- Halo Infinite: Repository - walkthrough
- Halo Infinite: The Road - walkthrough
- Halo Infinite: House of Reckoning - walkthrough
- Halo Infinite: Silent Auditorium - walkthrough
- Halo Infinite: Main missions
- Halo Infinite: Walkthrough
- Halo Infinite: Game guide
You are not permitted to copy any image, text or info from this page. This site is not associated with and/or endorsed by the developers and the publishers. All logos and images are copyrighted by their respective owners.
Copyright © 2000 - 2025 Webedia Polska SA for gamepressure.com, unofficial game guides, walkthroughs, secrets, game tips, maps & strategies for top games.
