Deus Ex Mankind Divided: The Heist - main quest
The page contains the walkthrough for The Heist - a main quest from Deus Ex Mankind Divided. It describes how to access the restricted terminal in the bank, and how to reach the VersaLife vault found on the corporate lockers level.
Very important note - In the final part of Facing the Enigma (the quest that involves meeting with Janus and escaping the security drones) Jensen will be faced with a choice: either save Stanek's daughter, or break into the VersaLife vault. If you plan to investigate the vault searching for information on the Orchid, you need to choose the described quest. In this case, Facing the Bomb Maker quest (which involves finding and saving Allison Stanek) will be canceled (resulting in Allison's death).
- Mission objectives
- Retrieving Vega's package
- Accessing the restricted terminal
- Take the elevator to corporate vaults
- Reaching the VersaLife vault
- Escape from the bank
- Meeting with Miller and trip to G.A.R.M.
Mission objectives
1. MANDATORY - Get to the Bank - Palisade Property bank is in Northern Prague (M12).
2. MANDATORY - Retrieve Vega's package - The package is in a trunk of the car found on the parking lot neighboring the bank (M14,1).
3. MANDATORY - Access a restricted terminal - The terminal is in the CEO office in the bank (M12,1).
4. MANDATORY - Use the corporate vault elevator - The elevator is on level eight (M12,27) and requires a VersaLife access card.
5. MANDATORY -Enter the VersaLife vault -You have to find the control panel on the level one of the bank (M12,2).
6. MANDATORY - Escape from the bank - You can escape using the same way, or through a huge vertical shaft by the other vaults.
7. MANDATORY - Meet Miller at the helipad - Miller needs to be briefed - he can be found on the landing pad in Northern Prague (M3,2).
8. MANDATORY - Fly to G.A.R.M. - Confirm being ready during the conversation with Chikane
Retrieving Vega's package
This quest won't be available instantly after escaping the ambush in the tourist information center. Additionally, you have to reach any metro station in Northern Prague. Only then, Jensen will be contacted by Alex Vega, who will tell him of a last chance to break into the VersaLife vault, in order to acquire information about the Orchid. To begin the described task, begin the journey to Palisade Property bank (M12 map). Once you get close enough (500 experience points), Vega will call Jensen again, and ask him to retrieve a package from the parked car.
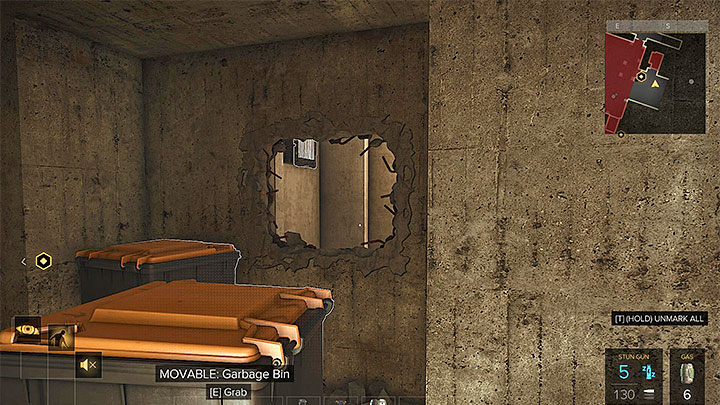
The parking lot is near the bank (M14 map). By default, it's a restricted zone. The terminal by the entrance has level four security, but if you don't have the necessary hacking abilities, or a multitool, you can break through the nearby wall. Yet another way to enter the parking lot involves entering Ludwik's Lounge building, south of the target building (M3,9), and using the secret passage found there.
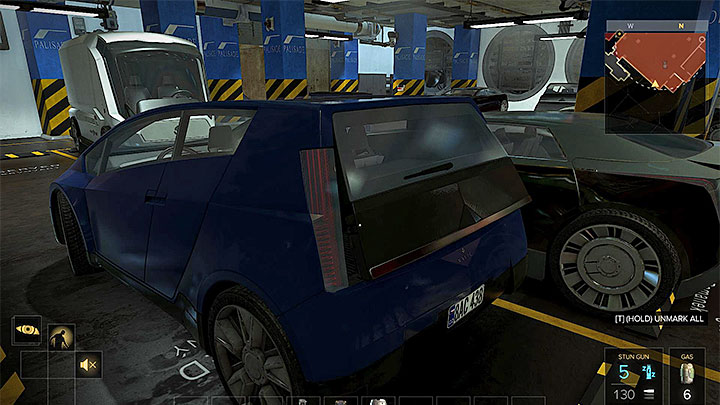
After reaching the parking, you need to start avoiding two patrolling guards, and the camera located on one of the columns. The current mission objective can be completed by sneaking, but if you want to turn off the camera, you can visit the nearby security room (M14,13) and use the computer. The sought package, containing Janus's portable memory and a clear access card, is in the trunk of the blue car in one of the corners (M14,1) - you can see it on the attached screenshot. Once you take the package (you'll receive 500 experience points and a bonus for avoiding detection), leave the parking lot.
Accessing the restricted terminal
You can now enter the Palisade Property bank. The terminal that you need to interact with is on the ninth floor of the bank, in the CEO office (M12,1). Reaching the office can prove to be difficult, as the bank's guests cannot access the ninth floor (and various other areas on lower floors). Additionally, if Jensen gets detected, an alarm will be raised very quickly, with a number of guards, defense turrets, and robots coming out to meet Jensen. Stealth is the preferred approach. The suggested routes are described below.
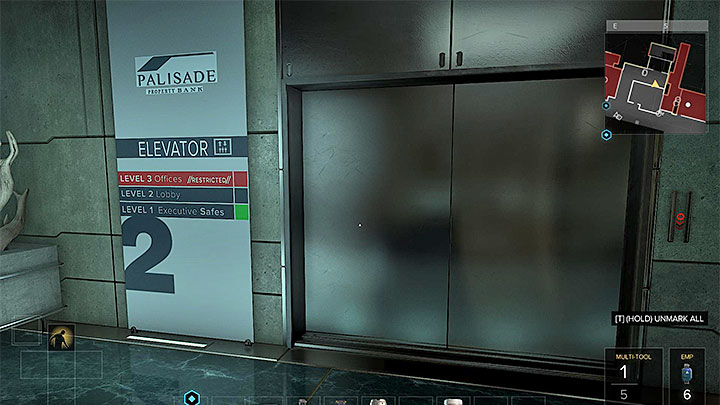
The most obvious way of reaching the ninth floor of the bank is using the main elevator (M12,4). Sadly, the elevator doesn't take ordinary users to the top floor - you need to have an access card.
The required access cards can be found in few different places in the bank. The first card can be found in the account manager office on level eight, near the lobby (M12,3). To open the office door, you can input 0831, BUT the office is treated as a restricted zone, so you cannot be seen when inside, or entering the room. You can distract the guards or, for example, use camouflage and close the door behind you. The second card can be found in the business service room on level seven (M12,33). The password to that room is 9593. In this case, you also have to be on the lookout to not be detected while entering the room.
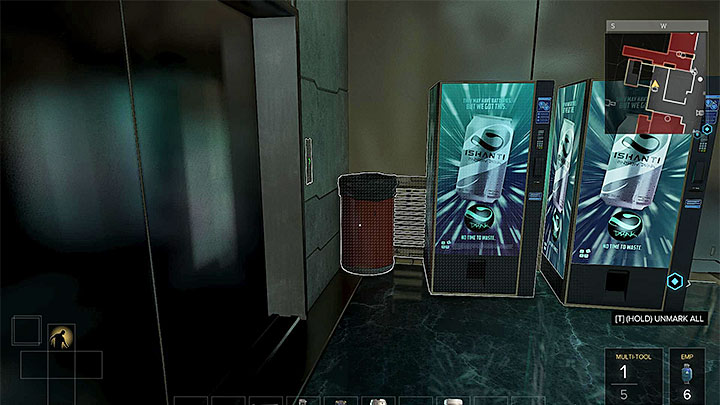
A completely different way of reaching the ninth floor is by using the derelict shaft located behind the aforementioned main elevator (M12,8). The best way to approach is to enter the side area between the rooms on level eight (M12,5). The easiest way is by finding the ventilation shaft near the elevator (shown on the screenshot), but you could just as well reach the public boardroom (M12,6) and break through the weakened wall.
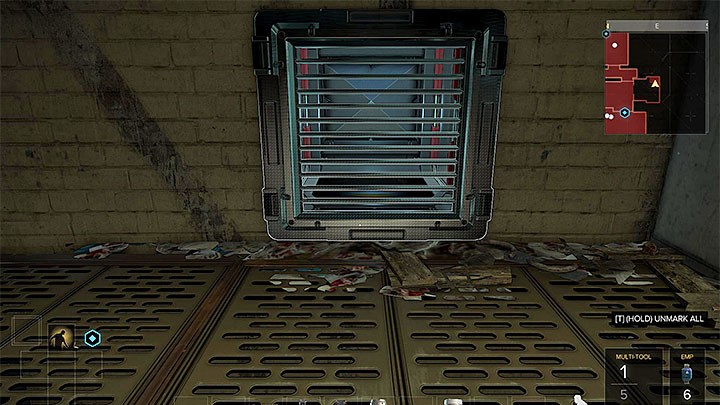
After reaching the shaft located behind the elevator, you have to make few bigger jumps and catch the upper ledges. It will allow you to reach level 9 (M12,9) and here you can enter the ventilation shaft, shown on the screenshot. The shaft will lead you to a new side area (M12,13). You can find a grate on the left side that will allow you to reach one of the main corridors, and be in a close proximity to your goal.
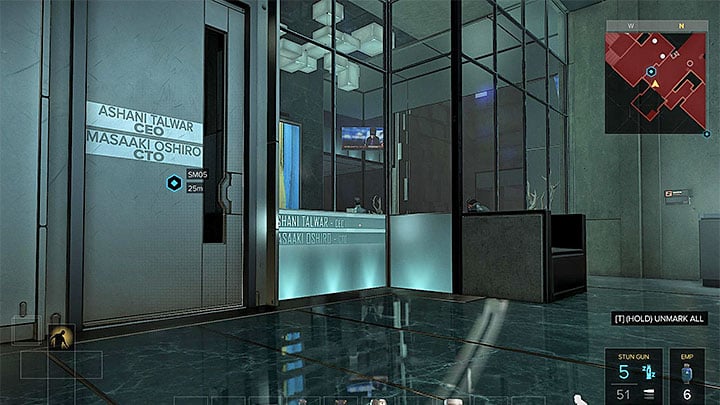
Both routes described above will allow you to reach the Chief of Technology office (M12,15), which neighbors the CEO office. There are two guards in the office. You can eliminate them easily, or sneak through when they are facing the other way. Additionally, you have to watch out for a defense turret located above the stairs leading to the director's office. Wait for the turret to turn the other way and proceed to the door, placing yourself underneath the turret. The door terminal has only level one security, but you can use this code: 0211.
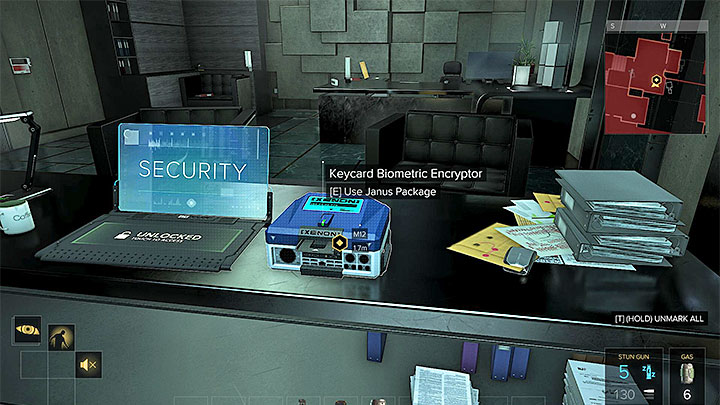
Once you enter the CEO office (M12,1), find the Keycard Biometric Encryptor that was shown on the attached screenshot, and interact with it. After a short moment, it will return the VersaLife access card. You'll receive 3150 experience points for your efforts and a bonus if you hadn't been detected.
Take the elevator to corporate vaults

The elevator to corporate vaults is located on the western edge of the level eight of the bank (M12,27). Accessing it through the main corridor (M12,12) is highly inadvisable, because aside from the guards, you would have to get rid of a laser barrier and a defense turret. It's better to choose one of the two alternative paths, described below.
The first path involves finding a side area located south from the elevator (M12,18). In this case, you can begin in the CEO office where you acquired the access card. Use the ventilation shaft shown on the attached screenshot that will lead you to a right spot.
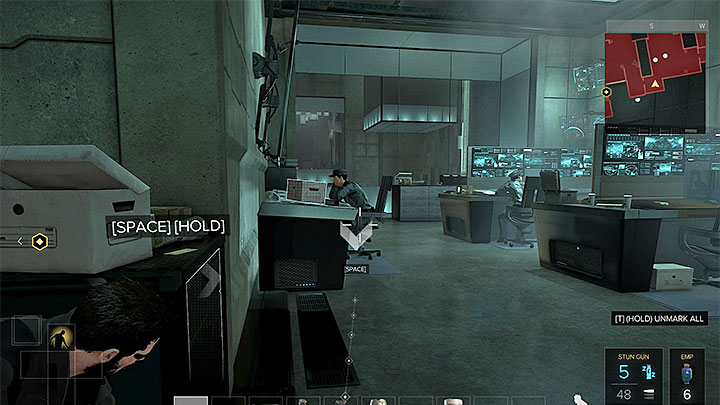
The second path involves a longer trek through level 9, which involves accessing the monitoring room (M12,24). Along the way, you'll need to avoid guards, and disable cameras and laser barriers. There are stairs in the monitoring center that lead to a corridor with the elevator (M12,26).
Regardless of the chosen path, enter the elevator and use the VersaLife card on the reader. You'll be transported to level one (M12,48). As a reward, you'll receive 3150 experience points + a bonus if you stayed undetected.
Reaching the VersaLife vault
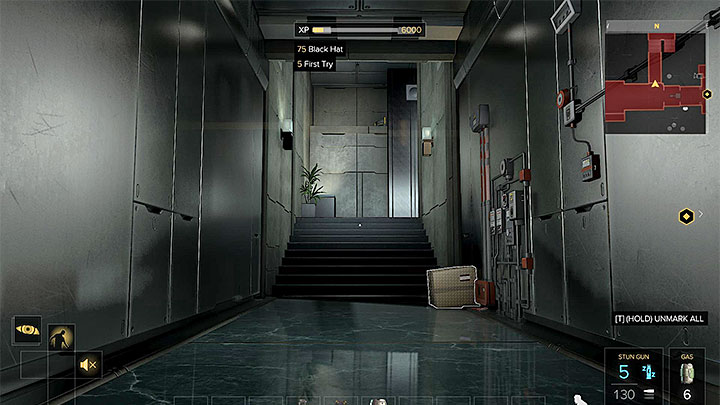
The vault is at the end of a long corridor (M12,2). Sadly, you cannot access it easily and trouble-free, as the path contains two areas with laser barriers (M12,49) (M12,51). The barriers can be temporarily disabled, for example, by using EMP grenades, but you are risking detection by the guards found on this floor. A good idea is to proceed to level 2, in order to disable local security systems.
The second level can be reached through the corridor, but the door leading to it (M12,50) has level four security that you need to break. Alternatively, you can jump to the upper balcony near the place where the guards were talking earlier - in this case, use Klipspringer Jump Mod, or move huge boxes from the area, and climb on them.
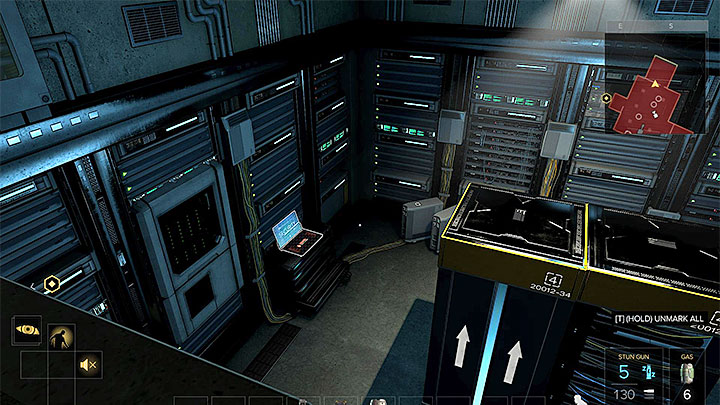
If you used the northern corridor, you should stop by the stairs (M12,52), since there is a ventilation shaft here. You can use it to reach the suspended ceiling, and freely travel above the rooms on level two. Otherwise, you would have to avoid three guards and a security camera in the main security room (M12,54).
Your main target should be the room on the back of the security area (M12,56). There is a computer responsible for the security systems (hack the level two security system, or use the password VIPsec487TV). Hacking this computer will allow you to disable the cameras, robots, and laser barriers on level 1.
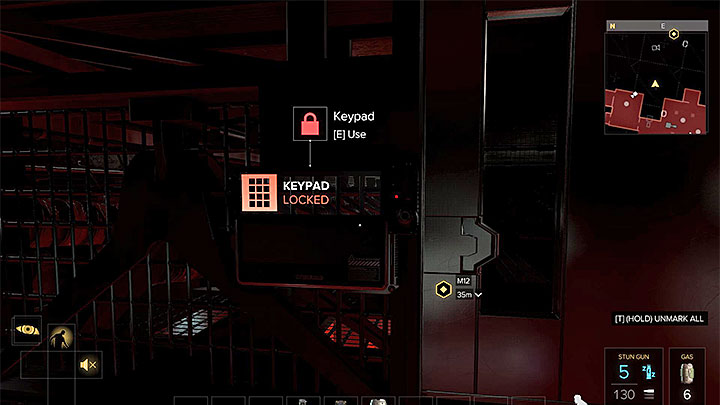
In the aforementioned area with the suspended ceiling, there is an eastern path leading to a closed gate (M12,55). The gate has level five security system, but if you developed your hacking abilities, or have a spare Multitool, you would make your journey MUCH easier. The new tunnel leads Jensen to the exit located near the vault (M12,60), and allows him to bypass all laser barriers and cameras.
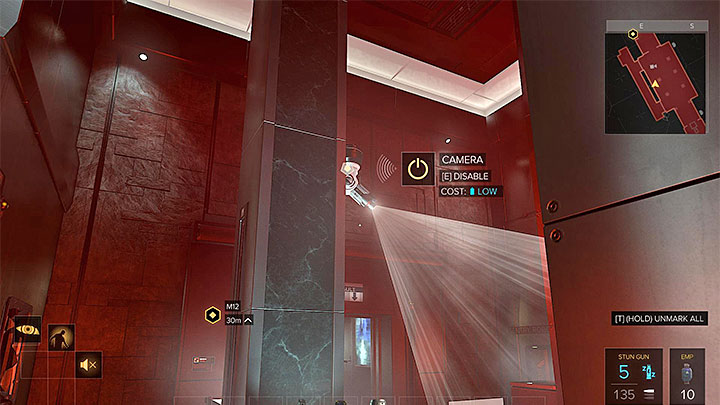
If you decided to disable the bank's security system, you can return to level 1 and begin travelling east. In this case, you need to know about one of the cameras that stays active. You can sabotage it (EMP ammo/grenade, Remote Hacking) or just avoid it.
Note - IF you ignored the security computer, the first group of laser barriers can be avoided by using the ventilation shaft in a side area on level two (M12,57), while the other one can by bypassed by breaking to a side room (M12,58), and hacking the terminal operating the barriers.

After reaching the room with corporate deposit boxes (M12,2) use the access card on the reader, which will start the mechanism and bring the VersaLife deposit box to you. Opening this safe will begin a cut-scene and you'll acquire the required information automatically. You'll receive 3150 experience points + a bonus for avoiding detection.
DO NOT LEAVE the vault yet. Investigate the terminal that opens the safe. It has only level one security, while the safe contains the Orchid Neutralizing Enzyme, which is a quest item, shown on the screenshot. It can be useful in the final part of the game to save the people poisoned by the Orchid.
Escape from the bank
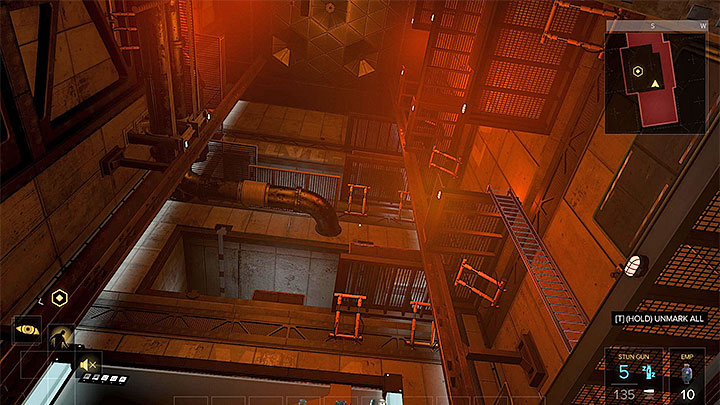
The bank can be left using the same way, but there is an alternative way. Climb to the top of the vault and press a button to make it move. Once the vault reaches level 3, search for the next button to unlock the access to upper floors of the huge shaft. Ultimately, you need to reach the door on level 6 (M12,42). Continue the journey. Use the ladder (M12,41) that will allow Jensen to reach the parking lot (M14 map). Here, interact with the fuse box to disable the large ventilator (M14,14).
Regardless of the chosen path, once you leave the bank (500 experience points + a bonus for avoiding detection) you'll receive a message from Miller.
Meeting with Miller and trip to G.A.R.M.
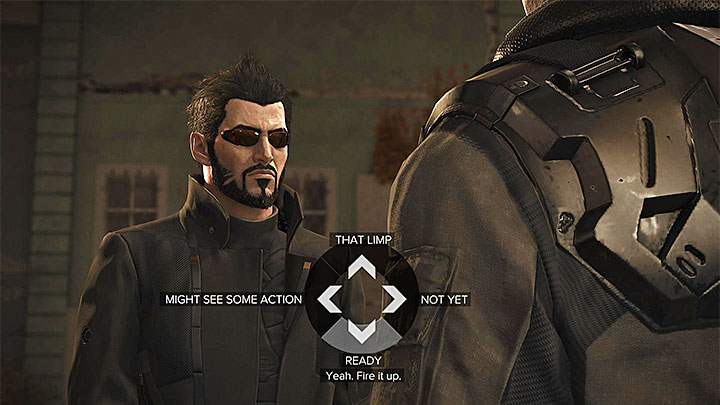
You can now travel to the landing pad in Northern Prague (M3,2) to meet with James Miller and inform him of the new discoveries. Regardless of the chosen dialogue options (you can reveal more details about your contacts, or be more clandestine) Jensen will decide to travel to G.A.R.M. outpost located in Swiss Alps, as a part of a new main quest - GARM.
Note - Before you embark on the journey to G.A.R.M. outpost, make sure you've completed all side task from the journal (except for The Mystery Augs - this quest still "awaits" for its next part), especially The Fix - the quest unlocking the free access to experimental augs. Make sure to stock up and sell the unnecessary things at the local merchants.
- Deus Ex: Mankind Divided Game Guide
- Deus Ex Mankind Divided: Game Guide
- Deus Ex Mankind Divided: Prague (second visit) Quests and maps
- Deus Ex Mankind Divided: Main quests Prague (second visit)
- Deus Ex Mankind Divided: Tracking Down the Real Terrorists - main quest
- Deus Ex Mankind Divided: Checking Out the Men in Charge - main quest
- Deus Ex Mankind Divided: Facing the Enigma - main quest
- Deus Ex Mankind Divided: Confronting the Bomb-maker - main quest
- Deus Ex Mankind Divided: The Heist - main quest
- Deus Ex Mankind Divided: Main quests Prague (second visit)
- Deus Ex Mankind Divided: Prague (second visit) Quests and maps
- Deus Ex Mankind Divided: Game Guide
You are not permitted to copy any image, text or info from this page. This site is not associated with and/or endorsed by the developers and the publishers. All logos and images are copyrighted by their respective owners.
Copyright © 2000 - 2025 Webedia Polska SA for gamepressure.com, unofficial game guides, walkthroughs, secrets, game tips, maps & strategies for top games.
