Deus Ex Mankind Divided: Claiming Jurisdiction - main quest
Claiming Jurisdiction is a main quest unlocked right after paying the first visit to the TF29 headquarters, thus completing the mission Checking Out TF29. The quest in matter is given by James Miller (M7,3). This time, Jensen has to go to Ruzicka station (map M11) and begin gathering evidence on the recent terrorist attack. The main difficulty here is the fact that the local authorities don't want to cooperate. The members of TF29 are not allowed to the area where the attack took place so Jensen has to sneak, or force his way in there.
Attention - at the end of this quest you will get a reprimand from Miller, should you attack the policemen in site (even if you don't kill them). Fortunately, this does not have any immediate negative consequences.
- List of objectives
- Reaching the Ruzicka station and meeting Smiley
- Getting to the stations upper level
- Getting the evidence on the upper level of the station
- Getting the evidence to Smiley
List of objectives
1. MANDATORY - Travel to Ruzicka - Go back to the metro station and choose Ruzicka as your destination (map M11).
1. MANDATORY -Meet Smiley at Ruzicka Station - Meeting Smiley happens right after arriving to the station (M11,1).
2. MANDATORY - Retrieve the evidence - The evidence is located in a small room near the station's main hall (M11,2).
3. MANDATORY -Bring the DSD to Smiley - Smiley find you in the crime lab in TF29's headquarters.
Reaching the Ruzicka station and meeting Smiley
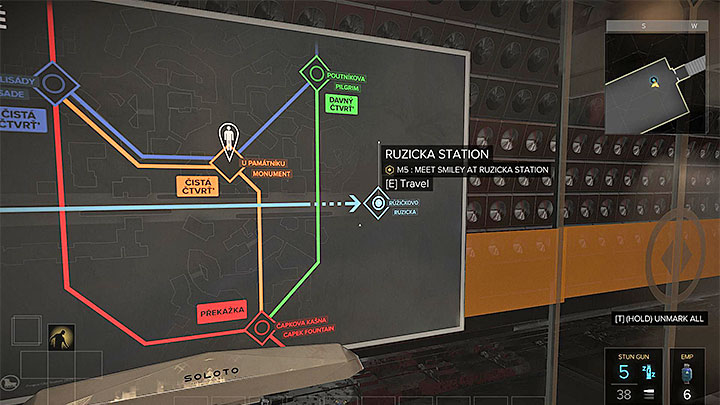
This quest happens in a separate location in Prague, namely in the Ruzicka Station. In order to reach that place you have to get to any metro station and choose Ruzicka after interacting with the map of the metro. After reaching the destination (M11,1) conversation with Smiley Fletcher will commence automatically. From an TF29 employee, you will learn about the difficulties he had with retrieving the evidence. You will get 500XP and will have to reach the room with the evidence in accordance with the instructions you get (M11,2).
Getting to the stations upper level
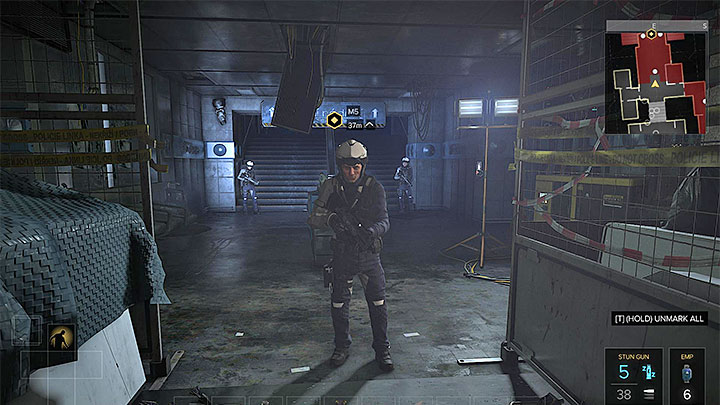
Exploration of the station begins on its lower level, and your task is to reach the upper level. It's not going to be easy since, save for a couple of initial rooms, the rest of the station is closed. Should you be detected while entering areas shown in red on the map, you will be halted and/or attacked by the police.
The policemen guard the main entrance to the upper level too (M11,4). You can obviously attack them, but in such case, reinforcements will arrive, and an alarm will be raised. If your camouflage skills are developed, then you can get past the first group (three policemen), but after reaching the stairs (M11,13) you will meet two more cops.
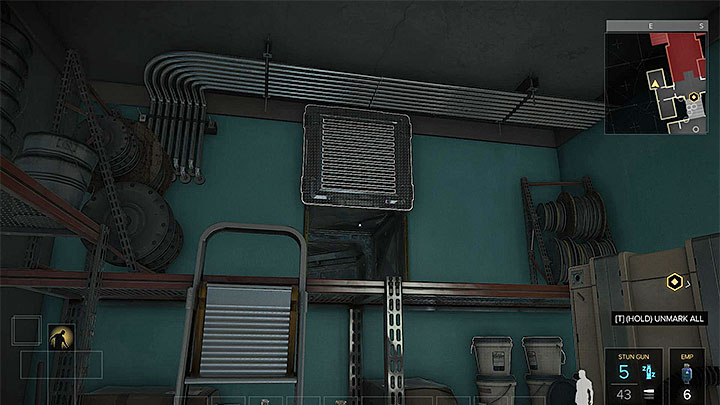
The next floor can be reached most conveniently by taking one of the vent shafts. To do so, breach into the north storage (M11,5), whose door fortunately have level 1 lock. In the storage, move one of the crates to reveal the entrance shown above.
The vent shaft will lead near to stairs (M11,13). It's best to wait here until the policemen disperse and sneak behind the person, who's left in this place. Distract them by for example throwing an object, or pacify them (in this case - hide the body).
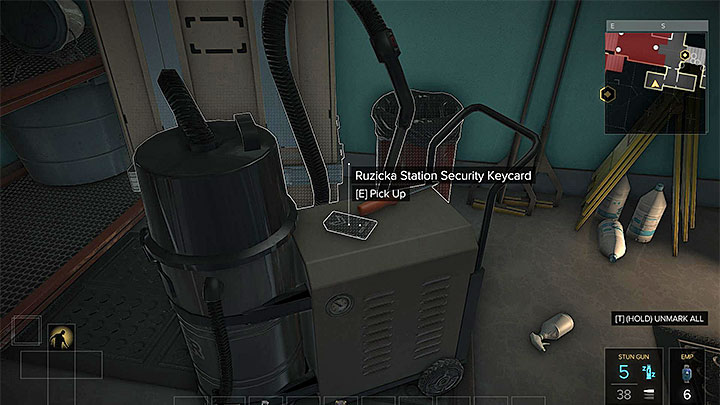
Another way of reaching the higher level is to get to the small area with a ladder located in the South part of the map (M11,11). You can get there with the main corridor (M11,8), but the door leading to it (M11,7) require a keycard (they can't be hacked). The keycard can be found in the Northern storage room (M11,5). You can also breach into the room on the side (M11,6) - you will then be able to use the code - 0808. After getting into the small room, close the shutters on the windows, and locate the vent shaft which will get you around the closed door.
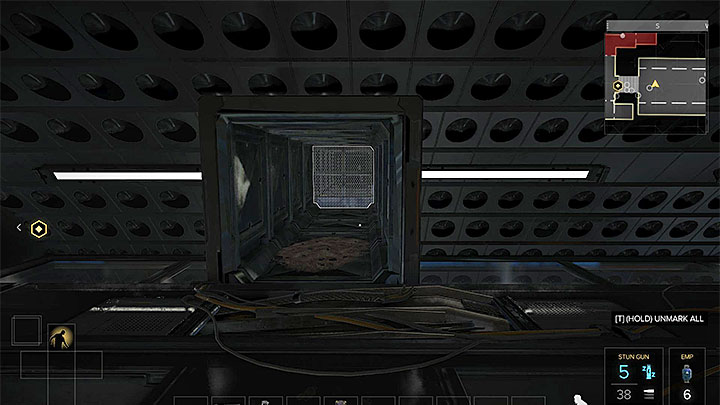
If you don't want to omit or open the door that require the keycard, you can try to get into the security room (M11,9). You can get there from the starting platform (M11,1), you just have to climb onto the "balconies" at the roof. In one of the platform's corners, there's an entrance to a vent shaft. The important thing is that you can get shocked with electricity here. It can be ignored with the Electromagnetic Protection upgrade. Otherwise, you'll have to get into the small room next to the platform (M11,2), interact with the power box there to cut the flow of electricity.
In the security room is a computer. It has level 3 protection, but if you can enter it, you will be able to turn off the camera in the main corridor, and prevent enemies from raising an alarm.
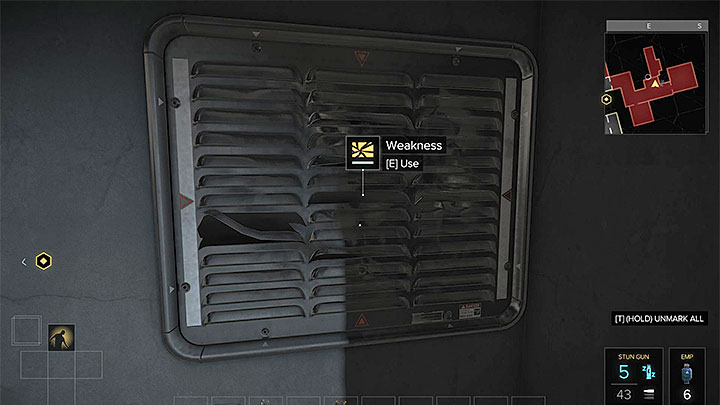
Apart from the said camera, there are two more obstacles on your way to the room with the ladder. The first is a policemen patrolling the main corridor (M11,8). You can either knock him out when he's away from the camera or sneak through when he stops in the server room (M11,10). The other obstacle is a weak wall that separates the main corridor and the room with the ladder (M11,11). Without a special upgrade, you won't be able to break through the wall.
Getting the evidence on the upper level of the station
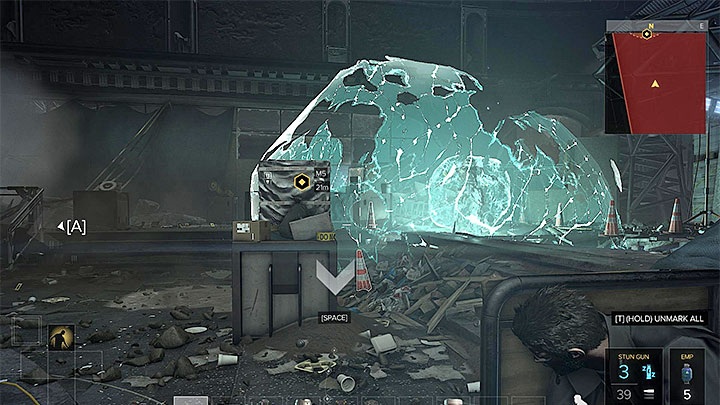
All of the paths will lead you to the Western part of the second level of the Station. You have to be cautious here, since there's a lot more policemen here. A couple of them will be in the cafe (M11,14) and in the library (M11,15). The cops are also found in two places in the main hall (M11,16)(M11,17).
Mind that one of the guards is using an exoskeleton, which renders the potential fight with him a lot more difficult. If you're planning on taking him down, don't use regular firearms and don't try to pacify him. Instead, deploy an EMP charge, which will temporarily paralyze him (to do so, either use a gun with special ammo, utilize Jensen's skill if you have it, or use an EMP grenade, which can be found in a nearby ammo crate). After paralyzing the policeman, you can finish him by pacification or with explosives.
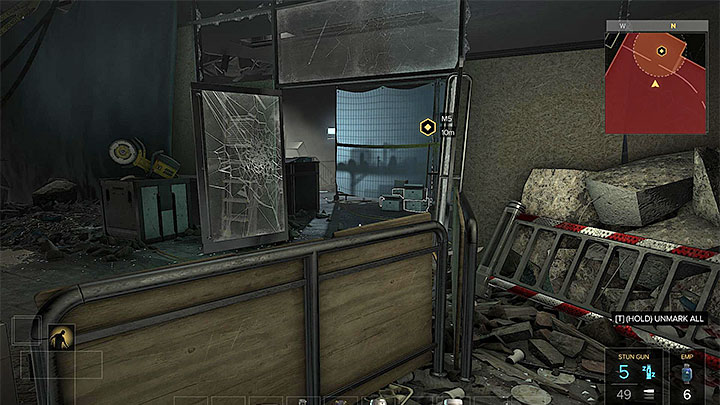
The destination in this quest is a room in the North-west corner of the station (M11,2). The main entrance of this room (M11,22) is easiest reached from the side of the said library. When sneaking, monitor the radar regularly, and - if possible - use the skills that highlight the enemies.
If the regular entrance to the rooms is too risky, you can reach that room through a vent shaft, located directly above. In order to execute this plan, first reach the upper ledges - you can start climbing from one of the big objects in the main hall or try the vent shaft which is hidden behind a vending machine near the stairs (M11,18). In the latter case, after entering the shaft, you have to choose the side tunnel and jump onto the higher edge.
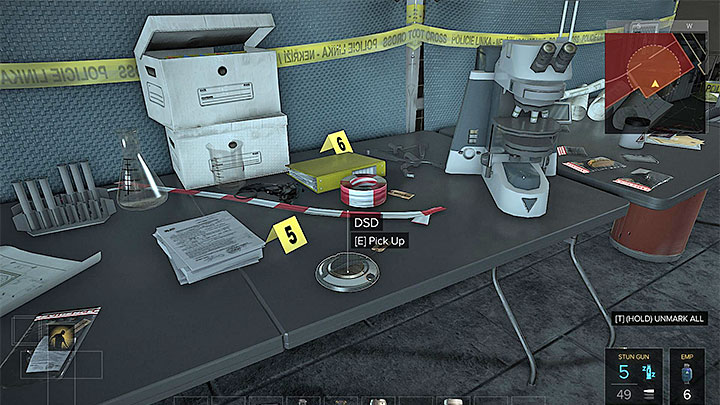
The good news is that there are no guards in the room where the main objective is located. You're looking for the evidence (DSD), shown above. After getting the evidence, hear the talk with Smiley. You'll get 3150XP and a bonus if you hadn't been spotted.
Getting the evidence to Smiley
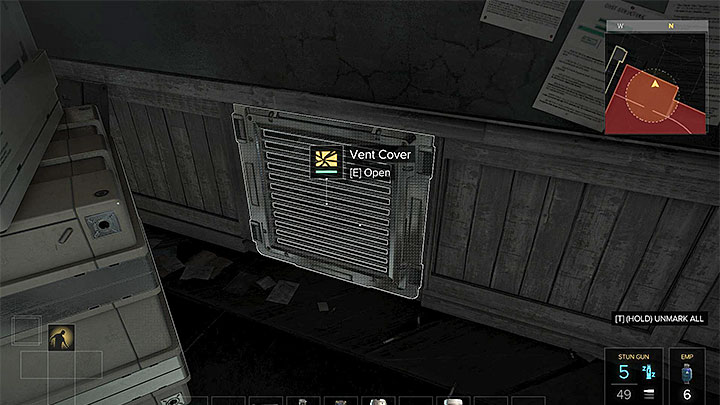
Leave the Ruzicka station. You can take the same route you have arrived here, but it's much more convenient to take the shaft shown above - it's hidden behind a crate.
You will get to area on the side (M11,23) and will have to jump one level down (M11,3). The problem is that there's lethal gas down there, so if you don't have the Breather augmentation, staying alive will be difficult. Furthermore, even with the Breather, you will need to reach the valves and close them as quickly as you can.
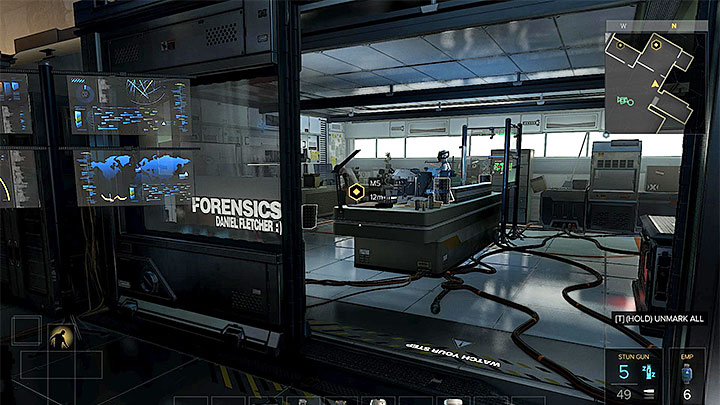
After getting back to the platform (M11,1) interact with the map and get back to the Northern Prague. After reaching that area, Miller will contact Jensen. Regardless of the nature of this conversation, you will be send to meet a psychologist, Delara Auzenne, and a new quest, Taking Care of Business, will be unlocked.
Go towards TF29's HQ (map M7). On your way there, Alex Vega will also reach out to Jensen, but meeting her will also be part of the Taking Care of Business quest. Smiley Fletcher is in the crime lab on level 1 (M7,10). Give him the evidence to conclude the quest and get 1950XP.
- Deus Ex: Mankind Divided Game Guide
- Deus Ex Mankind Divided: Game Guide
- Deus Ex Mankind Divided: Prague Quests and maps
- Deus Ex Mankind Divided: Main quests Prague
- Deus Ex Mankind Divided: Morning Comes Too Soon - main quest
- Deus Ex Mankind Divided: Getting in Top Shape Again - main quest
- Deus Ex Mankind Divided: Checking Out TF29 - main quest
- Deus Ex Mankind Divided: Claiming Jurisdiction - main quest
- Deus Ex Mankind Divided: Taking Care of Business - main quest
- Deus Ex Mankind Divided: Main quests Prague
- Deus Ex Mankind Divided: Prague Quests and maps
- Deus Ex Mankind Divided: Game Guide
You are not permitted to copy any image, text or info from this page. This site is not associated with and/or endorsed by the developers and the publishers. All logos and images are copyrighted by their respective owners.
Copyright © 2000 - 2025 Webedia Polska SA for gamepressure.com, unofficial game guides, walkthroughs, secrets, game tips, maps & strategies for top games.
