Dark Souls 3: Undead Settlement - way down
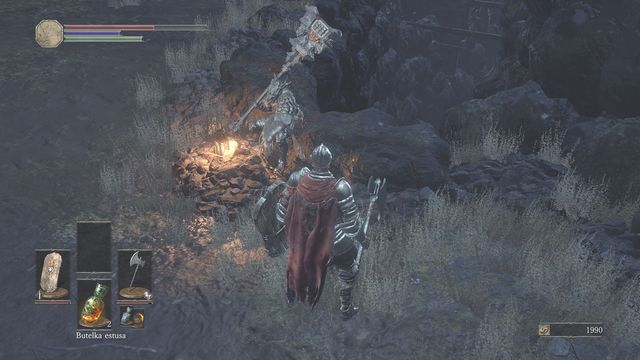
Remember: There are two ways to get to this place. The presented solution suggests jumping down in this specific spot (see screenshot). You can get here on your way to the cathedral (from the arena go through a large grassland and turn left to the stone bridge - it's one of many paths that lead to this place). If you have the right armor and a lot of health points, you may try to slowly slide down, right behind the presented NPC. Although you will lose a significant amount of HP, it is still possible to survive this journey.
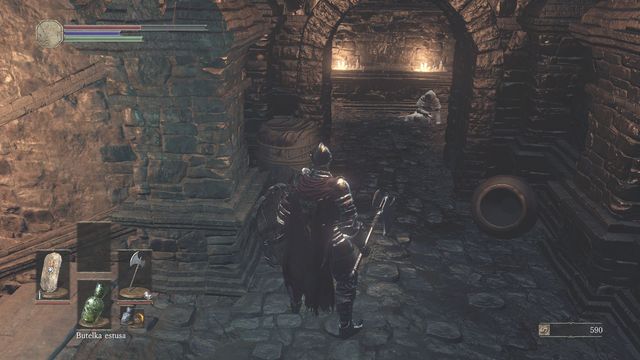
Head right, into the mountain and watch out for rats that will appear suddenly inside the room (kill them by the den so they won't spread too much). Go upstairs (there is Saint's Talisman near the ladder). You can unlock bars on the right, and thus avoid the trouble of having to jump down in the future. Irina is on your left. Talk with her (allow her to touch you) to obtain Prayer gesture. Finish the conversation and she will travel to Cleansing Chapel.
Remember: When you are directly in front of the place where you meet Irina, look up. There is a body that can be shot down (or use a Firebomb). It contains Sacred Red and White Shield +1.
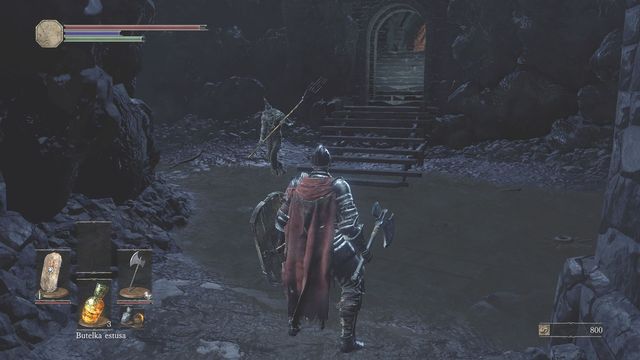
Get back to the pit if you want to explore this location some more. Watch out for two opponents at the crossroads. Turn left and run after the crystal lizard - if you kill it, you will receive Heavy Gem. Apart from that, look for 2x Titanite Shard.
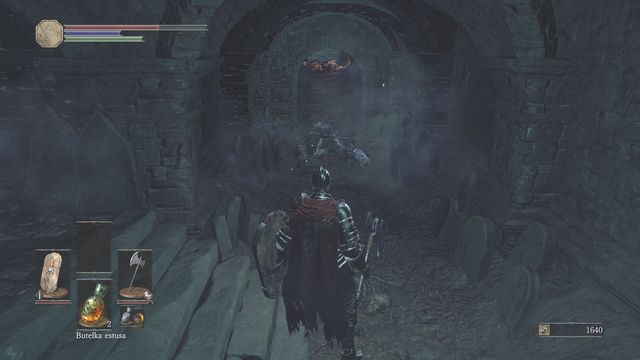
Use the corridor that goes under the stone bridge. Look out for skeletons that are created from scattered bones (try to attack quickly before they join together). Move forward and you will come across a Soul of an Unknown Traveler, Red Hilted Halberd and Loincloth, next to a Statue of Velka. The door can be opened from the other side, and this is the other way you can get to the pit.
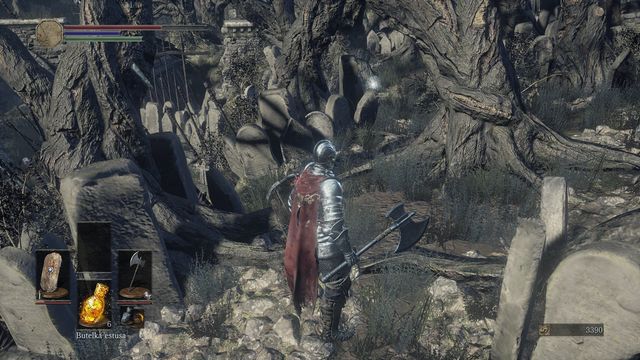
You need Mortician's Ashes. To find them, head to the Dilapidated Bridge bonfire, in the direction where a graveyard is located (there are tombs on the left). Watch out for projectiles (if you talked with the giant from the cathedral, you will be safe). Face the tree with a note on it (in front of the building), and turn left. The item you are looking for is not far from here, between the tombs. Take it to Shrine Handmaid, and buy a Grave Key for 1500 souls (it will be added to your inventory once you retrieve the ashes).
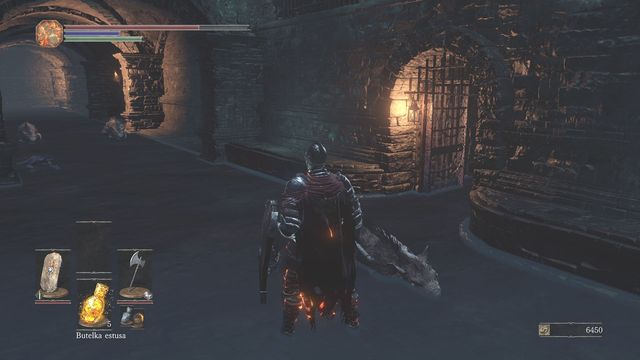
Now that you have the key, head to the dungeons. The entrance is at the previously described square full of enemies (if you unlocked this shortcut before, the other entrance is situated behind the stone bridge, opposite the Dilapidated Bridge bonfire). Use the key to unlock the bars. The process of exploring the lower part of the location is identical - the only difference that you will notice is the order of enemies and items that you will come across.
Once the entire area has been searched, head to the arena and face Curse-Rotten Greatwood. Once you deal with it, get back to the lift in the cathedral and use it to reach the bottom. The exit will take you to Road of Sacrifices.
- Dark Souls III Game Guide & Walkthrough
- Dark Souls 3: Walkthrough and Secrets
- Dark Souls 3: Walkthrough
- Dark Souls 3: World Map
- Dark Souls 3: Cemetery of Ash
- Dark Souls 3: Firelink Shrine
- Dark Souls 3: High Wall of Lothric
- Dark Souls 3: High Wall of Lothric - from the Bonfire
- Dark Souls 3: Cleansing Chapel - tower
- Dark Souls 3: Undead Settlement
- Dark Souls 3: Undead Settlement - straight road from the great square
- Dark Souls 3: Undead Settlement - path from the great square through the bridge (on the right)
- Dark Souls 3: Undead Settlement - way down
- Dark Souls 3: Road of Sacrifices
- Dark Souls 3: Road of Sacrifices - Swamp
- Dark Souls 3: Cathedral of the Deep - outside
- Dark Souls 3: Cathedral of the Deep - inside
- Dark Souls 3: Farron Keep
- Dark Souls 3: Catacombs of Carthus
- Dark Souls 3: Smouldering Lake
- Dark Souls 3: Irithyll of the Boreal Valley
- Dark Souls 3: Irithyll of the Boreal Valley - from the Church of Yorshka
- Dark Souls 3: Irithyll of the Boreal Valley - Path to Anor Londo
- Dark Souls 3: Anor Londo
- Dark Souls 3: Irithyll Dungeon
- Dark Souls 3: Profaned Capital - Return to the Irithyll Dungeon
- Dark Souls 3: Profaned Capital - Path to Yhorm the Giant
- Dark Souls 3: Lothric Castle
- Dark Souls 3: Consumed King's Garden
- Dark Souls 3: Untended Graves
- Dark Souls 3: Grand Archives
- Dark Souls 3: Grand Archives - rooftops
- Dark Souls 3: Archdragon Peak
- Dark Souls 3: Kiln of the First Flame
- Dark Souls 3: Game endings
- Dark Souls 3: Walkthrough
- Dark Souls 3: Walkthrough and Secrets
You are not permitted to copy any image, text or info from this page. This site is not associated with and/or endorsed by the developers and the publishers. All logos and images are copyrighted by their respective owners.
Copyright © 2000 - 2025 Webedia Polska SA for gamepressure.com, unofficial game guides, walkthroughs, secrets, game tips, maps & strategies for top games.
