Dark Souls 3: Irithyll of the Boreal Valley - from the Church of Yorshka
By turning left before entering the cathedral you will find a Large Titanite Shard in the corner. Then the stairs will lead you to the entrance to the church in which you will find Church of Yorshka bonfire.
Note: By turning right before the church you can also enter the cathedral from a different side and bypass the main entrance. At the body you will find a Soul of a Weary Warrior.
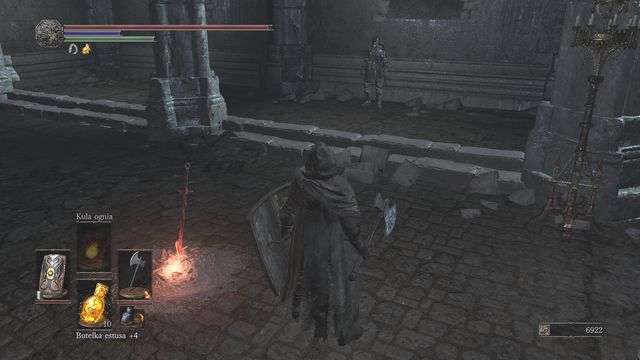
If you followed Anri quest you will find her at the bonfire. Speak with her in order to receive the Ring of the Evil Eye and Quiet Resolve gesture as a token of appreciation for help in searching Horace (Anri will be here if you killed him or haven't told her about Horace whereabouts). In addition to that, one of the statues in the corner of the room is in fact a killer from Londor. You can decide: if you kill him, the quest will be continued in such way that you will be able to meet with Anri but you won't be able to select one of the alternative endings. If you leave without killing the murderer, Anri will die and you will be able to complete the game in an alternative way related to Yoel and Yuria quest.
At the altar you can pick up the Proof of a Concord Kept.
Exit to the cemetery

Go downstairs. Behind the wall, before the exit, you will find Roster of Knights. Then go ahead where at the edge you can find Fading Soul. Watch out for the invisible enemies nearby. The only way to notice them earlier is by looking for a dark pair of eyes. When the enemy attacks, he will reveal himself and disappear soon after - when that happens, attack the nearby air in hopes of killing him.
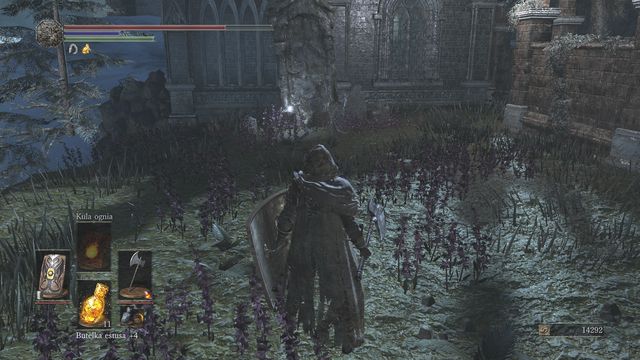
Slightly above on the right side you will find a path which will lead you under the larger tombstone (a Fading Soul on the way). Kill the opponent before he will transform and then collect the Homeward Bone and Undead Bone Shard from behind the tombstone.
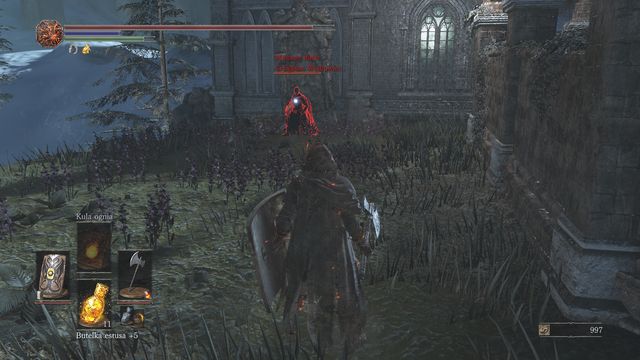
Note: If you followed Sirris quest and helped her in battle on the bridge, you will be attacked here (use Ember before that) by Creighton the Wanderer. He will appear under the tree, in front of the tombstone. Watch out for his mad axe attacks, the charge and the attack from behind the back - these ones are most dangerous , but a single dodge will be enough to get behind Creighton's back and attack him. You can also try tricking the opponent so that you finish the battle as fast as possible: stand close to the edge and jump away when Creighton will attack you. He might fall down, but if he won't, then help him with one or two attacks. This should be enough to send the ghost away and receive the Dragonslayer's Axe. The opponent will be healing himself and he will try to stop you from healing by throwing a bomb, so finishing the battle as quickly as possible is recommended.
Note 2: Go back to the bridge on which you fought Creighton for the first time (when you helped Sirris). There you will find Mirrah Chain Set (Creighton's Steel Mask, Mirrah Chain Mall, Mirrah Chain Gloves, Mirrah Chain Leggings).
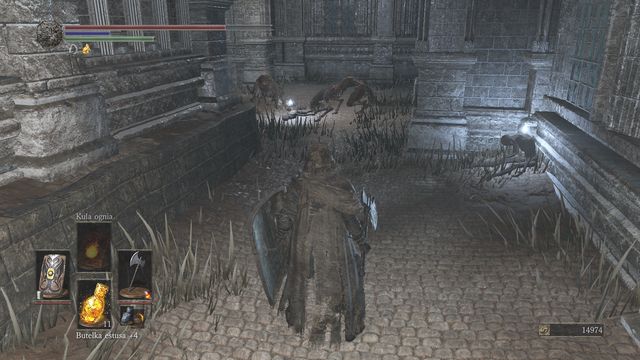
Go back towards the church and, while still on the cemetery, turn left (so that you have the stairs leading to the church behind). After leaving the stairs watch out for the invisible opponent in the corner. Walk to the left end, you will encounter three dogs eating a body (screen). If you don't manage to lure single one (for example with a Throwing Knife), use bomb and a weapon that will allow you to kill all enemies at once. Don't let them surround you since it is a stronger version of the dogs you know. Here you will find 8x Kukri and a Rusted Gold Coin.
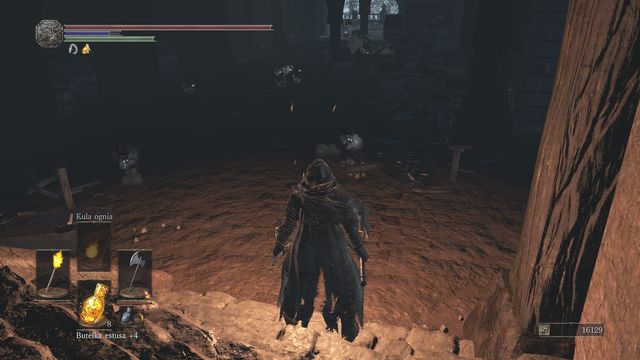
Then walk down to the dark room ahead from the stairs which you used. A torch, few throwing bombs and area spells sill be useful here. Notice the eyes that will be looking at you from below - these are all eyes of enemies crawling on the ground and attacking whenever you get close. In addition to that, in the middle of the room you will also face some standing enemies who can temporarily become invisible. They aren't resistant, but there are enough of them here to be a threat to you.
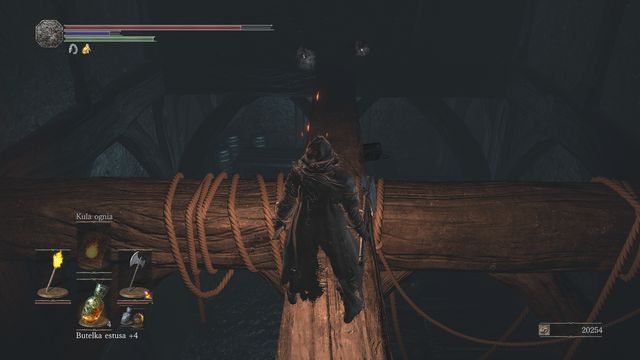
In the room you will find a Blue Bug Pellet. Above (you can get there by using the ladder on the right side) move carefully through the wooden scaffolding until you can collect the Shriving Stone. There are enemies here as well, especially at the end of the path (walk to the right from the ladder entrance). Go there so that you can jump to the wooden platform below. You will find a chest with Yorshka's Spear inside. Finally go towards the bright exit. It doesn't matter if you use the upper or lower one - they both lead to the same place.
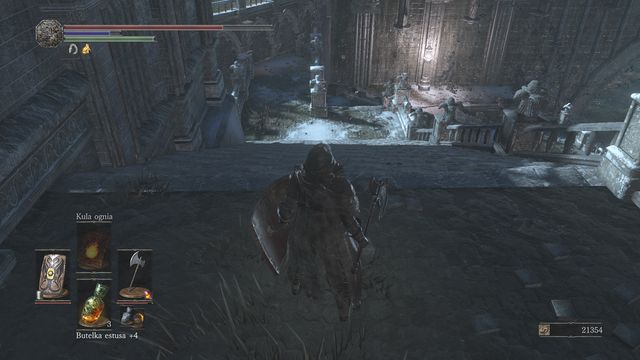
Walk downstairs and you will reach the path to the river. Watch out for other disappearing opponents. Turn right before entering the water and enter the first niche on the right. The wall here can be destroyed. Behind it there is a river killing which is awarded with Twinkling Titanite.
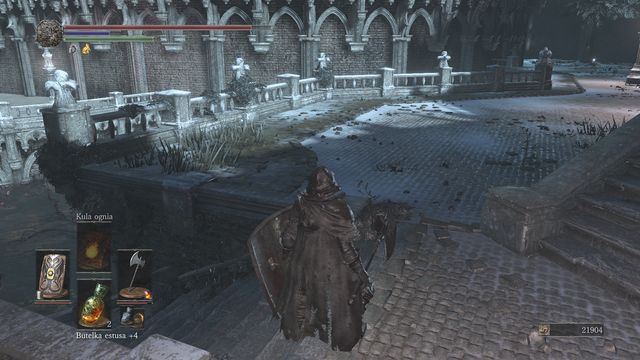
Slightly further, under the tree, you can expect few invisible opponents. Once you notice one of them, try killing him before disappearing so that you aren't surrounded by a large group of enemies. At the tree you will find a Blood Gem.
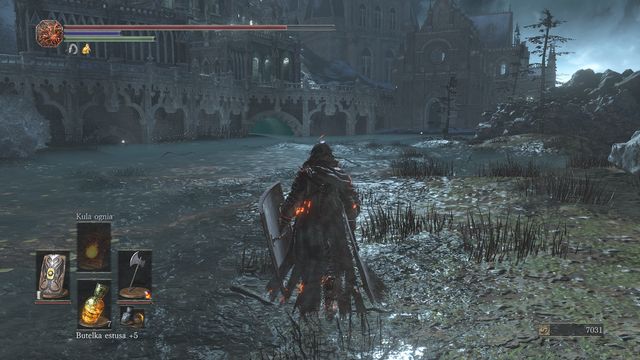
On the right side you will find a Ring of Sacrifice (watch out for the monster that is awakening). In the middle of the river there is a Green Blossom. If you haven't defeated the monster on the bridge in this location (he was there at the start of the Irithyll of the Boreal Valley location), the monster will jump down and you will have to fight him. Otherwise the path will be clear.
Here you will find a Large Soul of a Nameless Soldier and, after turning right, Great Heal near the body of a worm. Once more watch out for the awakening monsters. Go along the wall slightly further while collecting two Green Blossoms on your way. Entrance to the room ahead will lead you to the Distant Manor bonfire (and then to Irithyll Dungeon).
Note: If you want to encounter Siegward in the sewers (of course only if you helped him in the well in the Cathedral of the Deep), you must first go there before you light any bonfire in the Irithyll Dungeon.
Sewers
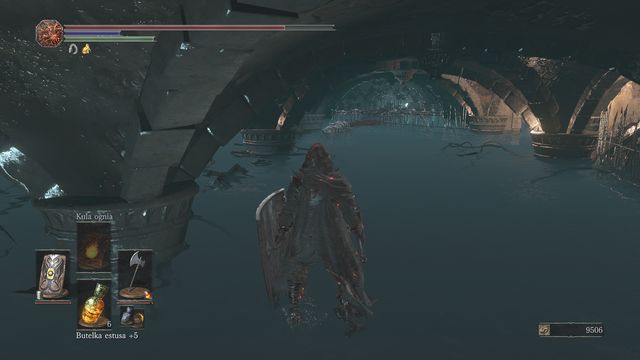
Watch out for the spiders in the water, there are many of them. Kill the opponents methodically, one after another. In two places you will find Dung Pie here and on the opposite side there are stairs leading up (and Excrement-covered Ashes before them). Go up.
Note: If you sent Greirat for the second search here and you haven't helped Siegward or you didn't tell Unbreakable Patches where did Greirat go (if you haven't bought Siegward armor from him), then you will find his ashes here. The ashes will be lying in the corner after defeating Pontiff Sulyvahn. Give the ashes to the Handmaid and you will be rewarded.
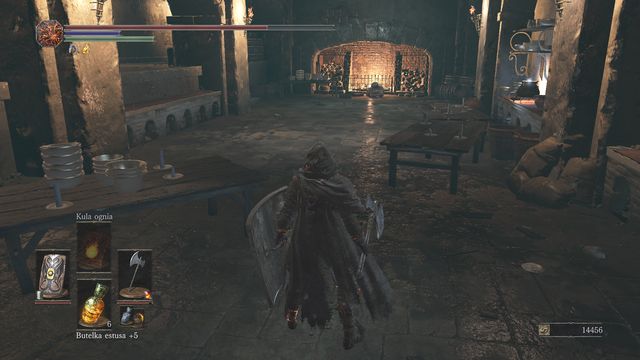
You will reach a kitchen in which Siegward warms himself next to the fireplace. As a token of gratitude for your help you will receive Emit Force and Siegbrau. You will be also given two gestures (Toast and Sleep) if you don't have them yet. You will also find an Estus Soup here.
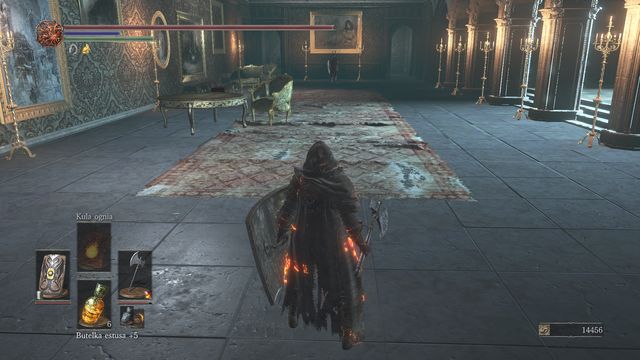
From the kitchen you will enter a large chamber with one knight standing at its end. Walking towards him from the back will be tempting, but if you look closely around you will notice another knight aiming at you with a giant bow from the balcony above. Because of that, it is best to quickly run next to the opponent below and lure him to the small vestibule behind the wall. There you will be safe from the projectiles shot from above and you will be able to easily deal with the enemy.
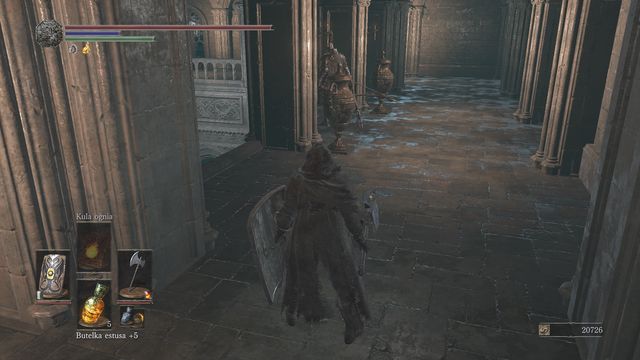
Then go for a moment to the large chamber where on the right side you will find a small entrance that leads upstairs. At the top there is another knight - lure him behind you to the same vestibule so that you are once more out of the reach of the archer. Finally run up for the last time and deal with the archer (he will start melee fighting after you get close, but watch out when running so that you aren't hit with an arrow from close).
Once the battle is over, walk to the other side where you will find three chests with Smough's Great Hammer, Leo Ring and Divine Blessing. No all that's left is to go down and leave the room.
The road to the boss
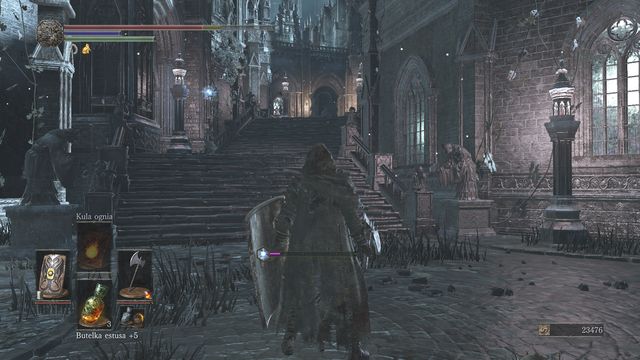
Go up slowly and kill every wizard and dog you encounter on your way. If you rush, you will be attacked by too many opponents simultaneously, which will be even more troublesome since you can notice the mages only by the spells casted at you. Other dogs and mages are at the top of the stairs, near the fountain. On the way there you can collect the Large Soul of a Nameless Soldier and a Large Titanite Shard from the body hanging over the barrier. On the left side you will find an elevator which will allow you to unlock a shortcut leading close to the entrance to the cathedral.
Note: If you haven't fully followed Yuria quest and you saved Anri from the killed, here you will be attacked by Londor Pale Shade if you used Ember before.
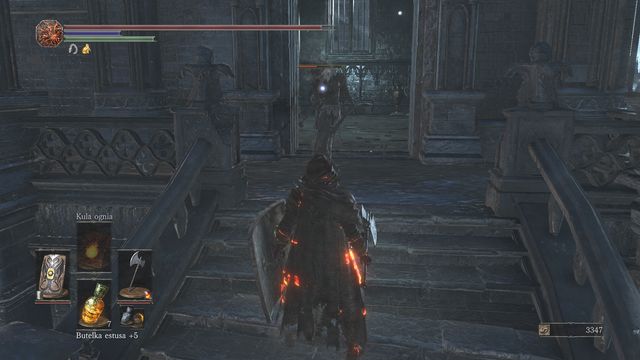
By moving further you will enter the middle of a room filled with invisible enemies. Instead of dealing with them, quickly collect the Blue Bug Pellets and go upstairs where two mages are shooting you. Kill them, then walk down the ladder and collect another Large Titanite Shard. Once you do it, carefully go outside where you will notice large stairs leading straight to the boss. On the left from the stairs you will find a Soul of a Weary Warrior.
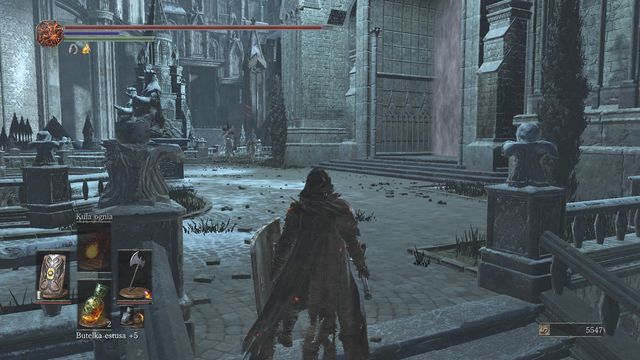
Entrance to the arena is guarded by two last ice knights. If you don't feel like fighting them now, quickly run next to them and turn left. Run through the stairs straight to the gate. Open it in order to unlock a shortcut near the bonfire in the church. Finally kill the enemies at the gate and the mentioned knights so that you can easily collect the Ember from behind the gate. You can also collect the Ring of the Sun's First Born by walking to the edge ahead of the arena entrance - you can jump down on the altar there.
After exploring the location it is time to go to the boss chamber and kill Pontiff Sulyvahn. Before entering the arena you will find 2 or 3 summon signs.
- Dark Souls III Game Guide & Walkthrough
- Dark Souls 3: Walkthrough and Secrets
- Dark Souls 3: Walkthrough
- Dark Souls 3: World Map
- Dark Souls 3: Cemetery of Ash
- Dark Souls 3: Firelink Shrine
- Dark Souls 3: High Wall of Lothric
- Dark Souls 3: High Wall of Lothric - from the Bonfire
- Dark Souls 3: Cleansing Chapel - tower
- Dark Souls 3: Undead Settlement
- Dark Souls 3: Undead Settlement - straight road from the great square
- Dark Souls 3: Undead Settlement - path from the great square through the bridge (on the right)
- Dark Souls 3: Undead Settlement - way down
- Dark Souls 3: Road of Sacrifices
- Dark Souls 3: Road of Sacrifices - Swamp
- Dark Souls 3: Cathedral of the Deep - outside
- Dark Souls 3: Cathedral of the Deep - inside
- Dark Souls 3: Farron Keep
- Dark Souls 3: Catacombs of Carthus
- Dark Souls 3: Smouldering Lake
- Dark Souls 3: Irithyll of the Boreal Valley
- Dark Souls 3: Irithyll of the Boreal Valley - from the Church of Yorshka
- Dark Souls 3: Irithyll of the Boreal Valley - Path to Anor Londo
- Dark Souls 3: Anor Londo
- Dark Souls 3: Irithyll Dungeon
- Dark Souls 3: Profaned Capital - Return to the Irithyll Dungeon
- Dark Souls 3: Profaned Capital - Path to Yhorm the Giant
- Dark Souls 3: Lothric Castle
- Dark Souls 3: Consumed King's Garden
- Dark Souls 3: Untended Graves
- Dark Souls 3: Grand Archives
- Dark Souls 3: Grand Archives - rooftops
- Dark Souls 3: Archdragon Peak
- Dark Souls 3: Kiln of the First Flame
- Dark Souls 3: Game endings
- Dark Souls 3: Walkthrough
- Dark Souls 3: Walkthrough and Secrets
You are not permitted to copy any image, text or info from this page. This site is not associated with and/or endorsed by the developers and the publishers. All logos and images are copyrighted by their respective owners.
Copyright © 2000 - 2025 Webedia Polska SA for gamepressure.com, unofficial game guides, walkthroughs, secrets, game tips, maps & strategies for top games.
