Dark Souls 3: Irithyll of the Boreal Valley - Path to Anor Londo
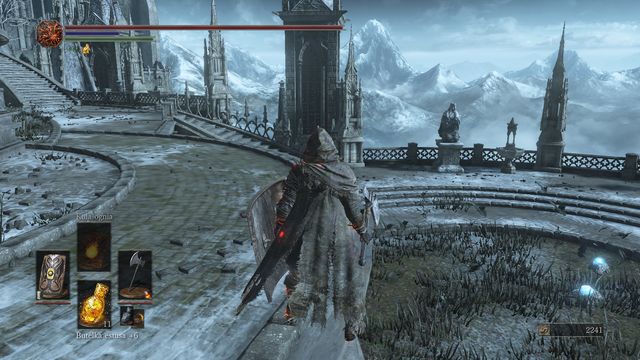
Once you defeat Pontiff, light up the bonfire in the cathedral, and use the opposite door to reach the balcony. As soon as you leave the room, jump down - if you are able to kill the lizards, you will receive a Twinkling Titanite for every creature. There is also a Large Titanite Shard on the right, at the end.
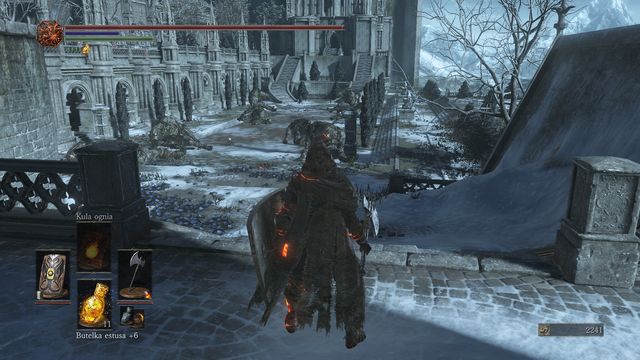
Use the only available path that leads to the stairs. You will reach a square with bodies of fallen giants. In fact, two of them are actually asleep (you may check it yourself if you come close enough). It's best to deal with deacons first, as they will fire projectiles at you if you move closer to the middle of the square.
Turn left and head to the bridge. Before you exit on the other side, use the path on the right side where you will face three invisible opponents and one sorcerer. Kill them to collect Dark Stoneplate Ring, and exit on the other side, through the stairs that lead to the bridge (you will encounter many deacons).
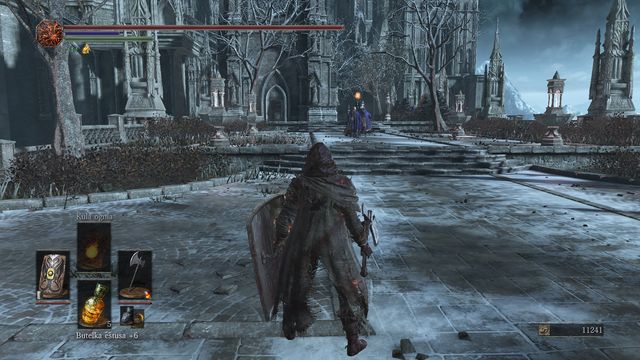
To defeat all the deacons, eliminate each enemy that you come across. Although you can avoid incoming projectiles, the process will be more difficult if you focus on any of the deacons during the fight. Thus, it is good to leap to your foes and perform powerful jump strikes (it is highly possible that you will kill deacons rapidly and dodge their projectiles).
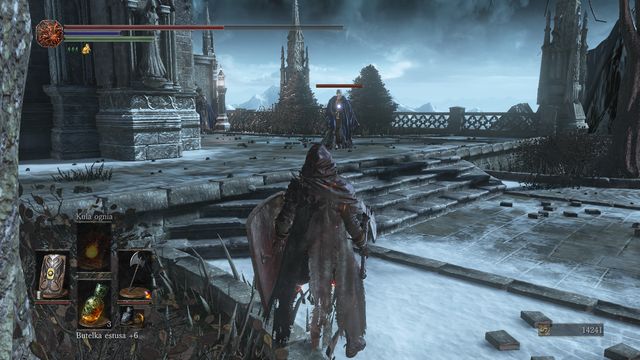
A little further, you will be able to hide behind the building. You will be safe from most projectiles and you can wait for 2-3 deacons to come after you (one of them is a stronger deacon that can be easily knocked down with a powerful blow). You should also eliminate deacons at the square beyond to return to it when needed (this will allow you to pick up items and execute giants if you decide to attack them).
At the end you will come across three last deacons. Watch out, as you can be attacked by two opponents, standing in front of the building. If that happens, you should run until foes stop chasing you. Then return to the area and eliminate all the remaining deacons.
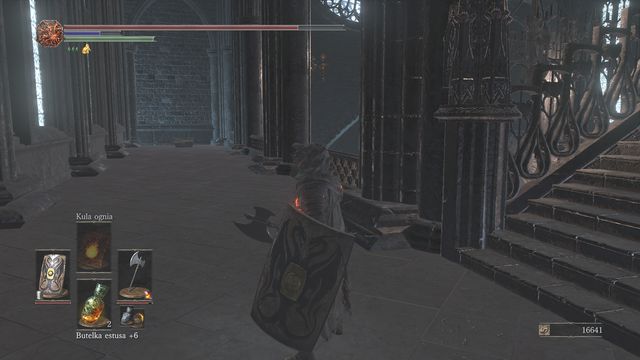
Turn towards the cathedral that you have just come from. By the entrance, on the left, there is a hanging body with a Large Titanite Shard. Go inside and unlock the lift on the left. It will take you down to the bonfire (where you will face Pontiff Sulyvahn). Get to the other side to locate and kill a lizard (you will receive Simple Gem). Opposite the entrance, you will come across a chamber with an exposed chest. Don't even try to open it and attack the object immediately. Deal as much damage as possible to the shapeshifter, and don't let him catch you. If you dodge his strike and land behind him, you will have a perfect opportunity to perform a devastating blow. Kill the creature to obtain Golden Ritual Spear.
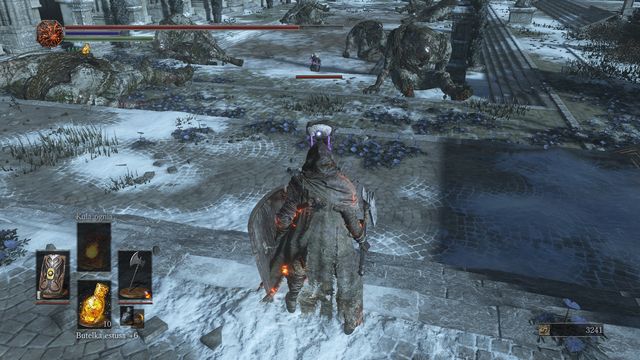
Return towards the square; it would be best to use the upper part of the bridge if you dealt with all the deacons. Before you get to the building, your way will be blocked by two more enemies. One of them has two spears and the other one has a pair of hammers. Although they are very offensive and aggressive, they have no shields or decent protection. Beware of rapid attacks that come one after another and slower but powerful thrusts.
The best way to defeat them is to run away. Avoid them until they lose their interest in you. Most likely, one of them will be slightly ahead, so when they turn around, draw attention of the opponent that is closer. With enough luck, you will be able to perform 2-3 strikes before the other one joins the fight. This method is especially effective when you have too much trouble fighting them both. Remember that once you kill them, they will disappear permanently.
Another potential solution is to use the giants on the square. If you are able to rotate smoothly between them, one of the deadly attacks may actually strike your opponents. Defeat your foes and you will receive Drang Twinspears.
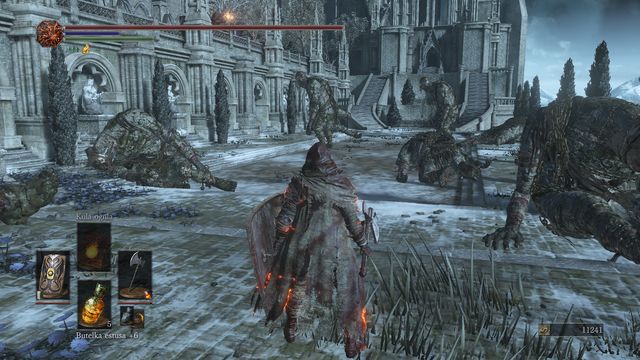
Before you enter the building situated behind the giants, you should collect items scattered all around the square: Soul of a Weary Warrior and 2x Ember. You don't have to fight the giants but if you decide to, attack one enemy at a time (wake up one of the creatures, and move away from him quickly. This way you won't disturb other monsters). Remember to deal with the deacons above first. Don't wait for the giant to get up: just strike right away and watch out for his stomping attack. Sequences of attacks that happen one after another are the deadliest. If you are able to avoid them, you should have enough time to deal a lot of damage, while your enemy will be immobilized.
Keep on walking and you will reach the previously mentioned building.
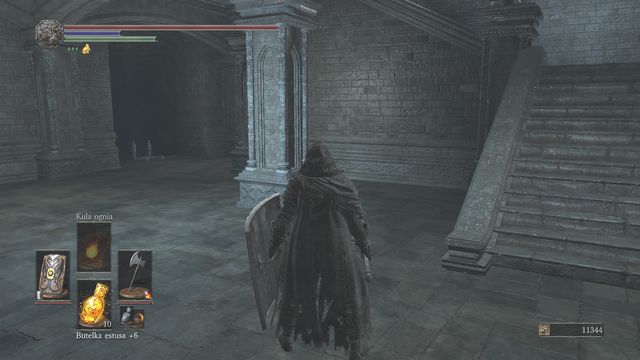
Once you are inside, focus on the wall on the left side of the stairs. Turns out, it's another illusion, and if you hit it, you will reveal a ladder that can take you to the bottom (see screenshot).
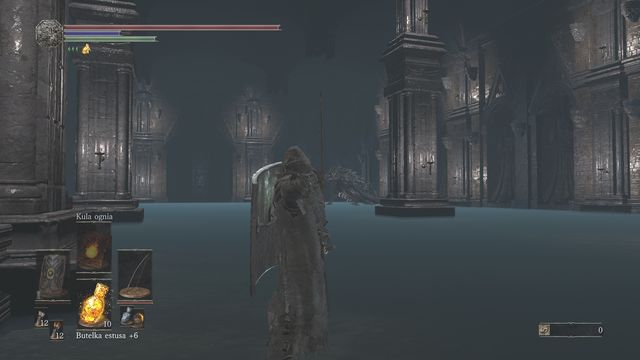
Prepare for a demanding battle, as two creatures will attack you at the same time (you encountered such monsters at the bridge in Irithyll of the Boreal Valley). The key problem is that foes will strike once you enter the chamber. The good news is that the solution is rather simple: don't approach the creatures and remain near the ladder. Use a bow or a crossbow and fire at one of them. An accurate shot will result in one of the monsters coming after you (the other one should remain in its primary position). This will allow you for a one-on-one fight, as long as you stay close to the ladder. Remember that you won't have much space to maneuver, so don't get caught in a corner.
Another method is to call an online player to help you. If you used Ember earlier, the place to call over the player should be at the bottom.
Once the battle is over, a bonfire will appear here. For slaying the beasts you will obtain Ring of Favor and a chance to collect Human Dregs and Deep Gem. Approach the fallen archdeacon and pray to join Aldrich Faithful covenant.
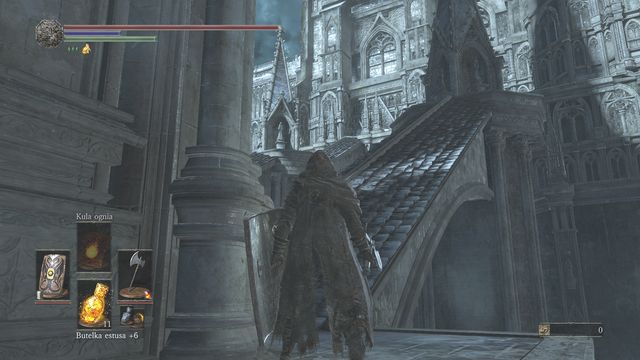
When you get upstairs search the area for a Titanite Scale. Then, jump down a little to the right and find a Large Titanite Shard. The path will lead through narrow roofs and you knights with great bows will constantly fire at you (an accurate shot is likely to lead to another one or even push you off the roof). Taking the path located lower, you will be under fire from only one side. Your objective is to reach the top as quickly as possible.
Remember: It is wise to avoid the knight that you will run into halfway. Fighting him may end up in a fall but if you really want to face him, lure him down.
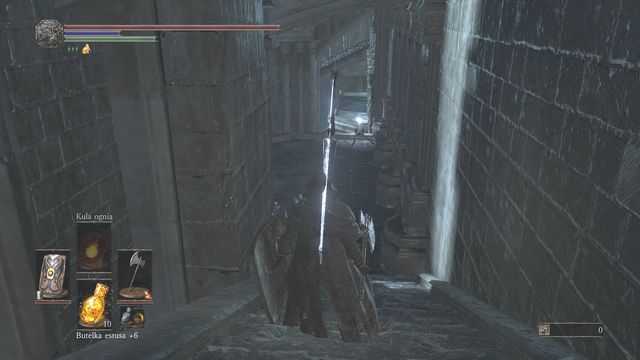
Exit, turn right and go downstairs. This way you will avoid one of the knights and have a moment to catch your breath. Downstairs you will find Easterner's Ashes.
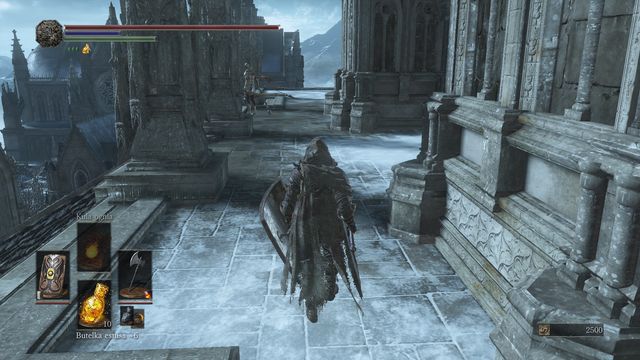
Collect them and get back upstairs. Since you avoided some of the enemies and ran down the stairs, you will be able to move unnoticed for some time. Thus, you can eliminate three more knight that you will encounter. Sneak up to them from behind to kill them quickly or deal enough damage to throw them off the edge.
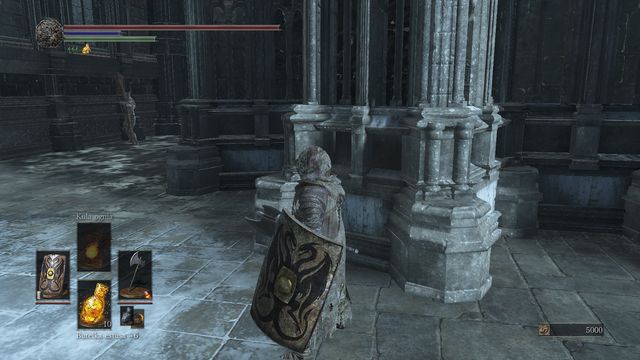
Head to a place where the roof is curvy. A knight with a bow is around the corner, so you should kill him before you go any further.
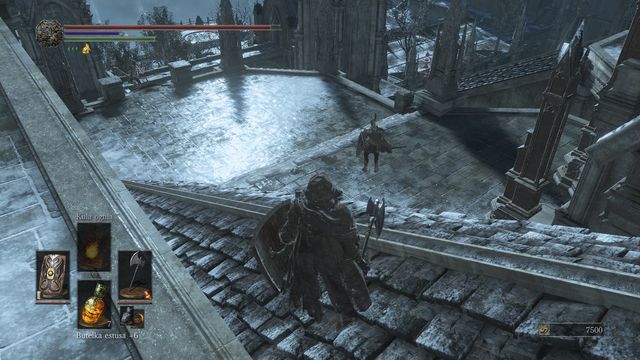
In front of the entrance there is another knight, and not far from him, one more knight with a bow. You may run inside, which should be more than enough to lose your enemies, but it is better to eliminate them and have enough time to collect the items and unlock a shortcut. Remain in the upper part of the roofs and lure the enemy towards you e.g. by throwing a knife at him. He will come after you and you will have a one-on-one duel. Watch out when he calls a lighting to strengthen his sword, because he will perform a sequence of powerful strikes afterwards.
Deal with the guard protecting the entrance and head towards the last remaining bowman. The path through the narrow roof will lead you to a small tower. There you can unlock a gate that will take you near the deacons. It will also allow you to avoid most of the knights with bows in the future. At the end of the road, behind the pillar, there is a Large Titanite Shard, and when you jump down (under a small roof) it will take you to Dragonslayer Greatbow and five Dragonslayer Greatarrows.
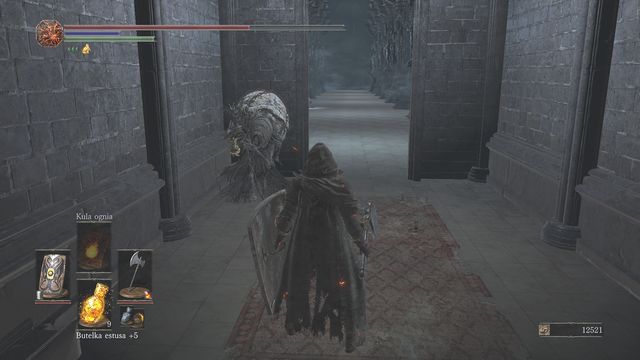
Return to the roofs and enter the building situated behind the knight. On the right, there is a passage leading downstairs, and a Londo assassin in front of it (if you allied with Yuria and did not save Anri). Talk to him and he will give you Oath Sword. Go inside and collect Brass set that you will come across. At the end, there is an altar and Anri's dead body. Approach it to begin the ritual (associated with the ending where you become the Lord of Hollow). Inside the chest, on the left, there is a Reversal Ring (a narrow passage between the altar and the column, right by the wall).
Remember: during your next visit, the assassin will be dead and you can collect Chameleon from his body. At the altar, instead of Anri's body, you will come across Anri's Straight Sword.
Remember 2: if you have already killed the assassin, you will not find him or Anri.
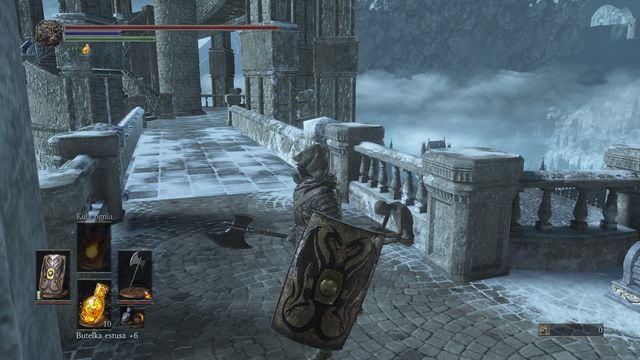
Exit the room from the left side (opposite the stairs that lead to a large chamber). Find Ember next to the body, and use the lever. Do it, and the tower in front of you will come down. Get on it and use the device that will bring it back to its primary position - next to Anor Londo bonfire.
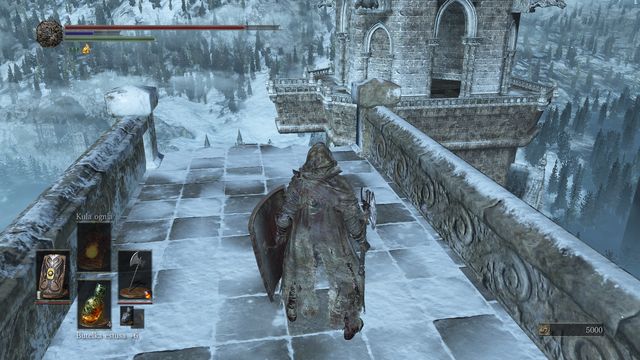
Remember: when you are at the top of the tower, you can join Blades of the Darkmoon. In order to do that, go to the very bottom and turn towards the tower on the opposite side (see screenshot).
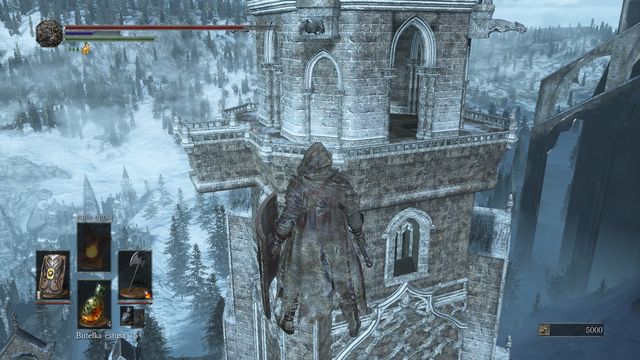
The screenshot presents a different tower where you will receive the covenant sign. To get to it, walk across the invisible bridge - turn your character as if you were to fall into the abyss. When you get to the tower, you can jump down and land next to the bonfire.
If you talked to Sirris earlier, (and received Darkmoon Loyalty gesture), you will be able to bow, and thus receive the covenant sign. You will also obtain Darkmoon Blade. Enter the tower to collect (jump down carefully) Painting Guardian's Curved Sword, and a Painting Guardian Set. Leave the tower and you will end up in Church of Yorshka, where you can a find a bonfire by the same name.
- Dark Souls III Game Guide & Walkthrough
- Dark Souls 3: Walkthrough and Secrets
- Dark Souls 3: Walkthrough
- Dark Souls 3: World Map
- Dark Souls 3: Cemetery of Ash
- Dark Souls 3: Firelink Shrine
- Dark Souls 3: High Wall of Lothric
- Dark Souls 3: High Wall of Lothric - from the Bonfire
- Dark Souls 3: Cleansing Chapel - tower
- Dark Souls 3: Undead Settlement
- Dark Souls 3: Undead Settlement - straight road from the great square
- Dark Souls 3: Undead Settlement - path from the great square through the bridge (on the right)
- Dark Souls 3: Undead Settlement - way down
- Dark Souls 3: Road of Sacrifices
- Dark Souls 3: Road of Sacrifices - Swamp
- Dark Souls 3: Cathedral of the Deep - outside
- Dark Souls 3: Cathedral of the Deep - inside
- Dark Souls 3: Farron Keep
- Dark Souls 3: Catacombs of Carthus
- Dark Souls 3: Smouldering Lake
- Dark Souls 3: Irithyll of the Boreal Valley
- Dark Souls 3: Irithyll of the Boreal Valley - from the Church of Yorshka
- Dark Souls 3: Irithyll of the Boreal Valley - Path to Anor Londo
- Dark Souls 3: Anor Londo
- Dark Souls 3: Irithyll Dungeon
- Dark Souls 3: Profaned Capital - Return to the Irithyll Dungeon
- Dark Souls 3: Profaned Capital - Path to Yhorm the Giant
- Dark Souls 3: Lothric Castle
- Dark Souls 3: Consumed King's Garden
- Dark Souls 3: Untended Graves
- Dark Souls 3: Grand Archives
- Dark Souls 3: Grand Archives - rooftops
- Dark Souls 3: Archdragon Peak
- Dark Souls 3: Kiln of the First Flame
- Dark Souls 3: Game endings
- Dark Souls 3: Walkthrough
- Dark Souls 3: Walkthrough and Secrets
You are not permitted to copy any image, text or info from this page. This site is not associated with and/or endorsed by the developers and the publishers. All logos and images are copyrighted by their respective owners.
Copyright © 2000 - 2026 Webedia Polska SA for gamepressure.com, unofficial game guides, walkthroughs, secrets, game tips, maps & strategies for top games.
