Dark Souls 3: Grand Archives
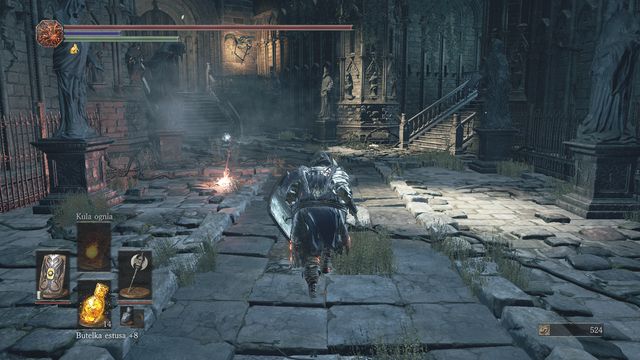
After the fight with Dragonslayer Shield, proceed across the newly-opened passage. Right past the gate, go right where you find a Titanite Chunk on the balcony below. The path ahead is a quick way to the bonfire. In here, you find a corpse with Grand Archives Key and Gotthard Twin Swords. Use the key to open the gate ahead.
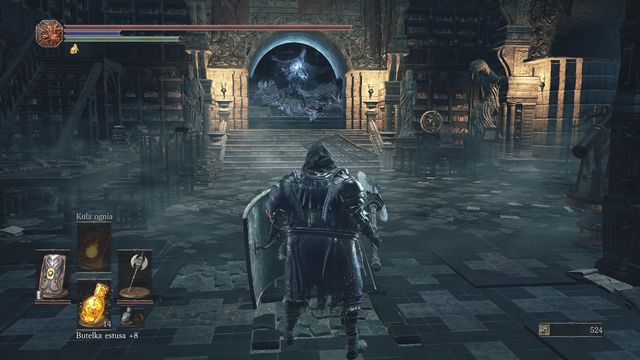
Right after you walk inside, sprint towards the mage at the end of the corridor. Do not let him attack because he deals lots of damage. The faster you to get to him and land several blows, the faster he will escape upstairs. Still, watch out because he can bring a rain of crystals on you.
As for now, go to the corridor to the right of the entrance, where you spot the opponent that is running upstairs. Do not let him trick you and wait for the other one that lands behind your back. Only after you have eliminated them, collect the Titanite Chunk and climb the stairs to the left of the entrance.

In the corridor upstairs, chase the lizard to receive Crystal Gem and Twinkling Titanite. After you reach the fork, first go left thanks to which you can collect the Soul of the Crestfallen Knight (watch out for the enemy landing behind your back after you approach the item).
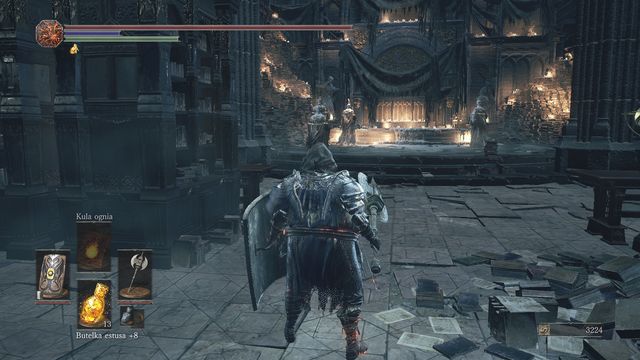
Then, reach the end of the corridor. To the right, behind the barrier, there is a Titanite Chunk. There is one more next to the opponent that is jumping down from ledges. Turn back, where there are several opponents facing away, next to the vessel with wax. They are not too demanding. You should only be careful with the last one that an cast spells and slow you down with wax spits (you will be unable to sprint and dodge for a while). After you defeat the opponents, change your looks by dipping your head into wax.
Note: Dipping your head in wax helps you in several locations in the archives. It protects you from damage and from curses induced by the violet hands sticking out from shelves and from the ground.
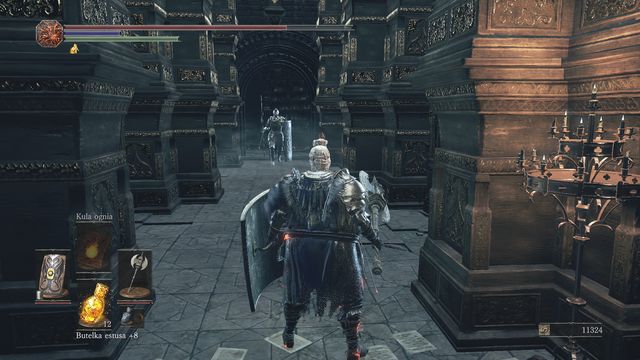
Before you leave the room, go right (with the vessel with wax behind you), where you can climb up the stairs to reach the ledge above. There, you will find a Titanite Shard. Finally, walk into the narrow corridor between books on the left. There, you find a knight with a spear. Lure him into the chamber. Watch out for his slams because they have quite a range, as well as for his charges, which you can follow with several attacks. After you defeat him, walk over to the room that he has been guarding and collect the Crystal bell and a Titanite Chunk to the right, right in front of the entrance.
Return to the chamber where wax is and leave into the dark room on the right.
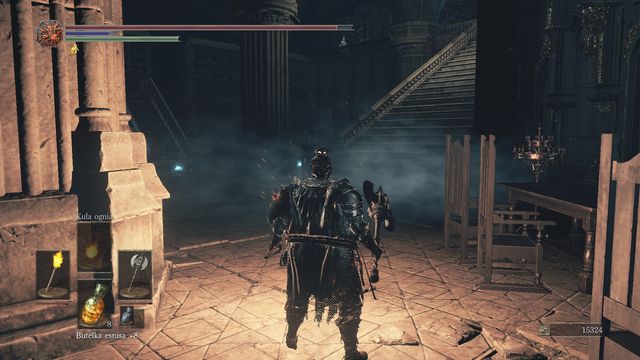
Inside, there are two lizards and killing them is rewarded with 2x Twinkling Titanite and Chaos Gem and Twinkling Titanite. At the wall, there also is a Soul of a Nameless Soldier. Note - if you have not covered your head in wax, you will be attacked by violet hands coming out of the shelves. They deal damage and stack curse. If you have dipped your head into wax, you will come to no harm. Next to the item, there also is a lever. After you pull it, you open a small room on the left. Inside, there is Power Within and Witch's Locks.
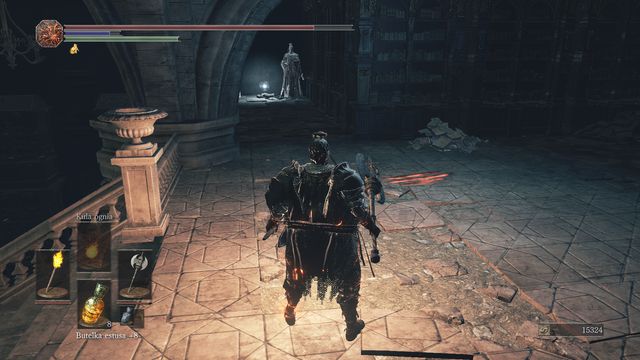
Upstairs, on the left, there is an opponent and a Titanite Shard behind him. Collect it quickly because another opponent will appear in the center. After you have defeated both, leave. You will get within range of the spells of Crystal Sage's double. This is why you should kill the lizard quickly (2x Twinkling Titanite) and turn towards the exit to collect the Titanite Chunk on the right and kick the ladder. This will open a shortcut.
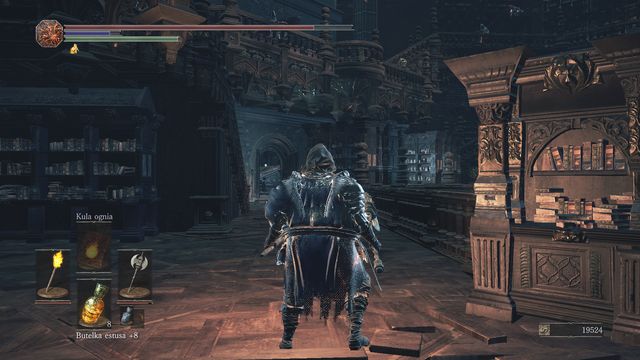
Then, run towards the balcony and dodge the spells. On the left, you find 2x Homeward Bone. Before you go towards the sage, climb the stairs on the left with a single opponent in front of. Upstairs, there are two more opponent and a vessel with wax that you can dip your head into. Apart from that, at the wall, there is a Titanite Chunk.
After you climb down, you can approach the lever in the center between bookshelves.
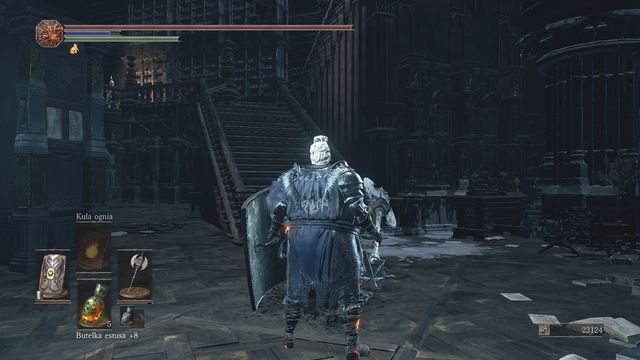
Climb the stairs on the right. Try to lure the two opponents downstairs, thanks to which you will get out of the reach of Crystal Sage's spells. Atop the stairs, kill a minor mage and attack the Sage. After a while, he will teleport to the bridge at the other side.
Note: You can also reach the balcony, and walk around the two opponents, if you climb the ladder on the balcony below.
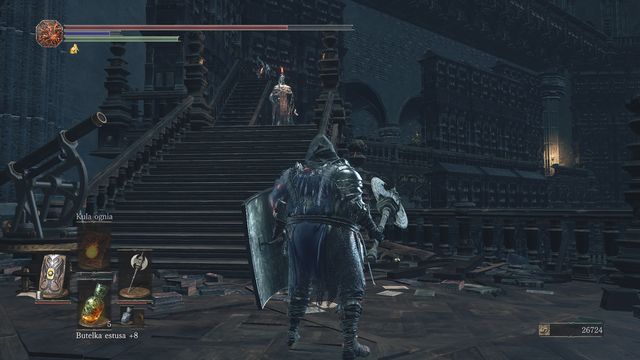
Continue up the stairs on the left. Upstairs, watch out for three more opponents. First, lure down the smaller one, thanks to which you will get out of range of the bombs thrown by another one. A bit ahead, you will run into a trap (make sure that your head is "waxed over"), i.e. several hands sticking out from the ground. Apart from that, there is an enemy mage at the wall - watch out because it is risky to try to kill him without the wax protection. In the corner, there is a Titanite Shard.
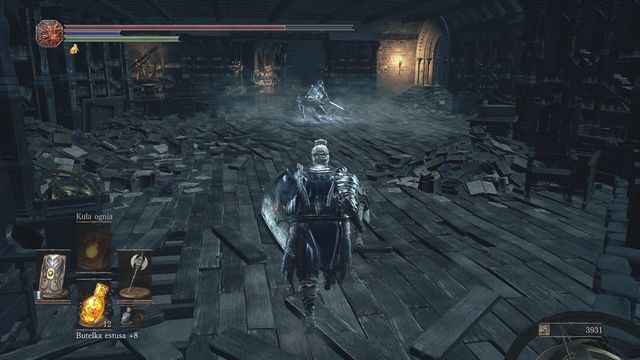
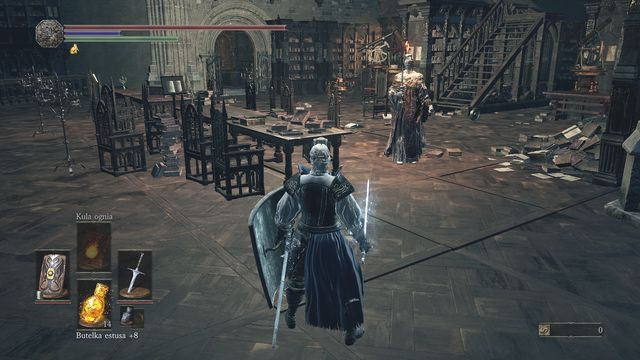
Up ahead from here, there is a strange-looking wall. This is an illusory wall across which you can get to the room shown in the screenshot. Inside, there is a demanding opponent waiting for you. He is fast and you should always try to have him in front of you, during combat. At the same time, dodge and roll behind his back. Rely on your dodges, rather than on your shield and strike after the enemy has performed a combo of attacks, or a strong thrust (dodging will allow you to get behind his back then). For this battle, you will be rewarded with his Knight Set. You can walk out on a balcony on the right, where you find a Soul Stream by the corpse sitting on a chair.
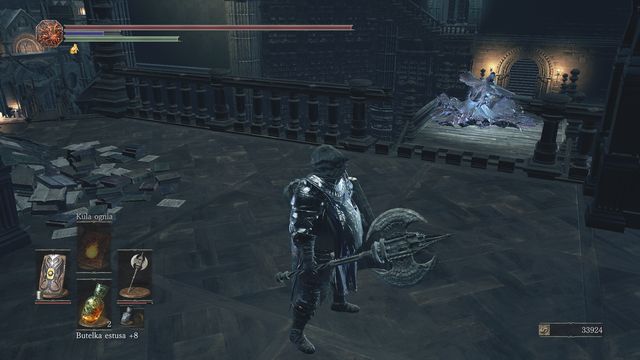
Leave the room and go towards the mage on the bridge (before that, go left where you find a Titanite Shard behind a bookshelf). Jump down and deal with the mage by attacking him until he disappears. Then, he will appear up ahead, which will allow you to dash towards him quickly and interrupt his spellcasting. This will make him escape. Keep repeat this pattern up until the mage disappears and leaves Crystal Scroll behind.
Face the spot that you earlier jumped off (there is a knight at the end, but you do not have to worry about him). You will find a lever here that opens a gate to a small basin with wax. On the corpse on the chair, there is a Scholar's Ring. At the other side, by the ladder, there also is a Shriving Stone.
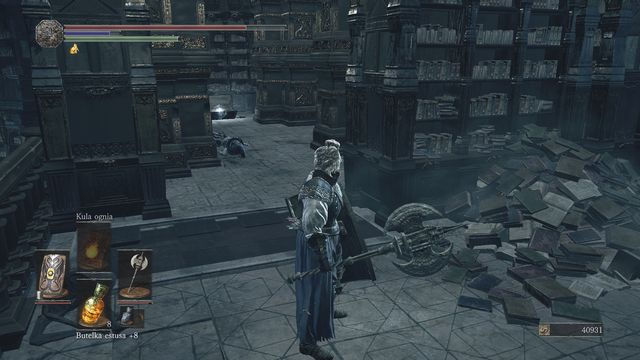
Now, return to the bridge that you can jump off on the left (a small breech in the balustrade). You land on a bookshelf. Underneath, there is a lizard - for killing it, you will be rewarded with 2 Titanite Shards. After you jump down, you will get into the room that you have been crossing at first, where there are four opponents by the vessel with wax. If you have polled the lever below the location where you could attack the Crystal Sage for the second time, walk over to the balcony opposite the vessel with wax (the screenshot). By pulling the lever, you open the passage between books, at the end of which there is a Titanite Slab.
Finally, while backtracking to the bridge, walk to the side where the first balcony is - with the balcony behind you, walk between the shelves, up the stairs and watch out for two smaller opponents on the right, and for a mage at the end. As soon as you kill them, you can jump down onto the shelf below, where you find a Titanite Shard. Heal to the maximum value of health and run up to jump onto the shelves below. As soon as you take the long jump, you can walk over onto a platform, where there is a corpse with Avelyn crossbow.
Return to the bridge where you have defeated the Sage again. Walk over to the other side. Inside, there is an elevator to the first chamber that you visited in Grand Archives. The path outside takes you to the rooftops. Before you go there, you have to get some more wax to eliminate the enemies above. At the wall, there also is a Soul of a Crestfallen Knight. After you climb up the stairs (before the passage there, open a chest with 3x Titanite Shard), you find a lizard (Twinkling Titanite and Exquisite Gem) and Bite Ring up ahead.
Walk out to the rooftops.
- Dark Souls III Game Guide & Walkthrough
- Dark Souls 3: Walkthrough and Secrets
- Dark Souls 3: Walkthrough
- Dark Souls 3: World Map
- Dark Souls 3: Cemetery of Ash
- Dark Souls 3: Firelink Shrine
- Dark Souls 3: High Wall of Lothric
- Dark Souls 3: High Wall of Lothric - from the Bonfire
- Dark Souls 3: Cleansing Chapel - tower
- Dark Souls 3: Undead Settlement
- Dark Souls 3: Undead Settlement - straight road from the great square
- Dark Souls 3: Undead Settlement - path from the great square through the bridge (on the right)
- Dark Souls 3: Undead Settlement - way down
- Dark Souls 3: Road of Sacrifices
- Dark Souls 3: Road of Sacrifices - Swamp
- Dark Souls 3: Cathedral of the Deep - outside
- Dark Souls 3: Cathedral of the Deep - inside
- Dark Souls 3: Farron Keep
- Dark Souls 3: Catacombs of Carthus
- Dark Souls 3: Smouldering Lake
- Dark Souls 3: Irithyll of the Boreal Valley
- Dark Souls 3: Irithyll of the Boreal Valley - from the Church of Yorshka
- Dark Souls 3: Irithyll of the Boreal Valley - Path to Anor Londo
- Dark Souls 3: Anor Londo
- Dark Souls 3: Irithyll Dungeon
- Dark Souls 3: Profaned Capital - Return to the Irithyll Dungeon
- Dark Souls 3: Profaned Capital - Path to Yhorm the Giant
- Dark Souls 3: Lothric Castle
- Dark Souls 3: Consumed King's Garden
- Dark Souls 3: Untended Graves
- Dark Souls 3: Grand Archives
- Dark Souls 3: Grand Archives - rooftops
- Dark Souls 3: Archdragon Peak
- Dark Souls 3: Kiln of the First Flame
- Dark Souls 3: Game endings
- Dark Souls 3: Walkthrough
- Dark Souls 3: Walkthrough and Secrets
You are not permitted to copy any image, text or info from this page. This site is not associated with and/or endorsed by the developers and the publishers. All logos and images are copyrighted by their respective owners.
Copyright © 2000 - 2026 Webedia Polska SA for gamepressure.com, unofficial game guides, walkthroughs, secrets, game tips, maps & strategies for top games.
