Dark Souls 3: Firelink Shrine

The Firelink Shrine is your base of operations. Here you will find a number of NPCs, as well as some interesting places to visit. During your first visit to the shrine (after completing the starting location, Cemetery of Ash), you should speak with the Fire Keeper - you can find her on the ground level, in the main part of the location. Speaking with the woman will allow you to increase your experience level, by exchanging the souls you've accumulated (by killing enemies, bosses, completing missions, consuming certain items). Skill points should be invested in stats that go in accordance with your playstyle, as well as your starting class (strength will be required to wield more powerful weapons, increasing health points will be useful as well, and so on).
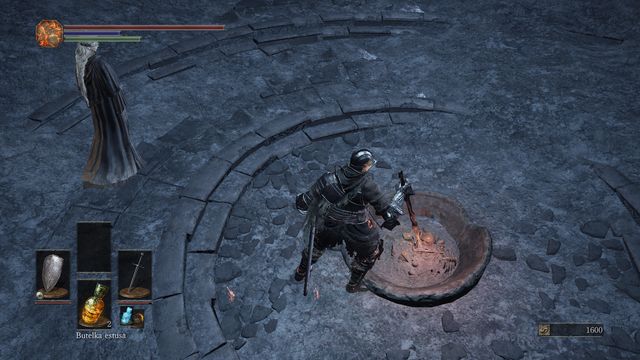
When you're done, you can drive your sword into the bonfire (as shown on the screenshot above), located right next to the Fire Keeper. It will allow you to travel to various places. During your first visit it will unlock a new location - High Wall of Lothric.

While venturing through the ground floor, you will stumble upon the Shrine Handmaid. It's a NPC trader that will allow you to purchase, as well as sell items. Note the Tower Key, which costs 20,000 souls - if you purchase it, you will unlock the passageway to the further section of the shrine, blocked by the tower doors, located in the upper part of the location.
At the end of the corridor you will also find the Blacksmith Andre. Remember to visit this character regularly in order to upgrade your weapons, and repair your equipment. Additionally, you can also set the proportion of flasks in your possession (those that restore health to those that restore focus points, the game equivalent of mana).
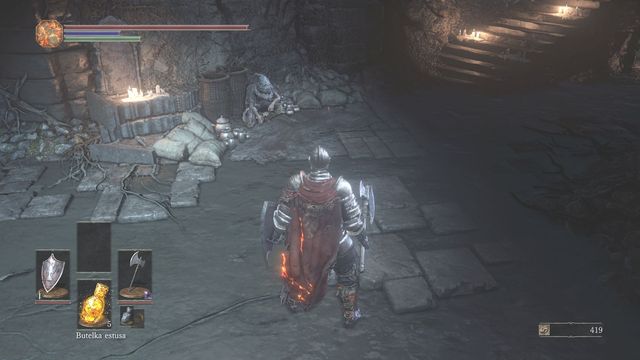
During your playthrough, other characters you meet in different locations may appear in the Firelink Shrine. Some of them will have quests associated with them, some of them can also be in possession of interesting, plot-related information or be willing to trade with you.
Outside
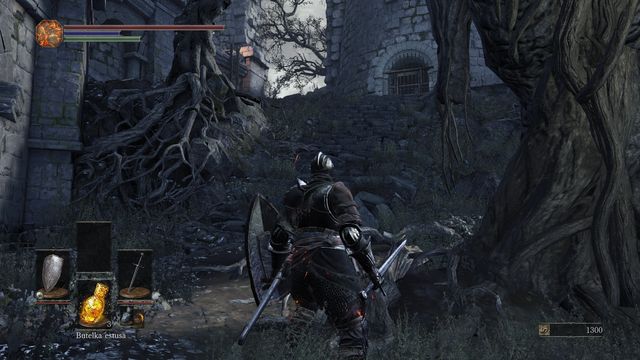
Once outside, you will notice, before anything else, the locked tower (the entrance to the building can be opened by purchasing the Tower Key from the Shrine Handmaid). You should purchase it as soon as possible, as the place hides some interesting items, such as the Fire Keeper Soul, or the Fire Keeper item set.
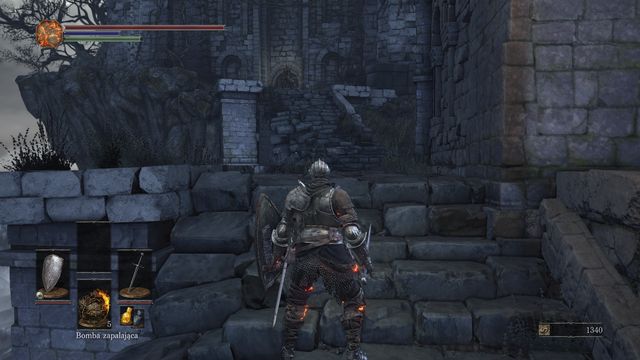
During your first visit, you should explore the surroundings of the shrine as well. Here, you can find several basic items (such as the Homeward Bone, Ember), a shield (East-West Shield), as well as a challenging enemy, killing whom will reward you with useful items.
The aforementioned enemy can be found at the top of the stairs (as seen on the screen below this paragraph) - to get there, you must go around the shrine, to the left while standing in front of the main entrance. The enemy is a half-naked man wielding a katana. Don't let his attire fool you - the enemy is quite durable and extremely fast, and his katana deals immense damage. The best way to handle this fight is for you to use your shield, blocking enemy attacks and countering.
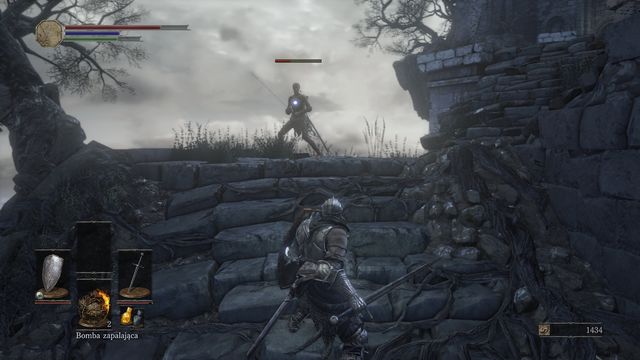
Remember not to stay near the enemy for extended amounts of time, as he will impale you with his weapon, dealing gigantic damage. Instead, wait for the enemy to assume a stance in which he's got his weapon slightly hidden behind his back. This means, that the man is preparing a quick attack, which can be evaded by sidestepping (you can also move back a little bit) - right after his attack there's a short opening where the enemy is completely exposed and can be attacked. This method of combat will allow you to remain relatively safe, and wear the enemy down. Don't forget to use your Firebombs to deal some additional damage.
In case you have trouble with the enemy, try to use a little trick and lure the enemy to the edge of the stairs. Afterwards, you must perform a few quick attacks, pushing him of the ledge. For defeating this difficult enemy, you will be given the Master's Attire, Master's Gloves, as well as the enemy's weapon - Uchigatana, a weapon perfect for characters with high Dexterity. The passage located behind the enemy is locked - there's nothing else for you to find here before you unlock the tower.
- Dark Souls III Game Guide & Walkthrough
- Dark Souls 3 in 10 Easy Steps
- Dark Souls 3: Introduction
- Dark Souls 3: Character creation
- Dark Souls 3: Tips for beginners
- Dark Souls 3: Firelink Shrine
- Dark Souls 3: Death and leveling up
- Dark Souls 3: Restoring health
- Dark Souls 3: Covenants
- Dark Souls 3: Equipment and upgrades
- Dark Souls 3: Bonfires and shortcuts
- Dark Souls 3: Combat
- Dark Souls 3: General tips
- Dark Souls 3: Appendix - First location and boss
- Dark Souls 3 in 10 Easy Steps
You are not permitted to copy any image, text or info from this page. This site is not associated with and/or endorsed by the developers and the publishers. All logos and images are copyrighted by their respective owners.
Copyright © 2000 - 2025 Webedia Polska SA for gamepressure.com, unofficial game guides, walkthroughs, secrets, game tips, maps & strategies for top games.
